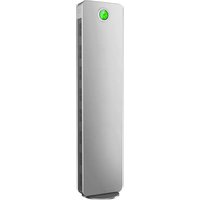
LF 2010 - Air purifier Nevoox - Free user manual and instructions
Find the device manual for free LF 2010 Nevoox in PDF.
| Product Type | Air Purifier |
| Brand | Nevoox |
| Model | LF 2010 |
| Filter | HEPA 13 6-Way |
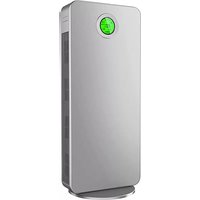
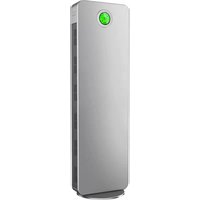
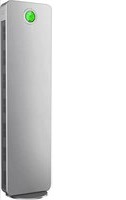
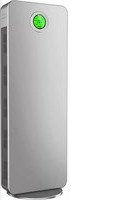
| Display | High-definition LCD screen with PM2.5 indicator |
| Air Quality Indication | Green (excellent <75 µg/m³), Blue, Red |
| Fan Speed | 4 levels (25%, 50%, 75%, 100%) |
| Automatic Mode | Yes, adjusts speed according to air quality |
| Timer | From 0 to 12 hours in 1-hour increments |
| Child Lock | Touch key lock |
| Remote Control | Infrared, range up to 5 meters |
| Filter Lifespan | 1500 hours |
| Filter Replacement | From the rear, disposable filter |
| Filter Counter Reset | Press and hold FILTER RESET for 3 seconds |
| UV-C Unit | Integrated for disinfection |
| Wall Installation Distance | 10 to 15 cm |
| Installation Surface | Flat and stable |
| Moving Handle | Yes |
| Included Accessories | User manual, remote control |
| Cleaning | Soft cloth inside after removing filter |
Frequently Asked Questions - LF 2010 Nevoox
User questions about LF 2010 Nevoox
0 question about this device. Answer the ones you know or ask your own.
Ask a new question about this device
Download the instructions for your Air purifier in PDF format for free! Find your manual LF 2010 - Nevoox and take your electronic device back in hand. On this page are published all the documents necessary for the use of your device. LF 2010 by Nevoox.
USER MANUAL LF 2010 Nevoox
natural_image
Row of eight silver industrial air purifiers with circular buttons, arranged in a semi-circular pattern (no text or symbols visible)text_image
Exploded view diagram of a portable air conditioner with numbered parts labeled 1 through 111 Frontabdeckung
Front cover / Couverture
2 Gehäuse
Housing / Logement
3 6 fach Filter HEPA 13
Retractable handles (from model LF 2030)
text_image
screws Fixed power line links power cord base①
natural_image
Technical line drawing of a mechanical component and its circular cross-section with internal grid pattern (no text or symbols)②
natural_image
Pure technical diagram showing mechanical components and alignment lines without any text or symbols③
natural_image
Pure technical diagram of a mechanical or electrical component with no visible text, numbers, or symbols.④
natural_image
Top-down schematic of a circular mechanical or architectural component with internal grid and mounting points (no text or symbols)⑤
6. Aufstellungsort
flowchart
graph LR
    A["Smartphone with monitor"] --> B["Inserted device"]
    B --> C["Disassembly of grid"]
    C --> D["Final device with grid pattern"]
flowchart
graph LR
    A["Device with screen, buttons, and fan"] --> B["Insert from device"]
    B --> C["Device with screen, buttons, and fan"]
    C --> D["Device with screen, buttons, and fan"]
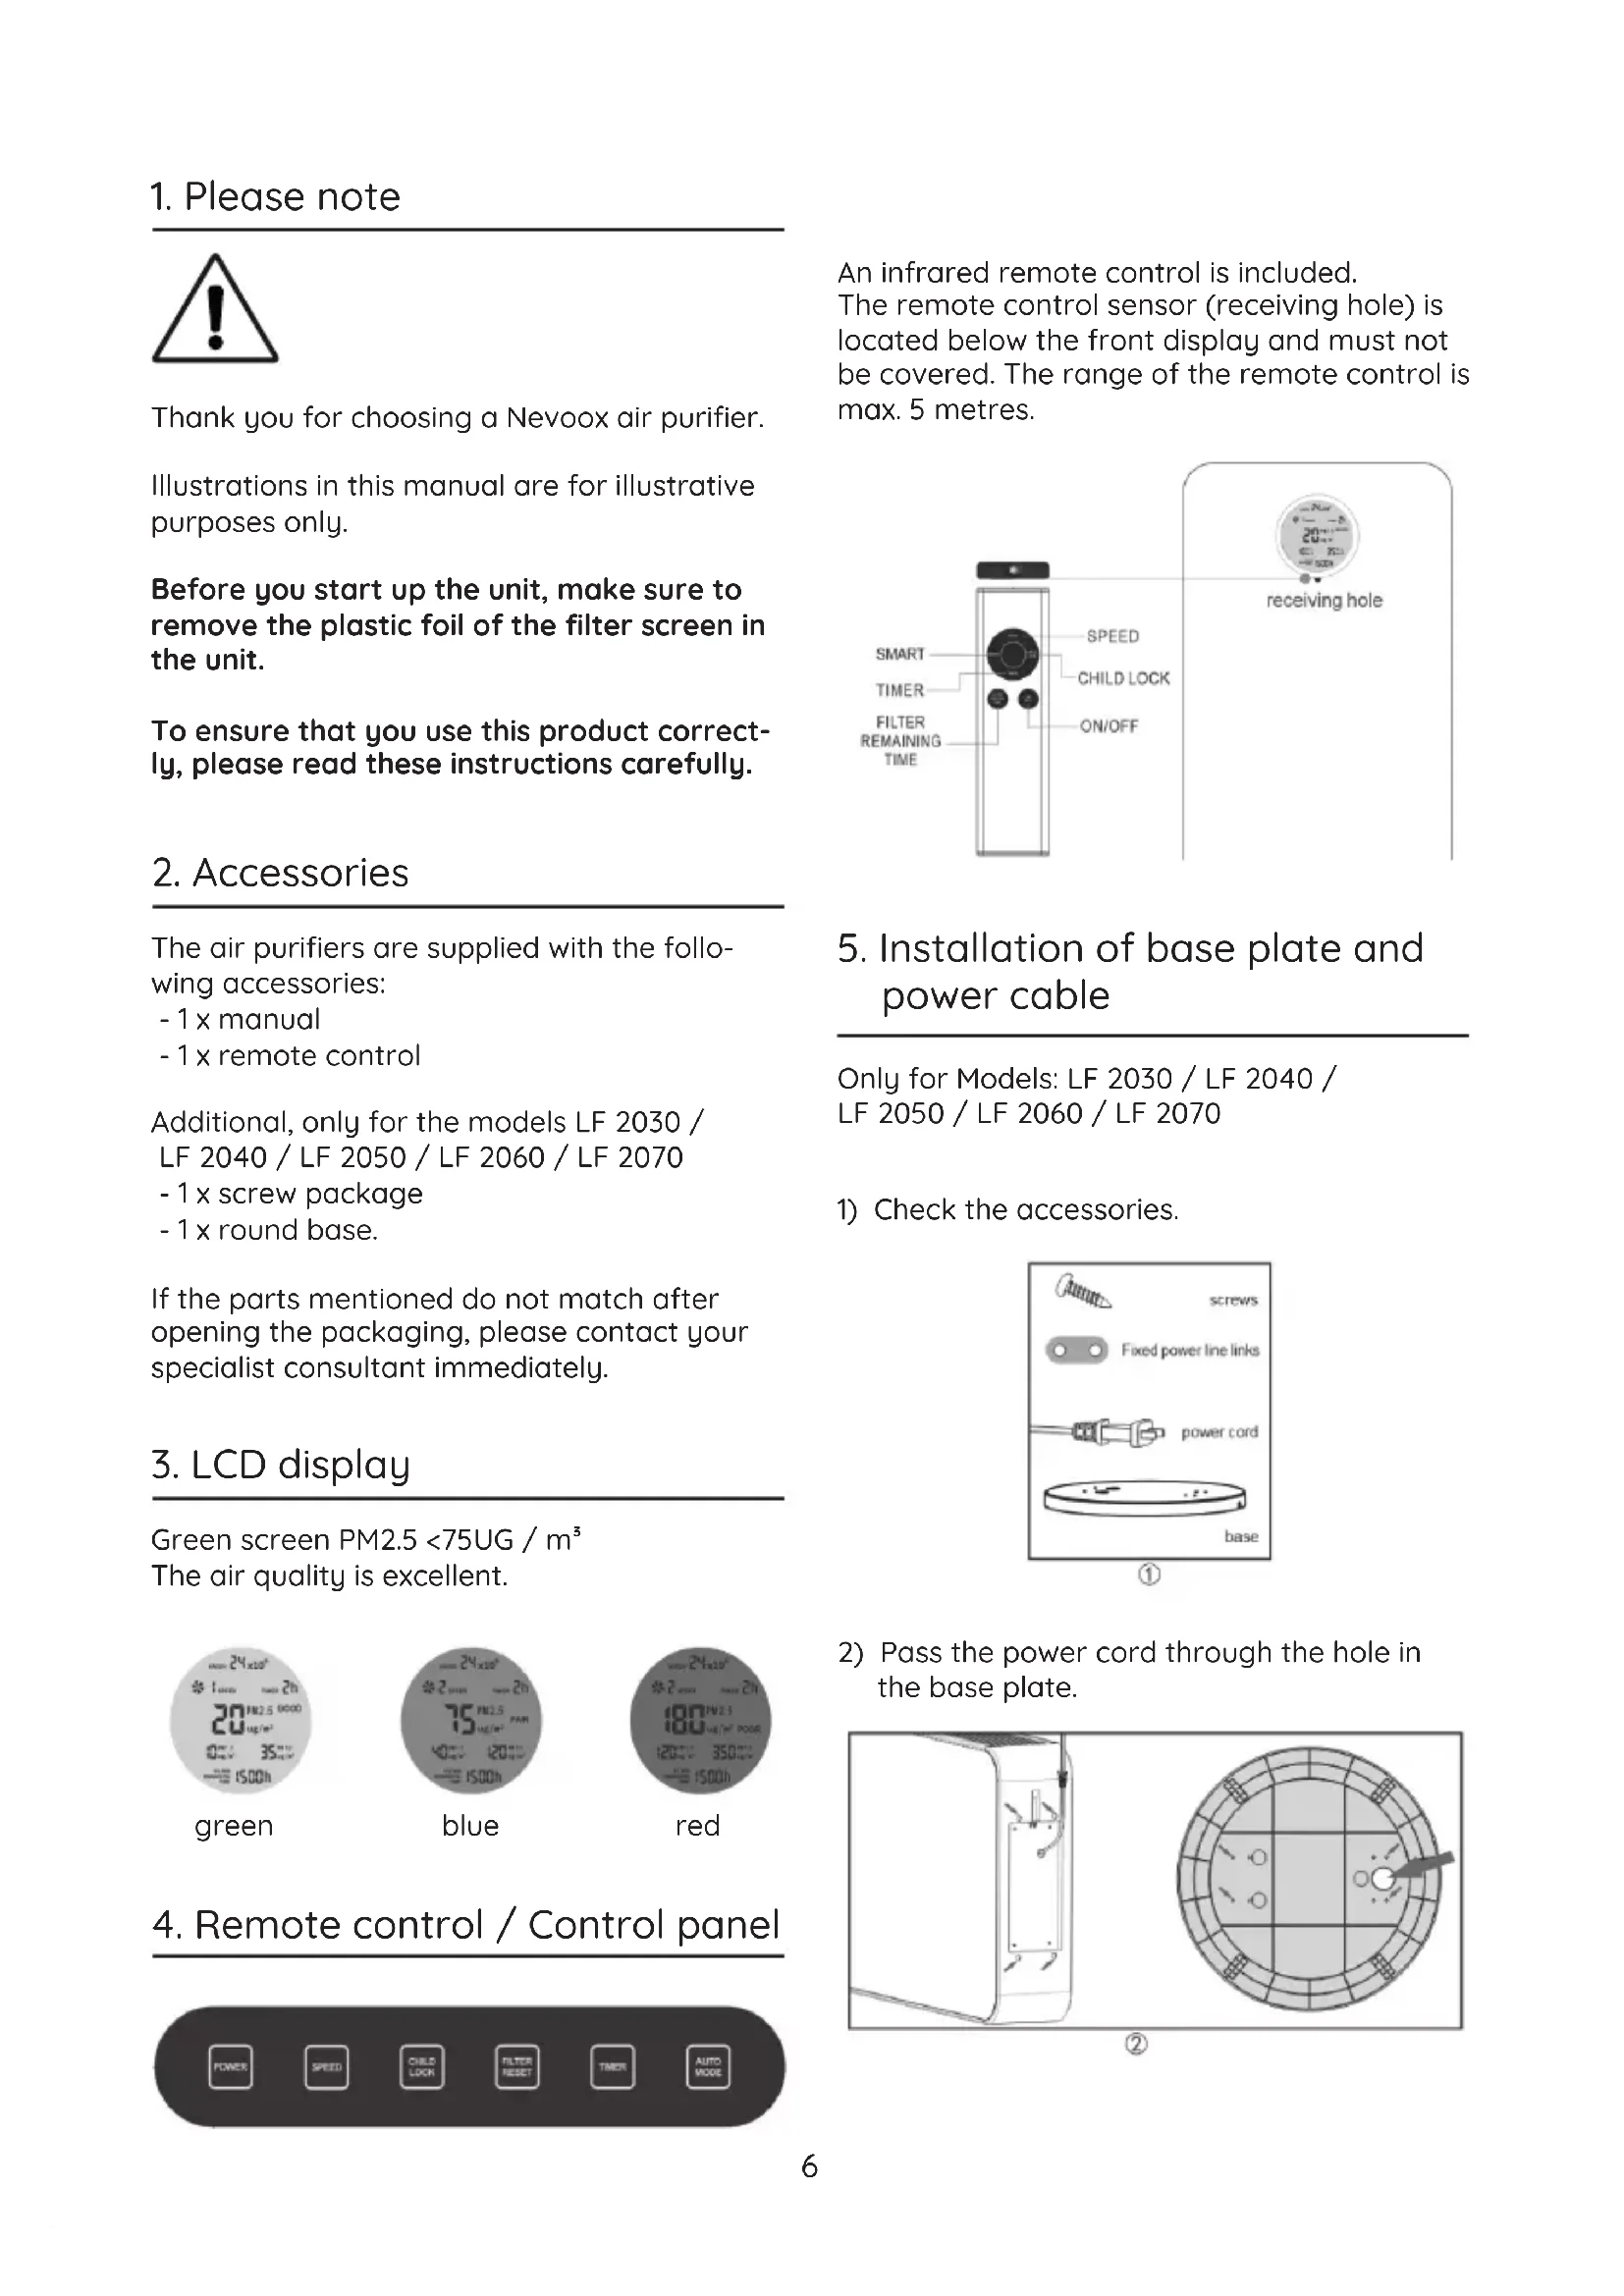
Thank you for choosing a Nevoox air purifier.
Illustrations in this manual are for illustrative purposes only.
Before you start up the unit, make sure to remove the plastic foil of the filter screen in the unit.
To ensure that you use this product correctly, please read these instructions carefully.
2. Accessories
The air purifiers are supplied with the following accessories:
- 1 x manual
- 1 x remote control
Additional, only for the models LF 2030 / LF 2040 / LF 2050 / LF 2060 / LF 2070
- 1 x screw package
- 1 x round base.
If the parts mentioned do not match after opening the packaging, please contact your specialist consultant immediately.
3. LCD display
Green screen PM2.5 <75UG / m ^3 The air quality is excellent.
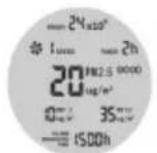
green
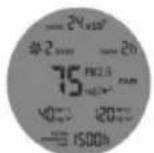
blue

red
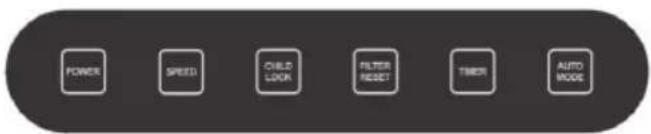
4. Remote control / Control panel
text_image
POWER SPEED CHILD LOOK FILTER RESET TIMER AUTO MODEAn infrared remote control is included. The remote control sensor (receiving hole) is located below the front display and must not be covered. The range of the remote control is max. 5 metres.
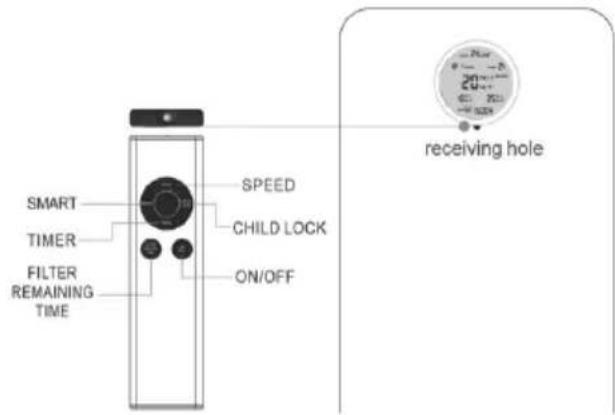
text_image
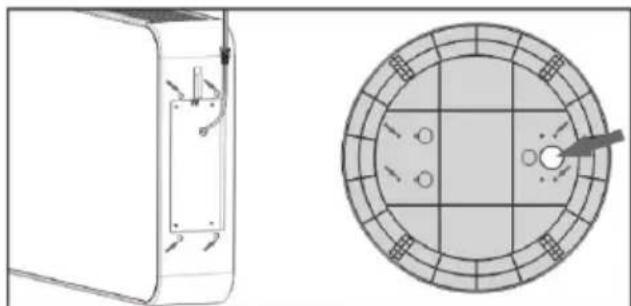
SMART TIMER FILTER REMAINING TIME SPEED CHILD LOCK ON/OFF receiving hole5. Installation of base plate and power cable
Only for Models: LF 2030 / LF 2040 / LF 2050 / LF 2060 / LF 2070
1) Check the accessories.
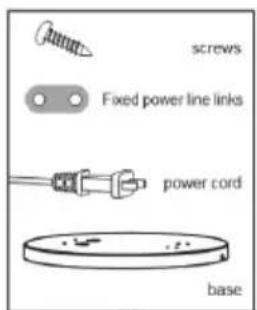
text_image
screws Fixed power line links power cord base①
2) Pass the power cord through the hole in the base plate.
natural_image
Technical line drawing of a mechanical component and its circular cross-section with internal grid pattern (no text or symbols)②
3) Screw the base plate to the holes in the bottom of the air purifier marked in the picture.
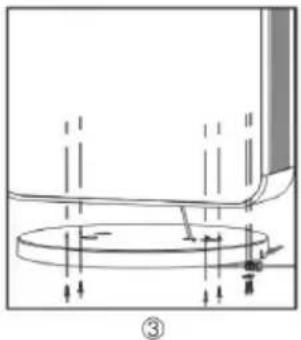
natural_image
Technical diagram showing a mechanical assembly with no visible text, numbers, or symbols4) Press the cable guide into the base plate and screw the cable fixing to the base plate.
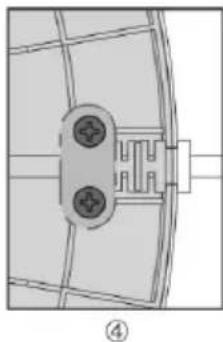
natural_image
Technical diagram of a mechanical component with two circular features and a central rectangular housing (no text or symbols)5) Check that the illustration corresponds to the base plate and cable guide of your appliance.
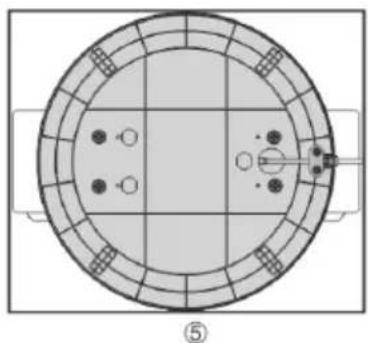
natural_image
Top-down schematic of a circular mechanical or architectural component with internal grid and mounting brackets (no text or symbols)6. Place of installation
To make full use of the air purifier's performance, the unit should be placed at a minimum distance of 10-15cm from walls or similar. This ensures that sufficient air can be sucked in through the back of the unit.
If you use the air purifier, it is recommended that you close the doors and windows to achieve a better cleaning effect.
To prevent the appliance from wobbling or tilting, ensure that the appliance is placed on a level and non-slip surface.
7. Commissioning
7.1. Switch on and off
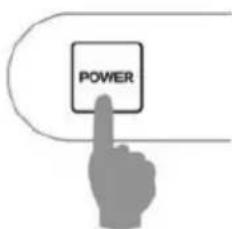
text_image
POWERPress once to switch on, press again to switch off.
7.2. Fan speed (Speed)
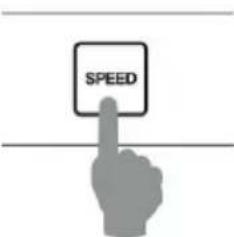
text_image
SPEEDThe fan speed can be set in four stages.
7.3. Child Lock
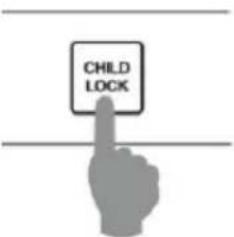
text_image
CHILD LOCKBriefly press the key to lock all control keys. Press for three seconds to return all the control keys to the unlock modus.
7.4. Filter Timer (Filter Reset)
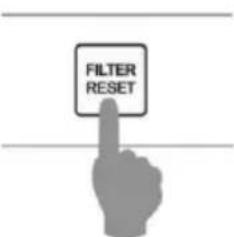
text_image
FILTER RESETThe maximum running time of the filters is 1,500 hours. When the remaining running time of the filters is approx. 60 hours, the display flashes and shows „FILTER REMAINING TIME“. During this period the filter must be
replaced.
After changing the filter, press the „FILTER RESET“ key for 3 seconds to reset the counter to 1500 hours.
7.5. Off Timer

text_image
TIMERThe unit can be switched off in 12 steps (0-12 hours) using the timer.
7.6. Automatic mode (Auto Mode)

text_image
AUTO MODEThe speed of the fans (and thus the air flow) is automatically controlled according to the measured air quality. Each fan stage less reduces the airflow by 25%.
(Level 4 = 100%/ Level 3=75%/
Level 2=50%/ Level 1=25%)
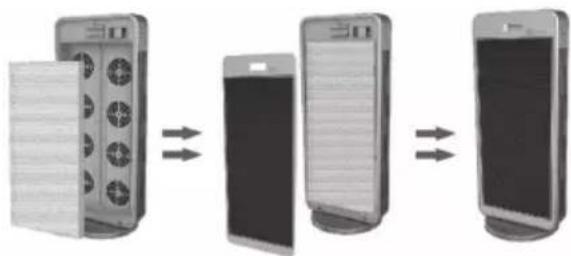
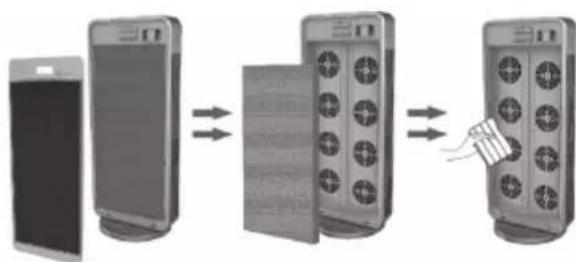
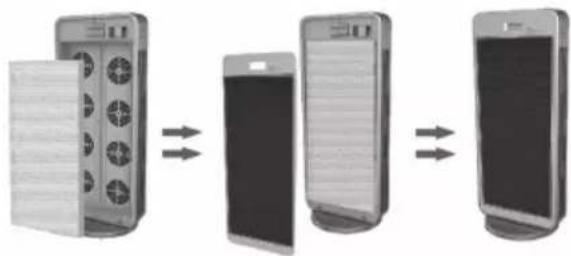
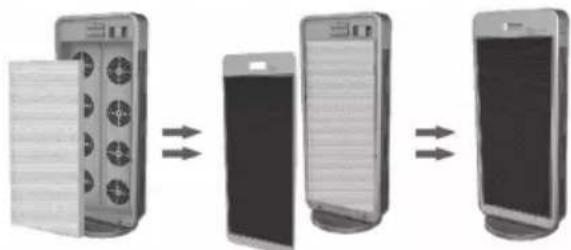
8. Filter change
- switch off the unit, pull out the mains plug and remove the back cover by hand.
- remove the used filter; the filter can be disposed of in the household waste.
- clean the inner housing with a soft cloth.
- install the new filter with the blue side facing outwards.
- close the lid.
- the installation is complete.
flowchart
graph LR
    A["Smartphone with monitor"] --> B["Inserted device"]
    B --> C["Disassembled device with 3D grid"]
    C --> D["Final device with 12+ units"]
flowchart
graph LR
    A["Shelf with 3D keypad icon"] --> B["Back with 2D screen icon"]
    B --> C["Back with 1D screen icon"]
Note: After changing the filter, press the „FILTER RESET“ key.
The maximum running time of 1,500 hours of the replaced filter is thus correctly calculated.
The running time of the filters depends, among other things, on the load of the air sucked in and the speed of the fans and is shown on the display.
9. Safety Instructions
9.1. To prevent damage due to overheating of the air purifier, make sure that both the air inlet and the air outlet are not covered.
9.2. Do not place the unit next to a heater, as there is a risk of fire or deformation of the cabinet due to heat.
9.3. Unplug the power cord when cleaning the machine, replacing the filter or when not using it for a long period of time.
9.4. Do not move the air purifier unless it has been previously switched off.
9.5. Do not use the unit if the power supply cable is damaged. In this case contact your point of sale.
9.6. To prevent the appliance from wobbling or tilting, ensure that the appliance is placed on a level and non-slip surface.
text_image
screws Fixed power line links power cord base①
natural_image
Technical line drawing of a mechanical component and its circular cross-section with internal grid pattern (no text or symbols)②
natural_image
Pure technical diagram showing a mechanical assembly with no text, numbers, or symbols③
natural_image
Pure electrical circuit lines without any symbols④
natural_image
Top-down schematic of a circular mechanical or architectural component with internal grid and mounting brackets (no text or symbols)⑤
flowchart
graph LR
    A["Smartphone"] --> B["Insert"]
    B --> C["Display"]
    C --> D["Transmitting with 3D indicators"]
natural_image
Three smartphone models in a row, showing front, side, and back views of the screens (no text or symbols visible)