
49911 - Coffee machine HAMILTON BEACH - Free user manual and instructions
Find the device manual for free 49911 HAMILTON BEACH in PDF.
Download the instructions for your Coffee machine in PDF format for free! Find your manual 49911 - HAMILTON BEACH and take your electronic device back in hand. On this page are published all the documents necessary for the use of your device. 49911 by HAMILTON BEACH.
USER MANUAL 49911 HAMILTON BEACH
English 2 Visit hamiltonbeach.com for our complete line of products and Use and Care Guides – as well as delicious recipes, tips, and to register your product online.
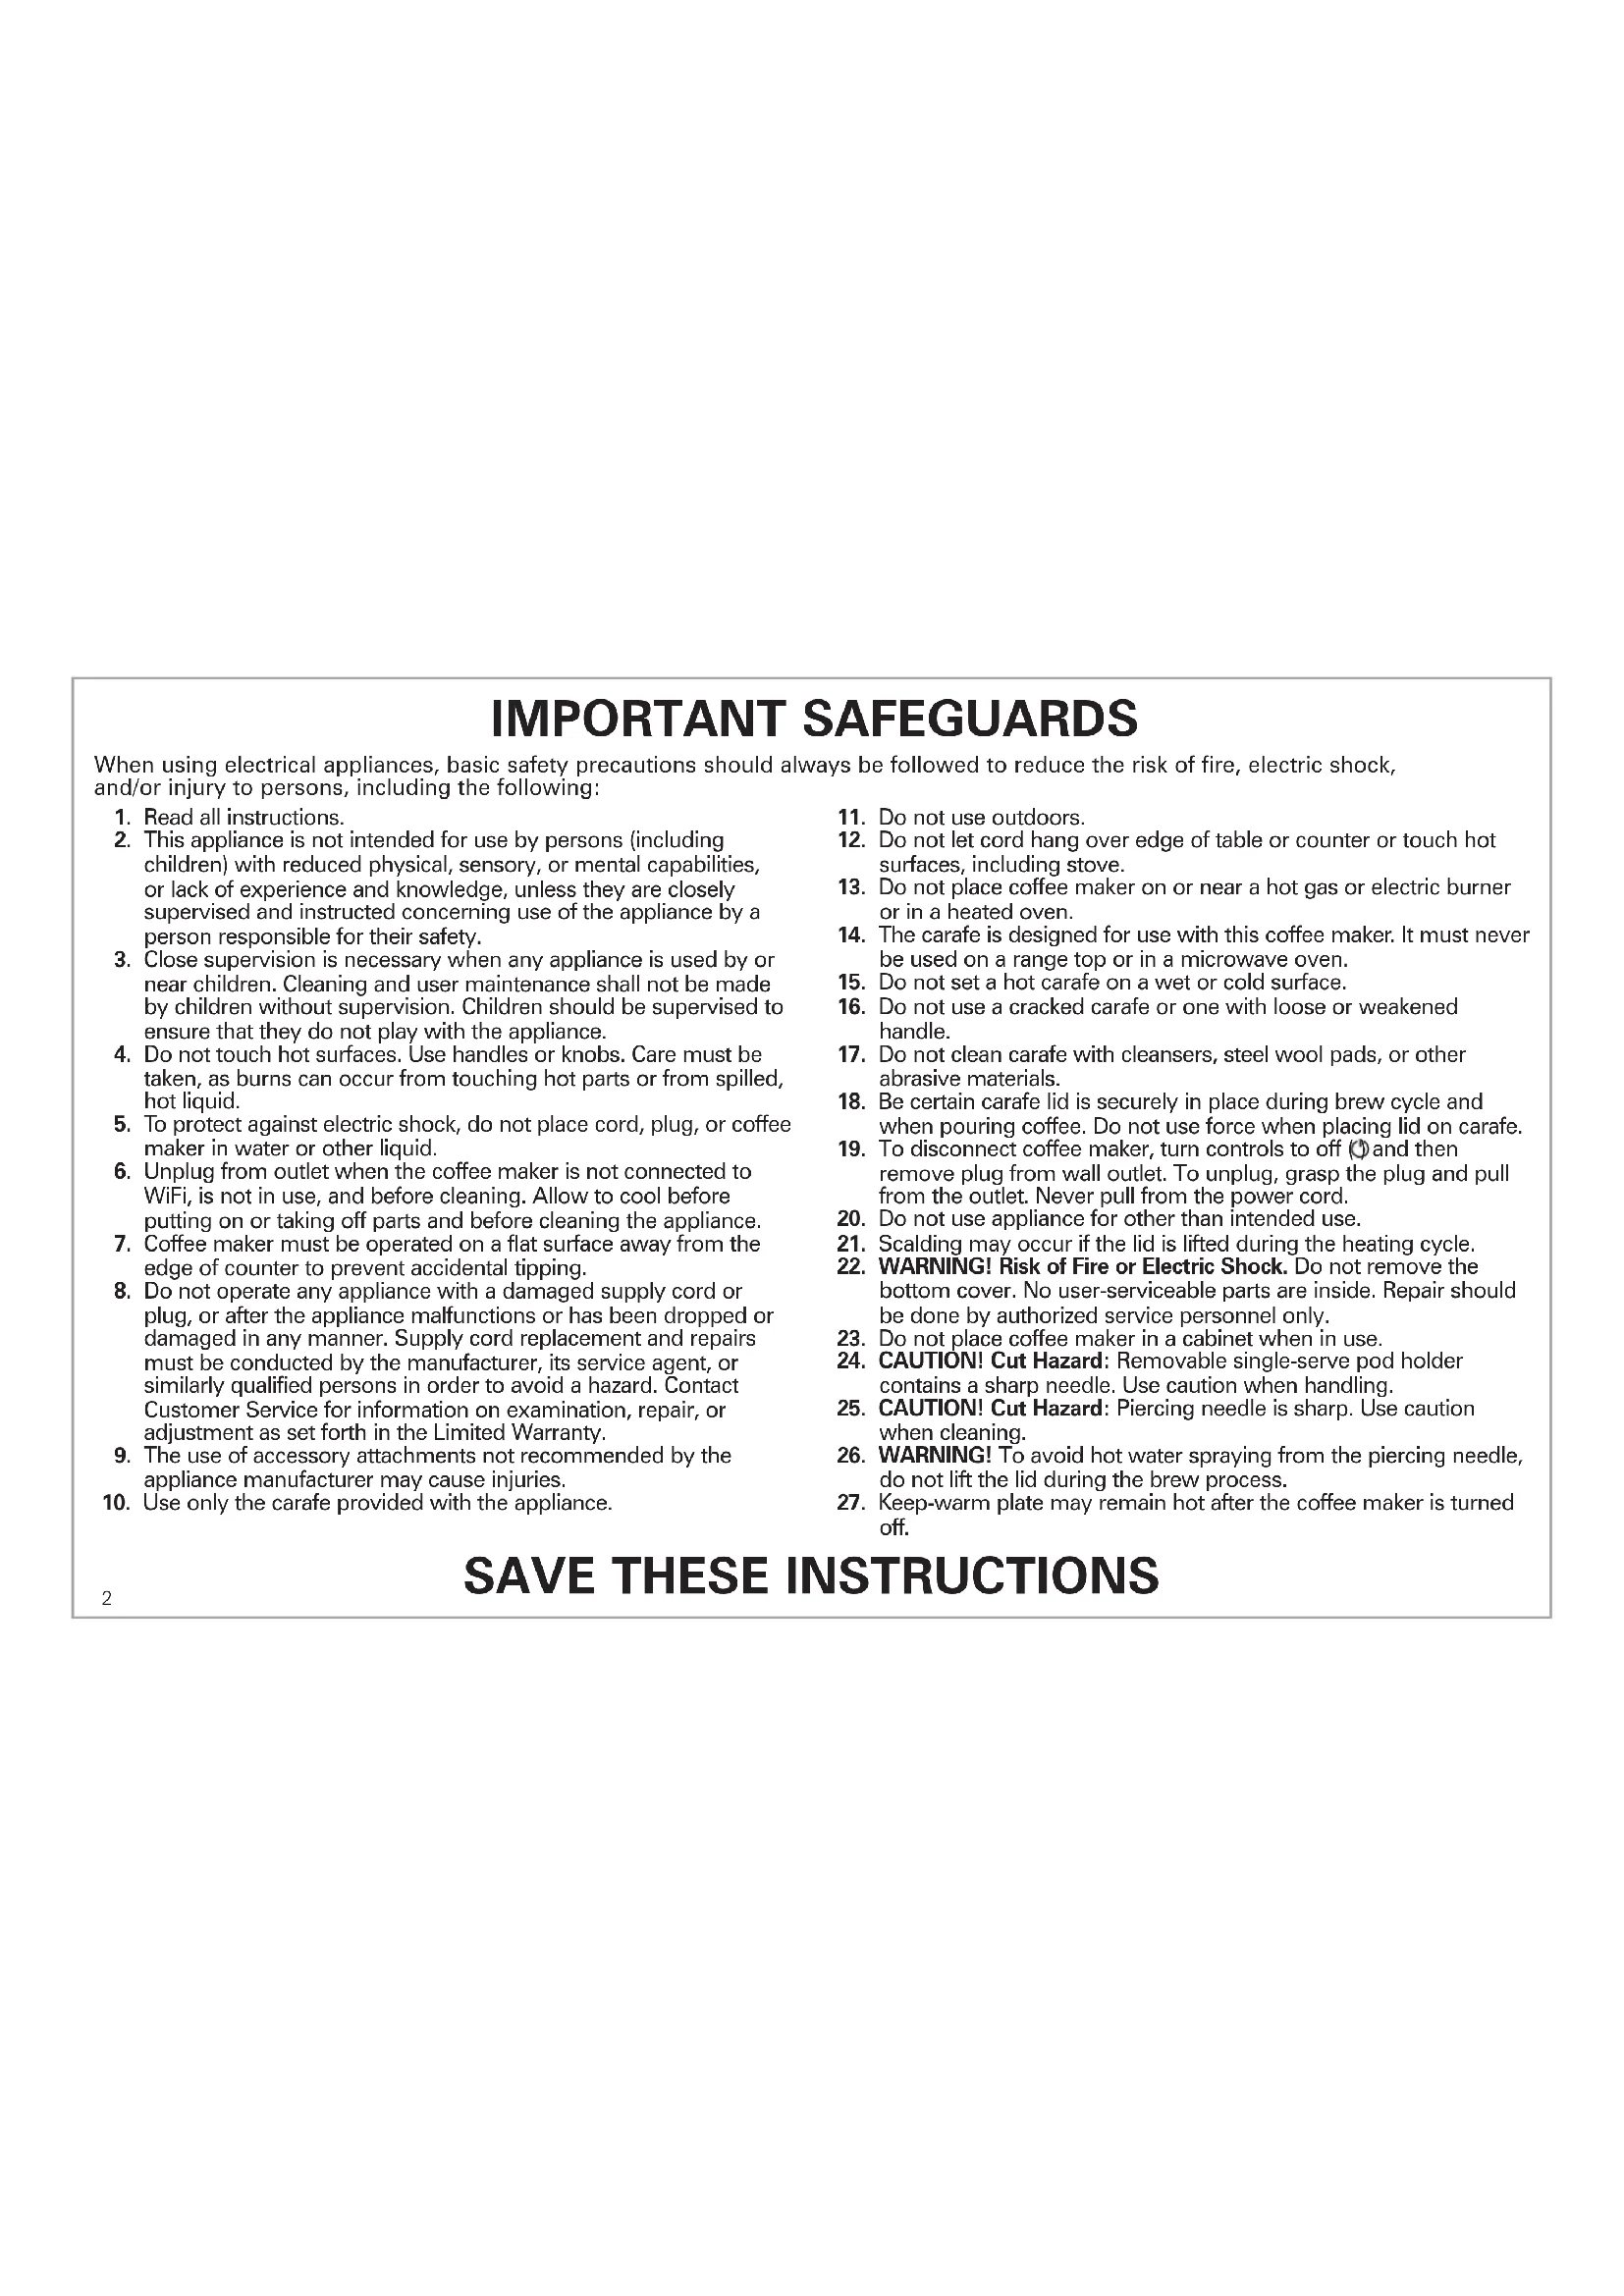
1. Read all instructions.
2. This appliance is not intended for use by persons (including
children) with reduced physical, sensory, or mental capabilities, or lack of experience and knowledge, unless they are closely supervised and instructed concerning use of the appliance by a person responsible for their safety.
3. Close supervision is necessary when any appliance is used by or
near children. Cleaning and user maintenance shall not be made by children without supervision. Children should be supervised to ensure that they do not play with the appliance.
4. Do not touch hot surfaces. Use handles or knobs. Care must be
taken, as burns can occur from touching hot parts or from spilled, hot liquid.
5. To protect against electric shock, do not place cord, plug, or coffee
maker in water or other liquid.
6. Unplug from outlet when the coffee maker is not connected to
WiFi, is not in use, and before cleaning. Allow to cool before putting on or taking off parts and before cleaning the appliance.
7. Coffee maker must be operated on a flat surface away from the
edge of counter to prevent accidental tipping.
8. Do not operate any appliance with a damaged supply cord or
plug, or after the appliance malfunctions or has been dropped or damaged in any manner. Supply cord replacement and repairs must be conducted by the manufacturer, its service agent, or similarly qualified persons in order to avoid a hazard. Contact Customer Service for information on examination, repair, or adjustment as set forth in the Limited Warranty.
9. The use of accessory attachments not recommended by the
appliance manufacturer may cause injuries.
10. Use only the carafe provided with the appliance.
11. Do not use outdoors.
12. Do not let cord hang over edge of table or counter or touch hot
surfaces, including stove.
13. Do not place coffee maker on or near a hot gas or electric burner
or in a heated oven.
14. The carafe is designed for use with this coffee maker. It must never
16. Do not use a cracked carafe or one with loose or weakened
17. Do not clean carafe with cleansers, steel wool pads, or other
18. Be certain carafe lid is securely in place during brew cycle and
when pouring coffee. Do not use force when placing lid on carafe.
19. To disconnect coffee maker, turn controls to off ( ) and then
remove plug from wall outlet. To unplug, grasp the plug and pull from the outlet. Never pull from the power cord.
20. Do not use appliance for other than intended use.
21. Scalding may occur if the lid is lifted during the heating cycle.
22. WARNING! Risk of Fire or Electric Shock. Do not remove the
bottom cover. No user-serviceable parts are inside. Repair should be done by authorized service personnel only.
23. Do not place coffee maker in a cabinet when in use.
24. CAUTION! Cut Hazard: Removable single-serve pod holder
contains a sharp needle. Use caution when handling.
25. CAUTION! Cut Hazard: Piercing needle is sharp. Use caution
26. WARNING! To avoid hot water spraying from the piercing needle,
do not lift the lid during the brew process.
27. Keep-warm plate may remain hot after the coffee maker is turned
off. When using electrical appliances, basic safety precautions should always be followed to reduce the risk of fire, electric shock, and/or injury to persons, including the following:
SAVE THESE INSTRUCTIONS3
Other Consumer Safety Information This appliance is intended for household use only. w WARNING Electrical Shock Hazard: This appliance is provided with a polarized plug (one wide blade) to reduce the risk of electric shock. The plug fits only one way into a polarized outlet. Do not defeat the safety purpose of the plug by modifying the plug in any way or by using an adapter. If the plug does not fit fully into the outlet, reverse the plug. If it still does not fit, have an electrician replace the outlet. The length of the cord used on this appliance was selected to reduce the hazards of becoming tangled in or tripping over a longer cord. If a longer cord is necessary, an approved extension cord may be used. The electrical rating of the extension cord must be equal to or greater than the rating of the appliance. Care must be taken to arrange the extension cord so that it will not drape over the countertop or tabletop where it can be pulled on by children or accidentally tripped over. To avoid an electrical circuit overload, do not use another high-wattage appliance on the same circuit with this appliance. This symbol alerts you to potential danger for personal injury if you fail to read and follow these safety precautions. This symbol reminds you that glass is fragile and can break, which could result in personal injury. This symbol instructs you to read the use and care manual before operating the coffee maker.
- Do not use a cracked Carafe or a Carafe having a loose or weakened handle.
- This Carafe is designed to be used only on the Keep-Warm Plate of your Coffee Maker. Do not use on a gas or electric rangetop, or in a microwave or conventional oven.
- To avoid breakage, handle Carafe with care. Avoid impact. Glass will break as a result of impact. Use care when filling with water to avoid hitting faucet.
- Do not place hot Carafe on cool or wet surface. Allow to cool before washing or adding liquids.
- Do not set empty Carafe on a hot heating surface.
- Do not clean with steel wool pads, abrasive cleanser, or any other materials that may scratch.
- Do not place hands inside Carafe. When handling, be careful if wearing any hand jewelry, especially diamond rings. Jewelry can scratch the glass, which increases possibility of breakage.
- Do not bump, scratch, or boil dry.
- Discard Carafe if it is cracked, scratched, or heated while empty for an extended period of time.
- To avoid accidents, do not pour in the direction of people.
- If stirring in the Carafe, use only wooden, plastic, or rubber utensils. Do not use metal utensils.
- Follow the above safety precautions carefully to avoid serious burn injuries which may result if breakage occurs while Carafe holds heated liquids. Carafe Safety Tips4
Parts and Features To order parts, visit: hamiltonbeach.com/parts Before rst use: Wash all removable parts in hot, soapy water. Rinse and dry. Brew one cycle with water on each side and discard water. 1 Carafe Side Lid
Carafe Water Reservoir (with markings for measuring) 3 Brew Basket 4 Swivel Shower Head 5 Control Panel 6 Carafe (12 cups) 7 Keep-Warm Plate 8 Base
Removable Cup Rest/Storage Container
Removable Single-Serve 56 oz. Water Reservoir with Removable Lid
Removable Single-Serve Brew Basket for Ground Coffee with Hinged Lid and Handle
Gray Removable Single-Serve Pod Holder with Handle
Gray Removable Needle Holder with Black Seal
Control Panel How to Connect
1. Download Alexa App from Apple App Store or Google Play Store.
2. Plug Coffee Maker into outlet.
3. In Alexa App, select devices icon in lower right corner. Next, click the +
icon in top right corner. Select “Coffee Maker” from the list of devices that appears. Then, select Hamilton Beach and the model number. Follow screen instructions to connect to WiFi. NOTE: Setup QR code is located on back of Coffee Maker. Display Icon Function Press to start/stop brew cycle or manually turn Keep Warm mode off. Power Status – White indicator will light when not brewing. Red LED indicator will light when brewing. Press to set up or erase WiFi profile. During QR code setup, WiFi indicator will flash red. During user-guided setup, WiFi indicator will flash pink. When WiFi indicator is solid blue, it is connected to WiFi. When WiFi indicator is dim white, it is not connected to WiFi. When WiFi indicator is alternating red and blue, the WiFi connection has been lost. See “Troubleshooting – WiFi” section on page 11. Press after Coffee Maker is filled with water and coffee to enable remote brew cycle. NOTE: This will lock the chosen brew type (single or carafe). When READY TO BREW is green it indicates a brew can be remote started by Alexa App, voice command, or a routine. When READY TO BREW is white is indicates a remote brew cycle cannot be started. When connected to WiFi, press to turn clock display on/off. When not connected to WiFi, press to set time. WiFi Information How to erase WiFi profile: Press and hold (WiFi) Button for 15 seconds. WiFi LED will quickly flash pink, then turn off, reset and flash red slowly. Or, visit settings page of Alexa App. You may also unregister the Coffee Maker through the app via the Alexa App settings page.
- Supports routers with WEP, WPA, WPA2 802.11 b/g/n.
- WiFi problems? See “Troubleshooting – WiFi” section on page 11. Display Icon Function Press to select regular strength coffee. Press to select bold strength coffee. Press to set brew mode to carafe brew. Press to set brew mode to single serve and to select single-serve cup size (8, 10, 12, or 14 oz). When illuminated indicates brewer is making coffee. When illuminated indicates brewer is keeping carafe coffee warm.6 How to Brew a Single-Serve Pod w WARNING Burn Hazard. If overflow occurs, unplug and allow coffee maker to cool. To avoid hot coffee overflowing:
- Fully insert cup or travel mug on cup rest.
- Do not lift lid during the brewing process.
- Use appropriate sized cup or travel mug for your brew size.
- If brew cycle is stopped early, the coffee must be drained. Return cup or travel mug to cup rest. Press BREW NOW ( ) Button. Failure to drain the cup or travel mug can cause the next cup brewed to overflow. w CAUTION Cut Hazard. Removable single-serve pod holder has a sharp needle. Piercing needle on underside of lid is also sharp. Use caution when handling.
1. Lift up Single-Serve Water Reservoir
and remove Lid. Add water to at least MIN ll line (15 oz. [444 mL]) or MAX ll line (56 oz. [1.65 L]). Add Lid and place Water Reservoir on to Coffee Maker.
2. Plug into outlet.
4. Lift Lid Latch until Lid stays in place.
5. Place Gray Removable Single-Serve Pod Holder in Funnel.
6. Place a pod into Single-Serve Pod Holder. Do not remove foil.
7. Close Lid and snap in place to pierce single-serve pod.
8. Press Regular ( ) or Bold ( ) button for desired brew
9. Use Cup Rest for a cup or mug and
remove Cup Rest for a travel mug.
10. To brew later using Alexa, continue
below with “Brewing with Alexa”.
11. Or, press BREW NOW ( ) Button to
start coffee brewing and BREW NOW will illuminate red.
12. As machine is brewing, Control Panel
will show volume of coffee dispensed.
13. Coffee Maker will shut off automatically
when brewing is complete.
14. Single-Serve Pod Holder should be rinsed after every use.
2. Press READY TO BREW Button and Button will illuminate green.
3. Say to Alexa App, or Echo device, “Alexa, turn on my Coffee
Maker” or turn on Coffee Maker through Alexa App. BREW NOW will illuminate red when brewing has begun.
4. Economy Mode: Customize your brewing experience in Alexa
App or by voice command. To save energy, turn ON economy mode, or OFF for faster, more frequent brews. NOTE: Visit Alexa Phrases section, on page 9, for more commands.7 How to Brew Single-Serve Ground Coffee w CAUTION Cut Hazard. Piercing needle on underside of lid is sharp. Use caution when handling. w WARNING Burn Hazard. If overflow occurs, unplug and allow coffee maker to cool. To avoid hot coffee overflowing:
- Fully insert cup or travel mug on cup rest.
- To avoid overflow, keep ground coffee below MAX fill line.
- Do not lift lid during the brewing process.
- If brew cycle is stopped early, the coffee must be drained. Return cup or travel mug to cup rest. Place a mug on cup rest. Press the BREW NOW ( ) Button. Failure to drain the cup or travel mug can cause the next cup brewed to overflow.
1. Lift up Single-Serve Water Reservoir and
remove Lid. Add water to at least MIN ll line (15 oz. [444 mL]) or MAX ll line (56 oz. [1.65 L]). Add Lid and place Water Reservoir on to Coffee Maker.
2. Plug into outlet.
3. Press Single ( ) Button to select 8, 10,
4. Lift Lid Latch until Lid stays in place.
5. Open Single-Serve Brew Basket Lid;
then place Removable Brew Basket on countertop.
6. Add ground coffee to Removable Single-Serve Brew Basket:
3 tablespoons (15 g) maximum.
7. Close Brew Basket Lid. Place Brew Basket in Funnel.
8. Close Lid and snap in place to latch Lid closed.
9. Press Regular ( ) or Bold ( )
button for desired brew strength.
10. Use Cup Rest for a cup/mug, or remove
Cup Rest for a travel mug.
11. To brew later using Alexa, continue
below with “Brewing with Alexa”.
12. Or, press BREW NOW ( ) Button to start
coffee brewing and BREW NOW will illuminate red.
13. As machine is brewing, Control Panel
will show volume of coffee dispensed.
14. Coffee Maker will shut off automatically when brewing is
15. Single-Serve Brew Basket should be rinsed after every use.
2. Press READY TO BREW Button and Button will illuminate green.
3. Say to Alexa App, or Echo device, “Alexa, turn on my Coffee
Maker” or turn on Coffee Maker through Alexa App. BREW NOW will illuminate red when brewing has begun.
4. Economy Mode: Customize your brewing experience in Alexa
App or by voice command. To save energy, turn ON economy mode, or OFF for faster, more frequent brews. NOTE: Visit Alexa Phrases section, on page 9, for more commands.8 How to Brew a Carafe
1. Plug into outlet.
2. Lift Lid. Rotate Swivel Shower Head
over Carafe Water Reservoir and remove Brew Basket.
3. Place a basket-style paper filter in Brew
4. For each cup of coffee, place 1
tablespoon (5 g) of coffee into filter. Maximum capacity is 60 g for up to 12 cups.
5. Fill Carafe with up to 12 cups of cold
water and pour into Carafe Water Reservoir. Place Lid on Carafe.
6. Place Carafe on Base.
7. Place Brew Basket into holder and
lower Lid. Shower Head will go back into place when Lid is lowered.
button for desired brew strength. w WARNING Burn Hazard. If filter basket overflow occurs, unplug coffee maker and allow coffee in filter basket to cool before removing filter basket. To avoid hot coffee overflowing:
- When using decaffeinated coffee, do not exceed the coffee manufacturer’s recommended serving amount. Use only the carafe supplied with your unit or its exact replacement.
10. To brew later using Alexa, continue below with “Brewing with
11. Or, press BREW NOW ( ) Button to start coffee brewing and
BREW NOW will illuminate red. When brew cycle is complete, Coffee Maker will automatically shut off after selected Keep Warm time.
12. Brew Basket and Carafe should be rinsed after every use.
2. Press READY TO BREW Button and Button will illuminate green.
3. Say to Alexa App, or Echo device, “Alexa, turn on my Coffee
Maker” or turn on Coffee Maker through Alexa App. BREW NOW will illuminate red when brewing has begun. NOTES:
- Visit Alexa Phrases section, on page 9, for more commands.
- Bold ( ) mode will require additional time to complete a brewing cycle.
- Coffee Maker remembers last brew strength selected. If unplugged, Coffee Maker defaults to Regular ( ).
- Keep Warm mode: Customize Keep Warm time in Alexa App or by voice command. Select from 1, 2, 3, or 4 hours to keep coffee warm (default 2 hours). Pause and Serve: To serve coffee during brewing cycle, remove Carafe and pour a cup. By removing Carafe, flow of coffee from bottom of Filter Basket will stop. w CAUTION Burn Hazard. The carafe must be replaced within 20 seconds of being removed to prevent overflow.9 Notes and Tips
- If Single-Serve Lid is opened after BREW NOW ( ) Button was pressed, discard contents of cup or travel mug. Discard used pod. Add new pod and press BREW NOW ( ) Button to restart brewing cycle.
- Use only cold water in Reservoir. Do not use hot water.
- Do not reheat coffee in machine.
- Do not use creamer or nondairy creamer in Reservoir.
- After brewing hot cocoa single-serve pods, immediately brew a water-only cycle without a single-serve pod to avoid possibility of clogging Piercing Needle.
- Press BREW NOW ( ) Button again to stop brewing midcycle.
- If CLOSE LId scrolls on Control Panel, Lid is not closed. Lower Lid until it clicks to lock. Press BREW NOW ( ) Button.
- Do not brew coffee without Removable Needle Holder locked into place.
- Do not use hot cocoa powder or mix in Brew Basket. For Best-Tasting Coffee
- All coffees are made from either arabica beans or robusta beans, or some combination of both. Arabica beans are slightly more expensive, but tend to produce better-tasting coffee.
- Ground coffee will become stale much faster than whole beans. If buying preground coffee, choose a package with latest expiration date or a smaller quantity.
- If grinding whole beans, set your coffee grinder on a fine/medium grind. This will yield best-tasting grounds. Try to use freshly ground coffee within about a week of grinding.
- Using a water filter, filtered water, or bottled water will yield better-tasting coffee than tap water.
- Use approximately 1 tablespoon (5 g) of grounds for each cup of coffee being made. To avoid overflow, use slightly less grounds (3/4 tablespoon [4 g]) when brewing finely ground coffee, decaf, or flavored coffees.
- Make sure your Coffee Maker is clean. See “Care and Cleaning” section. Alexa Phrases READY TO BREW must be green to use any “on” phrase. To start brewing Alexa, turn on Coffee Maker. Alexa, turn Coffee Maker on. To turn off Alexa, turn off Coffee Maker. Alexa, turn Coffee Maker off. To find out if coffee is ready or brewing Alexa, what is Coffee Maker brew status? Alexa, what is Coffee Maker brew format? To find out how long has it been since coffee was brewed Alexa, what is Coffee Maker time since brew? Alexa, what is Coffee Maker coffee freshness? To find out or change brew strength Alexa, what is Coffee Maker brew strength? Alexa, set Coffee Maker brew strength to regular (bold). Alexa, set Coffee Maker to regular (bold). To find out or change Economy Mode Alexa, is Coffee Maker Economy mode set to on (off)? Alexa, set Coffee Maker Economy mode to on (off). To find out or change Keep Warm Alexa, what is Coffee Maker Keep Warm? Alexa, set Coffee Maker Keep Warm to 1 (2, 3, or 4) hour(s). To check if cleaning is required Alexa, is Coffee Maker cleaning required? Troubleshooting Alexa Phrases
- Speak clearly when using Alexa phrases.
- Alexa may hear differently than intended due to a noisy environment or the location of Echo or Dot within room.
- Changing name of the Coffee Maker can cause Alexa difficulties in understanding phrases. Example: Alexa does not like names that are combination words; instead of “Coffeemaker” use “Coffee Maker”, or instead of “Java1” use “Java One”. Alexa may also have issues with common names, as she may think you’re interested in an internet search.
- If “Coffee Maker” name is changed then replace “Coffee Maker” with new name when using Alexa Phrases.
- Occasionally, there maybe a short pause in Alexa capability due to system maintenance.10 Care and Cleaning w WARNING Electrical Shock Hazard. Do not immerse cord, plug, or coffee maker in any liquid. w WARNING Burn Hazard. Failure to allow coffee maker to cool down may cause hot water or coffee to spray from the piercing needle. Use caution when cleaning. w CAUTION Cut Hazard. Removable single-serve pod holder has a sharp needle. Piercing needle on underside of lid also is sharp. Use caution when handling. To Clean Carafe Side:
1. Plug into outlet.
BREW NOW ( ) Button again to stop brewing and allow vinegar to clean. After 30 minutes, press BREW NOW ( ) Button and allow it to finish brew cycle. When brew cycle is finished, empty Carafe and rinse. Run 2-3 additional cycles, using cold tap water. Carafe side is cleaned and ready to brew coffee. To Clean Single-Serve Side:
1. Remove Single-Serve Water Reservoir and discard water.
Add 1 cup (273 mL) plain vinegar to Reservoir and return to place.
2. Plug into outlet.
3. Press Single ( ) Button to select 8 oz.
4. Place a 10 oz (295 mL) or larger mug on Removable Cup Rest.
again to stop brewing and allow vinegar to clean.
7. After 30 minutes, press BREW NOW ( ) Button and allow it to
8. Empty Reservoir and fill with cold water; run 2-3 additional
cycles. Unit is cleaned and ready to brew coffee. General Cleaning
1. Unplug and allow to cool.
2. Hand wash all removable parts in hot, soapy water. Rinse
and dry or wash in top rack only of dishwasher. DO NOT use “SANITIZE” setting when washing in dishwasher. “SANITIZE” cycle temperatures could damage your product.
3. Wipe outside of Coffee Maker with a soft damp cloth.
1. Unplug and allow to cool.
2. Remove Gray Removable Needle Holder
in Lid by turning counterclockwise from locked icon ( ) to unlocked icon ( ).
3. Bend a small paper clip. Insert tip of
paper clip through hole of Piercing Needle and up into shaft of Piercing Needle, then hold under running water to ensure grounds have been removed.
4. To replace Gray Removable Needle
Holder, insert tab between lock icon ( ) and unlock icon ( ) and turn clockwise to lock. All coffee makers should be cleaned at least once a month (once a week for areas with hard water). Routine Cleaning11 Troubleshooting – WiFi WiFi indicator is flashing red and blue.
- Loss of power. Wait a few minutes and your Coffee Maker will automatically reconnect to internet.
- Name or password to WiFi access changed. Reconnect with QR code or user-guided internet setup.
- Loss of internet service. Contact your ISP to verify any reported outages. WiFi indicator is not solid blue.
- Coffee Maker is not connected to internet. Reconnect Coffee Maker to internet with QR code or user-guided internet setup. QR code internet setup (preferred setup)
1. Before starting, have name and password to your WiFi access in
2. Plug in Coffee Maker and perform a factory reset (see Factory
3. Make sure Alexa App is on your device (download from Apple
App Store or Google Play Store).
4. In Alexa App, select devices icon along bottom.
5. Next, click the + icon in top right corner.
6. Choose “Add Device”, then select “Coffee Maker” from list of
devices that appear.
7. Select “Hamilton Beach,” then select your model.
8. Allow Alexa App to use Bluetooth and camera so you can scan
QR code on back of Coffee Maker, then review privacy policy and terms of use and tap “Next”.
9. Make sure WiFi indicator is flashing red. Follow instructions on
App to connect Coffee Maker.
10. When finished, WiFi indicator should be solid blue.
NOTE: For your security, you have 5 minutes to complete setup process before Coffee Maker turns off WiFi access. If WiFi indicator stops flashing red, unplug and plug back in to restart 5-minute setup timer again. Alternative user-guided internet setup If QR code is missing from back of Coffee Maker or is damaged, follow these steps.
1. Complete steps 1-8 from QR code internet setup.
2. On Alexa App page called “Locate the QR code for your Hamilton
Beach Coffee Maker”, select “Don’t have a barcode.”
3. On Coffee Maker, press and hold WiFi Button for 3 seconds until
Button flashes pink.
4. Then press “Next” in App and follow remaining instructions.
5. When finished, WiFi indicator should be solid blue.
1. While plugged in, press and hold (WiFi) Button for 15 seconds.
WiFi indicator will flash pink before turning off.
2. Release WiFi Button and after 5 seconds, Button will slowly flash
red. Then restart QR code or user-guided setup. NOTE: Factory Reset will erase your internet connection information. Close and reopen Alexa App to confirm deletion of Coffee Maker.12 Troubleshooting – Single-Serve Side Coffee Maker will not brew/coffee not dispensing.
- Piercing Needle may be clogged. Always remove Gray Removable Needle Holder. Clean Piercing Needle in Lid of Coffee Maker as shown on page 10, or visit hamiltonbeach.com.
- Mineral deposits have formed. Clean Coffee Maker following directions in Care and Cleaning section.
- Too little water. Need 15 oz. (444 mL) or more. Coffee tastes bad.
- Too much water was added or too much or too little ground coffee was added. Change ratio of water to coffee grounds or use less water with coffee pods.
- Poor coffee quality and freshness.
- Poor water quality. Use filtered or bottled water.
- Soft water causes poor coffee extraction, which leads to poor tasting coffee. Use filtered, spring, or bottled water. Coffee sediment in cup.
- Try a coarser grind of coffee, or add a #1 paper cone coffee filter to Removable Brew Basket. Make sure hinged Lid is closed on Removable Brew Basket. Water on counter under unit.
- Overfilled Water Reservoir. Do not add more than 56 oz. (1.65 L) of water. Some mugs/cups do not pour cleanly and can dribble water down side of cup and onto counter. Bubbles in Reservoir indicate high pressure. One of the following occurred.
- Lid opened during brew or after FIL H2O error. Don’t open Lid during brewing and keep Lid closed for 1 minute after FIL H2O error.
- Needle clogged. Follow “Clogged Needle” instructions on page 10, or visit hamiltonbeach.com.
- Brew Basket loaded with too much fine grind coffee. Use a lesser amount of ground coffee. 3 tablespoons (15 g) is maximum amount of grounds to brew. Control Panel notifications.
- CLOSE LId: Coffee Maker Lid is not closed properly. Push Lid down to lock into place.
- NEEDLE: Needle is clogged or Brew Basket is overloaded. Do not fill Brew Basket above MAX fill line. Always remove Gray Removable Needle Holder and follow “Clogged Needle” instructions on page 10, or visit hamiltonbeach.com for video cleaning instructions.
- FIL H2O: Not enough water. Add water to Single-Serve Water Reservoir and press BREW NOW ( ) Button to clear Control Panel. Press BREW NOW ( ) Button to restart brew cycle. Coffee overflows from Brew Basket.
- Use Removable Brew Basket with Lid for ground coffee.
- Use less ground coffee. 3 tablespoons (15 g) is maximum amount of grounds to brew.
- When using whole bean coffee, a standard automatic drip coffee grind will yield best results. Be careful not to overgrind, since very finely ground coffee can cause overflow.
- Black Seal around Needle in Removable Needle Holder is missing. Carefully place seal around needle and push until in place. Coffee overflows from travel mug or regular mug.
- Empty mug after manually stopping brew cycle. Press BREW NOW ( ) Button to start a new brewing cycle. Single-serve pod bursts.
- There is variability in single-serve pod manufacturing process which causes some types of single-serve pods to be weaker at seams so foil seal fails. Try a different brand.
- If you are using softened water or live in an area where your tap water is naturally soft, this can cause single serve pod issues and filter basket overflows. Use filtered, spring, or bottled water.13 Longer than normal brew time.
- Bold ( ) brewing cycle takes longer to brew to produce a rich, full bodied cup of coffee.
- Mineral deposits can build up in pump of your Coffee Maker. Periodic cleaning of inside of unit is recommended. More frequent cleaning may be necessary, depending on hardness of your water. See “Care and Cleaning” section. NOTE: Do not disassemble unit. Brew Basket overflows or coffee brews slowly.
- Excessive amounts of ground coffee.
- Decaffeinated and/or coffee ground too finely can cause overflow. Use slightly less grounds when brewing decaffeinated, flavored, or finely ground coffee. Or use medium ground coffee.
- Coffee Maker needs cleaning. See Care and Cleaning on page 10.
- Do not use soft water. Use filtered, spring, or bottled water. If using a paper filter:
- Coffee grounds between paper filter and Brew Basket.
- Paper filter not open and in proper position.
- Rinse Brew Basket before inserting paper filter so edges will remain pressed against sides of Basket.
- Poor-quality paper filter. Coffee leaks onto base.
- Carafe removed from Base for more than 20 seconds during brewing cycle. Coffee tastes bad.
- Coffee Maker needs cleaning. See Care and Cleaning on page 10.
- Coffee ground too coarsely or too finely. Use medium ground coffee.
- Coffee-to-water ratio unbalanced. Adjust for personal preference.
- Poor coffee quality and freshness.
- Poor water quality. Use filtered or bottled water.
- Soft water causes poor coffee extraction, which leads to poor tasting coffee. Use filtered, spring or bottle water. Coffee sediment in cup.
- Use a high-quality, basket-style paper filter. Coffee not brewing or unit will not turn on.
- Carafe not positioned on Base.
- Water Reservoir is empty.
- Power surge. Unplug; then plug unit back in.
- Clock requires reset after power outage.
- BREW NOW ( ) Button was not pressed. Press BREW NOW ( ) Button.
- When using Alexa, ensure READY TO BREW Button has been pressed and indicator has changed from white to green. Troubleshooting – Carafe Side14 This device complies with Part 15 of the FCC Rules. Operation is subject to the following two conditions: (1) this device may not cause harmful interference, and (2) this device must accept any interference received, including interference that may cause undesired operation. NOTE: This equipment has been tested and found to comply with the limits for a Class B digital device, pursuant to part 15 of the FCC Rules. These limits are designed to provide reasonable protection against harmful interference in a residential installation. This equipment generates, uses and can radiate radio frequency, energy and, if not installed and used in accordance with the instructions, may cause harmful interference to radio communications. However, there is no guarantee that interference will not occur in a particular installation. If this equipment does cause harmful interference to radio or television reception which can be determined by turning the equipment off and on, the user is encouraged to try to correct the interference by one or more of the following measures:
- Reorient or relocate the receiving antenna.
- Increase the separation between the equipment and receiver.
- Connect the equipment into an outlet on a circuit different from that to which the receiver is connected.
- Consult the dealer or an experienced radio/TV technician for help. Changes or modications not expressly approved by the manufacturer could void your authority to operate the equipment. Hamilton Beach Brands, Inc. 4421 Waterfront Drive Glen Allen, VA 23060
This warranty applies to products purchased and used in the U.S. and Canada. This is the only express warranty for this product and is in lieu of any other warranty or condition. This product is warranted to be free from defects in material and workmanship for a period of five (5) years from the date of original purchase in Canada and one (1) year from the date of original purchase in the U.S. During this period, your exclusive remedy is replacement of this product or any component found to be defective, at our option; however, you are responsible for all costs associated with our returning a product or component under this warranty to you. If the product or component is unavailable, we will replace with a similar one of equal or greater value. This warranty does not cover glass, filters, wear from normal use, use not in conformity with the printed directions, or damage to the product resulting from accident, alteration, abuse, or misuse. This warranty extends only to the original consumer purchaser or gift recipient. Keep the original sales receipt, as proof of purchase is required to make a warranty claim. This warranty is void if the product is used for other than single-family household use or subjected to any voltage and waveform other than as specified on the rating label (e.g., 120V ~ 60 Hz). We exclude all claims for special, incidental, and consequential damages caused by breach of express or implied warranty. All liability is limited to the amount of the purchase price. Every implied warranty, including any statutory warranty or condition of merchantability or fitness for a particular purpose, is disclaimed except to the extent prohibited by law, in which case such warranty or condition is limited to the duration of this written warranty. This warranty gives you specific legal rights. You may have other legal rights that vary depending on where you live. Some states or provinces do not allow limitations on implied warranties or special, incidental, or consequential damages, so the foregoing limitations may not apply to you. To make warranty claim, do not return this appliance to the store. Please write Hamilton Beach Brands, Inc., Customer Service Department, 4421 Waterfront Dr., Glen Allen, VA 23060, or visit hamiltonbeach.com/customer-service in the U.S. or hamiltonbeach.ca/ customer-service in Canada. For faster service, locate the model, type, and series numbers on your appliance. Limited Warranty16