
AC10 - Battery charger Nitecore - Free user manual and instructions
Find the device manual for free AC10 Nitecore in PDF.
| Product type | Portable air conditioner |
| Brand | Nitecore |
| Model | AC10 |
| Power supply | AC adapter, compatible with NITECORE power stations |
| Main functions | Cooling, ventilation, sleep mode |
| Temperature range | 16°C to 30°C |
| Air speeds | Low, Medium, High |
| Modes | Cooling (snowflake icon), Sleep (fan only) |
| Installation | 3 configurations: tent with exhaust, external air intake, external blow |
| Included accessories | Hose connectors (hot and cold air), hoses (x2), drain hose, AC adapter, mounting screws |
| Maintenance | Clean exterior with damp cloth; removable filters rinse with water and dry |
| Safety precautions | Use by adults only; do not cover outlets; unplug if not in use; do not use in humid environment |
| Warranty | 12 months, free repair; exchange within 15 days through distributor |
| Certifications | Recommended with NITECORE safety-certified power stations |
| Compatibility | AC power or external power station |
| Materials | Plastic parts, avoid sun exposure and harsh products |
Frequently Asked Questions - AC10 Nitecore
User questions about AC10 Nitecore
0 question about this device. Answer the ones you know or ask your own.
Ask a new question about this device
Download the instructions for your Battery charger in PDF format for free! Find your manual AC10 - Nitecore and take your electronic device back in hand. On this page are published all the documents necessary for the use of your device. AC10 by Nitecore.
USER MANUAL AC10 Nitecore
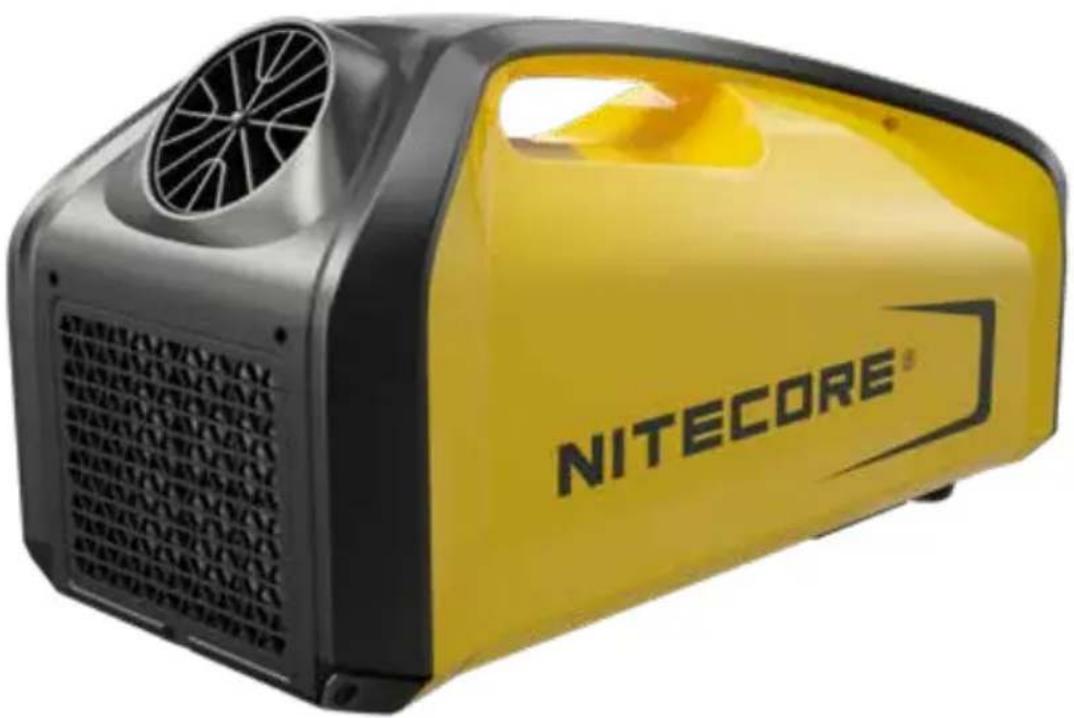
Portable Outdoor Air Conditioner
User Manual
Caution
Please place the AC10 flat for more than 30 minutes before the first usage, or after long distance or bumpy transportation.
Contents
English 2
Francais 6
Espanol 10
Pycckn 14
简体中文 18
Features
Applicable to lower the outlet air temperature with a dual hose system in 10 minutes
3 adjustable cooling speed
- Equipped with the real-time display to monitor temperatures directly
- Constructed from lightweight ABS and PC materials
- Installation free, breaking loose from the space
Technical Specifications
| Rated Voltage 24V DC | |
| Rated Current 12.5A | |
| Cooling Power 2550 BTU | |
| Refrigerant R134A | |
| IP Rating IPX4 | |
| Sound Level ≤50 dB | |
| Operation Temperature 3-42°C | |
| Dimensions | 583mm × 314mm × 260mm / 23.0" × 12.4" × 10.2" |
| Weight 10kg (22 lbs) | |
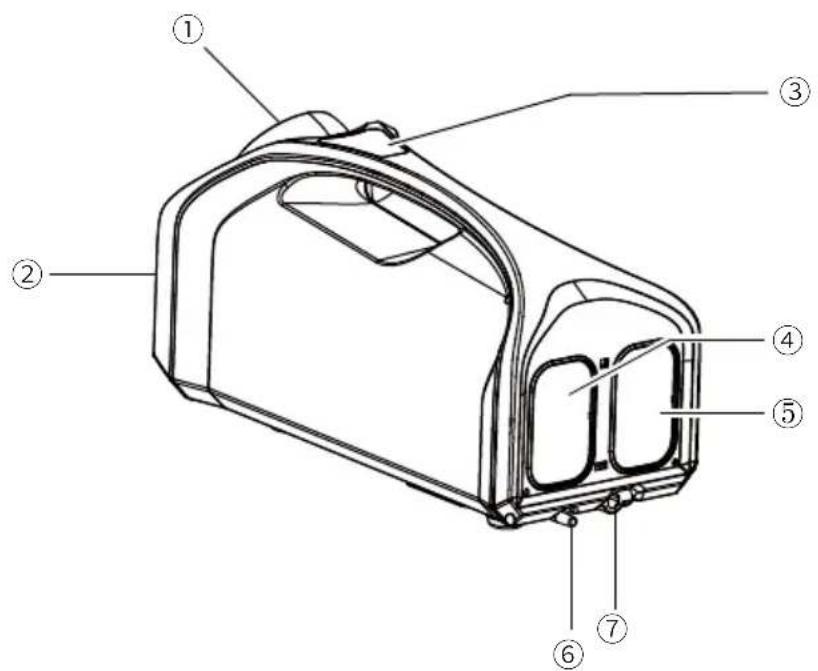
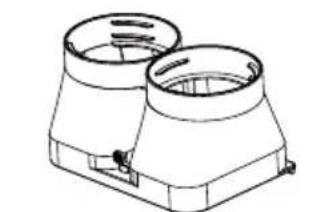
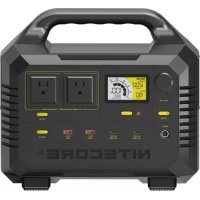
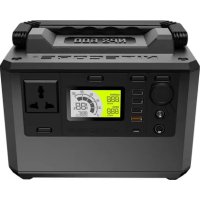
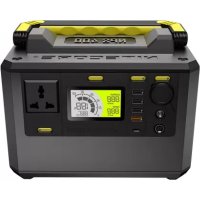
① Cooling Air Outlet
⑤ Hot Air Outlet
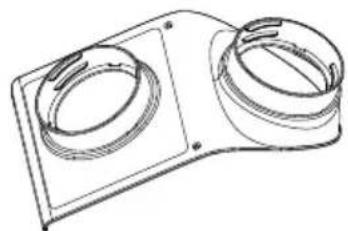
② Evaporator Inlet
⑥ Drain
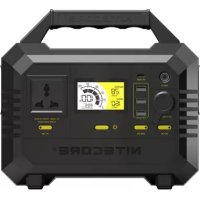
③ Operation Panel
⑦ Power Input
④ Condenser Air Inlet
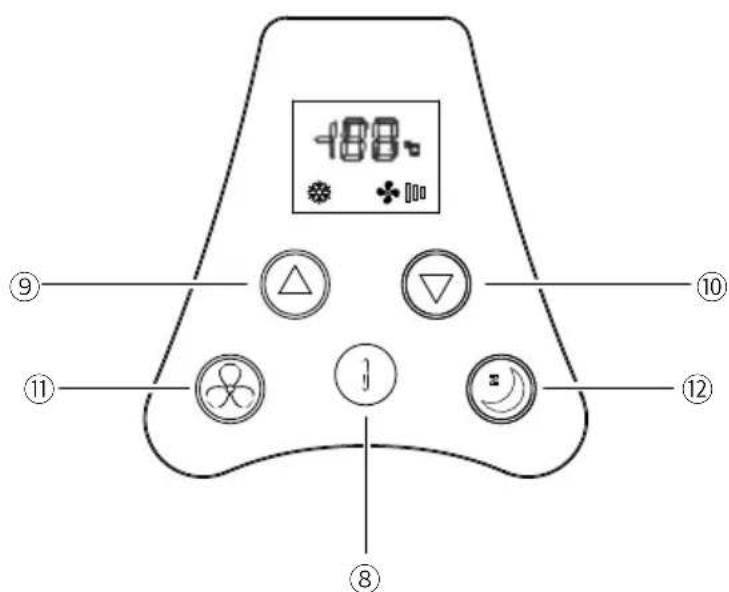
⑧ Power Button
⑪ Wind Speed Button
⑨ "+" Temperature Button
⑫ Sleep Mode Button
10 "-Temperature Button
(English) User Manual
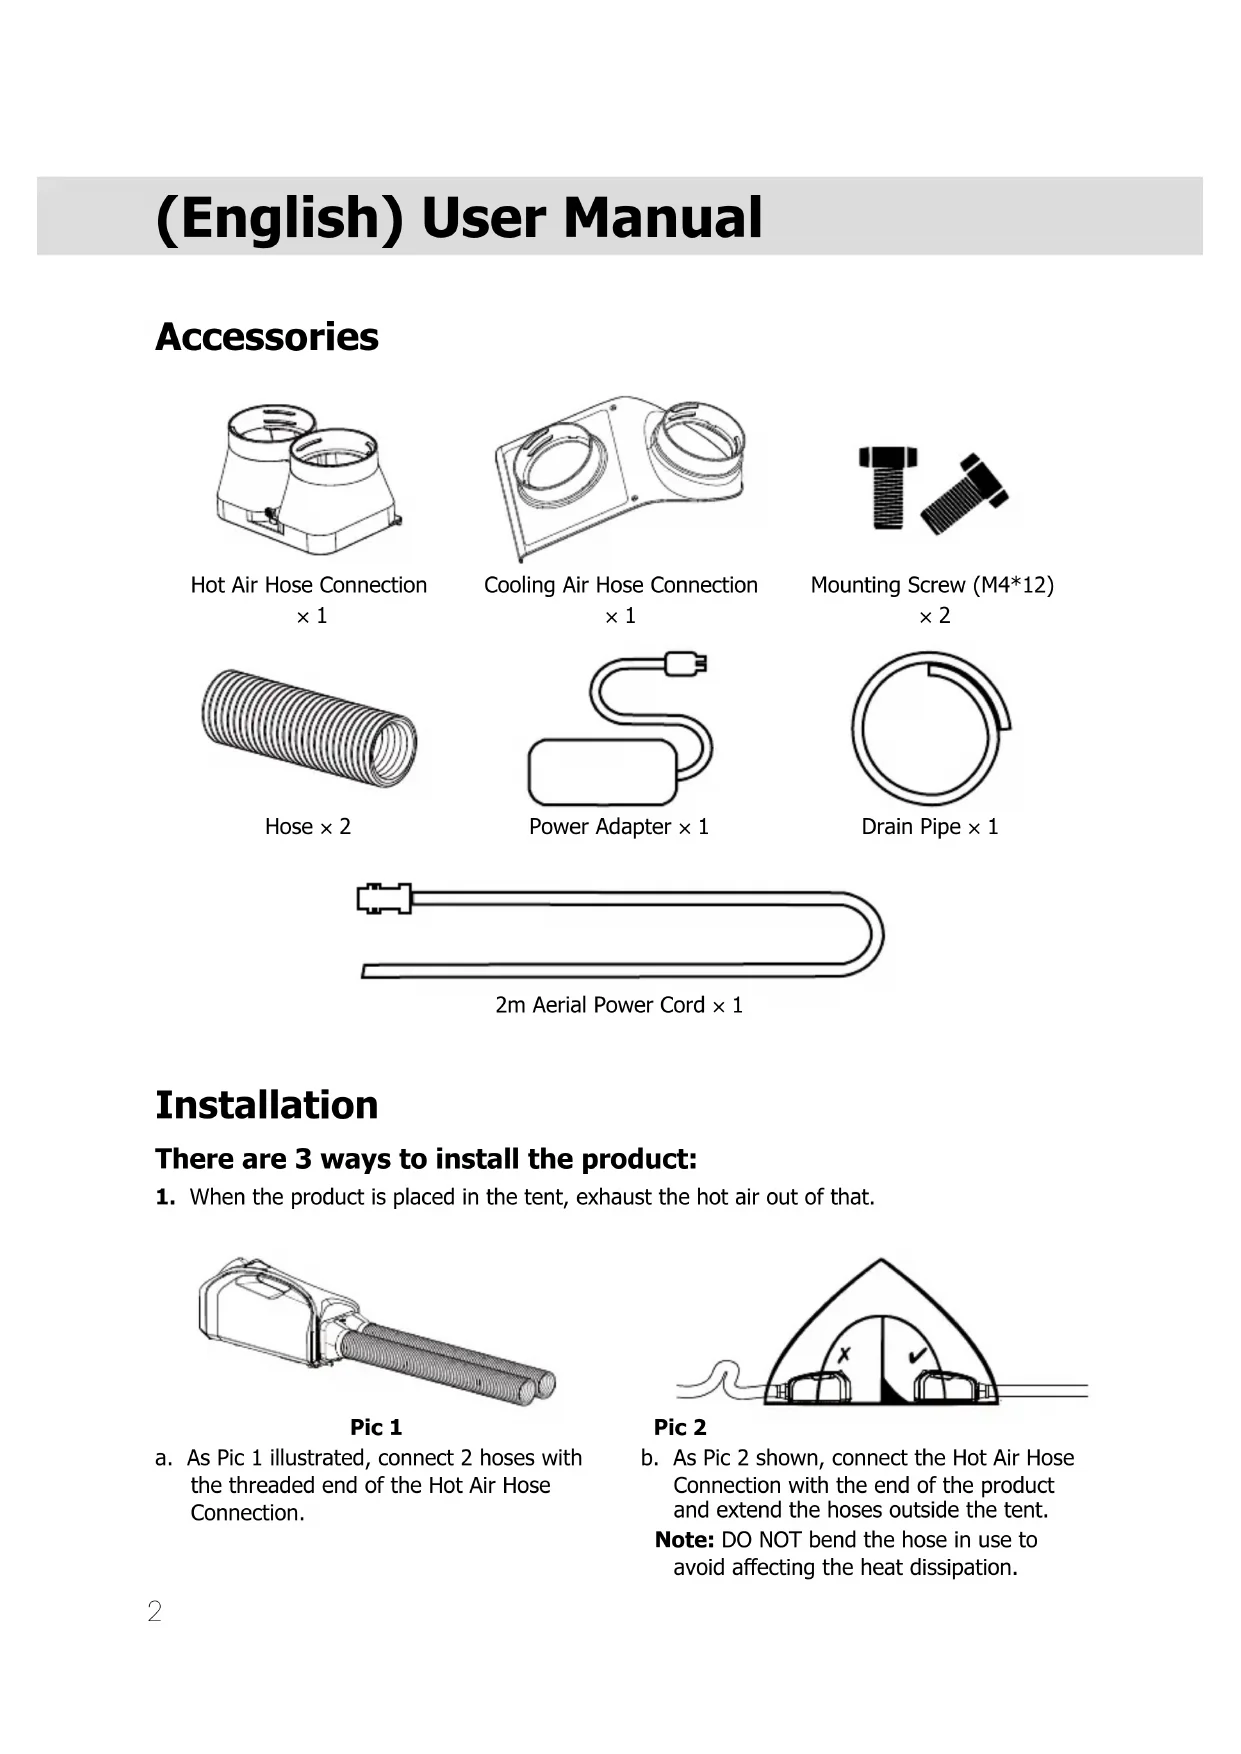
Accessories
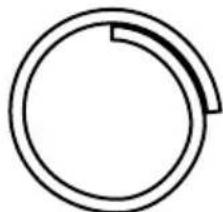
Hot Air Hose Connection × 1
Cooling Air Hose Connection × 1
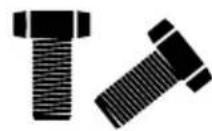
Mounting Screw (M4*12) × 2
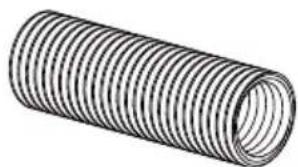
Hose × 2
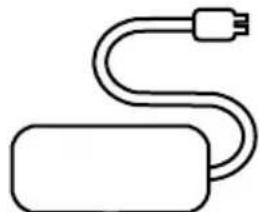
Power Adapter × 1
Drain Pipe × 1

2m Aerial Power Cord × 1
Installation
There are 3 ways to install the product:
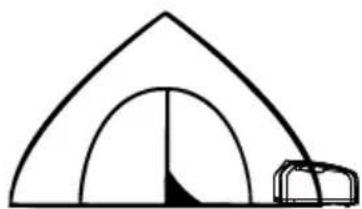
- When the product is placed in the tent, exhaust the hot air out of that.
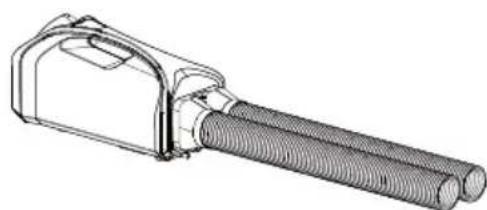
Pic 1
a. As Pic 1 illustrated, connect 2 hoses with the threaded end of the Hot Air Hose Connection.
Pic 2
b. As Pic 2 shown, connect the Hot Air Hose Connection with the end of the product and extend the hoses outside the tent.
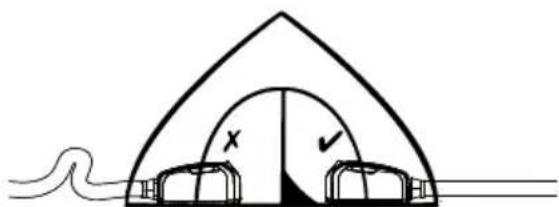
Note: DO NOT bend the hose in use to avoid affecting the heat dissipation.
Pic 3
- When the Cooling Air Outlet is placed in the tent, place the Condenser Air Inlet and the Hot Air Outlet outside as Pic 3 illustrated.
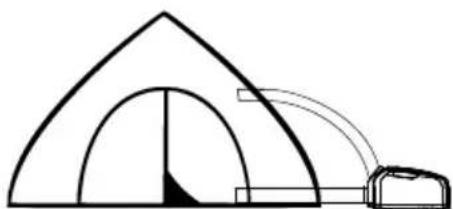
Pic 4
- When the product is placed outside the tent, the cooling air should be blown into that as Pic 4 shown.
Screw the Cooling Air Connection to the front end of the product and connect two hoses with the threaded end of the Cooling Air Hose Connection. Then the cooling air should be blown into the tent.
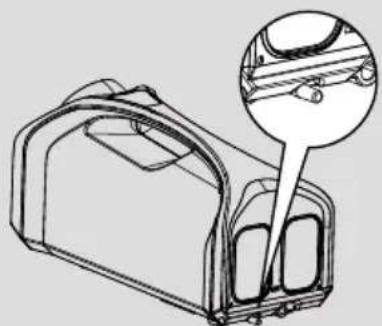
Drain Pipe Installation:
Connect the Drain Pipe with the Drain and place the other end outside to avoid bending and clogging.
Note: Place the product in a flat and ventilated area and make sure there is no obstruction around it at least 50cm (20"). Keep the Drain Pipe in a straight line and DO NOT extend the hose or exchange different hoses, or the product may be damaged.
Power Connection
Use the Power Adapter to connect an external power supply (e.g. an AC power supply or power station) to the Power Input. The real-time display will flash to inform the user after the connection is completed.
Operating Instructions
On / Off
On: When the product is off, short press the Power Button to turn it on.
Off: When the product is on, long press the Power Button for 3 seconds to turn it off.
Temperature Adjustment
Short press "+" Temperature Button / "-" Temperature Button to control the temperature from 16^ to 30^ . If there is no operation in adjustment, the product will automatically exit the setting status after the real-time display flashes for 5 seconds.
Wind Speed Adjustment
Short press the Wind Speed Button to cycle through the following levels: LOW - MID - HIGH.
Mode Selection
- Long press the Sleep Mode Button for 3 seconds to switch between the Cooling Mode and Sleep Mode.
- The Snowflake Icon will be turned on if the product accesses the Cooling Mode. This mode is ideal for daily use.
The Snowflake Icon will be turned off if the product accesses the Sleep Mode. Once the Sleep Mode is on, only the built-in fan runs continuously with minimal noise, suitable for sleeping.
- When the product is reactivated, it will automatically access its previous mode
Maintenance
Cleaning Guidance:
- Please wipe the exterior of the product with a moistened cloth. If the dirt cannot be wiped up, clean it with a mild detergent followed by wiping again with a clean cloth.
- The air filters of the Evaporator Inlet and Condenser Air Inlet are detachable. Rinse them with water and reinstall them after fully dry.
Plastic Parts Maintenance:
- Please operate the product properly to avoid the oil stain and deforming. DO NOT expose the product to the sun and it is recommended to use it in the shade.
- DO NOT directly rinse the product with water to avoid degradation of the electrical insulation performance of the internal circuit and rust of the internal parts. The following items are prohibited to clean the product, avoiding damage to the coating and plastic parts: hot water, brush, gasoline, alcohol and soap.
Warnings
- The product is only to be used by adults above 18 years old. Children under this age must be supervised by an adult when using the product.
- Please place the product in ventilated areas. DO NOT use the product in a moist environment.
- DO NOT touch the plug or other parts with wet hands.
- DO NOT operate the product if the power cord or plug is damaged.
- DO NOT operate the product that has been hit, damaged, placed outside for a long time or dropped into the water.
-
DO NOT expose the product to open flames or extremely high ambient temperatures.
-
DO NOT cover the Hot Air Outlet and Cooling Air Outlet when the product is working.
- Please unplug the product when it is in maintenance or left unused.
- It is recommended to use with NITECORE power stations or others with safety certification.
- DO NOT disassemble or modify the product without authorization, as this will cause the warranty to be nullified. Please check the Warranty Service for details.
Warranty Service
All NITECORE® products are warranted for quality. Any DOA / defective product can be exchanged for a replacement through a local distributor/_dealer within 15 days of purchase. After that, all defective / malfunctioning NITECORE® products can be repaired free of charge within 12 months from the date of purchase. Beyond 12 months, the charge for accessories, replacement parts and delivery shall be at your own expenses.
The warranty will be nullified if
- the product(s) is/are broken down, reconstructed and/or modified by unauthorized parties.
- the product(s) is/are damaged due to improper use.
For the latest information on NITECORE® products and services, please contact a local NITECORE® distributor or send an email to service@nitecore.com
The trademarks and product images specified herein in this user manual are for reference purposes only. The copyright belongs to their lawful holders.
All images, texts and statements specified herein this user manual are for reference purposes only. Should any discrepancy occur between this manual and information specified on www.nitecore.com, Sysmax Innovations Co., Ltd. reserves the rights to interpret and amend the content of this document at any time without prior notice.
Address: Unit 6355, 5/F, No. 1021 Gaopu Road, Tianhe District,
Guangzhou, 510653, Guangdong, China
Made in China
- Portable Outdoor Air Conditioner
- User Manual
- Caution
- Contents
- Features
- Technical Specifications
- (English) User Manual
- Accessories
- Installation
- There are 3 ways to install the product:
- Drain Pipe Installation:
- Power Connection
- Operating Instructions
- On / Off
- Temperature Adjustment
- Wind Speed Adjustment
- Mode Selection
- Maintenance
- Cleaning Guidance:
- Plastic Parts Maintenance:
- Warnings
- Warranty Service
Brand : Nitecore
Model : AC10
Category : Battery charger