
Sensigence Intelligent - Blender RUSSELL HOBBS - Free user manual and instructions
Find the device manual for free Sensigence Intelligent RUSSELL HOBBS in PDF.
User questions about Sensigence Intelligent RUSSELL HOBBS
0 question about this device. Answer the ones you know or ask your own.
Ask a new question about this device
Download the instructions for your Blender in PDF format for free! Find your manual Sensigence Intelligent - RUSSELL HOBBS and take your electronic device back in hand. On this page are published all the documents necessary for the use of your device. Sensigence Intelligent by RUSSELL HOBBS.
USER MANUAL Sensigence Intelligent RUSSELL HOBBS
natural_image
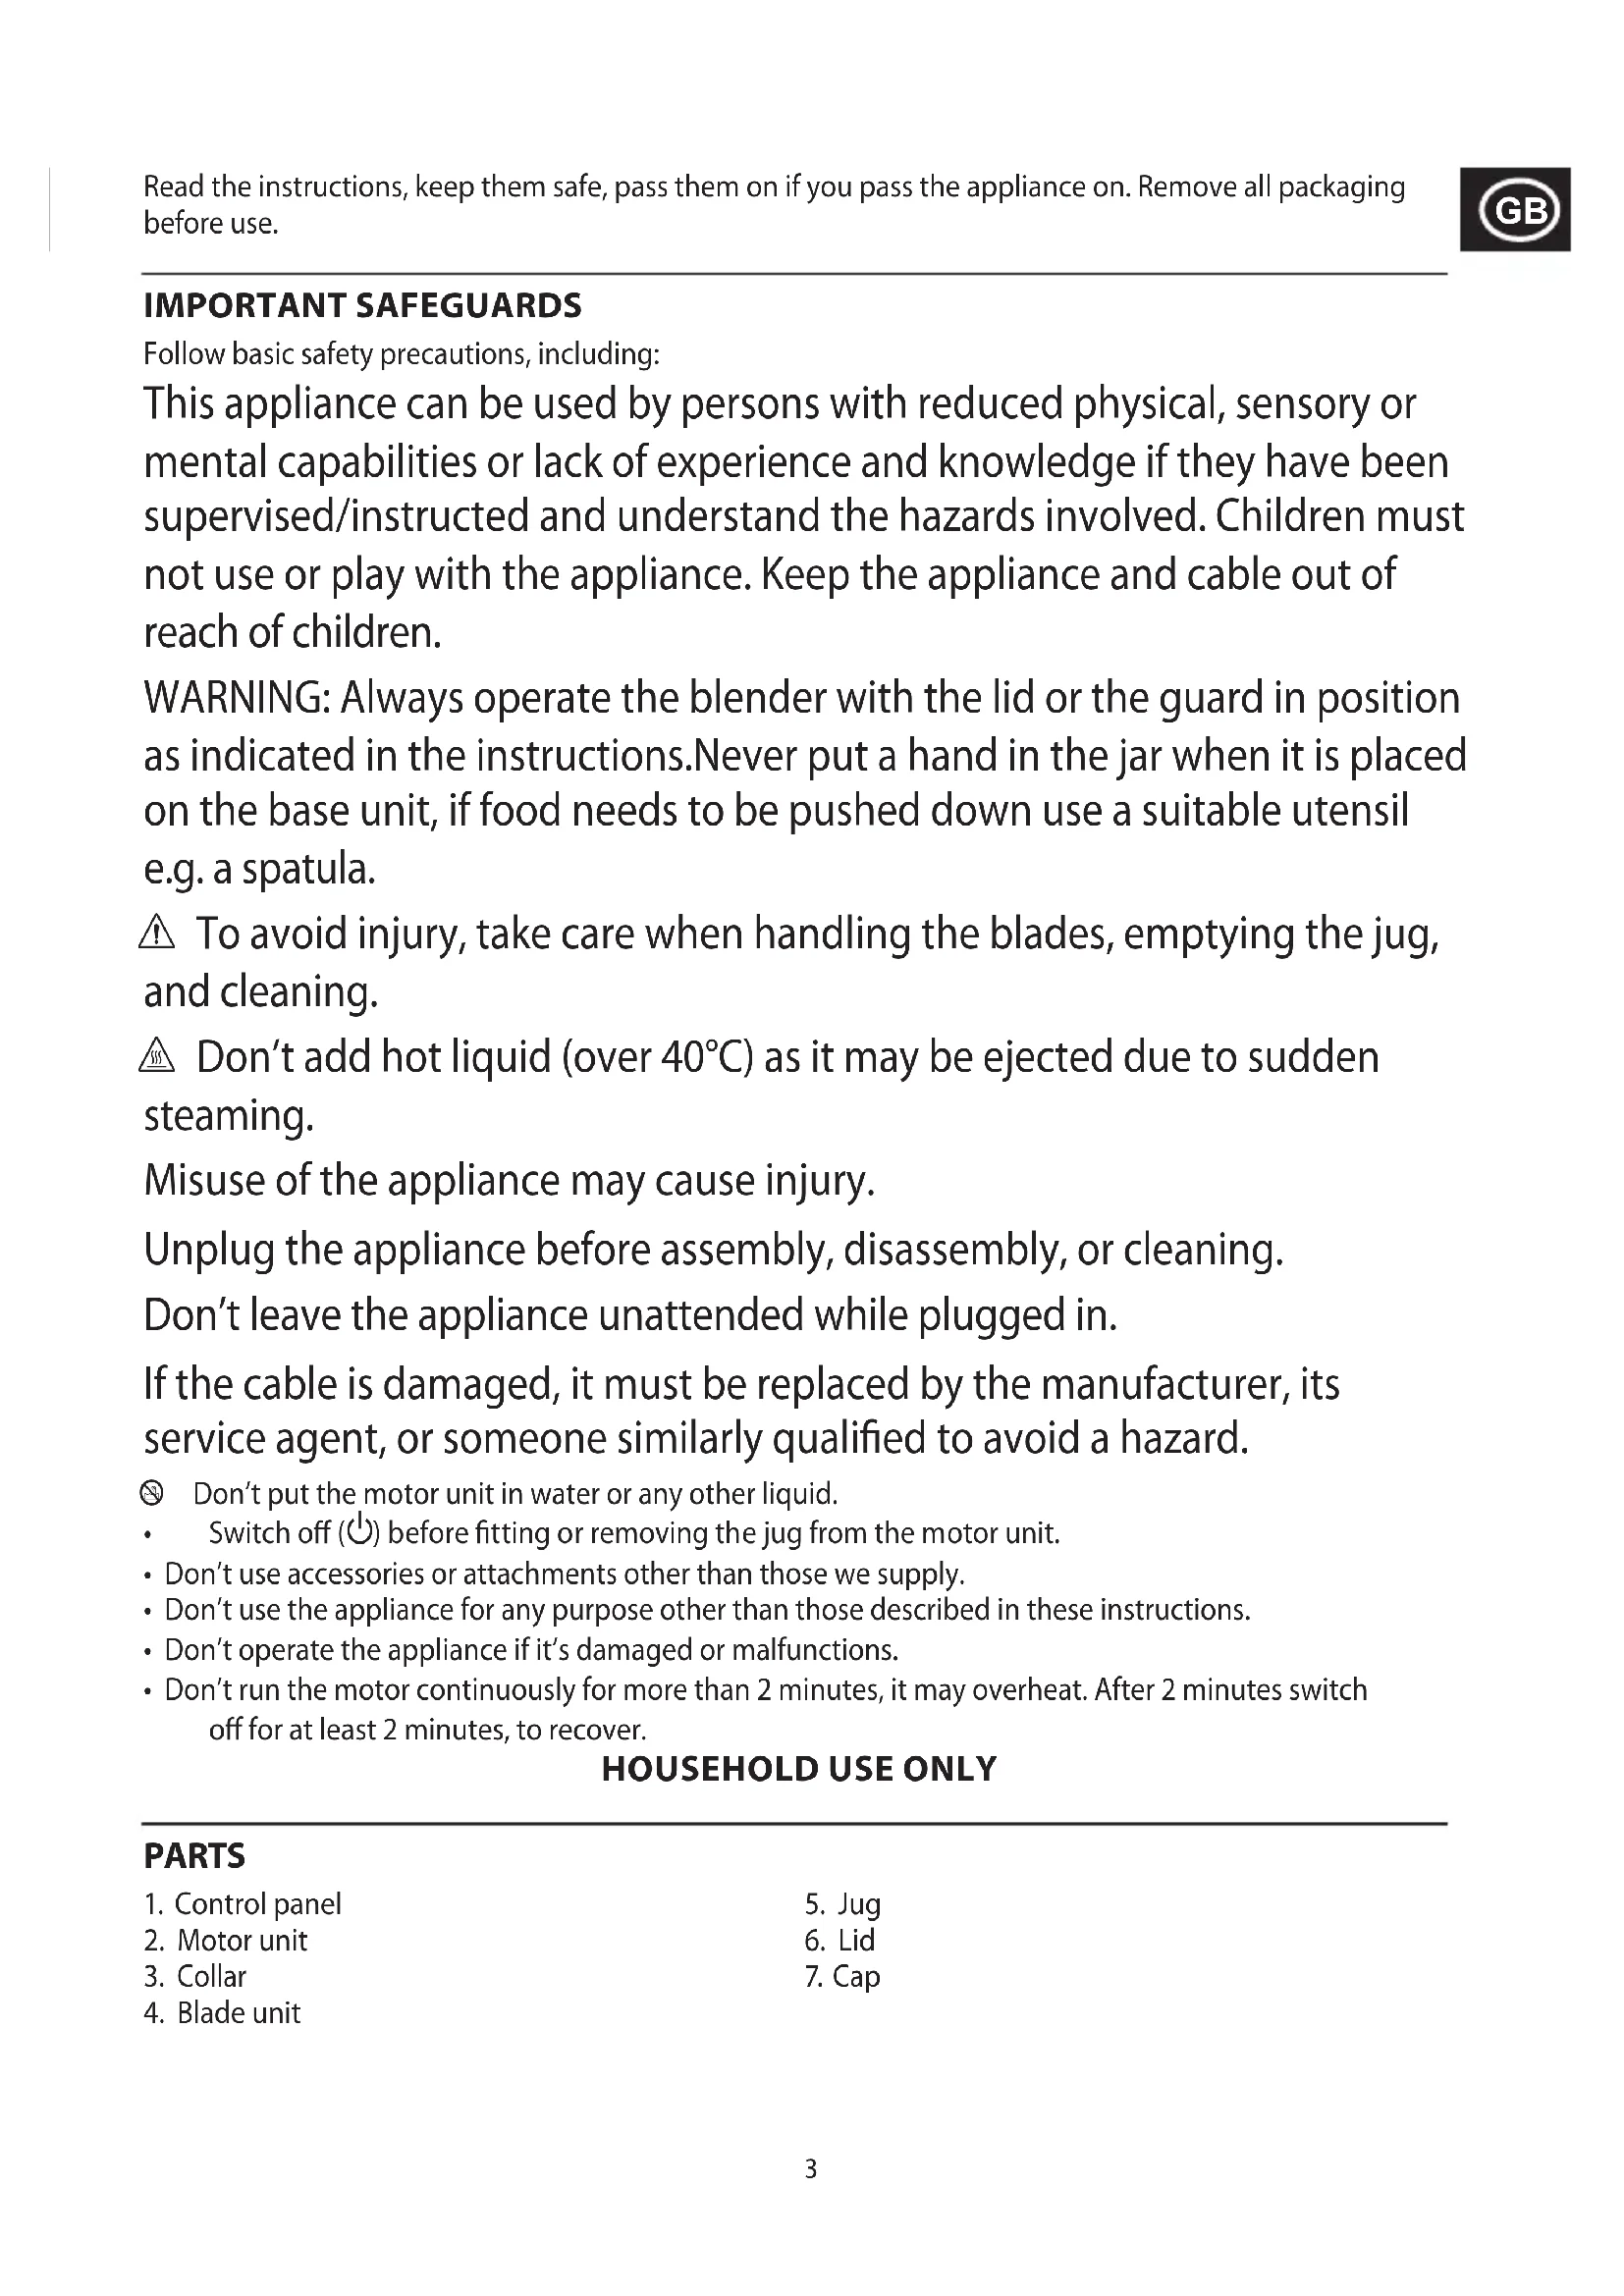
Black and white photo of a Russell Hobbs blender with glass lid and digital kitchen control panel (no visible text or symbols on main body)
text_image
1 2 3 4 5 6 7 1500mlIMPORTANT SAFEGUARDS
Follow basic safety precautions, including:
This appliance can be used by persons with reduced physical, sensory or mental capabilities or lack of experience and knowledge if they have been supervised/instructed and understand the hazards involved. Children must not use or play with the appliance. Keep the appliance and cable out of reach of children.
WARNING: Always operate the blender with the lid or the guard in position as indicated in the instructions. Never put a hand in the jar when it is placed on the base unit, if food needs to be pushed down use a suitable utensil e.g. a spatula.
⚠️ To avoid injury, take care when handling the blades, emptying the jug, and cleaning.
Don't add hot liquid (over 40^ ) as it may be ejected due to sudden steaming.
Misuse of the appliance may cause injury.
Unplug the appliance before assembly, disassembly, or cleaning.
Don't leave the appliance unattended while plugged in.
If the cable is damaged, it must be replaced by the manufacturer, its service agent, or someone similarly qualified to avoid a hazard.
Don't put the motor unit in water or any other liquid.
- Switch off (⏻) before fitting or removing the jug from the motor unit.
- Don't use accessories or attachments other than those we supply.
- Don't use the appliance for any purpose other than those described in these instructions.
- Don't operate the appliance if it's damaged or malfunctions.
- Don't run the motor continuously for more than 2 minutes, it may overheat. After 2 minutes switch off for at least 2 minutes, to recover.
HOUSEHOLD USE ONLY
PARTS
- Control panel
- Motor unit
- Collar
-
Blade unit
-
Jug
- Lid
- Cap
BEFORE USING FOR THE FIRST TIME
Turn to "CARE AND MAINTENANCE" and clean the appliance, to remove manufacturing dust, etc.
PREPARATION
- Sit the motor unit on a stable, level surface.
- Lower the jug on to the motor unit. You cannot operate your blender unless the jug is correctly placed onto the motor unit. This is a safety feature.
- Remove the lid.
- Put the ingredients into the jug. Don't fill past the 1500 ml mark. If you do, the contents may force the lid off when you start the motor.
- Replace the lid. Don't operate the appliance without fitting the lid.
- Put the plug into the power socket.
CONTROLS
When you connect your blender to the mains supply, the control panel will show the ⏻ symbol to indicate that it is in standby mode. Tap ⏻ to activate the control panel. The control panel is a touch screen. After 30 seconds of inactivity, your blender will revert back to the standby state.
The following table lists the controls and gives a brief overview of their function.
| Button Function | |
| Standby. Tap to switch your blender in or out of standby mode. | |
| Stop. Tap to stop blending, or to stop the currently active program. | |
| Start. Tap to start blending, or to start the selected program. | |
 | Slider control. Swipe left or right to select or modify the speed. Tapping the slider control along its length will move the speed control to the point where you tap. |
| + | Highest speed. Tap to set the speed control to its maximum setting. |
| - | Lowest speed. Tap to set the speed control to its minimum setting. |
| Ice crush/Pulse - for crushing ice or fine blending control. | |
| [GCDO] | Smoothie - blend frozen fruits and other ingredients into thick smoothies. |
| [SKX] | Icy drink - liquefy frozen drinks. |
| [THO2] | Soup - use for making soups. |
MANUAL OPERATION
You can start, stop, pulse and choose the speed of your blender manually to suit the ingredients you are processing.
- Tap ⏻ to activate the control panel.
- Swipe or tap the slider control to the desired speed.
- Tap the flashing ▶ icon to start your blender. Your blender will start at the selected speed.
• To stop blending, tap ■ at any time. - To change the speed, swipe or tap the slider control at any time. Tapping + will change to full speed; tapping – will change the speed to minimum.
- When you have finished, tap ⏻ then unplug the blender. Always wait till the blades come to a stop before removing the lid from the jug, or removing the jug from the motor unit.
PULSE OPERATION
For control over blending consistency, use the pulse/ice crush 🔊icon.
- Tap ⏻ to activate the control panel.
- Tap the 📄icon to enter pulse/ice crush mode. The 📄icon will flash.
- Tap the 📁icon again and keep your finger on it. The blender will run at maximum speed for as long as you keep your finger in contact with the 📁icon. Release your finger to stop.
ICE CRUSH
Tip: Add a little water to the ice cubes.
- Place the ice cubes into the jug and fit the lid. Don't add too many ice cubes or you may overload your blender. Add a little water to help the crushing process.
- Tap ⏻ to activate the control panel.
- Tap the 📋icon to enter pulse/ice crush mode. The 🔊icon will flash.
- Tap the 📋icon again and keep your finger on it. The blender will run at maximum speed for as long as you keep your finger in contact with the 🔊icon. Release your finger to stop.
WHEN YOU HAVE FINISHED
- Switch off (⏻), and wait till the blades come to a stop before removing the lid from the jug, or removing the jug from the motor unit.
USING THE ADAPTIVE BLENDING PROGRAMMES
- Tap ⏻ to activate the control panel.
- Tap the desired function icon then tap the flashing ▶ icon.
- Your blender will first sense the level of resistance of the ingredients for about 3 seconds and then adapt the programme accordingly.
| Button Function | |
| [4702] | Smoothie - blend frozen fruits and other ingredients into thick smoothies |
| [268K] | Icy drink - liquefy frozen drinks. |
| [4704] | Soup - use for making soups. |
NOTES
- The Smoothie, Icy drink and Soup programmes will run then stop automatically. The lights on the slider control act as a guide to show where the programme is in the blending cycle. Once all of the lights have gone out, the programme will stop.
- The Sensigence blender is programmed to adapt to the level of resistance of the ingredients within the jug, therefore throughout the blending cycle the speed of the motor may change, it may stop briefly whilst the programme is still running and blending times will differ depending on the ingredients inside. These adaptations help achieve optimal results.
- To stop a programme at any time, tap ■.
- When you have finished, tap ⏻ then unplug the blender. Always wait till the blades come to a stop before removing the lid from the jug, or removing the jug from the motor unit.
TIPS
- Generally, large quantities, thick mixes, and a high ratio of solids to liquids require longer timings and slower speeds.
-
Smaller quantities, thinner mixes, and more liquids than solids require shorter timings and higher speeds and intermittent pulses.
-
When blending small quantities, always add enough ingredients to ensure that the blender blades are covered before operating your blender.
- To add ingredients while the blender is working, remove the cap, pour the new ingredients through the hole, then replace the cap.
- Check that the added ingredients don't increase the volume in the jug past the 1500ml mark.
ERROR SIGNALS
If your blender controls become inoperable for any other reason, please power it off and on again.
Error 1: The control panel flashes in a repeating sequence of three quick flashes then a longer flash. This indicates that a large air bubble has formed in a mixture that may be too dry. Touch anywhere on the control panel to dismiss the error and then add liquid and/or switch off, stir the ingredients and restart.
Error 2: The control panel flashes on and off constantly. This indicates that the motor has overheated.
Unplug and let the blender cool down for 20 minutes to reset.
CARE AND MAINTENANCE
- When you have finished, tap ⏻ then unplug the blender.
- Wipe the outside of the motor unit with a clean damp cloth.
- Hand wash the removable parts.
Referring to the diagram:

You may wash these parts in the top rack of a dishwasher.
You may wash these parts in the dishwasher.
If you use a dishwasher, the harsh environment inside the dishwasher will affect the surface finishes. The damage should be cosmetic only, and should not affect the operation of the appliance.
BLADE UNIT
You may wish to remove the blade unit for cleaning.
- Remove the lid.
- Sit the jug upside down.
- Unscrew the collar from the jug and carefully remove the blade unit.
- Handle only the plastic – don't touch the metal parts.
- Wash the blade unit in warm soapy water, rinse, and air dry.
- Replace the blade unit and screw the collar firmly onto the bottom of the jug.
RECYCLING
To avoid environmental and health problems due to hazardous substances, appliances and rechargeable and non-rechargeable batteries marked with one of these symbols must not be disposed of with unsorted municipal waste. Always dispose of electrical and electronic products and, where applicable, rechargeable and non-rechargeable batteries, at an appropriate official recycling/collection point.
FONCTIONNEMENT MANUEL
APENAS PARA USO DOMÉSTICO
ESQUEMAS
BEHANDLING OG VEDLIKEHOLD
DUPĂ CE AȚI TERMINAT
7 غطاء. 3 al-initiated
- نفرات
عند Capacity toposure the class back by producer the training of the Kerebani, targeting the workload of the organization. There is an illustration of an easy operation to ensure that the system is not necessarily feasible.