JVW0630LS - Basket JENN-AIR - Free user manual and instructions
Find the device manual for free JVW0630LS JENN-AIR in PDF.
Document temporarily unavailable
The manual is currently being transferred to our new server. It will be accessible again in a few hours. Thank you for your patience.
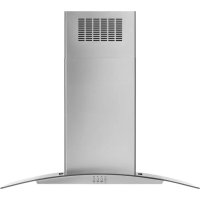
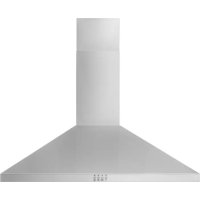
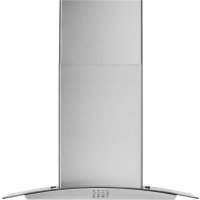
| Product Type | Range Hood |
| Brand | Jenn-Air |
| Model | JVW0630LS |
| Width | 76 cm (29 15/16 in) |
| Depth | 51.6 cm (20 5/16 in) |
| Height (min/max) | 71.0 cm / 120.0 cm (27 15/16 in / 47 4/16 in) |
| Estimated Weight | 35 kg |
| Power Supply | 120 V, 60 Hz, 15 A |
| Suction Power | 600 CFM |
| Number of Speeds | 4 speeds + timed Boost mode (5 min) |
| Lighting | LED (integrated) |
| Timer | Adjustable automatic shut-off (15 min) |
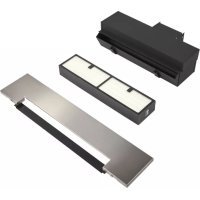
| Grease Filters | Washable metal filters (dishwasher safe) |
| Charcoal Filter (recirculation) | Optional, washable every 2 months, replace every 3 years |
| Venting | Metal duct Ø 6 in (15.2 cm) to outside or recirculation |
| Recommended Installation Height | 30 in (76 cm) min above cooking surface |
| Noise Level | Not specified |
| Maintenance | Clean grease filters monthly; charcoal filter every 2 months |
| Accessories Included | Duct covers, mounting bracket, hardware |
| Warranty | See manual |
Frequently Asked Questions - JVW0630LS JENN-AIR
User questions about JVW0630LS JENN-AIR
0 question about this device. Answer the ones you know or ask your own.
Ask a new question about this device
Download the instructions for your Basket in PDF format for free! Find your manual JVW0630LS - JENN-AIR and take your electronic device back in hand. On this page are published all the documents necessary for the use of your device. JVW0630LS by JENN-AIR.