MPDDP524SS - Dishwasher VIKING - Free user manual and instructions
Find the device manual for free MPDDP524SS VIKING in PDF.

| Brand | Viking |
| Model | MPDDP524SS |
| Product Type | Built-in Dishwasher |
| Dimensions (W x D x H) | 60 x 60 x 85 cm |
| Net Weight | 45 kg |
| Power Supply | 220-240 V ~ 50 Hz, 10 A |
| Energy Class | A+ |
| Capacity | 14 place settings |
| Number of Programs | 5 (including intensive, eco, quick) |
| Main Functions | Delay start, half load, extra dry |
| Noise Level | 45 dB(A) |
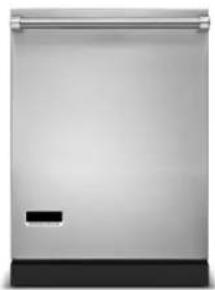
| Tub Material | Stainless Steel |
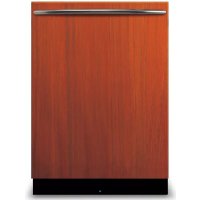
| Panel Finish | Customizable (mounting kit included) |
| Care and Cleaning | Regular cleaning of filters and spray arms |
| Safety | Anti-leak system, child lock |
| Spare Parts | Available through Viking after-sales service |
| Repairability | Repairability index not communicated |
| General Information | User and installation manual available in PDF at notice-facile.com |
Frequently Asked Questions - MPDDP524SS VIKING
Important: Do not use regular dish soap.
User questions about MPDDP524SS VIKING
0 question about this device. Answer the ones you know or ask your own.
Ask a new question about this device
Download the instructions for your Dishwasher in PDF format for free! Find your manual MPDDP524SS - VIKING and take your electronic device back in hand. On this page are published all the documents necessary for the use of your device. MPDDP524SS by VIKING.
USER MANUAL MPDDP524SS VIKING
natural_image
Completely black image with no visible content or text.Installation Guide Guide d'Installation
natural_image
Exterior view of a stainless steel multi-decker appliance (no visible text or symbols)
natural_image
Exterior view of a modern stainless steel multi-decker appliance (no text or symbols visible)
natural_image
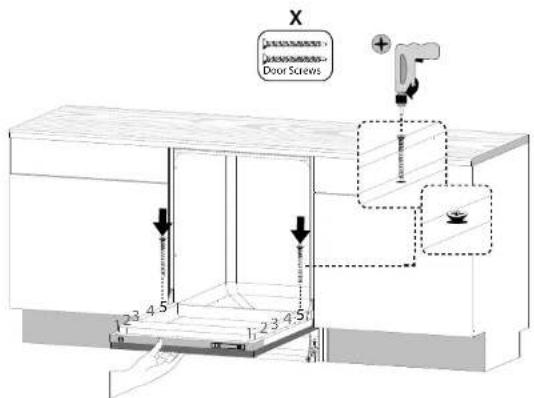
Front view of a black rectangular electronic device with metallic frame and logo (no visible text or symbols)Dishwasher Door Panel Kits Ensembles de Panneaux de Porte Lave-vaisselle PDDP524 / RVDP324/TVDDP524/MPDDP542
Installation
The unit comes with everything needed to make installing the door panel easy.
n- (2) Custom Door Plugs
w- (2) Plug Screws
x- (2) Door Screws
Tools Needed:
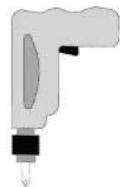
Drill
w/ Phillips Driver
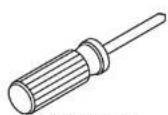
Phillips Head
Screwdriver
Provided Parts:


Step 1
Install the custom door plugs to the back of the door panel using the (2) plug screws

2
[NO TEXT]
Installation
Step 2
Mount the panel door onto the dishwasher with the plastic custom door plugs installed in step one.
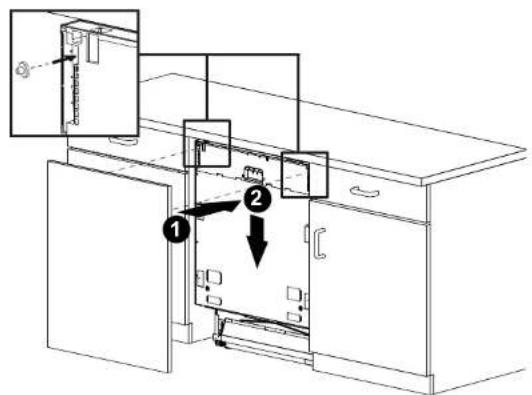
Step 3
Open the door and remove the cap inside the door at position 5
Step 4
Using the door screws provided, attach the panel to the dishwasher at position 5.
3
Installation
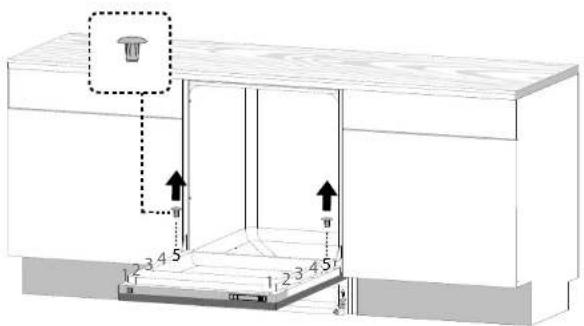
Step 5
Check the position of the panel door and make sure it is aligned properly.
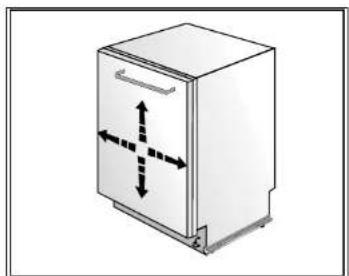
natural_image
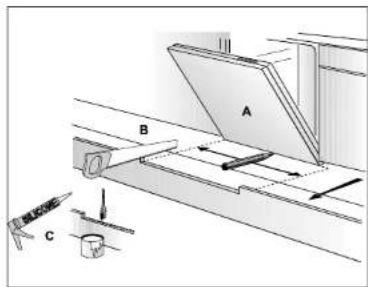
Illustration of a refrigerator with directional arrows indicating left and right sides (no text or symbols)Step 6
Check whether the bottom of the door hits the kickplate of the kitchen cabinet (A). If the door hits the kickplate, cut the necessary section out of the kickplate (B). Apply silicon or sealant to the cut edge of the kitchen cabinet kickplate or paint so it does not absorb moisture (C).
Installation
Étape 3
Étape 4
natural_image
Illustration of a refrigerator with double-headed arrows indicating vertical motion (no text or symbols)Étape 6
Viking Range, LLC
111 Front Street
Greenwood, Mississippi 38930 USA
(662) 455-1200
For product information, call 1-888-845-4641 or visit the our web site at vikingrange.com