KDAS104HSS - Washing machine JENN-AIR - Free user manual and instructions
Find the device manual for free KDAS104HSS JENN-AIR in PDF.

| Brand | JENN-AIR |
| Model | KDAS104HSS |
| Product type | Washing machine |
| Width | 60 cm (23.6 in) |
| Height | 81.3 cm (32 in) |
| Depth | 55 cm (21.7 in) |
| Weight | 70 kg |
| Power supply | 120 V, 60 Hz, 10 A |
| Washing capacity | 8 kg |
| Maximum spin speed | 1200 rpm |
| Energy class | A+++ |
| Main functions | Wash, rinse, spin, delayed start, child lock |
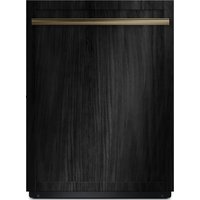
| Custom panel | Compatible - thickness 1.5 cm, max height 72 cm |
| Tools needed for installation | Electric drill, Phillips screwdriver, needle-nose pliers |
| Parts supplied for panel | Template, screws (ST4X14, ST3.5X45, etc.), brackets, dowels |
| Maintenance and cleaning | Clean filter regularly, wipe drum |
| Safety | Automatic stop if door open, child lock |
| Repairability / Spare parts | Parts available on request from after-sales service |
Frequently Asked Questions - KDAS104HSS JENN-AIR
User questions about KDAS104HSS JENN-AIR
0 question about this device. Answer the ones you know or ask your own.
Ask a new question about this device
Download the instructions for your Washing machine in PDF format for free! Find your manual KDAS104HSS - JENN-AIR and take your electronic device back in hand. On this page are published all the documents necessary for the use of your device. KDAS104HSS by JENN-AIR.
USER MANUAL KDAS104HSS JENN-AIR
INSTALLATION INSTRUCTIONS
FOR CUSTOM 18" AND 24" WOOD DOOR PANEL
IMPORTANT: Before installing your dishwasher, please use this instruction sheet as a supplement to the Installation Instructions.
Custom Panel Models Only
Gather these additional tools and parts before starting attachment of the custom panel. Read and follow the instructions provided in this instruction sheet.
Additional Tools Needed:
Power Drill
Phillips-head screwdriver or magnetic bit
Needle nose pliers
■Template (located inside Use and Care Guide bag assembly)
Parts Supplied with Custom Panel Models:

2 ST3.5X45 X4
3 ST3.5X25 X2

5 ST3.9X13 X2
6 ST3.5X9 X2
7 X1
8 X2
9 X2
10 X2
11 X1
NOTE: The screws supplied are used for only a 0.59" (1.5 cm) thick wooden panel. If the wooden panel is less than 0.59" (1.5 cm) thick, customer must purchase screws locally.
Custom Panel Dimensions
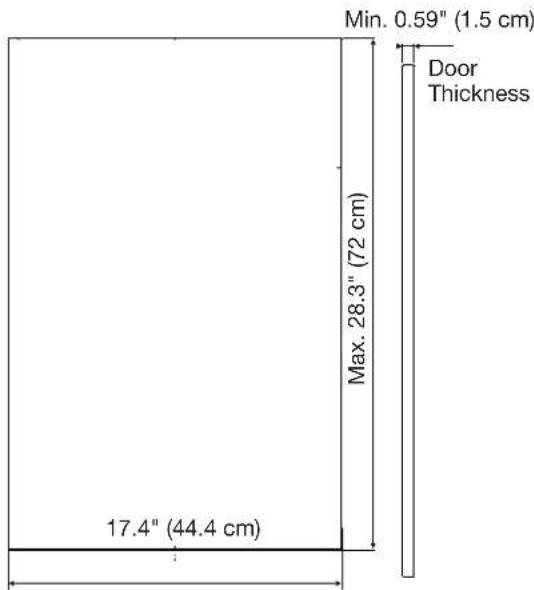
18" Custom Panel Dimensions
text_image
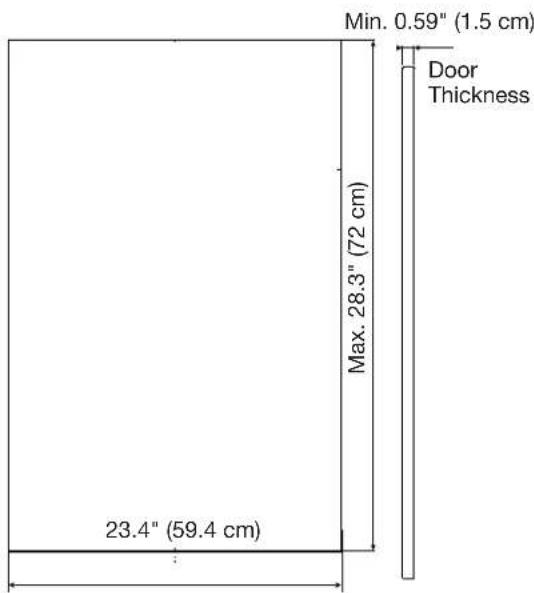
Min. 0.59" (1.5 cm) Door Thickness Max. 28.3" (72 cm) 17.4" (44.4 cm)24" Custom Panel Dimensions
text_image
Min. 0.59" (1.5 cm) Door Thickness Max. 28.3" (72 cm) 23.4" (59.4 cm)NOTES:
■The handle for the custom panel is not included.
All mounting hardware supplied is for a 0.59" (1.5 cm) thick wood panel. If a thinner wood panel or materials other than wood are used, it is the customer's responsibility to obtain the proper length screws and adjust the pilot holes accordingly.
IMPORTANT: Use a moisture-resistant sealer on both sides and all edges of the panel to avoid damage from moisture.
- Attach template to wood panel
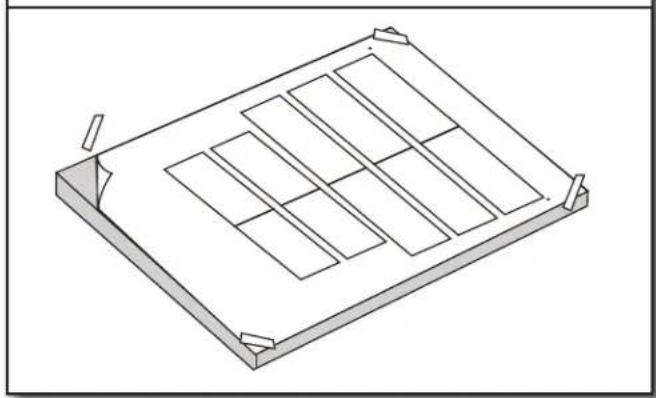
natural_image
Isometric line drawing of a rectangular frame with internal compartments and corner supports (no text or symbols)Attach the provided template to the back side of the custom panel with tape. Make sure that the center of the template is aligned with the center of the wooden panel and top of the template is aligned to the top face of the wooden panel.
- Pre-drill holes for studs and brackets
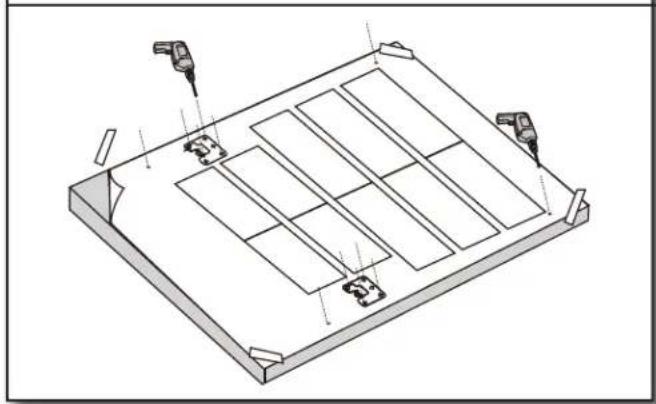
natural_image
Isometric technical drawing of a rectangular panel with internal compartments and mounting features (no text or symbols)- Install brackets and studs
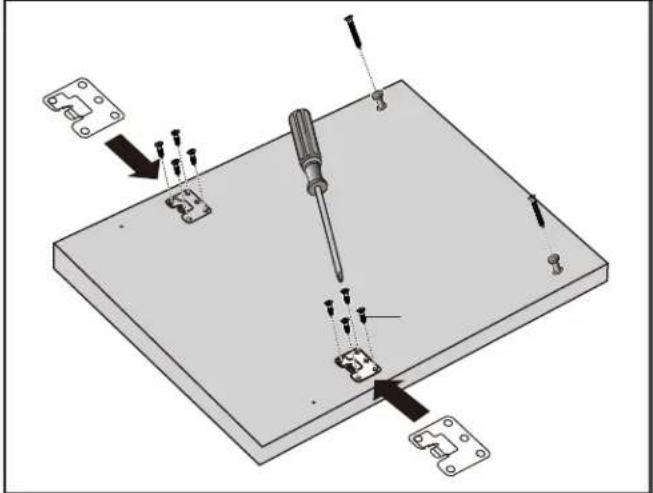
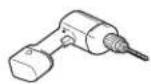
text_image
Technical diagram showing soldering process with screwdriver and switch on a workbench, labeled with component symbols and arrows indicating assembly steps.Remove the template. Install brackets and studs using the screws provided.
- Install customer-supplied handle
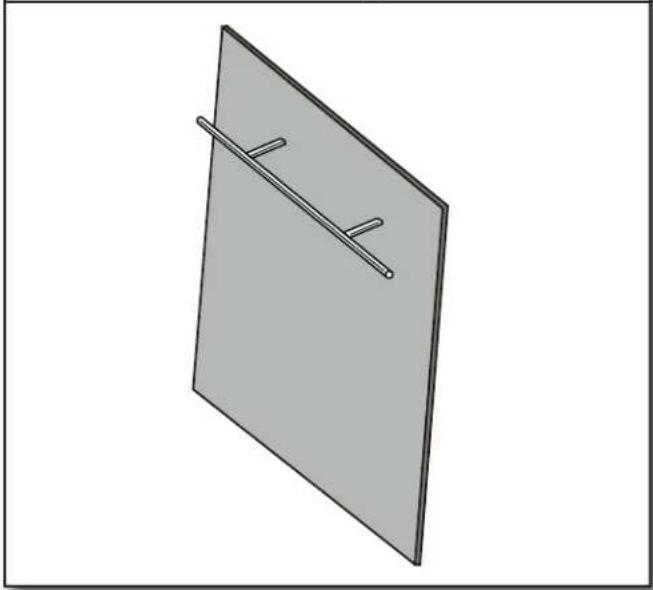
natural_image
Simple 3D diagram of a rectangular plate with a diagonal line and two horizontal lines, no text or symbols present.IMPORTANT: Make sure to countersink screw heads on back side of panel so that the screw heads are flush with the panel.
- Slide panel onto door
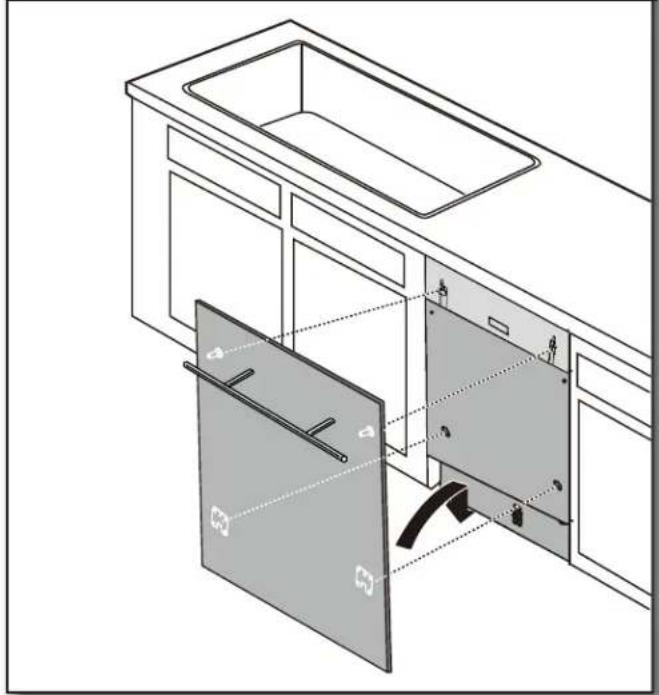
natural_image
Technical line drawing of a kitchen appliance showing internal compartments and doorways (no text or symbols)Align the studs on the custom panel to the keyhole slots on the door assembly. Ensure that the studs and brackets are engaged in the keyhole slots. Slide panel down until the top surface of the panel is flush with the top of the door.
- Secure the door panel
natural_image
Technical line drawing of a rectangular oven or storage unit with internal compartments and mounting base (no text or symbols)Secure the door panel by inserting the four anchor screws provided into the inner door frame holes. See screw hole locations in the above illustration.
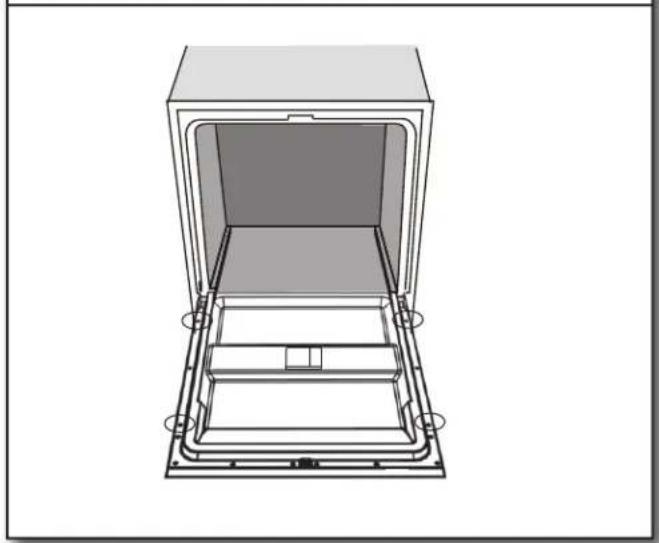
- Check the spring tension

natural_image
Diagram of a computer monitor with an open lid and two arrows indicating directional movement (no text or symbols)Open and close the door to check the spring tension of the door.
- Adjust spring tension (if needed)
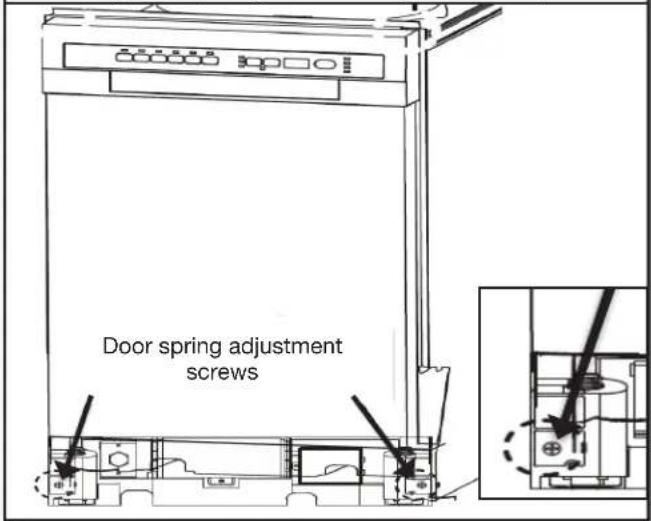
text_image
Door spring adjustment screwsIf needed, adjust the spring tension by using a Phillips-head screwdriver. Turn screws clockwise to increase tension or counterclockwise to decrease door tension.