
HRB 6400 VNS - Cooker TEKA - Free user manual and instructions
Find the device manual for free HRB 6400 VNS TEKA in PDF.
| Product type | Built-in electric oven |
| Brand | Teka |
| Model | HRB 6400 VNS |
| Installation type | Built-in |
| Dimensions (W x H x D) | 595 x 595 x 570 mm (estimated) |
| Supply voltage | 220-240 V ~ 50/60 Hz |
| Total power | 2.8 kW (estimated) |
| Cooking functions | Traditional cooking, Pizza, Eco, Defrosting, Rapid preheating, Grill, Maxi Grill, Maxi Grill with turbine, Sole, Hydroclean |
| Cleaning type | Hydroclean® (steam cleaning) |
| Control type | Rotary knob and electronic clock |
| Internal lighting | LED |
| Included accessories | Grill, tray, tray supports |
| Cooling ventilation | Yes |
| Front panel | Rotary controls and clock |
| Number of functions | 10 |
| Energy type | Electric |
| Power connection | 230 V single phase (estimated) |
| Grill element | Yes |
| Convection fan | Yes |
| Door | With inner glass and seal |
| Repairability | Spare parts available via manufacturer |
Frequently Asked Questions - HRB 6400 VNS TEKA
User questions about HRB 6400 VNS TEKA
0 question about this device. Answer the ones you know or ask your own.
Ask a new question about this device
Download the instructions for your Cooker in PDF format for free! Find your manual HRB 6400 VNS - TEKA and take your electronic device back in hand. On this page are published all the documents necessary for the use of your device. HRB 6400 VNS by TEKA.
USER MANUAL HRB 6400 VNS TEKA
Before using your oven for the first time, please carefully read the installation and maintenance instructions that come with it.
Depending on the model, the accessories included in your oven may vary from those shown in the pictures.
FRaNcals

PROGRAMAR LA FUNCION TEKA HYDROCLEAN

ATENCIón
PROGRAMAR A FUNCAO TEKA HYDROCLEAN

ATENÇAO
Description of the oven
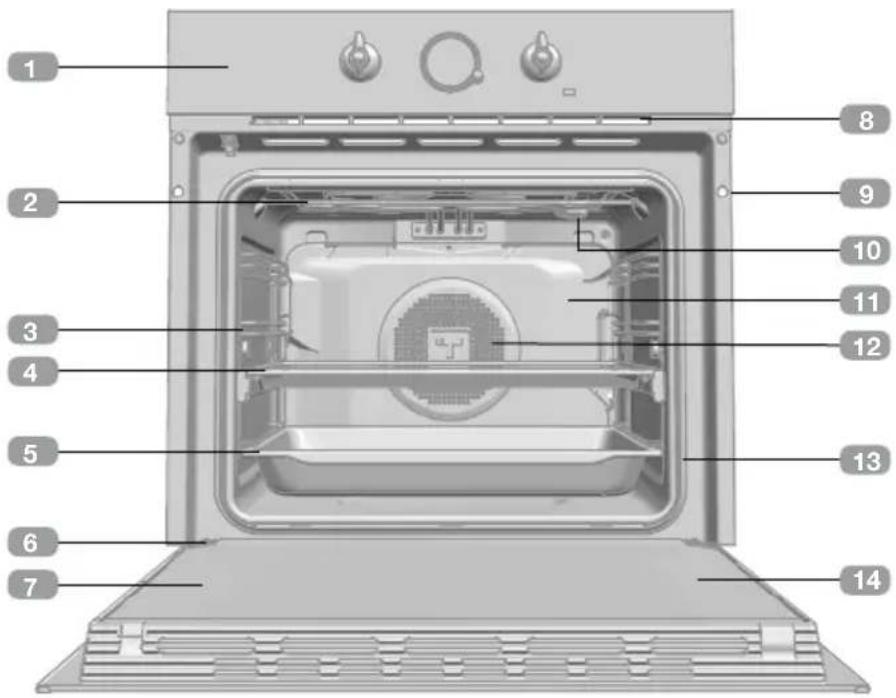
1 Control panel
2 Grill element
3 Tray support
4 Grid shelf
5 Tray
6 Hinge
7 Inner Glass
Air cooling outlet
Unit mounting
10 Lamp
Back Wall Panel
12 Fan
13 Oven Seal
14 Door
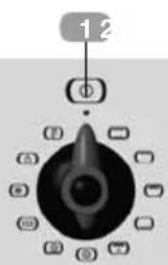
Control panel
HRB 6300 Models
HRB 6316 Models
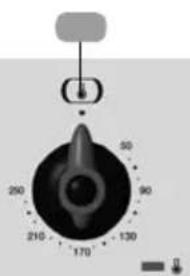
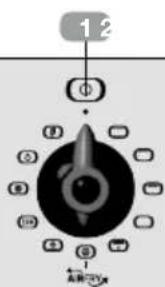
1 Function control dial
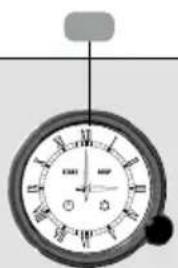
2 Electric clock/timer
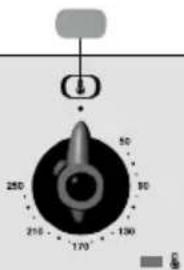
3 Temperature control dial
Function selector symbols

HRB 6300 Models


HRB 6316 Models

Oven functions
INFORMATION
For a description of how to use each of the features, see the cooking guide that comes with your oven.
MAXIGRILL WITH FAN

OVEN SWITCH-OFF
PIZZA
ECO ECO
CONVENTIONAL
DEFROSTING
GRILL
HYDROCLEAN
MAXIGRILL
FAST PREHEATING
O LOWER ELEMENT
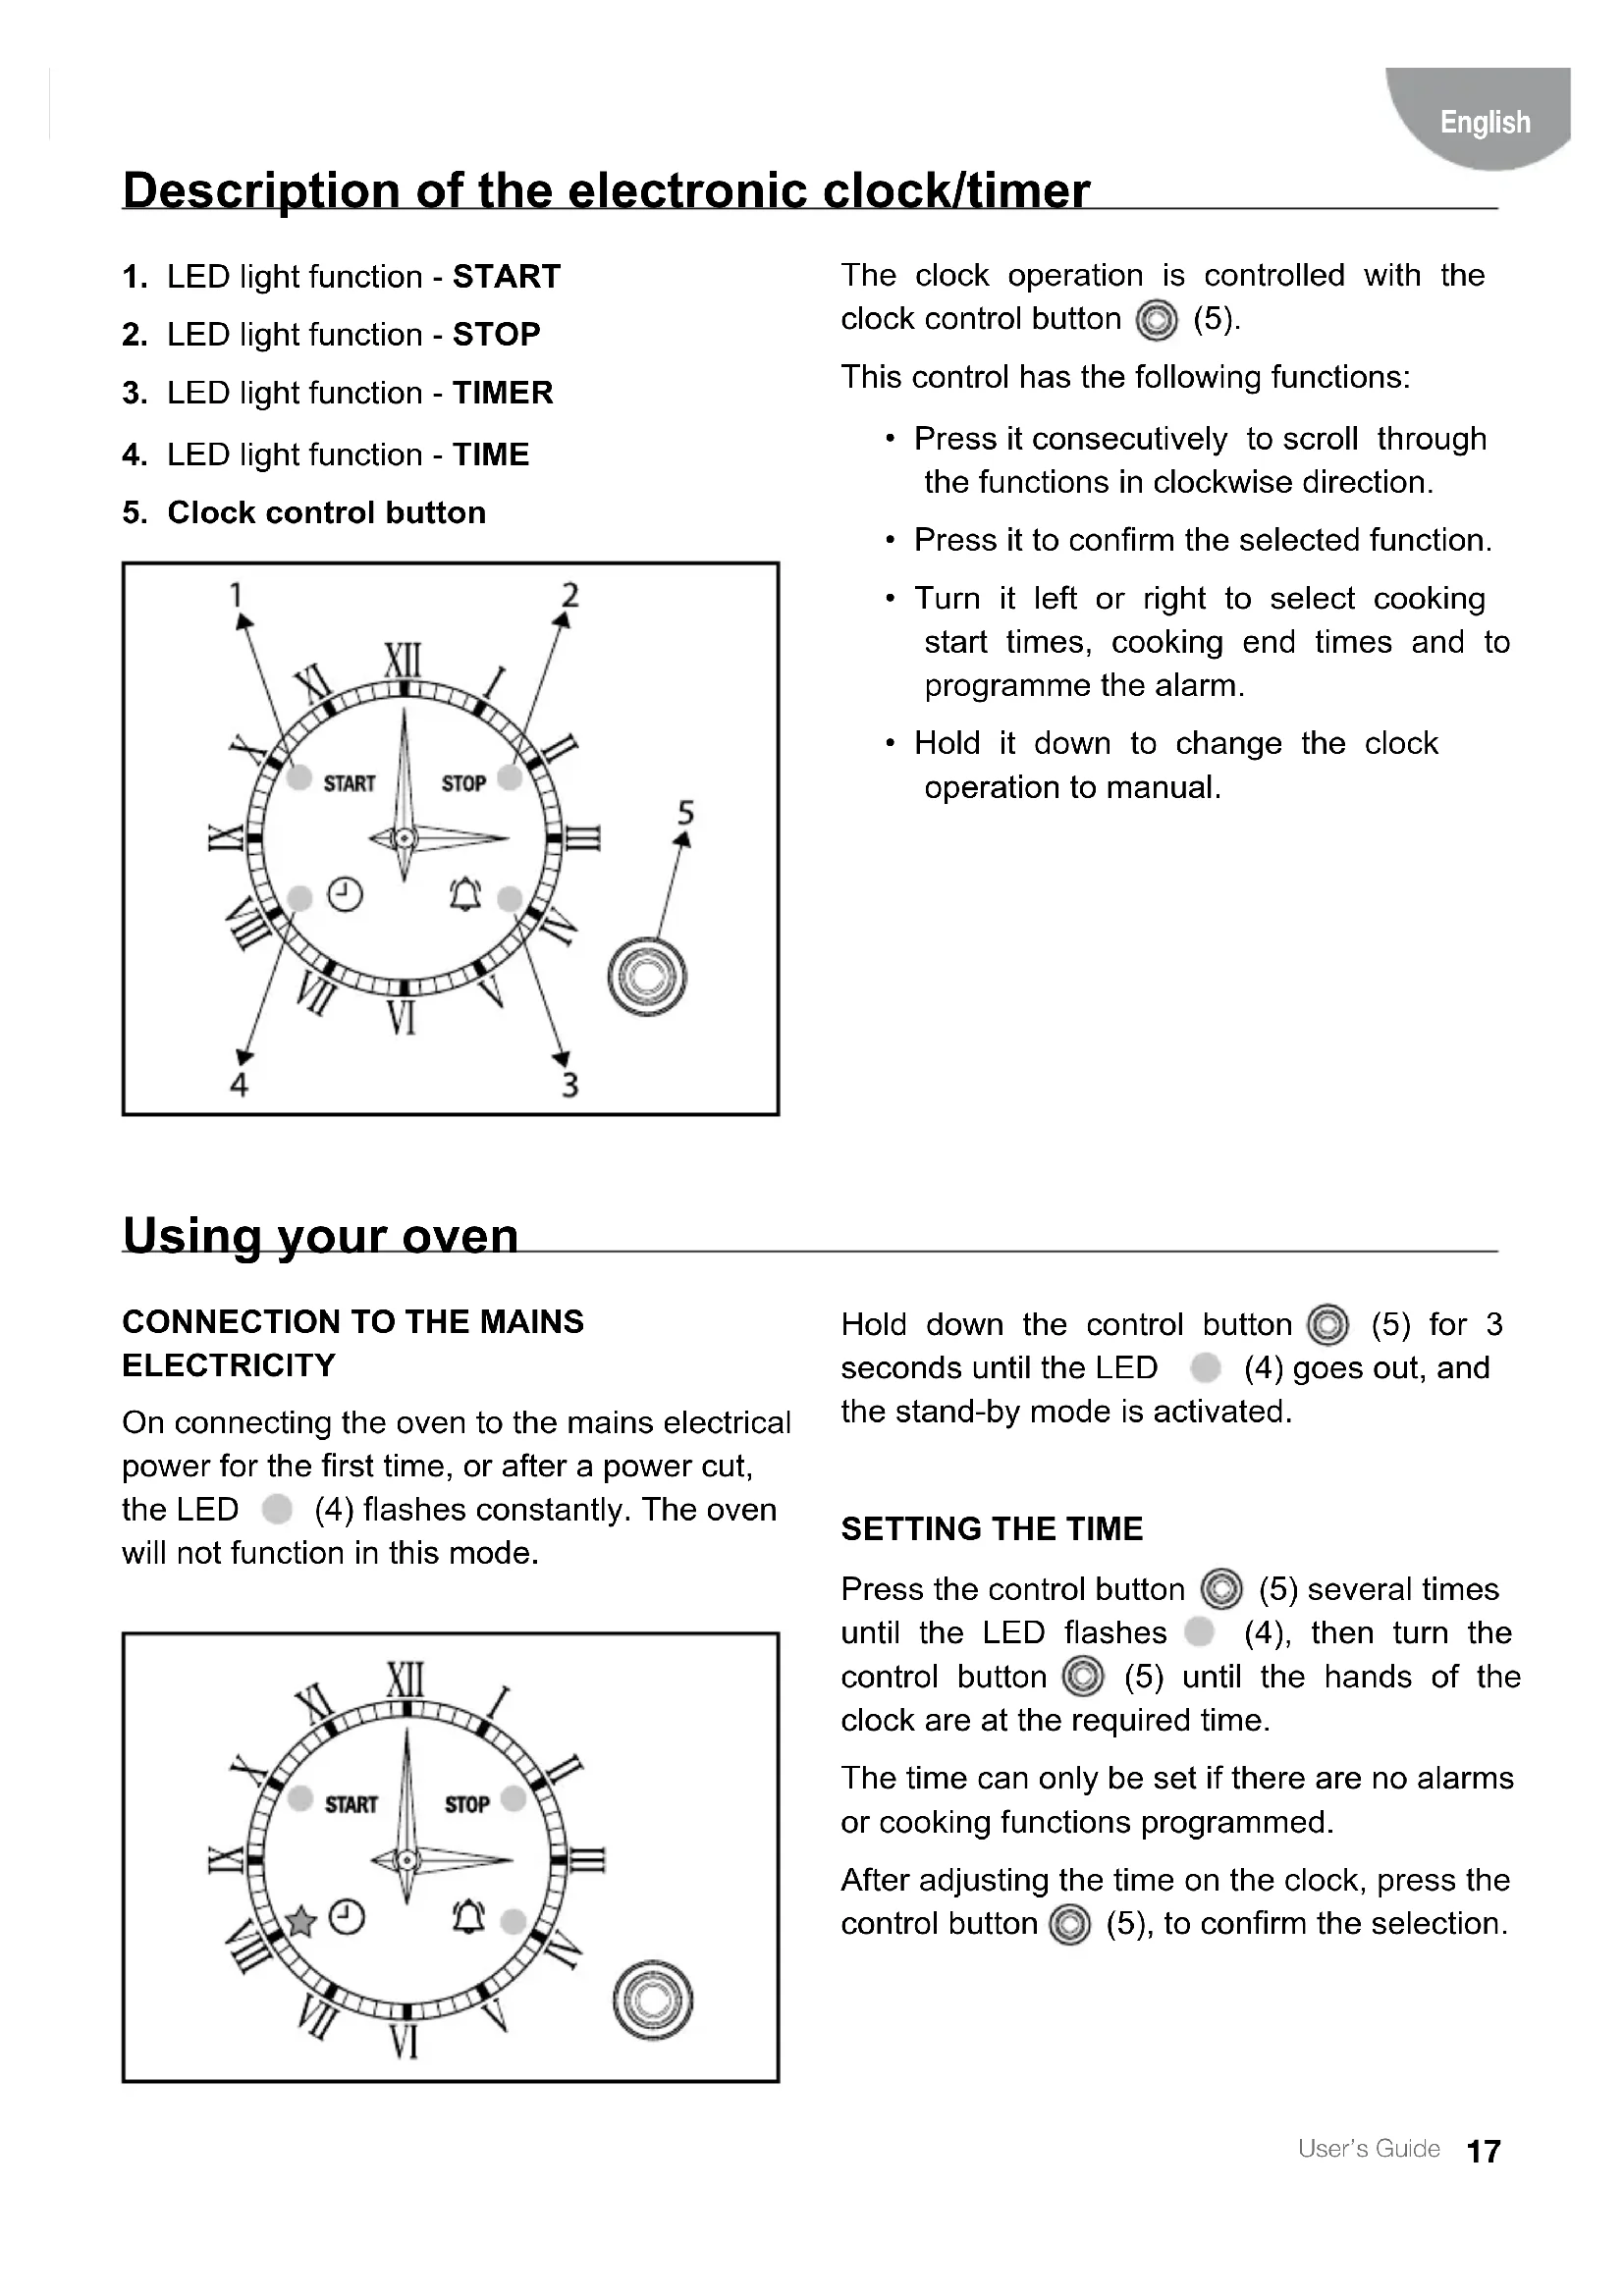
Description of the electronic clock/timer
- LED light function - START
- LED light function - STOP
- LED light function - TIMER
- LED light function - TIME
- Clock control button
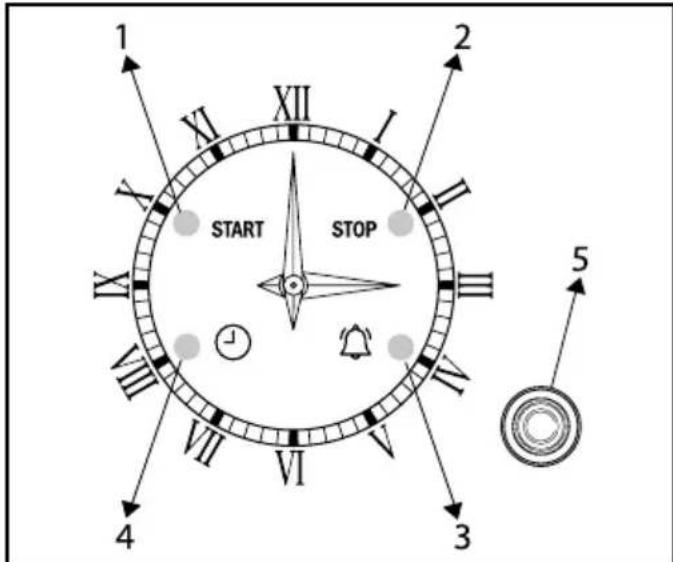
The clock operation is controlled with the clock control button (5).
This control has the following functions:
- Press it consecutively to scroll through the functions in clockwise direction.
- Press it to confirm the selected function.
- Turn it left or right to select cooking start times, cooking end times and to programme the alarm.
- Hold it down to change the clock operation to manual.
Using your oven
CONNECTION TO THE MAINS ELECTRICITY
On connecting the oven to the mains electrical power for the first time, or after a power cut, the LED (4) flashes constantly. The oven will not function in this mode.
Hold down the control button (5) for 3 seconds until the LED (4) goes out, and the stand-by mode is activated.
SETTING THE TIME
Press the control button (5) several times until the LED flashes (4), then turn the control button (5) until the hands of the clock are at the required time.
The time can only be set if there are no alarms or cooking functions programmed.
After adjusting the time on the clock, press the control button (5), to confirm the selection.

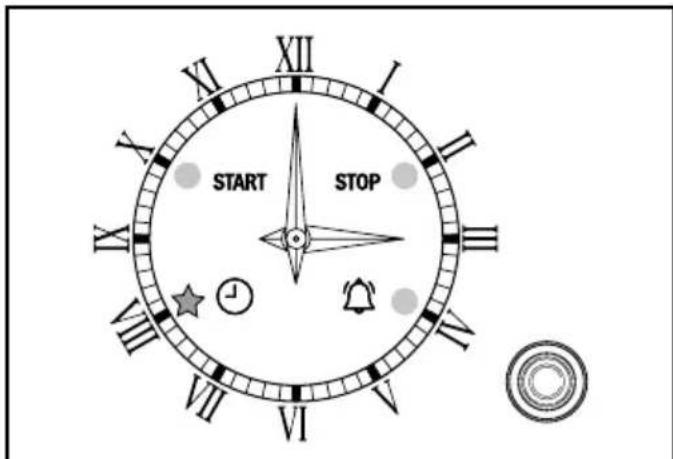
PROGRAMMING THE ALARM (TIMER)
Press the control button (5) several times until the LED flashes (3), then turn the control button (5) until the hands of the clock are at the required time.
After adjusting the alarm time on the clock, press the control button (5) to activate it.
If the alarm is not activated within 10 seconds of selecting the menu, it will be cancelled.
If the alarm is active, the alarm symbol on the clock remains lit.
Press and release the control button (5) to display the programmed time of the alarm. The hands will indicate the time selected for the alarm for 2 seconds and then return to the current time.
Press the control button (5) for 2 seconds to cancel the programmed alarm.
At most, the alarm can be set for up to 3 hours after the current time and at minimum, up to 2 minutes after the current time.
The alarm activation is independent to the oven operation. It is only an acoustic signal.

The oven does not turn off at the end of the timer period. This function can also be used while the oven is in use.
OVENTIMERFUNCTION
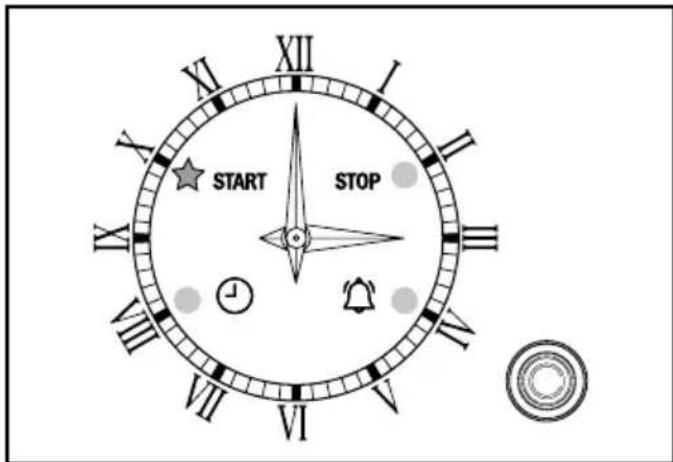
Programming the Cooking Start Time
Press the control button (5) several times until the LED (1) flashes.
Programme the cooking start time by turning the control button (5), to the right or left.
After adjusting the start time, press the control button (5) to confirm the selection.
If the selection is not confirmed within 10 seconds of selecting the menu, it will be cancelled.
The cooking end time must be programmed after setting the start time, otherwise the cooking start time will be deleted.
The cooking start time can be programmed for up to 12 hours after the current time.
The cooking start time can only be programmed from 2 minutes after the current time.
Programming the Cooking Stop Time
Press the control button (5) several times until the LED (2) flashes.
Programme the cooking stop time by turning the control button (5), to the right or left.
After setting the cooking stop time, press the control button (5), to activate the cooking programme.
If the selection is not activated within 10 seconds of selecting the menu, it will be cancelled.
The cooking stop time can be programmed for up to 15 hours after the current time.
The cooking stop time can only be programmed from 2 minutes after the current time.

Programming Cooking Time and Cooking Stop Time
For delayed start cooking, programme the cooking start and stop times in accordance with the instructions above.
MANUAL OPERATION
If no cooking times are programmed, the clock runs in manual mode.
If a cooking programme is defined, to activate the manual mode, press the control button (5) until the clock emits a buzzing sound.
If the manual mode is active, any previous cooking programme is cancelled.
When the clock is in manual mode, the oven is operative.
If the oven is not going to be used, the oven function selection switch should be in the OFF position.
In manual mode, the LED lights are off.
At the end of the programmed cooking time, or when the pre-established alarm time is reached, a buzzer is heard.
Press the control button (5) to stop the buzzer. Otherwise, after a minute from the start of the buzzing sound, the buzzer will stop automatically.
CANCELLATION OF THE PROGRAMMING OR TIMER
Press the control button (5) for three seconds to cancel the cooking programme or TIMER.
Teka Hydroclean® function
This function makes it easy to remove grease and other food debris that may have stuck to the sides of the oven.
For easier cleaning, do not allow dirt to accumulate. Clean the oven frequently.
PROGRAMMING THE TEKA HYDROCLEAN® FUNCTION

WARNING
Do not pour water into a hot oven as this can damage the enamel of the oven.
Always run the cycle on a cold oven. The result could be affected and the varnish damaged if it is run when the oven is too hot.
First remove the trays and all accessories from the oven interior, including the tray supports and telescopic guide rails.
To do this, follow the instructions in the installation and maintenance guide accompanying the oven.
- With the oven cold, spread a cloth out on the bottom of the oven.
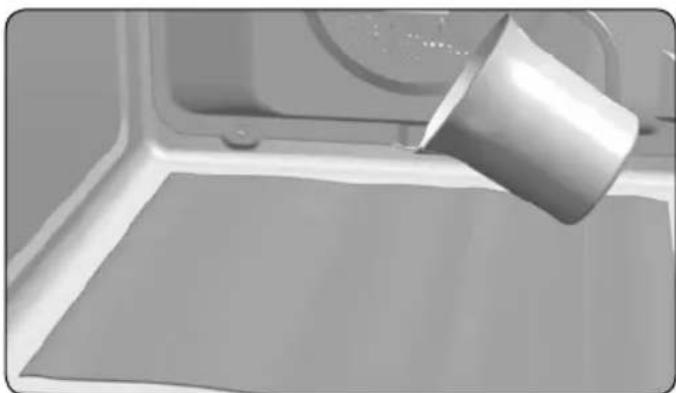
- Gently pour 200ml of water into the bottom of the oven cavity.

INFORMATION
For best results, add a teaspoon of mild washing up detergent to the glass of water before pouring onto the cloth
-
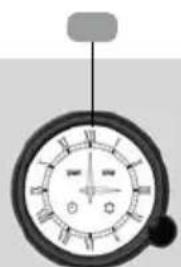
Turn the control dial to position ⑥
-
Set the temperature to 90^
-
Programme a duration of 4 minutes on the timer.
-
After 4 minutes, an alarm will sound and the oven will stop heating.
-
Turn the control dial to position 0 .
-
Wait for about 20 minutes for the interior of the oven to cool.

IMPORTANT
Do not open the oven until the cooling phase is complete.
This is necessary for the Hydroclean® function to work properly.
- Any traces of dirt and excess water can now be removed from the oven with the damp cloth.
The Hydroclean® function takes place at a low temperature. However, cooling times can vary depending on the room temperature.

WARNING
Before touching the inside surface of the oven, make sure that it has cooled properly.
If a deeper clean is required after using the Hydroclean® function, use neutral detergents and non-abrasive sponges.
Description du four

PROGRAMMER LA FONCTION TEKA HYDROCLEAN
