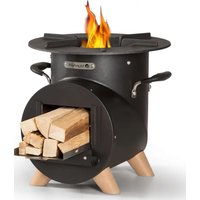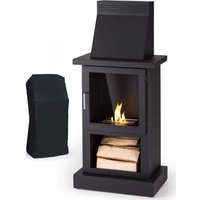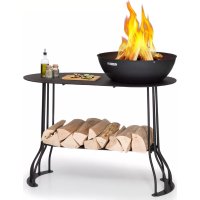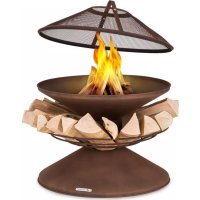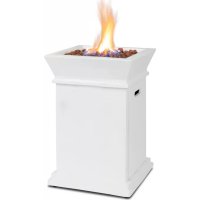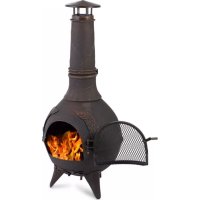
Augustus - Fireplace Blumfeldt - Free user manual and instructions
Find the device manual for free Augustus Blumfeldt in PDF.


User questions about Augustus Blumfeldt
0 question about this device. Answer the ones you know or ask your own.
Ask a new question about this device
Download the instructions for your Fireplace in PDF format for free! Find your manual Augustus - Blumfeldt and take your electronic device back in hand. On this page are published all the documents necessary for the use of your device. Augustus by Blumfeldt.
USER MANUAL Augustus Blumfeldt
Unit 6 Riverside Business Centre
Brighton Road
Shoreham-by-Sea
BN436RE
United Kingdom
SICHERHEITSHINWEISE

WARNING
Congratulations on the purchase of your device. Please read the following instructions carefully and follow them to prevent potential damage. We accept no liability for damage caused by disregarding the instructions or improper use. Please scan the QR code to access the latest operating instructions and for further information about the product.

CONTENTS
Safety Instructions 12
Individual Parts 14
Assembly 16
Use 17
Cleaning and Care 18
MANUFACTURER & IMPORTER (UK)
Manufacturer:
Chal-Tec GmbH, Wallstraße 16, 10179 Berlin, Germany.
Importer for Great Britain:
Chal-Tec UK limited
Unit 6 Riverside Business Centre
Brighton Road
Shoreham-by-Sea
BN436RE
United Kingdom
SAFETY INSTRUCTIONS

WARNING
Risk of suffocation! The fire replace is intended for outdoor use only. It must not be used in buildings, garages or other enclosed areas. Toxic fumes can form, which lead to suffocation.
- The fi replace is not suitable for commercial purposes.
- The fi replace may only be used by adults. Children and pets must keep a safe distance.
- Do not use petrol, methylated spirits, lighter fluid or alcohol for lighting.
- Do not use the fi replace until it has been fully assembled and all parts are firmly seated.
- Do not use the fi replace on surfaces made of wood or other combustible materials.
- Empty the fi replace after each use. Leave a thin layer of ash in it to protect the floor. Only remove the ash when the coal has burnt down completely and the ash has cooled down.
- Do not touch the fi replace until it has cooled down completely. Wear heat-resistant gloves during operation.
- Do not stow away the fi replace until it has cooled down completely and the ashes have been disposed of.
- Always use tools and heat-resistant gloves when adding fuel or moving the fi replace.
- Do not leave the fi replace unattended during use.
- Hot embers may fall from the fire replace during use.
- Do not overload the fi replace with fuel. Only add new fuel when the fi re has burnt down. If any part of the fi replace glows red, it is overloaded.
- Keep the fuel away from the wall of the fi replace as the wall can be damaged by high temperatures.
- Do not breathe in the smoke and do not let it get into your eyes.
- Inspect the fi replace for damage before use.
- Use may cause the metal surface to discolour slightly.
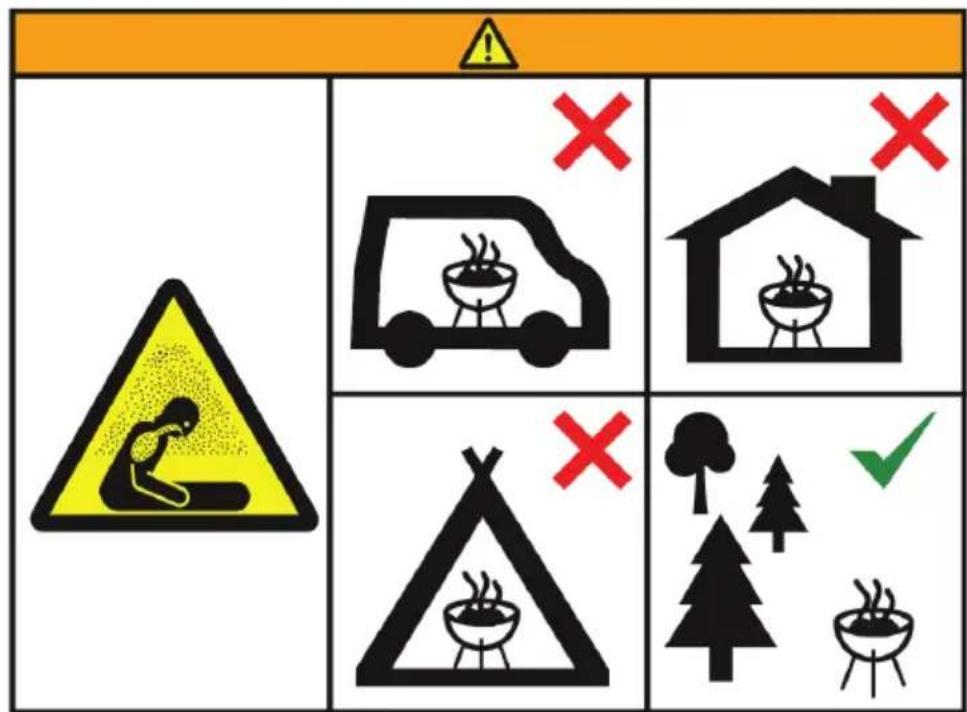
CAUTION!
DO NOT USE ALCOHOL OR GASOLINE TO IGNITE OR RE-IGNITE!
INDIVIDUAL PARTS
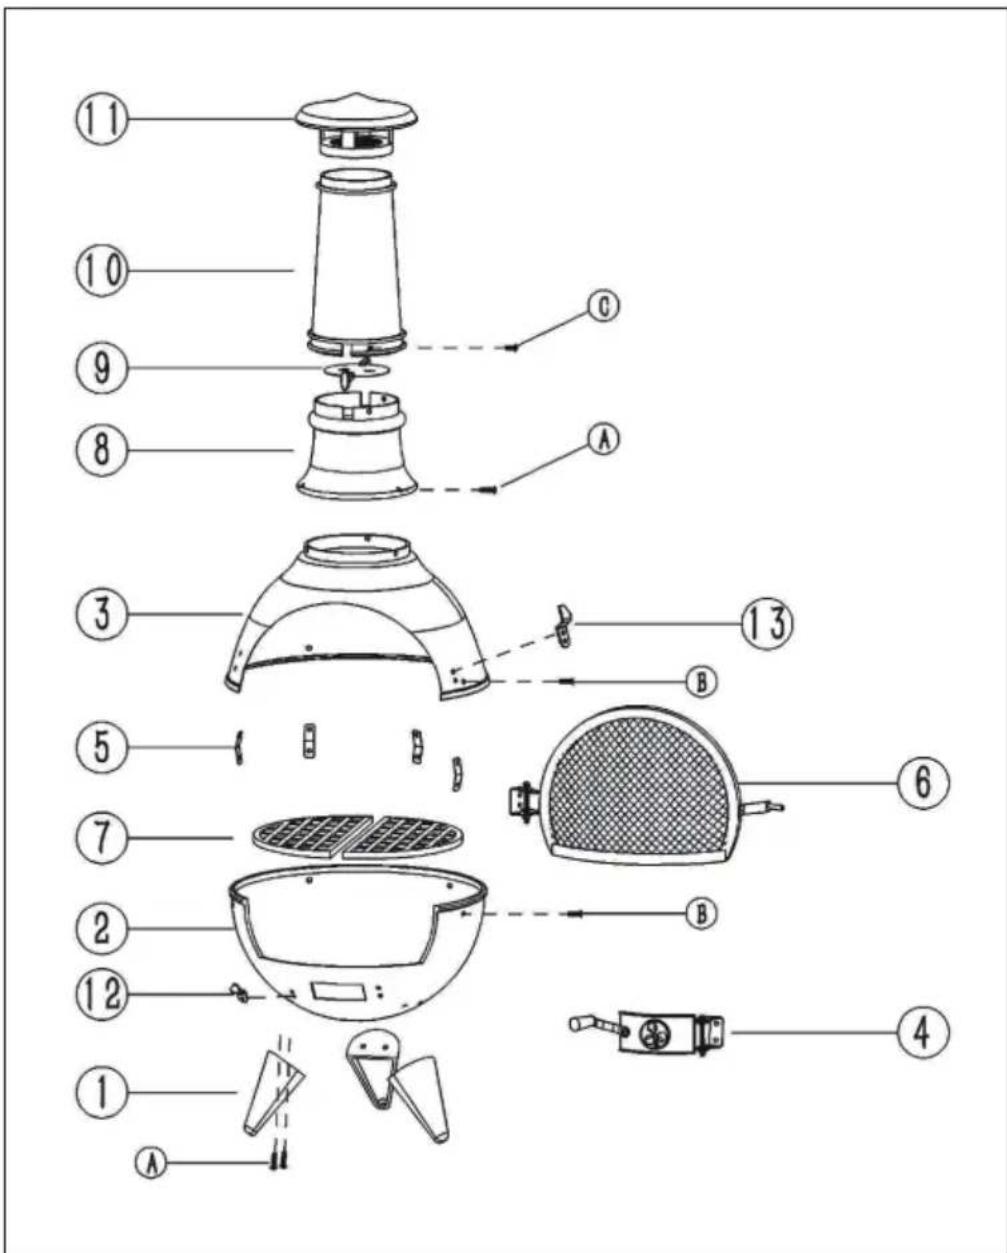
| No. | Designation Pc. | |
| 1 | Legs 3 | |
| 2 | Stove base 1 | |
| 3 | Stove structure 1 | |
| 4 | Air outlet 1 | |
| 5 | Front connecting plate 4 | |
| 6 | Mesh door 1 | |
| 7 | Wire shelf 2 | |
| 8 | Lower vent 1 | |
| 9 | Air flap | 1 |
| 10 | Upper vent 1 | |
| 11 | Extractor hood | 1 |
| 12 | Vent handle hanger | 1 |
| 13 | Door handle hanger 1 |
| A Screw M6x25 | 9 | |
| B Screw M6x20 | 8 | |
| C Screw M6x15 | 3 | |
| D Washer | 17 | |
| E Nut screw | 17 |
ASSEMBLY
| 1 | Lay the stove base (2) on its side and fix three legs (1) with six M6x25 screws, washers and nuts. Tighten firmly. Then attach the air vent (4) and the hanger (12) to the air flap. |
| 2 | Insert the rack (7) into the stove base (2). Fix the front and the two rear connecting plates to the stove base with four M6x20 screws, washers and nuts. Do not tighten too much. |
| 3 | Install the stove assembly (3) on the stove base (2) as described in the previous step. Align the connecting plates and fix them with four M6x20 screws, washers and nuts. Tighten firmly. |
| 4 | Attach the grille door (6) and the hanger (13) to the finished oven. Secure the lower flue to the stove body (3) with three M6x25 screws, washers and nuts. Tighten them firmly. Place the flap on the top of the lower vent (8). Fix the upper flue (10) to the lower flue (8) with three M6x15 screws and tighten the screws. |
| 5 | Finally, place the extractor hood (11) on the upper vent (10). |
USE
- Place the garden stove on a stable surface, at a safe distance from combustible materials. Don't forget that the whole stove heats up.
- The garden stove does not require any special care. It does not need sand to insulate the metal base.
- You can make a fire with wood or coal. Start a very small fire and add wood or charcoal as needed.
- Before moving the stove, it must be allowed to cool down completely and all fuel must be removed from the base of the stove.
Notes:
- You can use coal with the stove. However, wood makes for a better atmosphere.
- Start with a small fire and do not use petrol lighters, which rapidly increase the temperature.
- Let the fire go out naturally - do not extinguish it with water.
- When you do not need the stove, do not let the bowl of the oven base fill up with water. Use the cover provided to prevent rain from entering.
- Extreme winter weather can lead to discolouration. It is best to store the stove in the garage or a shed during this time.
- Remember that the garden stove is not a blast furnace. It gives off plenty of heat under normal circumstances. Too large a fire can damage the garden stove and pose a hazard.
Grilling
Even if the garden oven is primarily intended as a patio warmer, various foods can be cooked in it.
- Jacket potatoes, meat and fish can be wrapped in aluminium foil and baked in the embers.
- Meat or vegetable kebabs can be hung on long skewers and you put on the stove.
- Ovenproof dishes or ovenproof casseroles can be placed directly in the oven to prepare a variety of dishes.
- Be aware that cooking times vary depending on the size of the fire and the use of charcoal or wood.
CLEANING AND CARE

CAUTION Risk of burns! Allow the fi replace to cool down completely before inspecting it for damage or cleaning it.
Inspect the fi replace for damage
Check the fireplace regularly for damage to ensure product safety and a longer service life.
- Check all parts to make sure they are tight.
- Check the components for damage.
- If you notice damage to any component, have the fireplace repaired before continuing to use it.
Cleaning
- Make sure that the fire is completely extinguished when you stop using the fire replace.
- Make sure that the fire is completely extinguished and the fireplace has cooled down before removing the ashes.
- Use a damp cotton cloth to remove soot. Clean the fireplace regularly to ensure a long service life.
Note: The surface may discolour after repeated use.
- Do not use oven cleaner or scouring agents as they may damage the product.
- Clean the outside with water and a mild dishwashing detergent.
- For stubborn stains, use a citrus-based cleaner and a nylon brush.
Estimado cliente:
Chal-Tec UK limited.
Unit 6 Riverside Business Centre
Brighton Road
Shoreham-by-Sea
BN436RE
Reino Unido
Cher client, chere clientele,
Unit 6 Riverside Business Centre
Brighton Road
Shoreham-by-Sea
BN436RE
Royaume Uni
CONSIGNES DE SECURITE

MISE EN GARDE
PRODUTTORE IMPORTATORE (UK)
Produxtore:
Chal-Tec GmbH, Wallstraße 16, 10179 Berlin, Germania.
Unit 6 Riverside Business Centre
Brighton Road
Shoreham-by-Sea
BN436RE
Regno Unito
AVVERTENZE DISICUREZZA