PC78 Bridge - Cooker Schock - Free user manual and instructions
Find the device manual for free PC78 Bridge Schock in PDF.
| Brand | Schock |
| Model | PC78 Bridge |
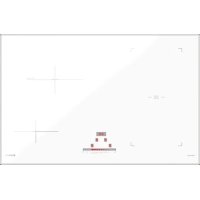
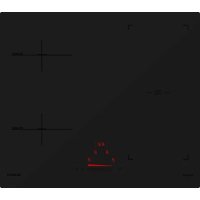
| Product type | Induction hob |
| Power supply | 230 V single-phase or 400 V three-phase (depending on configuration) |
| Number of cooking zones | 4 cooking zones |
| Control | Touch control with slider |
| Booster function | Yes (indicated by "P") |
| Bridge function | Combination of two cooking zones |
| Keep warm | Yes (maintains at 70 °C, symbol "U") |
| Pause | Yes (symbol "II") |
| Child lock | Yes (symbol "L") |
| Pan detection | Yes (symbol "U" if pan missing or unsuitable) |
| Safety shutdown in case of overflow | Yes (shutdown if at least 2 keys covered with liquid) |
| Overheating protection | Automatic and gradual power reduction |
| Display | Digital displays with symbols (0-9, E, H, L, P, U, II) |
| Ventilation | Automatic ventilation, continues after shutdown if necessary |
| Electrical connection | Terminal block with L1/L2 phase, N1/N2 neutral, mandatory earth |
| Recommended cable cross-section | See manual (cable with crimped terminals recommended) |
| Cut-out dimensions | Not specified in the manual |
| Weight | Not specified |
| Care and cleaning | Clean with a damp cloth; do not use abrasive cleaners |
| Pan compatibility | Flat and ferromagnetic base (magnet must stick) |
| Number of pages in manual | 8 pages |
Frequently Asked Questions - PC78 Bridge Schock
User questions about PC78 Bridge Schock
0 question about this device. Answer the ones you know or ask your own.
Ask a new question about this device
Download the instructions for your Cooker in PDF format for free! Find your manual PC78 Bridge - Schock and take your electronic device back in hand. On this page are published all the documents necessary for the use of your device. PC78 Bridge by Schock.
USER MANUAL PC78 Bridge Schock
1. To detect the wrong breakdowns :
1-1 Connection to the electric network:
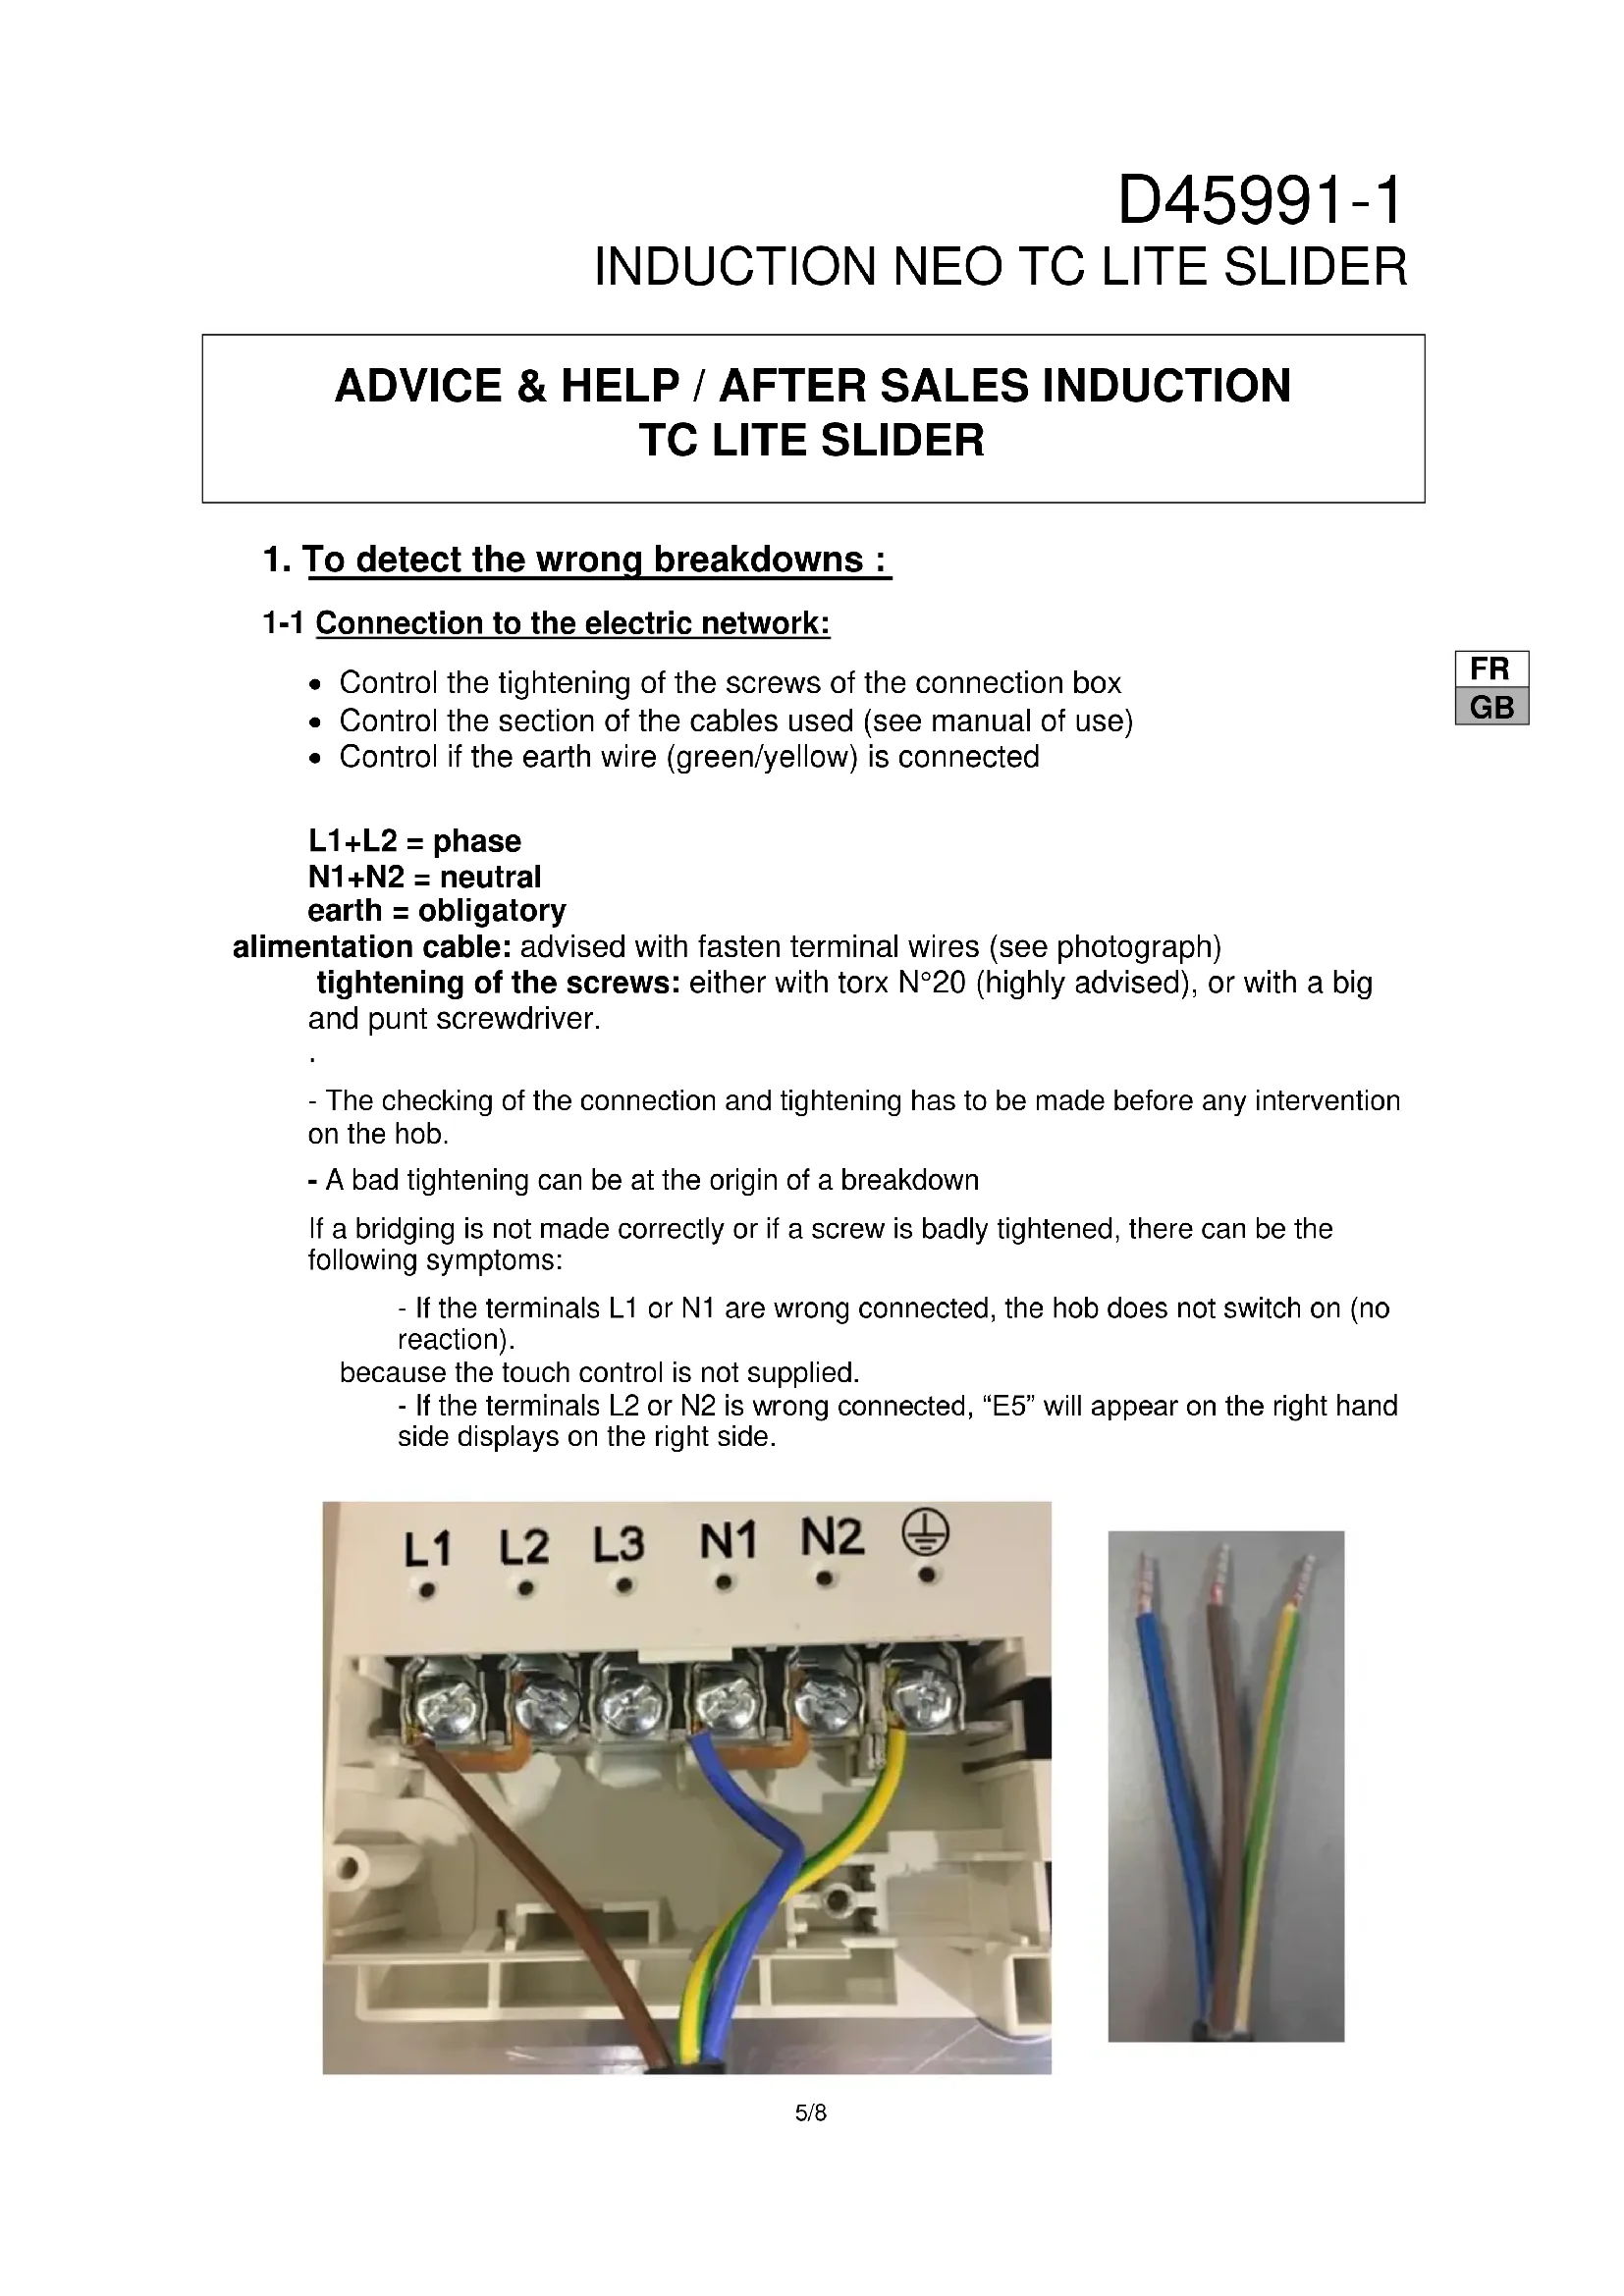
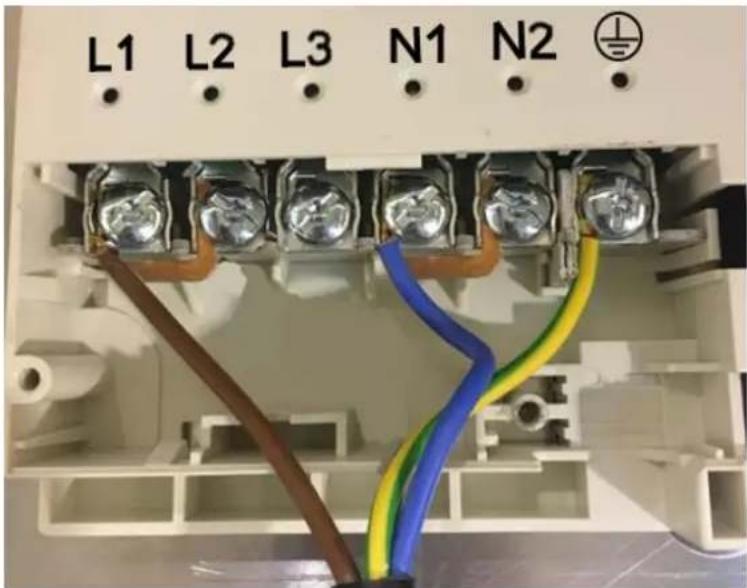
Control the tightening of the screws of the connection box
Control the section of the cables used (see manual of use)
Control if the earth wire (green/yellow) is connected
L1+L2 = phase
N1+N2 = neutral
earth = obligatory
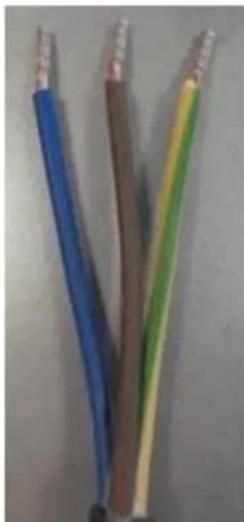
alimentation cable: advised with fasten terminal wires (see photograph)
tightening of the screws: either with torx N°20 (highly advised), or with a big and punt screwdriver.
- The checking of the connection and tightening has to be made before any intervention on the hob.
- A bad tightening can be at the origin of a breakdown
If a bridging is not made correctly or if a screw is badly tightened, there can be the following symptoms:
- If the terminals L1 or N1 are wrong connected, the hob does not switch on (no reaction).
because the touch control is not supplied.
- If the terminals L2 or N2 is wrong connected, "E5" will appear on the right hand side displays on the right side.
D45991-1
INDUCTION NEO TC LITE SLIDER
1-2 Installation:
Control the installation of the gasket under the glass.
- If the glass is glued with silicone leave the glass in place and dismount the case under the work plan.
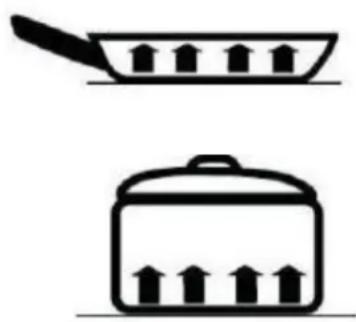
- Control the ventilation of the air coming in of the ventilators (minimum 2 cm of space).
1-3 Quality of the pans:
- Control if the pan is compatible with the heating by induction.
- To check by using a "magnet" that must remain hung on the bottom of the pan or by putting a little water in the bottom of the pan and while making this water heat in position 9^ water must boil quickly.
- The functioning of an induction generates certain sonority. This one depends on the pans used.
- Use only pans with flat bottoms. Others risk damaging the hob.
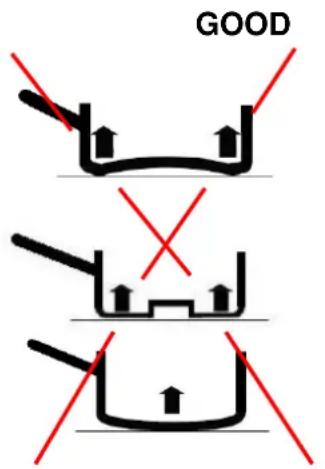
BAD
1-4 Use:
- To start the hob it is necessary to keep the key [0/1] pressed during 2 to 3 seconds.
- During the first times of use, the cooking appliance will release a smell of "new".
1-5 Ventilation:
- The ventilation starts as soon as the heating zones reach a certain level of temperature.
- This ventilation goes on cooling the heating zones even after the stop of cooking.
1-6 Securities:
- In case of overflow, the hob stops as soon as 2 keys at least of the control panel are covered with the liquid of overflow.
- In case of overheating of the heating zones, an automatic and progressive reduction of the power takes place.
2. To determine the breakdown according to the indications of the control panel.
Display Designation Description
0 zero the heating zone is activated
1...9 level of power selection of the cooking level
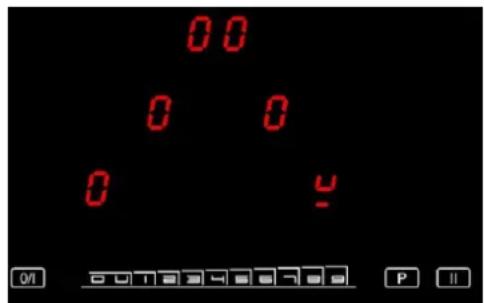
U pan detection no pan or inadequate pan
A heat accelerator automatic cooking.
E Error message electronic failure
H residual heat heating zone is hot
P power the boosted power is activated.
L locking the hob is protected
U keep warm maintain automatically of 70^
II stop&Go the hob is in pause
bridge 2 cooking zones are combined
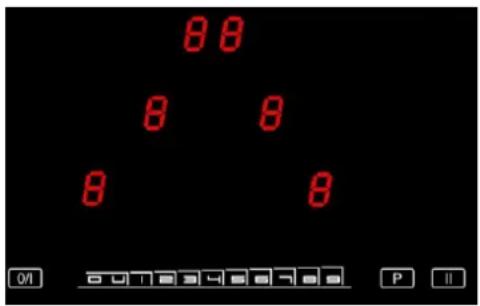
2-1 Fast starting :
With the connection of the hob to the electric network, four "8" are indicated and then get off.
After that, press the key [0/I] (On/Off), « 0 » appears with a blinking point (3 or 4 according to the hob).
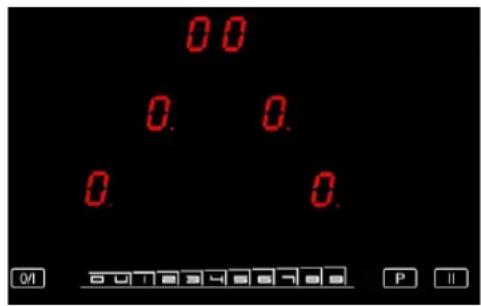
If no handling is made within 20 seconds, everything switches off.
Therefore, before the 20 seconds, press with your finger on the display of the cooking zone to use (while having put before a pan with water, a pan which external bottom has been wiped in order to avoid from any scratching of the glass).
Then, either slip on the SLIDER to regulate gradually from 1 to 9, or press the selected level for a direct access.
If no pan is put on the selected cooking zone, or if the pan is taken away during the cooking, or if the pan is not adapted to induction, you will have the following display:
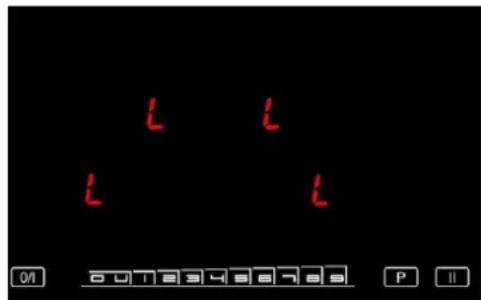
2-2 Locking « L »
To lock the hob:
Press the key [0/l] (On/Off)
Press at once simultaneously the key "P" and the display of the front right cooking zone for 4 zones hobs and rear right cooking zone for 3 zones hobs.
Then press the key of the cooking zone again.
These 3 operations have to be done within maximum 9 seconds, or else it will be necessary to start again by stopping the hob (key [0/I] (On/Off)).
Once these 3 operations done, the "L" appear on the hob (3 or 4 according to the model) and after this they get off; the hob is so locked.
That corresponds to a main switch, nobody can start the hob anymore (children security) and the hob can be cleaned without fear to put it in function.
To unlock the hob:
Press the key [0/l] (On/Off)
Press at once simultaneously the key « P » and the display of the front right cooking zone for 4 zones hobs and rear right cooking zone for 3 zones hobs.
These 3 operations have to be done within maximum 9 seconds, or else it will be necessary to start again by stopping the hob (key [0/I] (On/Off)).
Once these 3 operations done, the "L" disappear and the hob can be used again.
Caution:
To cancel the security realized on the hob, it is imperative:
-
either to wait for 20 seconds so that the control lights switches off,
-
or to press the key [0 / 1] (On/Off) to stop the hob.
If a short circuit occurs after having been put in the security does not cancel the locking.
The electronic keeps indeed this security in memory and at the moment of the re-connexion, the "L" will appear while pressing the key [0/I] (On/Off)