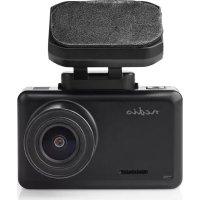
DCAM44BK - Dashcam NEDIS - Free user manual and instructions
Find the device manual for free DCAM44BK NEDIS in PDF.

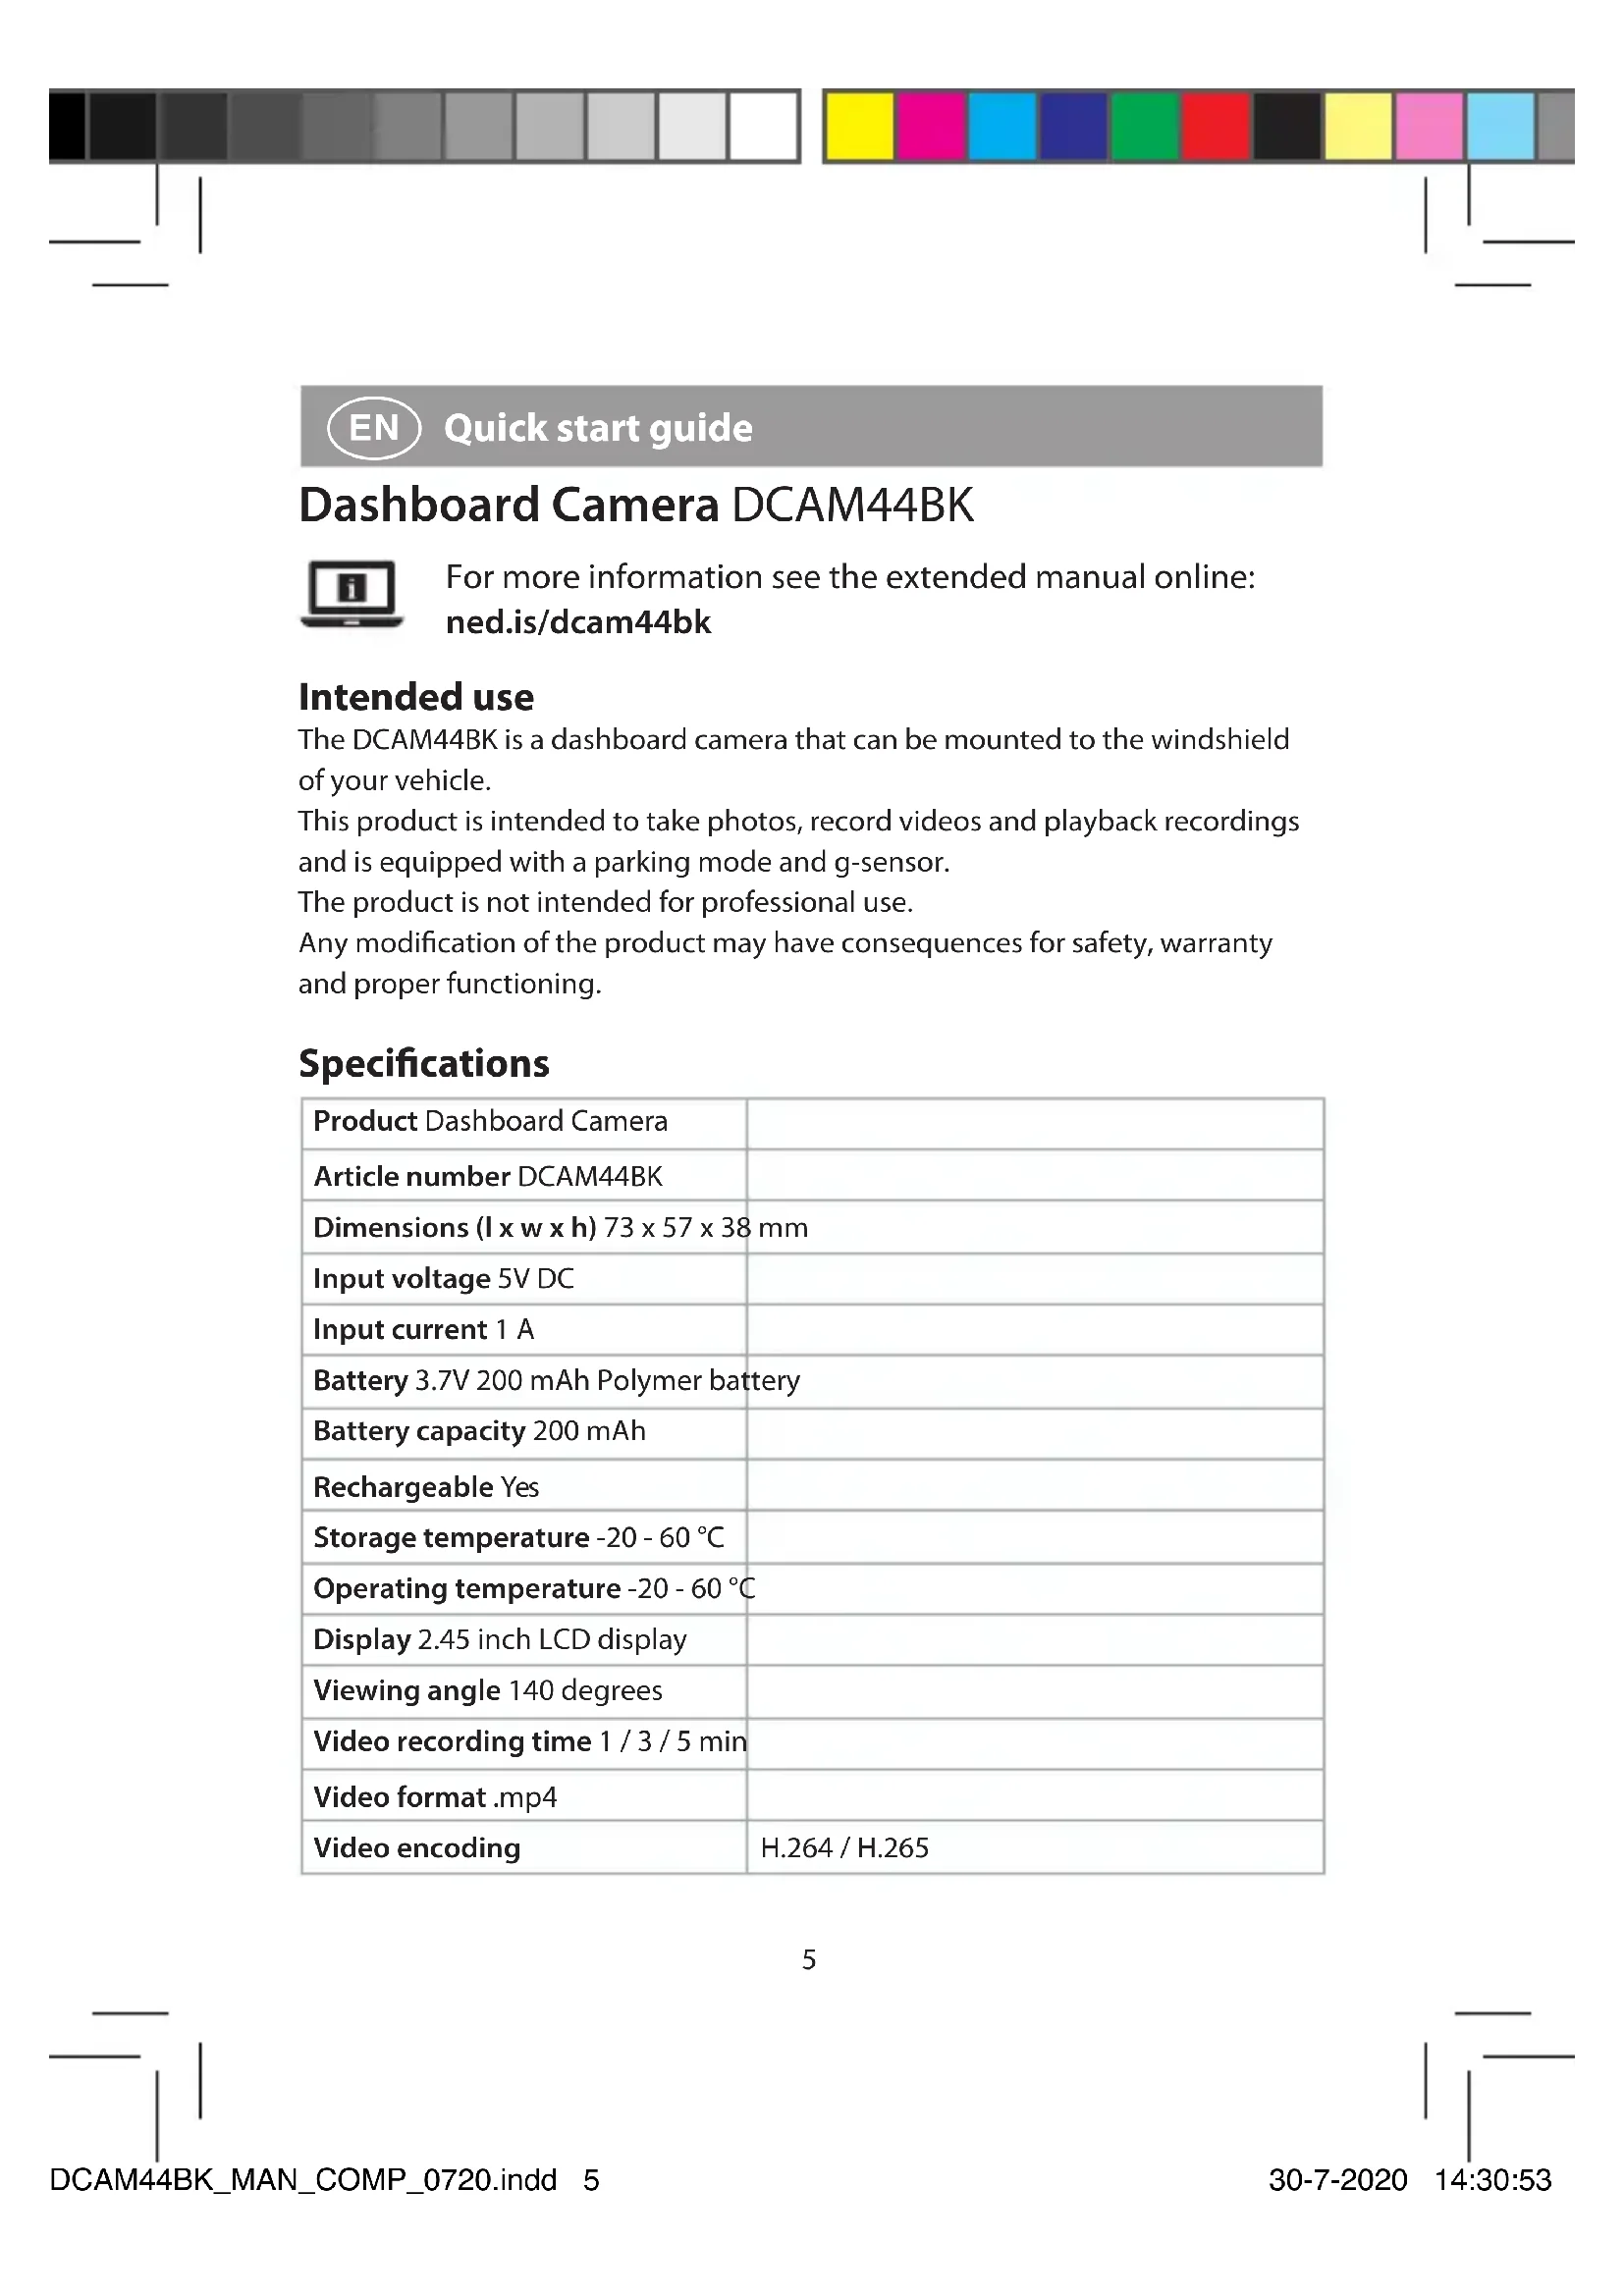


| Product type | Dashcam |
| Brand | Nedis |
| Model | DCAM44BK |
| Dimensions (L x W x H) | 73 x 57 x 38 mm |
| Input voltage | 5V DC |
| Input current | 1 A |
| Battery type | Lithium-ion polymer 3.7V 200 mAh |
| Display | 2.45 inch LCD screen |
| Viewing angle | 140 degrees |
| Maximum video resolution | 3840 x 2160 P30 (4K) |
| Video format | .mp4 (H.264 / H.265) |
| Maximum photo resolution | 12 Megapixels |
| Audio recording | Yes, built-in microphone |
| Storage support | microSD card (4 - 128 GB, not included) |
| Interface | Micro USB |
| Parking mode | Yes |
| Gesture sensor | Yes |
| Emergency lock | Yes |
| Power supply | Via 12V auxiliary socket or USB port (5V) |
| Operating temperature | -20 to 60 °C |
| Mounting | On windshield with double-sided adhesive tape |
| Care and cleaning | Clean with a soft, dry cloth. Do not use abrasive products. |
| Safety | Do not expose to water or moisture. Do not install in the airbag deployment zone. Use only the provided charger. |
| Spare parts and repairability | Spare parts are not available. In case of malfunction, contact Nedis support. |
Frequently Asked Questions - DCAM44BK NEDIS
User questions about DCAM44BK NEDIS
0 question about this device. Answer the ones you know or ask your own.
Ask a new question about this device
Download the instructions for your Dashcam in PDF format for free! Find your manual DCAM44BK - NEDIS and take your electronic device back in hand. On this page are published all the documents necessary for the use of your device. DCAM44BK by NEDIS.
USER MANUAL DCAM44BK NEDIS
For 4K car recordings
DCAM44BK
natural_image
Line drawing of a digital camera with labeled buttons (AV, MIC, TF) and a handle, no text or symbols present.
ned.is/dcam44bk
EN Quick start guide 5
DE Kurzanleitung 9
FR Guide de démarrage rapide 14
NL Snelstartgids 18
IT Guida rapida all'avvio 22
ES Guía de inicio rápido 27
PT Guia de iniciação rápida 32
SV Snabbstartsguide 36
FI Pika-aloitusopas 40
NO Hurtigguide 44
DA Vejledning til hurtig start 49
HU Gyors beüzemelési útmutató 53
PL Przewodnik Szybki start 57
EL Οδηγός γρήγορης εκκίνησης 62
SK Rýchly návod 66
CS Rychlý návod 71
RO Ghid rapid de inițiere 75

natural_image
Color palette bar with grayscale and solid color swatches, no text or symbols present

natural_image
Color palette bar with grayscale and solid color swatches, no text or symbols present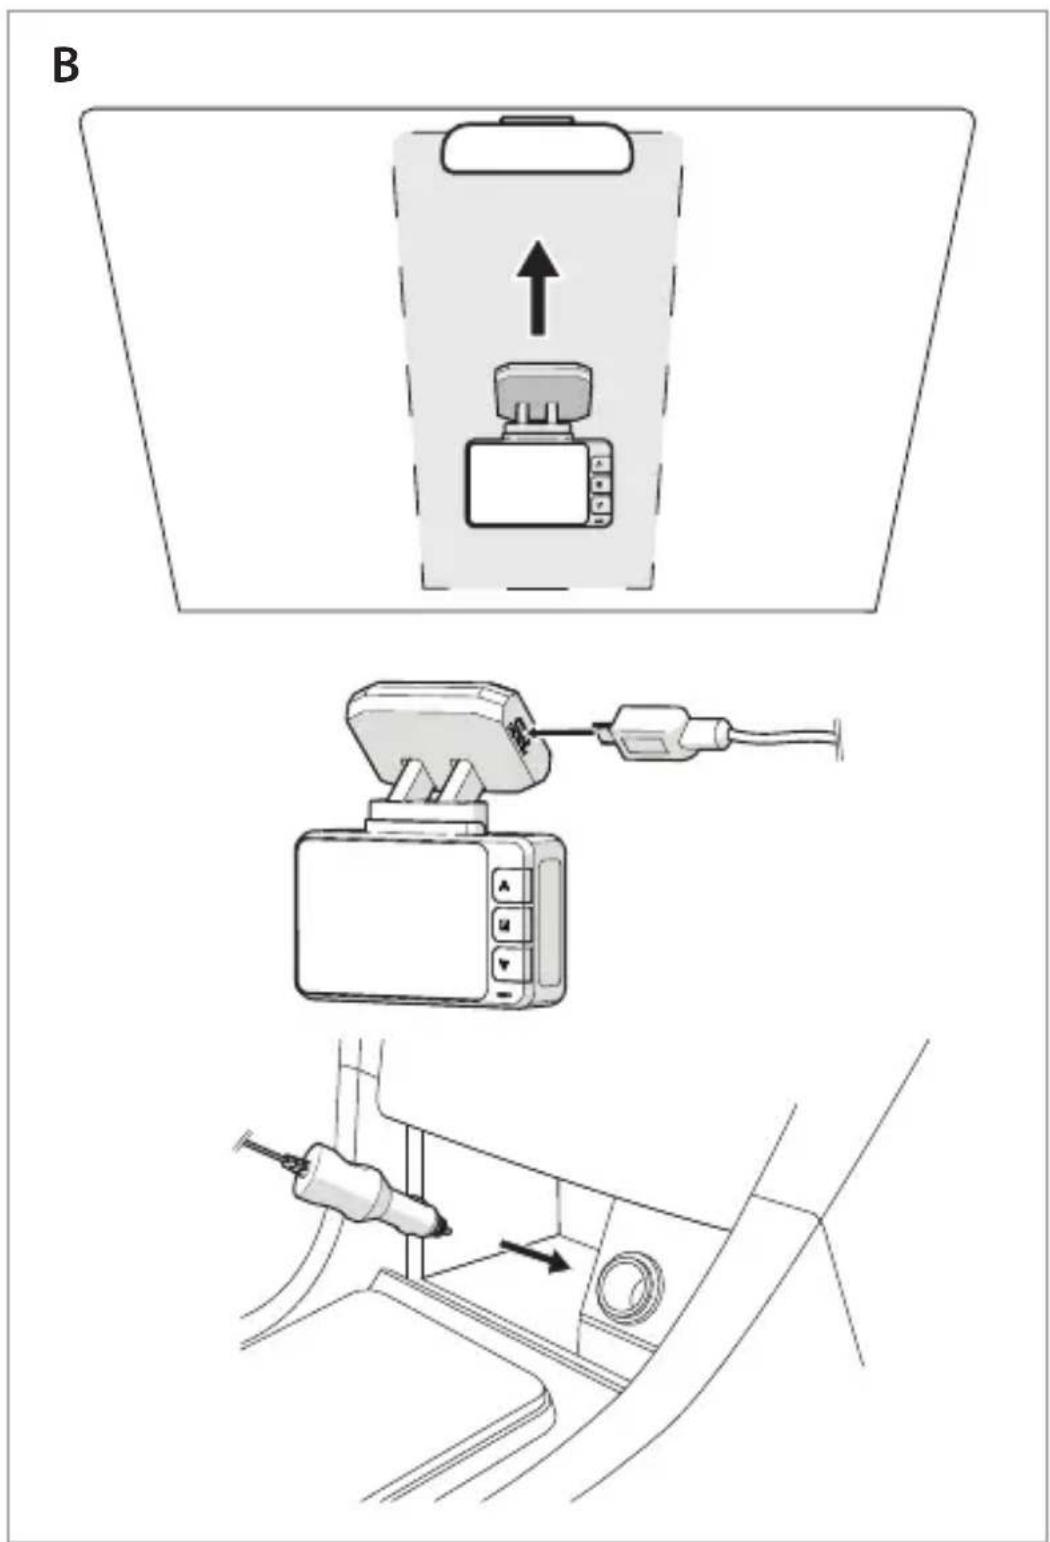

Quick start guide
Dashboard Camera DCAM44BK
For more information see the extended manual online: ned.is/dcam44bk
Intended use
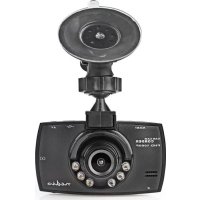
The DCAM44BK is a dashboard camera that can be mounted to the windshield of your vehicle.
This product is intended to take photos, record videos and playback recordings and is equipped with a parking mode and g-sensor.
The product is not intended for professional use.
Any modification of the product may have consequences for safety, warranty and proper functioning.
Specifications
| Product Dashboard Camera | |
| Article number DCAM44BK | |
| Dimensions (l x w x h) 73 x 57 x 38 mm | |
| Input voltage 5V DC | |
| Input current 1 A | |
| Battery 3.7V 200 mAh Polymer battery | |
| Battery capacity 200 mAh | |
| Rechargeable Yes | |
| Storage temperature -20 - 60 °C | |
| Operating temperature -20 - 60 °C | |
| Display 2.45 inch LCD display | |
| Viewing angle 140 degrees | |
| Video recording time 1 / 3 / 5 min | |
| Video format .mp4 | |
| Video encoding | H.264 / H.265 |
| Video resolution 3840 x 2160 P30 | / 2560 x 1440 P30 / 1920 x 1080 P60 / 1920 x 1080 P30 |
| Image resolution 12M / 10M / 8M | / 5M / 3M / VGA |
| Language English, French, German | Italian, Dutch, Swedish, Finnish, Romanian, Hungarian, Czech,, |
| Recording audio Built-in microphone | |
| Memory card MicroSD card | |
| Memory card capacity 4 - 128 GB | |
| USB interface Micro USB | |
| Auto power off 1 / 3 / 5 min | |
| Screensaver 1 / 3 / 5 min | |
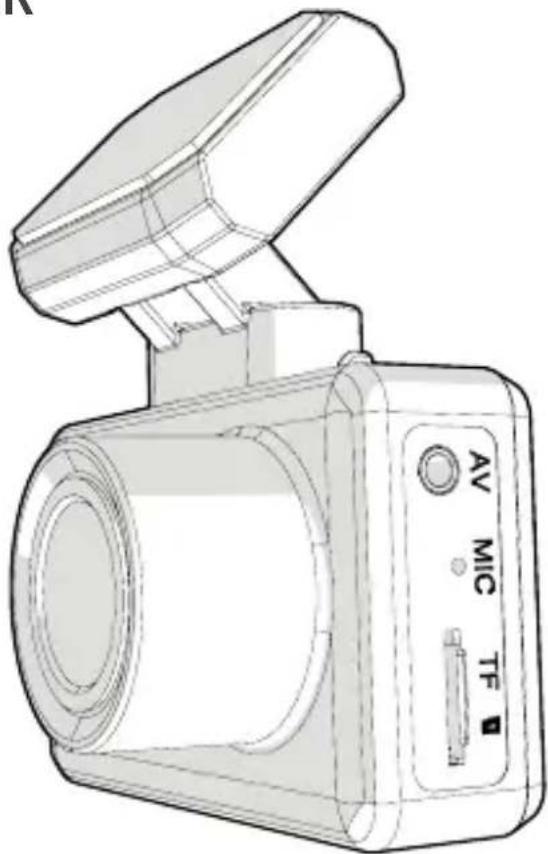
Main parts (image A)
1 Double sided tape
2 Camera mount
3 AV port
4 Microphone
5 MicroSD card slot
6 Gesture sensor
7 Auxiliary power plug
8 Micro USB port
9 Power button
10 Camera
11 Up button
12 Menu button
13 Down button
14 Display
15 Micro USB cable
Safety instructions
WARNING
- Ensure you have fully read and understood the instructions in this document before you install or use the product. Keep this document for future reference.
- Only use the product as described in this manual.
- Do not use the product if a part is damaged or defective. Replace a damaged or defective product immediately.
- Do not drop the product and avoid bumping.
- This product may only be serviced by a qualified technician for maintenance to reduce the risk of electric shock.
- Disconnect the product from the power source and other equipment if problems occur.
- Do not expose the product to water or moisture.
• Non-rechargeable batteries are not to be recharged.
- Do not short-circuit a cell or a battery.
- In the event of a cell leaking, do not allow the liquid to come in contact with the skin or eyes. If contact has been made, wash the affected area with copious amounts of water and seek medical advice.
- Do not use any charger other than that specifically provided for use with the equipment.
- Do not cover ventilation openings.
- Be careful when using the product while driving. Always focus your attention on the road.
- Do not place the product near heat sources, this can damage the product.
- Do not expose the product to very hot or very cold temperatures or drastic changes in temperature or humidity.
- Do not install the product within the operation range of the airbag.
- Ensure the product and the power cable are installed and do not interfere with the sight of the driver or impede with the operation of any driving controls.
Installing the product (image B)
Before using the product, the user shall check the applicable laws and regulations on the use of the product.
In some jurisdictions, the use of this product can be considered as an invasion of privacy.
The mounting of the product on the windshield might be regulated by law in some jurisdictions.
It is the user's own responsibility to consult the local laws and regulations before installing and using this product.
Switch off the car engine.
- Clean and degrease the spot where you want to fix the product.
Place the product just behind or below the rearview mirror.
-
Stick the product onto the windshield using the double sided tape A ①.
-
Insert a microSD card (not included) into the microSD card slot A ⑤.
-
Adjust the position of the camera A ⑩ for optimal view of the road.
Ensure the product and the power cable are installed and do not interfere with the sight of the driver or impede with the operation of any driving controls.
Always focus your attention on the road.
Connecting the product to a power source
Option 1:
- Plug the auxiliary power plug A ⑦ into an auxiliary power outlet.
- Plug the other end of the auxiliary power plug A ⑦ into the micro USB port A⑧.
Option 2:
- Charge the product using the USB port A ③.
The product automatically switches on and starts recording when you switch on your car engine.
Using the product
- Press power button A ⑨ for 3 seconds to switch the product on or off.
- Press menu A ⑫ for 3 seconds to switch to setup interface.
- Press up A ⑪ or down A ⑬ to select the parameters.
- Press A ⑨ to confirm the setting.
- Press A ⑫ to exit the menu.
The product automatically switches on and starts recording when you switch on your car engine.
An indicator light blinks blue.
In the top left corner of the display A ^14 the film camera icon appears and a red dot blinks.
The camera switches off after the engine is off.
The recording is automatically saved on the microSD card (not included).
Menu
- Press Menu A ⑫ to enter the menu.
- Press and hold A ⑫ to switch between the video, photo and playback mode.
The icon in the top left indicates the current operation mode.
Video mode
The video camera icon appears in the top left corner of the display A ^14 .
- Press A ⑨ to start or stop recording.
- Press A ⑬ to activate or deactivate audio recording.
An indicator light blinks blue.
If A⑦ is disconnected the camera stops recording.
The product automatically saves recordings on the microSD card.
Emergency lock
In video mode, press the lock button A⑫ to save the recording as a read-only file.
This recording cannot be overwritten or deleted when not connected to a computer.

Kurzanleitung
Dashcam DCAM44BK
natural_image
Color palette bar with grayscale and RGB swatches (no text or symbols)Nedis BV
De Tweeling 28, 5215 MC 's-Hertogenbosch – The Netherlands 07/20

DCAM44BK_MAN_COMP_0720.indd 80 30-7-2020 14:30:58
- For 4K car recordings
- Quick start guide
- Dashboard Camera DCAM44BK
- Intended use
- Main parts (image A)
- Safety instructions
- WARNING
- Installing the product (image B)
- Connecting the product to a power source
- Option 1:
- Option 2:
- Using the product
- Menu
- Video mode
- Emergency lock
- Kurzanleitung
- Dashcam DCAM44BK
Brand : NEDIS
Model : DCAM44BK
Category : Dashcam