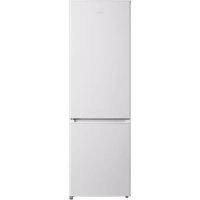
MRQ23P4AST - Fridge MIDEA - Free user manual and instructions
Find the device manual for free MRQ23P4AST MIDEA in PDF.
Download the instructions for your Fridge in PDF format for free! Find your manual MRQ23P4AST - MIDEA and take your electronic device back in hand. On this page are published all the documents necessary for the use of your device. MRQ23P4AST by MIDEA.
USER MANUAL MRQ23P4AST MIDEA
Before using this product, please read this manual carefully and keep it for future reference. The design and specifications are subject to change without prior notice for product improvement. Consult with your dealer or manufacturer for details. version A - 07 - 2021
MODEL NUMBER MRQ23P4AST
- www.midea.com Free 3 months extension of the original limited warranty period!* Simply text a picture of your proof of purchase to:1-844-224-1614*The warranty extension is for the three months immediately following the completion of the product’s original warranty period.Dear user THANK YOU and CONGRATULATIONS on your purchase of this high-quality Midea product. Your Midea refrigerator is designed for reliable, trouble-free performance. Please take a moment to register your new refrigerator. Register your new refrigerator at www.midea.com under the Support tab. For future reference, record your product model and serial numbers located on the back of the refrigerator above the compressor compartment. Model Number________________________________________ Serial Number_________________________________________ REFRIGERATOR SAFETY p. 3
- OPERATION REQUIREMENTS p. 7
- Location Requirements p. 7
- Electrical Requirements p. 8
- Water Supply Requirements p. 9
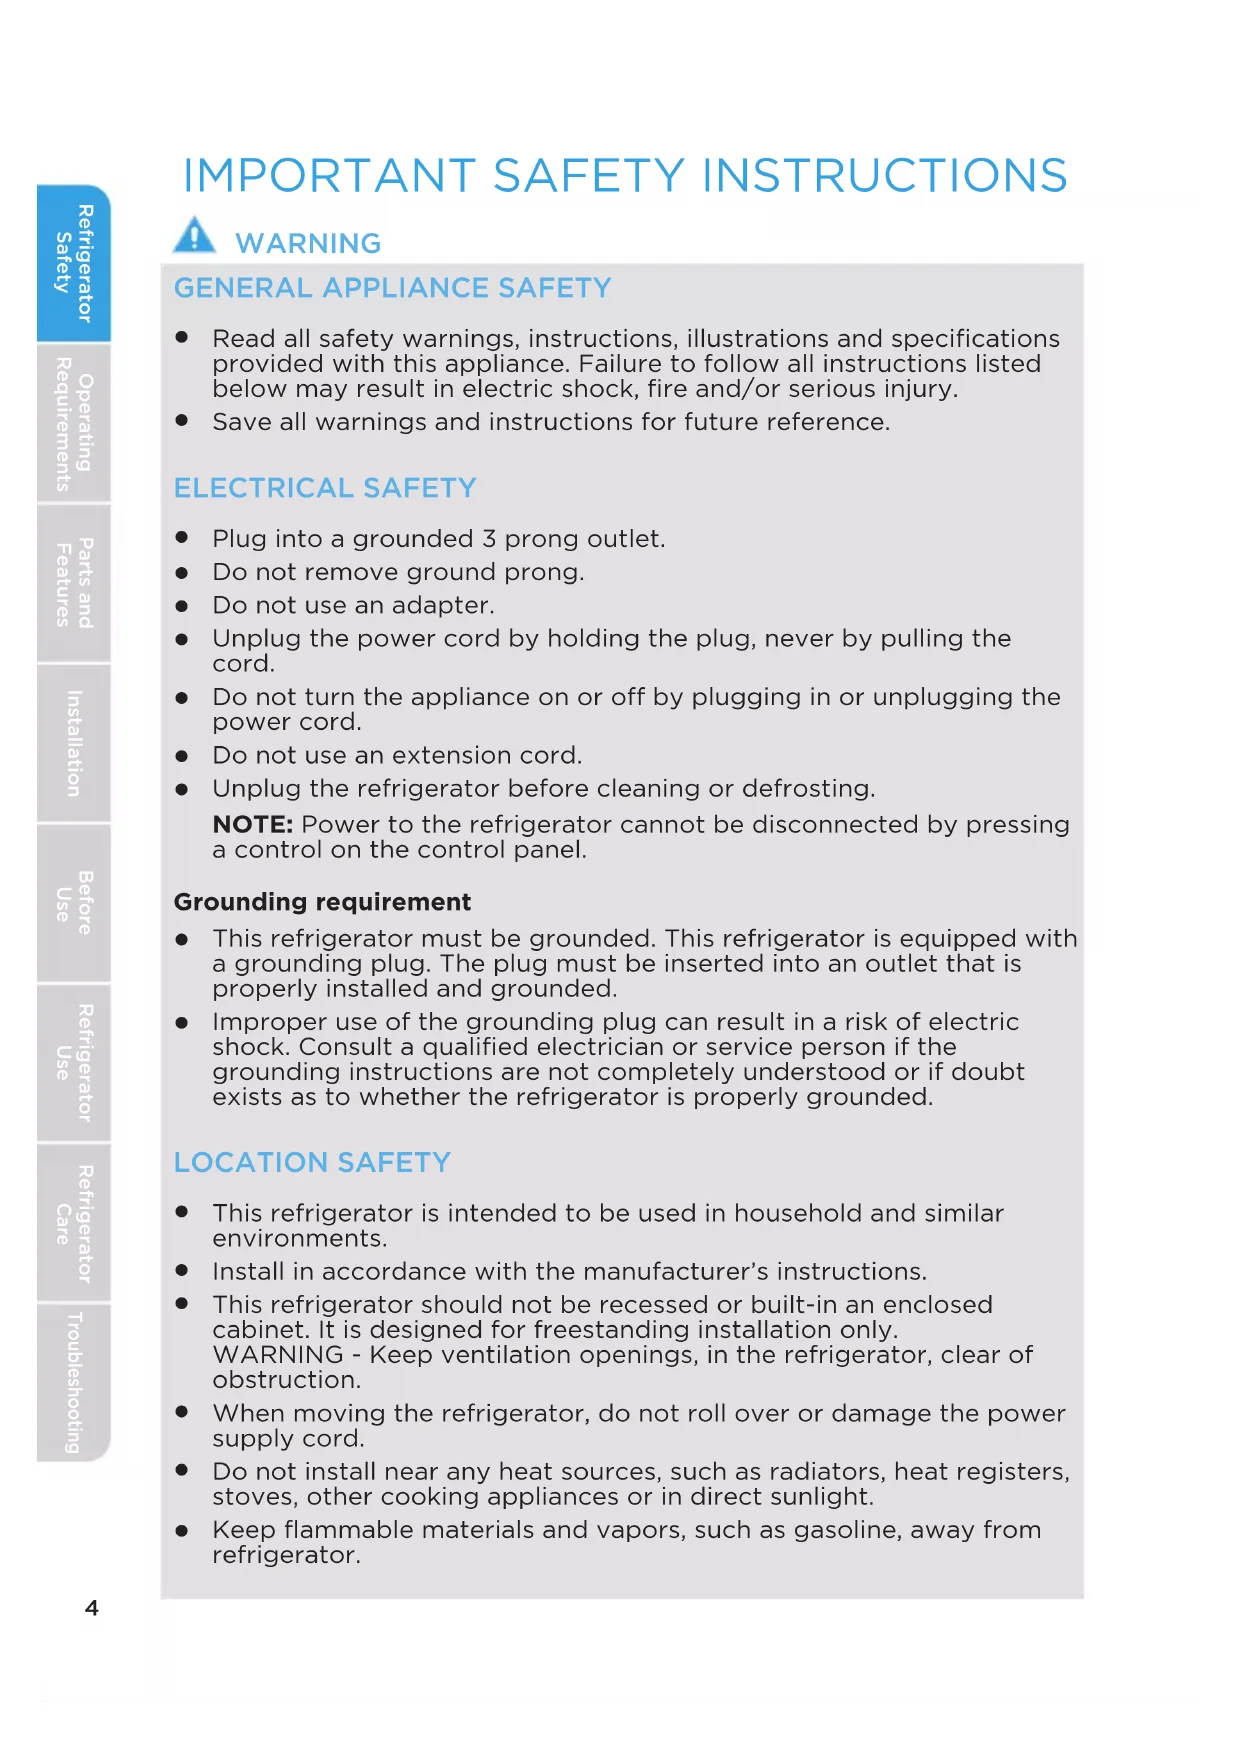
GENERAL APPLIANCE SAFETY
Read all safety warnings, instructions, illustrations and specifications provided with this appliance. Failure to follow all instructions listed below may result in electric shock, fire and/or serious injury.
Save all warnings and instructions for future reference. ELECTRICAL SAFETY
Plug into a grounded 3 prong outlet.
Do not remove ground prong.
Do not use an adapter.
Unplug the power cord by holding the plug, never by pulling the cord.
Do not turn the appliance on or off by plugging in or unplugging the power cord.
Do not use an extension cord.
Unplug the refrigerator before cleaning or defrosting. NOTE: Power to the refrigerator cannot be disconnected by pressing a control on the control panel. Grounding requirement
This refrigerator must be grounded. This refrigerator is equipped with a grounding plug. The plug must be inserted into an outlet that is properly installed and grounded.
Improper use of the grounding plug can result in a risk of electric shock. Consult a qualified electrician or service person if the grounding instructions are not completely understood or if doubt exists as to whether the refrigerator is properly grounded. LOCATION SAFETY
This refrigerator is intended to be used in household and similar environments.
Install in accordance with the manufacturer’s instructions.
This refrigerator should not be recessed or built-in an enclosed cabinet. It is designed for freestanding installation only. WARNING - Keep ventilation openings, in the refrigerator, clear of obstruction.
When moving the refrigerator, do not roll over or damage the power supply cord.
Do not install near any heat sources, such as radiators, heat registers, stoves, other cooking appliances or in direct sunlight.
Keep flammable materials and vapors, such as gasoline, away from refrigerator.5 Refrigerator Safety Operating Requirements Parts and Features Installation Refrigerator Use Refrigerator Care Troubleshooting Before Use
Flammable refrigerant used. Follow handling instructions carefully. Risk of fire or explosion due to puncture of refrigerant tubing.
Flammable refrigerant used. Do not use mechanical devices to defrost freezer. Do not puncture refrigerant tubing.
Do not store or use gasoline or any flammable liquids inside or in the vicinity of this refrigerator.
Use two or more people to move and install refrigerator.
Connect refrigerator to a potable water supply only for ice maker and dispenser use.
This appliance is not intended for use by persons (including children) with reduced physical, sensory or mental capabilities, or lack of experience and knowledge, unless they have been given supervision or instruction concerning use of the appliance by a person responsible for their safety.
Children should be supervised to ensure that they do not play with the appliance.
Keep fingers out of the “pinch point” areas; clearances between the doors and between the doors and cabinet are necessarily small. Be careful closing doors when children are in the area.
Do not use electrical appliances inside the food storage compartments of the appliance, unless they are of the type recommended by the manufacturer.
Do not touch the interior of the freezer with wet hands. This could result in frostbite.
Use nonflammable cleaner. Clean only with a damp cloth.
In refrigerators with automatic icemakers, avoid contact with the moving parts of the ejector mechanism, or with the heating element that releases the cubes. Do not place fingers or hands on the automatic ice making mechanism while the refrigerator is plugged in.
Do not use electrical appliances on the top of the refrigerator, unless they are of the type recommended by the manufacturer.
Do not place heavy objects on the top of the refrigerator considering that objects may fall when doors are opened and closed.
Do not store beer, beverages or other fluid contained in bottles or enclosed containers in the freezer. The bottles or containers may crack due to freezing. SERVICE SAFETY
Disconnect power before servicing.
Flammable refrigerant used. To be repaired only by trained service personnel. Do not puncture refrigerant tubing.6 Refrigerator SafetyOperating RequirementsParts and FeaturesInstallationRefrigerator Use Refrigerator Care TroubleshootingBefore Use
Refer all servicing to qualified service personnel. Do not repair or replace any part of this appliance unless specifically recommended in this manual. Servicing is required when the appliance has been damaged in any way, such as the power supply cord or plug is damaged, liquid has been spilled or objects have fallen into the appliance, the appliance has been exposed to rain or moisture, does not operate normally, or has been dropped.
If the supply cord is damaged, it must be replaced by the manufacturer, its service agent, or similarly qualified person, in order to avoid a hazard.
If component part is damaged, it must be replaced by the manufacturer, its service agent or similarly qualified persons in order to avoid a hazard.
Replace all parts and panels before operating.
SAVE THESE INSTRUCTIONS
THIS APPLIANCE IS FOR HOUSEHOLD USE ONLY State of California Proposition 65 Warnings:
WARNING: Cancer and Reproductive Harm
-www.P65Warnings.ca.gov. PROPER DISPOSAL WARNING Suffocation Hazard Before you throw away your old refrigerator:
Remove the doors and drawers so that children cannot hide or get trapped inside your old appliance.
Leave any shelves in place so that children may not easily climb inside.
Failure to follow these instructions can result in death or brain damage. IMPORTANT: Refrigerant and cyclopentane foaming material used for the appliance are flammable. It is the consumer’s responsibility to comply with Federal and Local regulations when disposing of this product. Refrigerants must be evacuated by a licensed, EPA certified refrigerant technician in accordance with established procedures.OPERATING REQUIREMENTS8 Refrigerator SafetyOperating RequirementsParts and FeaturesInstallationRefrigerator Use Refrigerator Care TroubleshootingBefore Use ELECTRICAL REQUIREMENTS WARNING Electrical Shock Hazard
Plug into a grounded 3 prong outlet.
Do not remove the ground prong from the power cord plug.
Do not use an adapter.
Do not use an extension cord.
Failure to do so can result in death, fire or electrical shock. IMPORTANT: A 115 Volt, 60 Hz., AC only, 15-amp fused, grounded electrical supply is required.
Use an electrical outlet that accepts the grounding prong. NOTE: The power cord is equipped with a 3-prong (grounding) plug which mates with a standard 3-prong (grounding) electrical outlet.
We recommend that the refrigerator be plugged into an electrical circuit serving ONLY this appliance.
Use an electrical outlet that cannot be turned off with a switch or pull- chain.
A cold water supply with water pressure between 30 and 100 psi (207 and 689 kPa) is required to operate the water dispenser and ice maker. If you have questions about your water pressure, call a licensed, qualified plumber. IMPORTANT: Operation outside the water pressure range may cause malfunction and severe, damaging water leaks. NOTE: If the water pressure is less than what is required, the flow of water from the water dispenser could decrease or ice cubes could be hollow or irregularly shaped. Reverse Osmosis Water Supply (if applicable) IMPORTANT: The pressure of the water supply coming out of a reverse osmosis system going to the water inlet valve of the refrigerator needs to be between 30 and 100 psi (207 and 689 kPa). If water pressure is too low: Check to see whether the sediment filter in the reverse osmosis system is blocked. Replace the filter if necessary. Allow the storage tank on the reverse osmosis system to refill after heavy use. The tank capacity could be too small to keep up with the requirements of the refrigerator. If your refrigerator has a water filter, it may further reduce the water pressure when used in conjunction with a reverse osmosis system. Remove the water filter.10 Refrigerator Safety Operating Requirements Parts and Features Installation Refrigerator Use Refrigerator Care Troubleshooting Before Use
LED lighting Dairy Bin Door tray Crisper drawer Lower freezer drawer light switch Control and display panel Shelf Big drawer Upper freezer drawer11 Refrigerator SafetyOperating RequirementsParts and FeaturesInstallationRefrigerator Use Refrigerator Care TroubleshootingBefore Use SPECIFICATIONS Dimension (WxDxH) 35.8" x 29.0" x 69.9" (91 x 73.7 x 177.5 cm) Width with door open 135° 62.8" (159.6 cm) Weight 282 lbs. (128 kg) Power requirements 115 V ~ 60 Hz, 2.5A minimum requirement Power cord length 66.9" (170 cm) INSTALLATION UNPACK WARNING Fire or Explosion Hazard
Do not puncture refrigerant tubing.
Follow handling instructions carefully.
Failure to do so can result in death, explosion or fire. IMPORTANT: Remove ALL exterior and interior packing materials including the foam packing between the exterior condenser and the refrigerator cabinet. DOOR REMOVAL (ONLY IF NEEDED) Measure the refrigerator to make sure it will fit through the doorway. If the refrigerator cannot pass easily through the doorway, follow the instructions to remove the two refrigerator compartment doors and the front panels of the flex temperature and freezer drawers. WARNING Electrical Shock Hazard
Disconnect power before removing doors.
Reconnect ground wire before operating.
Failure to do so could result in death or electric shock.12 Refrigerator Safety Operating Requirements Parts and Features Installation Refrigerator Use Refrigerator Care Troubleshooting Before Use In some cases you need to remove the fridge doors and freezer drawers to move the refrigerator through a doorway. The doors and drawers can be removed by the following steps. If not necessary, DO NOT remove the doors and drawer.
1. Use screwdriver to remove the 2 pcs screws, and then remove
the upper hinge cover of the Left door. See Figure 1.
2. Use the screwdriver to loosen the 3 screws and 1 earth screw
fixing the upper hinge, then remove the plug terminal and then remove the Left door body. See Figure 2.
3. For the Right door, there is no earth screw. Follow the rest
of the steps for the Left door.
by hand. See Figure 3. For a drawer, first remove the security block for the stopper
5. Press the lock buttons of both the left and right glide rails
and slowly pull the drawer out. See Figure 3. Note: To install the drawer in place, inserting the glide rails in the rail housing and slowly push the drawer toward the back. Make sure that the rail assemblies are securely installed and put the security blocks on the lock buttons. Lock button The security block Figure 3 Figure 1 Figure 213 Refrigerator Safety Operating Requirements Parts and Features Installation Refrigerator Use Refrigerator Care Troubleshooting Before Use
Installing the Water Line Connecting To The Water Supply Line Water line installation kits are available as an additional accessory from your dealer or at a local hardware store. There are several items that you need to purchase to complete this connection. You will find these items sold as a kit at your local hardware store. Locate the nearest cold water supply valve. After connecting the water supply to the water valve, turn your main water supply back on and flush several gallons of water to clear the water supply line. Connecting the Water Line to The Refrigerator14 Refrigerator Safety Operating Requirements Parts and Features Installation Refrigerator Use Refrigerator Care Troubleshooting Before Use Complete the Installation WARNING Electrical Shock Hazard
Plug into a grounded 3 prong outlet.
Do not remove the ground prong from the power cord plug.
Do not use an adapter.
Do not use an extension cord.
Failure to do so can result in death, fire or electrical shock.
1. Plug into a grounded 3 prong outlet.
NOTE: This refrigerator begins operating as soon as it is connected to the power supply.
2. Move the refrigerator into its final location, making sure to maintain the
recommended clearance.
Do not puncture refrigerant tubing.
Follow handling instructions carefully.
Failure to do so can result in death, explosion or fire. IMPORTANT:
If the refrigerator has been in a horizontal position for any period of time, wait 24 hours to allow the refrigerant to settle before plugging in the refrigerator.
When moving the refrigerator, DO NOT tilt it beyond 45° from upright. NOTE: Tilting the refrigerator more than 45° could damage the compressor and the sealed system.
Avoid placing excessive stress on the doors or top when moving the refrigerator.ALIGN DOORS (IF NEEDED) If the top edges of the refrigerator doors are not aligned, adjust the height of the lower door.
1. Raise the lower door so that the top edge is level with the higher door.
2. Using pliers, insert a snap ring (provided) into the gap between the
Refrigerator Safety Operating Requirements Parts and Features Installation Refrigerator Use Refrigerator Care Troubleshooting Before UseLEVEL REFRIGERATOR IMPORTANT: Level the refrigerator for proper operation and to avoid cooling, frost and moisture problems that can occur if the doors do not close completely.
1. Move the refrigerator to its final location. See “Move to Final Location.”
2. Place a carpenter's level on the top of the cabinet to check that the
refrigerator is level from side to side and tilted slightly downward toward the back. If the refrigerator is not level, go to steps 3 and 4 to adjust. NOTE: The doors will close easier when the front of the refrigerator is slightly higher than the back of the refrigerator.
3. Using two or more people, adjust the leveling feet (one foot located at
each of the two front corners of the refrigerator cabinet).
4. With one person pressing against the top front of the refrigerator to
take weight o the leveling feet, the other(s) can then turn the leveling feet to adjust the height of each side.
5. Use the carpenter's level to check the level and tilt.
Before plugging the refrigerator into a grounded 3-prong electrical outlet, allow it to stand upright for approximately 2 hours. NOTE: This reduces the possibility of a malfunction in the cooling system caused by improper handling during transportation.
Allow the refrigerator to cool for 2 to 3 hours before adding food. CLEANING
1. Wash the refrigerator interior using a soft cloth dampened with a
baking soda solution (2 tablespoons baking soda mixed with 1 quart of warm water).
2. Using a soft cloth, thoroughly dry all surfaces.
The storage life of frozen foods varies and the recommended storage time should not be exceeded.
Place frozen food into the freezer as quickly as possible after purchase.
Do not refreeze frozen foods which have thawed completely. WARNING Electrical Shock Hazard
Plug into a grounded 3 prong outlet.
Do not remove the ground prong from the power cord plug.
Do not use an adapter.
Do not use an extension cord.
Failure to do so can result in death, fire or electrical shock.
1. Plug refrigerator into a grounded 3 prong outlet.
2. Wait 30 minutes, and then open the refrigerator door to determine if
the refrigerator is cooling.
3. Load items into the refrigerator and freezer compartments.
Allow hot foods to cool to room temperature before placing them in the freezer. Foods that freeze too slowly may lose quality or spoil.
Do not overload the refrigerator with a large amount of unfrozen food. Overloading forces the compressor to run longer, which decreases the cooling efficiency of the refrigerator.
Wrap foods properly and wipe containers dry before placing them in the refrigerator. This decreases frost build-up inside the refrigerator.
Do not line refrigerator storage shelves with aluminum foil, wax paper or paper toweling. Liners interfere with cold air circulation, making the refrigerator less efficient.
Organize and label food to reduce the number of door openings, and length of time the door or drawer is open. Remove the items needed at one time, and then close the door as soon as possible.
Refrigerator SafetyOperating RequirementsParts and FeaturesInstallationRefrigerator Use Refrigerator Care TroubleshootingBefore UseCONTROLS (The picture above is only for reference.The actual configuration will depend on the physical product or statement by the distributor)
Temperature adjusting button of refrigerator room Super cool button Lock/unlock button
a) When electrify the refrigerator, the display screen will totally display for 3 seconds, meanwhile the starting up bell rings ,then the display screen enters the normal display of operation.(if power-on for first time, the default set temperature of the refrigerator room and the freezer room is / 0°F ). b) It will display the set temperature of both refrigerator and freezer rooms when there is no fault. c) Under normal circumstances, the display light will go out after 30 seconds in lock state, button operation on display panel would wake up the display screen; if the opening door action wakes up the display screen, the display light would go out immediately when the door is closed; when the “fault code visible” type of fault occurs, the display
creen lights up, and will go out after 30 seconds. a) In the unlock state, press and hold the lock/unlock button for 3 seconds to enter the lock state , and the buzzer sound rings. b) In the lock state, press and hold the lock button for 3 seconds to enter the unlock state and the buzzer sound rings. c) It will enter the lock state if there is no opening door action or any buttons operation within 30 seconds. d) The alarm sound can be stopped by press ing any one button in lock state, but all other button operations need to be performed in unlock state. If you operate in the lock state, an error beep will be given.
Refrigerator SafetyOperating RequirementsParts and FeaturesInstallationRefrigerator Use Refrigerator Care TroubleshootingBefore Use Temperature adjusting button of 41°F4. Refrigerator temperature setting
5. Freezer temperature setting
Click the temperature adjusting button of refrigerator room to change the set temperature of refrigerator room, Each time click the button, the set temperature will drop 1°F. When the set temperature reaches the 34°F, click the button again, the set temperature will switch to 44°F. The Click the temperature adjusting button of freezer room to change the set temperature of freezer room, Each time click the button, the set temperature will drop 1°F. When the set temperature reaches the -7°F, click the button again, the set temperature will switch to 7°F. The temperature 1)Press the button to start the super cool function. The refrigerator room is set at 34°F automatically, and the icon shines . When exit the super cool mode, the set temperature of refrigerator room will go back to the set temperature before super cool mode. 2)Press the button to start the super freeze function. The freezer room is set at -7°F automatically, and the icon shines. When exit the super freeze mode, the set temperature of freezer room will go back to the set temperature before super freeze mode. 3)Press the button, the ice-making function could be switched function is activated.
Refrigerator Safety Operating Requirements Parts and Features Installation Refrigerator Use Refrigerator Care Troubleshooting Before UseREFRIGERATOR CARE Both the refrigerator and freezer compartments defrost automatically and require minimal cleaning and maintenance. To keep your refrigerator running efficiently and odor free, we recommend that you wipe up spills immediately and clean the refrigerator regularly. CLEANING WARNING Electrical Shock Hazard
Unplug your appliance or disconnect power before cleaning.
Failure to do so can result in death, electric shock or personal injury. WARNING Explosion Hazard
Failure to do so can result in death, explosion or fire. IMPORTANT: To prevent damage to the finish, DO NOT use gasoline, benzine, thinner or other solvents, and DO NOT use abrasive cleaners.
3. Remove and wash the shelves with a mild detergent solution.
Refrigerator SafetyOperating RequirementsParts and FeaturesInstallationRefrigerator Use Refrigerator Care TroubleshootingBefore Use4. Wash the refrigerator interior using a soft cloth dampened with a baking soda solution (2 tablespoons baking soda mixed with 1 quart of warm water).
5. Clean the gasket around the door. Gently wipe the gasket using a soft
cloth dampened with a mild detergent solution. NOTE: Gaskets must be kept clean and pliable to assure a proper seal.
6. Using a soft cloth, thoroughly dry all surfaces.
7. Plug in or reconnect power.
MOVING IMPORTANT: When moving your refrigerator, DO NOT tilt it beyond 45° from upright.
1. Unplug your refrigerator from the wall outlet.
STORAGE IMPORTANT: Do not store refrigerator in a location that is accessible to children.
1. Unplug your refrigerator from the electrical outlet.
4. Leave the door open slightly to avoid possible formation of
condensation, mold or odor. REPLACING LIGHTS Any replacement or maintenance of the LED lights is intended to be made by the manufacturer, its service agent or similarly qualified person.
Refrigerator Safety Operating Requirements Parts and Features Installation Refrigerator Use Refrigerator Care Troubleshooting Before UseTROUBLESHOOTING IMPORTANT: DO NOT try to repair your refrigerator yourself. Doing so invalidates the warranty. GENERAL
PROBLEM POSSIBLE CAUSE SOLUTION
The refrigerator is not on or is not cooling The refrigerator is unplugged. Make sure that the refrigerator power cord is fully plugged into the electrical outlet. The fuse on the circuit is blown or the circuit breaker is tripped. Check the house fuse / circuit breaker box and replace the fuse or reset the circuit breaker. Power failure. If a power failure occurs, the refrigerator turns o. Wait until the power is restored. Temperature control is not set to correct temperature. Adjust the temperature to a lower setting. The clearance between the refrigerator and surrounding cabinets or wall is insufficient. Make sure there is adequate clearance around the refrigerator, and remove all items from the top of the refrigerator to maximize air circulation. See “Location Requirements.” The refrigerator door does not close completely Food packages are interfering with the door. Move or remove some food items. The door gaskets are dirty. Clean the door gaskets. The refrigerator may not be level. Level the refrigerator. The LED lights do not come on The refrigerator is unplugged. Plug refrigerator into a grounded 3 prong outlet. LED light is burned out. Contact a qualified technician to replace the burned out LED.
Refrigerator Safety Operating Requirements Parts and Features Installation Refrigerator Use Refrigerator Care Troubleshooting Before UsePROBLEM POSSIBLE CAUSE SOLUTION Food in the refrigerator is not cold The door has been opened too often or was not closed properly. Make sure that the door is closed properly. A large amount of food was recently added. Allow time for the recently added food to cool, and then check again. The door is not closed completely. Check the door gasket and food distribution, and make sure that the door closes completely. The refrigerator has been disconnected for a period of time. Allow 4 hours for the refrigerator to cool completely before adding food. The temperature control is set too warm. Set the temperature control to a colder setting. Items in the refrigerator compartment are freezing The air vents are blocked. Place large items on the sides of the top shelf so that they are not blocking the air circulating from the vent in the center. The refrigerator makes unusual noises or vibrations The refrigerator may not be level. Adjust the leveling feet located on the front corners of the refrigerator until the refrigerator is level. The refrigerator cabinet is touching a wall. Move the refrigerator away from the wall. Metal parts undergo expansion and contraction. This is normal. Refrigerant is circulating throughout the system. This is normal. Moisture is building up in the interior of the refrigerator The door has been opened too often or w as not closed properly. Make sure that the door is closed properly. The refrigerator is located in a humid area. Move the refrigerator to a drier location. The weather is hot and humid. This is normal.
Refrigerator Safety Operating Requirements Parts and Features Installation Refrigerator Use Refrigerator Care Troubleshooting Before UsePROBLEM POSSIBLE CAUSE SOLUTION The compressor turns on and o frequently. The room temperature is hotter than normal. This is normal. A large amount of food was recently added. Allow time for the recently added food to cool, and then check again. The door is not closed completely or was opened too often. Check the door gasket and food distribution to make sure the door will close completely. The refrigerator has been disconnected for a period of time. Allow 4 hours for the refrigerator to cool completely before adding food. The temperature control was not set correctly. Set the temperature control to the correct setting. Refrigerator has an odor Refrigerator needs cleaning. Clean the refrigerator. See, “Cleaning.” Improperly wrapped food is giving o an odor. Wrap food tightly or seal before storing it in the refrigerator.
Temperature sensor failure of refrigerator room Temperature sensor failure of freezer room Defrost error of freezer roomsensor Communication error Ambient temperature sensor error Humidity sensor error Ice maker error When the following tips to appear on the display screen, it indicates a problem with the refrigerator. Although the refrigerator in the following fault case can still provide cool/freeze functions, but the user should contact maintenance personnel, ensure the normal use of refrigerator.25 MIDEA REFRIGERATOR LIMITED WARRANTY ATTACH YOUR RECEIPT HERE. PROOF OF PURCHASE IS REQUIRED TO OBTAIN WARRANTY SERVICE. Please have the following information available when you call the Customer Service Center: ■ Name, address and telephone number ■ Model number and serial number ■ A clear, detailed description of the problem ■ Proof of purchase including dealer or retailer name and address IF YOU NEED SERVICE:
1. Before contacting us to arrange service, please determine whether your product requires repair.
Some questions can be addressed without service. Please take a few minutes to review the Troubleshooting section of the User Manual, or visit http://us.Midea.com/support
2. All warranty service is provided exclusively by our authorized Midea Service Providers, in the
U.S. and Canada. Midea Customer Service In the U.S.A. or Canada, call 1-866-646-4332. If outside the 50 States of the United States or Canada, contact your authorized Midea dealer to determine whether another warranty applies.
1 YEAR PARTS AND LABOR
FIRST YEAR LIMITED WARRANTY (PARTS AND LABOR) Midea will repair or replace, without charge, any defects due to faulty materials or workmanship for one full year from the date of purchase. For further detail of warranty coverage and warranty repair information, visit www.midea.com or call 1-866-646-4332. Consumer will be responsible for: ■ Diagnostics, removal, transportation and reinstallation cost required because of service. ■ Costs of service calls that are a result of items listed under NORMAL RESPONSIBILITIES
This warranty applies only to products in ordinary household use, and the consumer is responsible for the items listed below:
1. Proper use of the appliance in accordance with the instructions provided with the product.
2. Routine maintenance and cleaning necessary to keep the good working condition.
3. Proper installation by an authorized service professional in accordance with instructions provided
with the appliance and in accordance with all local plumbing, electrical and / or gas codes.
4. Proper connection to a grounded power supply of sufficient voltage, replacement of blown
fuses, repair of loosened connections or defects in house wiring.
5. Expenses for making the appliance accessible for servicing.
6. Damages to finish after installation.
YOUR SOLE AND EXCLUSIVE REMEDY UNDER THIS LIMITED WARRANTY SHALL BE PRODUCT REPAIR OR REPLACEMENT AS PROVIDED HEREIN. Service must be provided by a Midea designated service company. This limited warranty is valid only in the 50 States of the United States or Canada and applies only when the major appliance is used in the country in which it was purchased. This limited warranty is effective from the date of original consumer purchase. Proof of original purchase date is required to obtain service under this limited warranty.26
1. Failure caused by damage to the unit while in your possession (other than damage caused
by defect or malfunction), by its improper installation, or by unreasonable use of the product, including without limitation, failure to provide reasonable and necessary maintenance or to follow the written Installation and Instruction Manual.
2. Products purchased “as-is” or refurbished are not covered by this warranty.
3. Food loss caused by refrigerator or freezer failure.
4. Service calls to repair or replace consumables such as water filters, light bulbs airfilters etc., or
handles, knobs and other cosmetic parts.
5. Product that has been transferred from its original owner.
6. Interior or exterior rust on the unit.
7. Damages caused by services performed by persons other than authorized Midea servicers; use
of parts other than Midea replacement parts; obtained from persons other than such Midea customer service; or external causes such as abuse, misuse, inadequate power supply or acts of God.
8. Service calls resulting from improper installation of your product.
9. Service calls to instruct you on the use of your product.
10. Surcharges including, but not limited to, any after hour, weekend, or holiday service calls, tolls,
ferry trip charges, or mileage expense for service calls to remote areas, including the state of Alaska.
11. If the unit is put to commercial, business, rental, or other use or application other than for
consumer use, we make no warranties, express or implied, including but not limited to, any implied warranty of merchantablility or fitness for particular use or purpose.
12. Product that has been removed outside the USA or Canada.
13. Products without original serial numbers or products that have serial numbers which have been
altered or cannot be readily determined. NOTE: Some states do not allow the exclusion or limitation of incidental or consequential damages. So this limitation or exclusion may not apply to you. The cost of repair or replacement under these excluded circumstances shall be borne by the customer.
DISCLAIMER OF IMPLIED WARRANTIES
IMPLIED WARRANTIES, INCLUDING ANY IMPLIED WARRANTY OF MERCHANTABILITY OR IMPLIED WARRANTY OF FITNESS FOR A PARTICULAR PURPOSE, ARE LIMITED TO ONE YEAR OR THE SHORTEST PERIOD ALLOWED BY LAW. Some states and provinces do not allow limitations on the duration of implied warranties of merchantability or fitness, so this limitation may not apply to you. This warranty gives you specific legal rights, and you also may have other rights that vary from state to state or province to province.
DISCLAIMER OF REPRESENTATIONS OUTSIDE OF WARRANTY
Midea makes no representations about the quality, durability, or need for service or repair of this major appliance other than the representations contained in this warranty. If you want a longer or more comprehensive warranty than the limited warranty that comes with this major appliance, you should ask Midea or your retailer about buying an extended warranty. LIMITATION OF REMEDIES; EXCLUSION OF INCIDENTAL AND CONSEQUENTIAL DAMAGES YOUR SOLE AND EXCLUSIVE REMEDY UNDER THIS LIMITED WARRANTY SHALL BE PRODUCT REPAIR AS PROVIDED HEREIN. MIDEA SHALL NOT BE LIABLE FOR INCIDENTAL OR CONSEQUENTIAL DAMAGES. Some states and provinces do not allow the exclusion or limitation of incidental or consequential damages, so these limitations and exclusions may not apply to you. This warranty gives you specific legal rights, and you also may have other rights that vary from state to state or province to province. 05/19fr Réfrigérateur à double porte à congélateur inférieur Alimentation en électricité : 115 V~ Fréquence : 60 Hz Capacité : 22.5 cu. ft.