AKS3040BE - Cooker WHIRLPOOL - Free user manual and instructions
Find the device manual for free AKS3040BE WHIRLPOOL in PDF.
Download the instructions for your Cooker in PDF format for free! Find your manual AKS3040BE - WHIRLPOOL and take your electronic device back in hand. On this page are published all the documents necessary for the use of your device. AKS3040BE by WHIRLPOOL.
USER MANUAL AKS3040BE WHIRLPOOL
If you have questions, call:1-800-688-9900 (U.S.A.)1-800-688-2002 (Canada)1-800-688-2080 ( U.S. TTY forhearing or speech impaired)(Mon.-Fri., 8 am-8 pm Eastern Time)Internet: http://www.amana.comFor service information, see page 7.In our continuing effort to improvethe quality and performance ofour cooking products, it may benecessary to make changes tothe appliance without revisingthis guide. Keep instructions for future reference. Be sure manual stays with appliance. GAS COOKTOP1
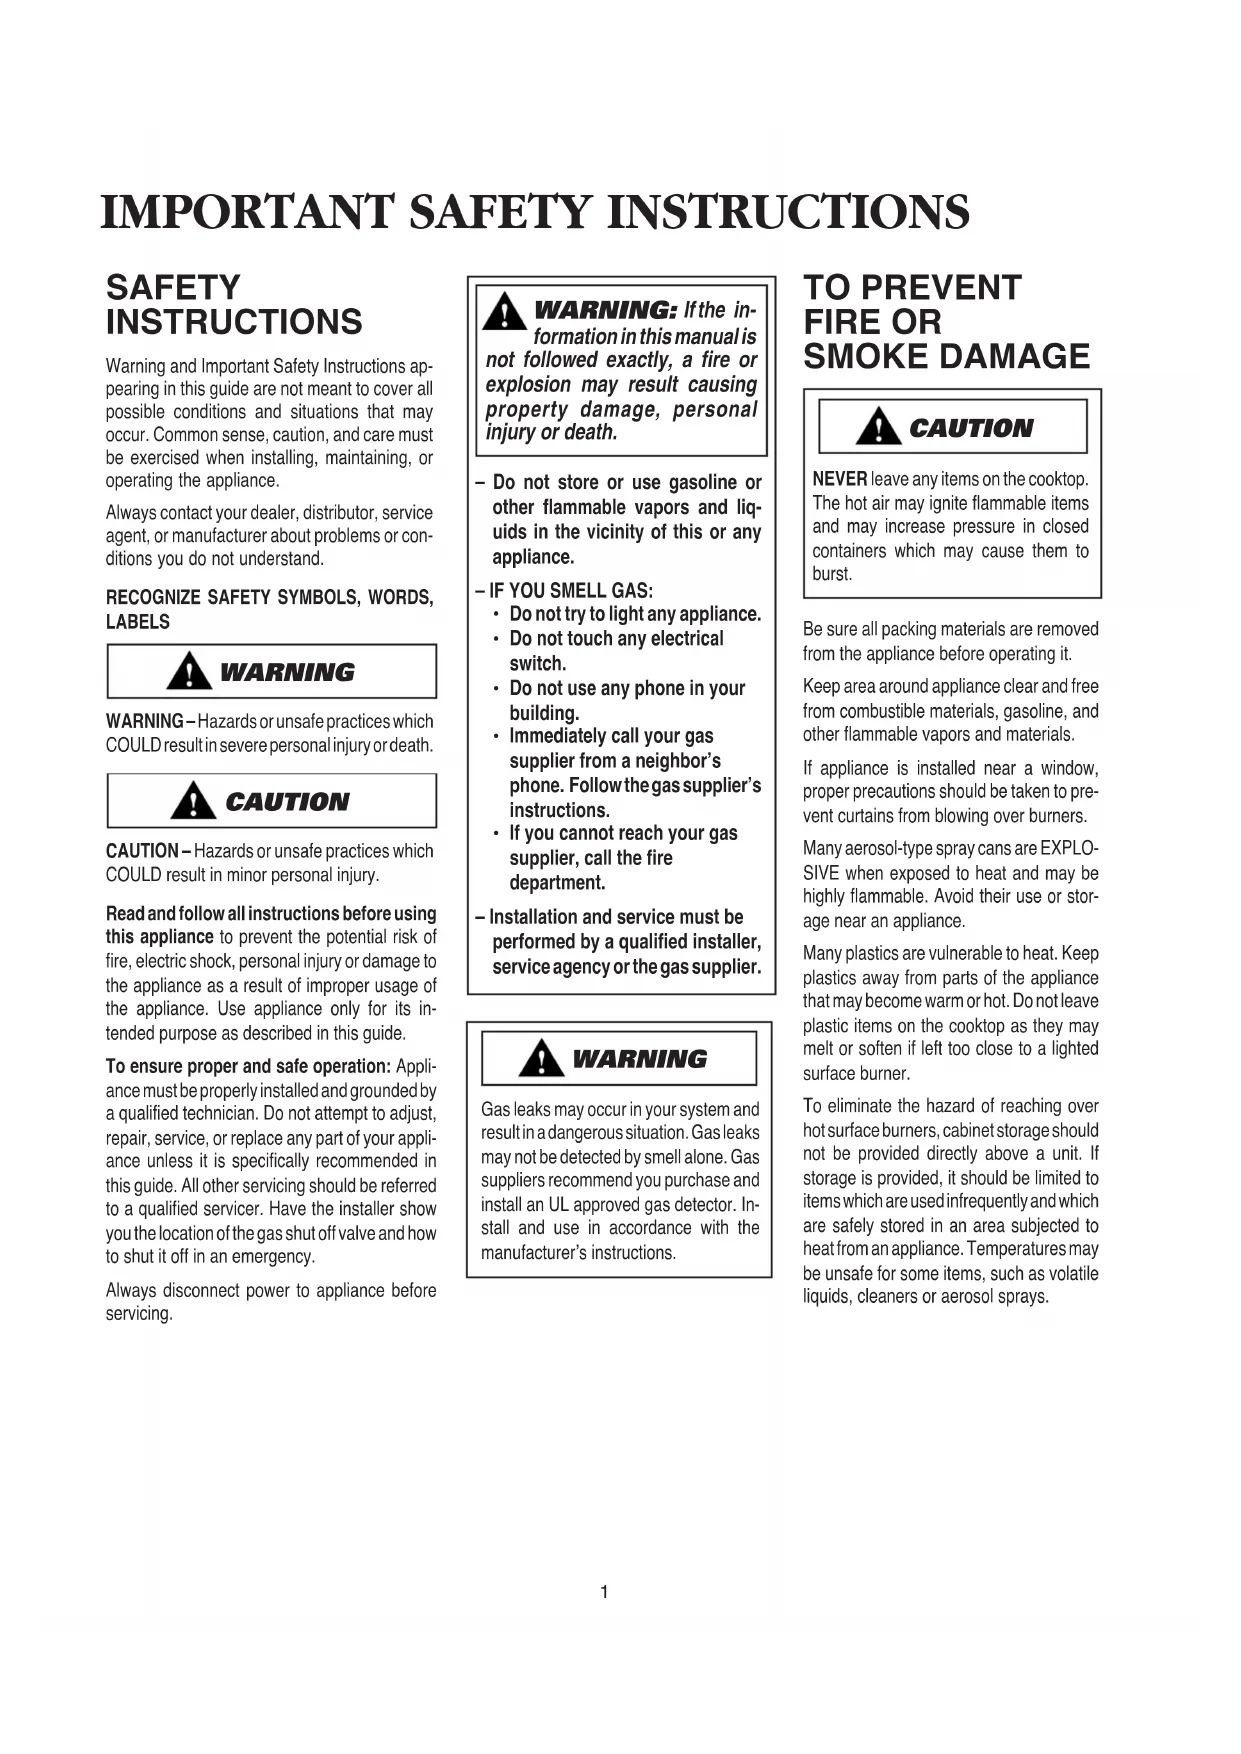
IMPORTANT SAFETY INSTRUCTIONS
SAFETY INSTRUCTIONS Warning and Important Safety Instructions ap-pearing in this guide are not meant to cover allpossible conditions and situations that mayoccur. Common sense, caution, and care mustbe exercised when installing, maintaining, oroperating the appliance.Always contact your dealer, distributor, serviceagent, or manufacturer about problems or con-ditions you do not understand.RECOGNIZE SAFETY SYMBOLS, WORDS,LABELSWARNING – Hazards or unsafe practices whichCOULD result in severe personal injury or death.CAUTION – Hazards or unsafe practices whichCOULD result in minor personal injury. WARNING CAUTION Read and follow all instructions before usingthis appliance to prevent the potential risk offire, electric shock, personal injury or damage tothe appliance as a result of improper usage ofthe appliance. Use appliance only for its in-tended purpose as described in this guide.To ensure proper and safe operation: Appli-ance must be properly installed and grounded bya qualified technician. Do not attempt to adjust,repair, service, or replace any part of your appli-ance unless it is specifically recommended inthis guide. All other servicing should be referredto a qualified servicer. Have the installer showyou the location of the gas shut off valve and howto shut it off in an emergency.Always disconnect power to appliance beforeservicing.
If the in- formation in this manual is not followed exactly, a fire or explosion may result causing property damage, personal injury or death. – Do not store or use gasoline or other flammable vapors and liq- uids in the vicinity of this or any appliance. – IF YOU SMELL GAS:
Do not try to light any appliance.
Do not touch any electrical switch.
Do not use any phone in your building.
Immediately call your gas supplier from a neighbor’s phone. Follow the gas supplier’s instructions.
If you cannot reach your gas supplier, call the fire department. – Installation and service must be performed by a qualified installer, service agency or the gas supplier. Gas leaks may occur in your system andresult in a dangerous situation. Gas leaksmay not be detected by smell alone. Gassuppliers recommend you purchase andinstall an UL approved gas detector. In-stall and use in accordance with themanufacturer’s instructions. TO PREVENT FIRE OR SMOKE DAMAGE NEVER leave any items on the cooktop.The hot air may ignite flammable itemsand may increase pressure in closedcontainers which may cause them toburst.Be sure all packing materials are removedfrom the appliance before operating it.Keep area around appliance clear and freefrom combustible materials, gasoline, andother flammable vapors and materials.If appliance is installed near a window,proper precautions should be taken to pre-vent curtains from blowing over burners.Many aerosol-type spray cans are EXPLO-SIVE when exposed to heat and may behighly flammable. Avoid their use or stor-age near an appliance.Many plastics are vulnerable to heat. Keepplastics away from parts of the appliancethat may become warm or hot. Do not leaveplastic items on the cooktop as they maymelt or soften if left too close to a lightedsurface burner.To eliminate the hazard of reaching overhot surface burners, cabinet storage shouldnot be provided directly above a unit. Ifstorage is provided, it should be limited toitems which are used infrequently and whichare safely stored in an area subjected toheat from an appliance. Temperatures maybe unsafe for some items, such as volatileliquids, cleaners or aerosol sprays. WARNING CAUTIONSave These Instructions for Future Reference A faint gas odor may indicate a gas leak. If a gas odor is detected, shut off the gas supply to the cooktop. Call your installer or local gas company to have the possible leak checked. Never use a match or other flame to locate a gas leak.
Turn off appliance and ventilating hood to avoid spreading the flame. Extinguish flame then turn on hood to remove smoke and odor.
Smother fire or flame in a pan with a lid or cookie sheet.
NEVER pick up or move a flaming pan. Do not use water on grease fires. Use baking soda, a dry chemical or foam-type extin- guisher to smother fire or flame. NEVER leave children alone or unsupervised near the appliance when it is in use or is still hot. NEVER allow children to sit or stand on any part of the appliance as they could be injured or burned. Children must be taught that the appliance and utensils on it can be hot. Let hot utensils cool in a safe place, out of reach of small children. Children should be taught that an appliance is not a toy. Children should not be allowed to play with controls or other parts of the unit. NEVER store items of interest to chil- dren in cabinets above an appliance. Children climbing on the appliance to reach items could be seriously injured. CHILD SAFETY potholders because they can trail across hot surface burners and ignite or get caught on appliance parts. Always let quantities of hot fat used for deep fat frying cool before attempting to move or handle. Do not let cooking grease or other flammable materials accumulate in or near the appli- ance, hood or vent fan. Clean hood frequently to prevent grease from accumulating on hood or filter. When flaming foods under the hood turn the fan on. NEVER wear garments made of flammable material or loose fitting or long-sleeved ap- parel while cooking. Clothing may ignite or catch utensil handles. UTENSIL SAFETY Use pans with flat bottoms and handles that are easily grasped and stay cool. Avoid using unstable, warped, easily tipped or loose- handled pans. Also avoid using pans, espe- cially small pans, with heavy handles as they could be unstable and easily tip. Pans that are heavy to move when filled with food may also be hazardous. Be sure utensil is large enough to properly contain food and avoid boilovers. Pan size is particularly important in deep fat frying. Be sure pan will accommodate the volume of food that is to be added as well as the bubble action of fat. To minimize burns, ignition of flammable ma- terials and spillage due to unintentional con- tact with the utensil, do not extend handles over adjacent surface burners. Always turn pan handles toward the side or back of the appliance, not out into the room where they are easily hit or reached by small children. Never let a pan boil dry as this could damage the utensil and the appliance. ABOUT YOUR APPLIANCE NEVER use appliance as a space heater to heat or warm a room to prevent potential hazard to the user and damage to the appli- ance. Also, do not use the cooktop as a storage area for food or cooking utensils. Potentially hot surfaces include cooktop, and areas facing the cooktop. NEVER use aluminum foil to line burner spillover area. Restriction of normal air flow may result in unsafe operation. COOKING SAFETY Always place a pan on a surface burner before turning it on. Be sure you know which knob controls which surface burner. Make sure the correct burner is turned on and that the burner has ignited. When cooking is com- pleted, turn burner off before removing pan to prevent exposure to burner flame. Always adjust surface burner flame so that it does not extend beyond the bottom edge of the pan. An excessive flame is hazardous, wastes energy and may damage the appli- ance, pan or cabinets above the appliance. NEVER leave a surface cooking operation unattended especially when using a high heat setting or when deep fat frying. Boilovers cause smoking and greasy spillovers may ignite. Clean up greasy spills as soon as possible. Do not use high heat for extended cooking operations. NEVER heat an unopened container on the surface burner. Pressure build-up may cause container to burst resulting in serious per- sonal injury or damage to the appliance. Use dry, sturdy potholders. Damp potholders may cause burns from steam. Dishtowels or other substitutes should never be used as
CAUTIONOnly certain types of glass, glass/ceramic, ceramic or glazed utensils are suitable for cooktop usage without breaking due to the sudden change in temperature. Follow manufacturer’s instructions when using glass. This appliance has been tested for safe perfor- mance using conventional cookware. Do not use any devices or accessories that are not specifically recommended in this guide. Do not use eyelid covers for the surface units or stovetop grills. The use of devices or accesso- ries that are not expressly recommended in this manual can create serious safety hazards, result in performance problems, and reduce the life of the components of the appliance. CLEANING SAFETY Turn off all controls and wait for appliance parts to cool before touching or cleaning them. Do not touch the burner grates or surrounding areas until they have had sufficient time to cool. Clean appliance with caution. Use care to avoid steam burns if a wet sponge or cloth is used to wipe spills on a hot surface. Some cleaners can produce noxious fumes if applied to a hot surface. IMPORTANT SAFETY INSTRUCTIONS, CONT.
SAVE THESE INSTRUCTIONS
FOR FUTURE REFERENCE
ELECTRICAL CONNECTION Appliances which require electrical power are equip- ped with a three- prong grounding plug which must be plugged directly into a properly grounded three-hole 120 volt electrical outlet. Always disconnect power to appliance be- fore servicing. The three-prong grounding plug offers pro- tection against shock hazards. DO NOT
PLUG. If an ungrounded, two-hole or other type electrical outlet is encountered, it is the personal responsibility of the appliance owner to have the outlet replaced with a properly grounded and polarized three- hole electrical outlet. IMPORTANT SAFETY NOTICE AND WARNING The California Safe Drinking Water and Toxic Enforcement Act of 1986 (Proposition 65) requires the Governor of California to publish a list of substances known to the State of California to cause cancer or reproductive harm, and requires businesses to warn cus- tomers of potential exposures to such sub- stances. Users of this appliance are hereby warned that the burning of gas can result in low-level exposure to some of the listed substances, including benzene, formaldehyde and soot, due primarily to the incomplete combustion of natural gas or liquid petroleum (LP) fuels. Properly adjusted burners will minimize in- complete combustion. Exposure to these sub- stances can also be minimized by properly venting the burners to the outdoors.
IMPORTANT NOTICE REGARDING PET
BIRDS: Never keep pet birds in the kitchen or in rooms where the fumes from the kitchen could reach. Birds have a very sensitive res- piratory system. Fumes released during an oven self-cleaning cycle may be harmful or fatal to birds. Fumes released due to over- heated cooking oil, fat, margarine and over- heated non-stick cookware may be equally harmful.
When lighting the surface burners, be sure all of the controls are in the OFF position. Strike the match first and hold it in position before turning the knob.
Do not leave the cooktop unattended when cooking during a power failure. Surface Cooking Settings Uses HI Use HI to bring liquid to a boil, or reach pressure in a pressure cooker. Always reduce setting to a lower heat when liquids begin to boil or foods begin to cook. An intermediate flame size is used to continue cooking. Food will not cook any faster when a higher flame setting is used than needed to maintain a gentle boil. Water boils at the same temperature whether boiling gently or vigorously. LOW Use LOW to simmer foods, keep foods warm and melt chocolate or butter. Some cooking may take place on the LOW setting if the pan is covered. It is possible to reduce the heat by rotating the knob toward OFF. Be sure flame is stable.
If flame should go out during a cooking operation, turn the burner off. If a strong gas odor is detected, open a window and wait five minutes before relighting the burner.
Be sure all surface controls are set to the OFF position prior to supplying gas to the cooktop.
NEVER touch cooktop until it has cooled. Expect some parts of the cooktop, especially around the burners, to become warm or hot during cooking. Use potholders to protect hands. SURFACE CONTROL KNOBS Use to turn on the sur- face burners. An infi- nite choice of heat set- tings is available from LOW to HI. At the HI setting a detent or notch may be felt.
SETTING THE CONTROLS
1. Place a pan on the burner grate. (To
preserve the grate finish, do not operate the burners without a pan on the grate to absorb the heat from the burner flame.)
2. Push in knob and turn immediately coun-
terclockwise to the LITE setting. ❚ A clicking (spark) sound will be heard and the burner will light. (All ignitors will spark when any surface burner knob is turned on. However, only the selected burner will light.)
3. Turn knob to desired setting.
4. Do not leave cooktop unattended.
The size and type of cookware will affect the heat setting. OPERATING
2. Push in and turn the control knob slowly to
the desired setting. PILOTLESS IGNITION Pilotless ignition eliminates the need for a constant standing pilot light. Each surface burner has a spark ignitor. Use care when cleaning around the surface burner. If the surface burner does not light, check if ignitor is broken, soiled or wet. SURFACE CONTROLS
CAUTION CAUTION IGNITORBURNER CAPBURNER BASEPORTS❚ A properly adjusted burner with clean ports will light within a few seconds. If using natural gas, the flame will be blue with a deeper blue inner cone.If the burner flame is yellow or is noisy, the air/gas mixture may be incorrect. Contact aservice technician to adjust. (Adjustments are not covered by the warranty.)With LP gas, some yellow tips on the flames are acceptable. This is normal andadjustment is not necessary.❚ With some types of gas, you may hear a “popping” sound when the surface burner isturned off. This is a normal operating sound of the burner.❚ To improve cooking efficiency and to prevent possible damage to the cooktop or pan,the flame must be adjusted so it does not extend beyond the edge of the pan.To prevent the cooktop from discoloring orstaining: Clean cooktop after each use. Wipe acidic or sugary spills as soon asthe cooktop has cooled as these spillsmay discolor the surface. HIGH PERFORMANCE BURNER* There is one high speed burner on yourcooktop, located in the right front position.This burner offers higher speed cooking thatcan be used to quickly bring water to a boiland for large-quantity cooking.*BTU ratings will vary when using LP gas. BURNER GRATES The grates must be properly positioned be-fore cooking. Improper installation of thegrates may result in chipping of the cooktop.To ensure proper positioning, align bumperson grate bottom with the indentations in thecooktop.Do not operate the burners without a panon the grate. The grate’s porcelain finishmay chip without a pan to absorb theheat from the burner flame.Although the burner grates are durable,they will gradually lose their shine and/ordiscolor, due to the high temperatures of thegas flame.
SEALED BURNERS The sealed burners are secured to the cooktopand are not designed to be removed. Sincethe burners are sealed into the cooktop,boilovers or spills will not seep underneaththe cooktop.However, the burners should be cleaned aftereach use. The head portion of the burner hasa removable cap that is easily removed forcleaning. (See page 6 for cleaning direc-tions.)Burner caps must be correctly placed on theburner base for proper operation of the burner.
SIMMER BURNER* (SELECT MODELS) This burner is located in the left rear position.The simmer burner offers a lower BTU flamefor delicate sauces or melting chocolate.* BTU ratings will vary when using LP gas.• Be sure appliance is off and all partsare cool before handling or cleaning.This is to avoid damage and possibleburns. To prevent staining or discoloration,clean appliance after each use. If a part is removed, be sure it is correctlyreplaced. CLEANING PROCEDURES
BURNER CAPS AND SEALED
GAS BURNERS Removable Burner Caps❚ Allow burner to cool. Remove burner capand wash in soapy water with a plasticscouring pad. For stubborn soils, cleanwith a soap-filled, nonabrasive pad orCooktop Cleaning Creme (Part#20000001)** and a sponge.❚ Do not clean in dishwasher or self-clean-ing oven.Sealed Gas Burner❚ Clean frequently. Allow burner to cool.Clean with soap and plastic scouring pad.For stubborn soils, clean with a soap-filled,nonabrasive pad.❚ Be careful not to get water into the centerof the burner.❚ Use care when cleaning the ignitor. If theignitor is wet or damaged the surfaceburner will not light.❚ To ensure even cooking performance, keepburner ports free of food soils/debris.
❚ Wash grates with warm, soapy water anda nonabrasive, plastic scrubbing pad. Forstubborn soils, clean with a soap-filled,nonabrasive pad or Cooktop CleaningCreme (Part #20000001)** and a sponge.If soil remains, reapply Cooktop CleaningCreme, cover with a damp paper toweland soak for 30 minutes. Scrub again,rinse and dry.❚ Do not clean in dishwasher or self-clean-ing oven. CONTROL KNOBS ❚ Remove knobs in the OFF position bypulling up.❚ Wash, rinse and dry. Do not use abrasivecleaning agents as they may scratch thefinish.❚ Turn on each burner to be sure the knobshave been correctly replaced.
ENAMEL Porcelain enamel is glass fused on metal andmay crack or chip with misuse. It is acidresistant, not acid proof. All spillovers, espe-cially acidic or sugary spillovers, should bewiped up immediately with a dry cloth.❚ When cool, wash with soapy water, rinseand dry.❚ Never wipe off a warm or hot surface with adamp cloth. This may cause cracking orchipping.❚ Never use oven cleaners, abrasive or caus-tic cleaning agents on exterior finish ofcooktop.
DO NOT USE ANY CLEANING PROD-
ALWAYS WIPE WITH THE GRAIN WHEN
CLEANING. ❚ Daily Cleaning/Light Soil –– Wipe withone of the following - soapy water, whitevinegar/water solution, Formula 409 Glassand Surface Cleaner* or a similar glasscleaner - using a sponge or soft cloth. Rinseand dry. To polish and help prevent finger-prints, follow with Stainless Steel MagicSpray (Part No. 20000008)**.❚ Moderate/Heavy Soil –– Wipe with one ofthe following - Bon Ami*, Smart Cleanser*,or Soft Scrub* - using a damp sponge or softcloth. Rinse and dry. Stubborn soils may beremoved with a damp Scotch-Brite* pad;rub evenly with the grain. Rinse and dry. To Care & Cleaning
- Brand names are registered trademarks of the respective manufacturers.** To order call 1-877-232-6771 USA; 1-800-688-8408 Canada. Before You Call For Service restore luster and remove streaks, follow withStainless Steel Magic Spray.❚ Discoloration –– Using a damp sponge orsoft cloth, wipe with Cameo Stainless SteelCleaner*. Rinse immediately and dry. Toremove streaks and restore luster, follow withStainless Steel Magic Spray. SURFACE BURNER FAILS TO LIGHT. ❚ Check to be sure plug is securely insertedinto receptacle.❚ Check or re-set circuit breaker. Check orreplace fuse.❚ Check power supply.❚ Check to be sure burner is correctly rated foryour kind of gas.❚ Check to be sure burner ports or ignitionports are not clogged.❚ Check to be sure ignitor is dry and clicking.Burner will not light if ignitor is damaged,soiled or wet. If ignitor doesn’t click, turncontrol knob OFF.❚ Check to be sure burner cap is correctlyseated on the burner base.❚ Check that the gas is turned on.
SURFACE BURNER FLAME LIFTS
OFF PORTS. ❚ Check to be sure a pan is sitting on the grateabove.❚ Contact an authorized Amana servicer. THE FLAME IS UNEVEN. ❚ Burner ports may be clogged.❚ Flame may need to be adjusted. Contact anauthorized Amana servicer.
SURFACE BURNER FLAME IS
YELLOW IN COLOR. ❚ Contact an authorized Amana servicer.❚ Some yellow tips on the flame are accept-able when using LP gas.
Warranty Limited One Year Warranty - Parts and Labor For one (1) year from the original retail purchase date, any part which fails in normal home use will be repaired or replaced free of charge. Canadian Residents The above warranties only cover an appliance installed in Canada that has been certified or listed by appropriate test agencies for compliance to a National Standard of Canada unless the appliance was brought into Canada due to transfer of residence from the United States to Canada. The specific warranties expressed above are the ONLY warranties provided by the manufacturer. These warranties give you specific legal rights, and you may also have other rights which vary from state to state. What is Not Covered By These Warranties
1. Conditions and damages resulting from any of the following:
a. Improper installation, delivery, or maintenance. b. Any repair, modification, alteration, or adjustment not authorized by the manufacturer or an authorized servicer. c. Misuse, abuse, accidents, or unreasonable use, or acts of God. d. Incorrect electric current, voltage, electrical and/ or gas supply. e. Improper setting of any control. 2 Warranties are void if the original serial numbers have been removed, altered, or cannot be readily determined.
3. Light bulbs, water filters and air filters.
4. Products purchased for commercial or industrial use.
5. The cost of service or service call to:
a. Correct installation errors. For products requiring ventilation, rigid metal ducting must be used. b. Instruct the user on the proper use of the product. c. Transport the appliance to and from the servicer.
6. Any food loss due to refrigerator or freezer product failures.
7. Expenses for travel and transportation for product service in remote locations.
8. Outside of the United States and Canada this warranty does not apply. Contact your
dealer to determine if another warranty applies.
9. Consequential or incidental damages sustained by any person as a result of any breach
of these warranties. Some states do not allow the exclusion or limitation of consequential or incidental damages, so the above exclusion may not apply. If You Need Service First see the Troubleshooting section in your Use and Care Guide or call the dealer from whom your appliance was purchased or call Maytag Services, LLC, Customer Assistance at 1-800-688-9900 USA and 1-800-688-2002 Canada to locate an authorized servicer.
- Be sure to retain proof of purchase to verify warranty status. Refer to WARRANTY for further information on owner’s responsibilities for warranty service.
- If the dealer or service company cannot resolve the problem, write to Maytag Services, LLC, Attn: CAIR
- User’s guides, service manuals and parts information are available from Maytag Services, LLC, Customer Assistance.
HEREIN. IMPLIED WARRANTIES, INCLUDING
FITNESS, SO THESE EXCLUSIONS OR
LIMITATIONS MAY NOT APPLY TO YOU. THIS