
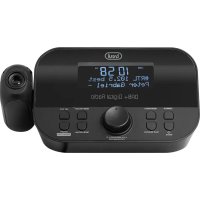
RC 80D2 DAB - Alarm clock radio Trevi - Free user manual and instructions
Find the device manual for free RC 80D2 DAB Trevi in PDF.
| Product type | Clock radio |
| Brand | Trevi |
| Model | RC 80D2 DAB |
| Main power supply | 5V DC, 1.2A mains adapter (included); input 100-240V AC, 50/60Hz |
| Backup power supply | 4 AA 1.5V batteries (not included) |
| Radio reception | DAB (174-240 MHz) and FM (87.5-108 MHz) |
| Number of preset stations | 10 in DAB, 20 in FM |
| Alarms | 2 independent alarms with source selection (buzzer, FM, DAB) and repeat (once, daily, weekday, weekend) |
| Snooze function | 9 additional minutes |
| Sleep function | Timer of 15, 30, 45, 60 or 90 minutes |
| Display | LCD screen |
| Settings | Date, time, brightness, language, automatic update |
| Antenna | Flexible wire at the back, deploy fully |
| Speaker | Built-in |
| DC input | Socket for mains adapter (rear) |
| Battery compartment | Bottom side |
| Maintenance and cleaning | Soft, slightly damp cloth; avoid solvents and abrasives |
| Safety precautions | Keep away from heat sources, moisture, dust, vibration; do not expose to liquids; ventilation space of at least 5 cm around the device |
| Intended use | Domestic (non-professional) |
| Dimensions | Not specified in the manual |
| Weight | Not specified in the manual |
| Spare parts | Not mentioned; contact Trevi service |
| Repairability | Authorized Trevi service center for repair |
Frequently Asked Questions - RC 80D2 DAB Trevi
User questions about RC 80D2 DAB Trevi
0 question about this device. Answer the ones you know or ask your own.
Ask a new question about this device
Download the instructions for your Alarm clock radio in PDF format for free! Find your manual RC 80D2 DAB - Trevi and take your electronic device back in hand. On this page are published all the documents necessary for the use of your device. RC 80D2 DAB by Trevi.
USER MANUAL RC 80D2 DAB Trevi
CLOCK RADIO ALARM WITH DAB/DAB +/FM SYSTEM
User Manual
ALARMERADIO AVEC SYSTÉME DAB/DAB+/FM
Manuel utiliseur
RADIOALARM MIT DAB/ DAB+/FM-SYSTEM
Benutzerhandbuchl
ALARMA DE RADIO CON SISTEMA DAB/ DAB+/FM
Manual de usuario

ATTENZIONE: NON APRITE L'APPEARCCHIO. ALL'INTERNO NON VI SONO COMANDI MANIPOLABILI DALL'UTENTE NE PARTI DI RICAMBIO. PER TUTTE LE OPERAZIONI DI SERVIZIO RIVOLGERSI AD UN CENTRO DI ASSISTENZA AUTORIZZATO TREVI

ATTENTION: NE PAS OUVRIR L'APPAREIL, A L'INTERIEUR IL NY A PAS DE COMMANDES A MANIPULER PAR L'UTILISATEUR OU DE PIECES DE RECHANGE. POUR TOUTES LES OPERATIONS DE SERVICE IL FAUT S'ADRESSER A UN SERVICE D'ASSISTANCE AUTORISE TREVI.

EN If you will not find your language on the instruction manual, please go on our website www.trevi.it to find it

RC 80D2 DAB
NOTE D'USO
Uscita 5 V c.c., 1,2 A, 6,0 W.
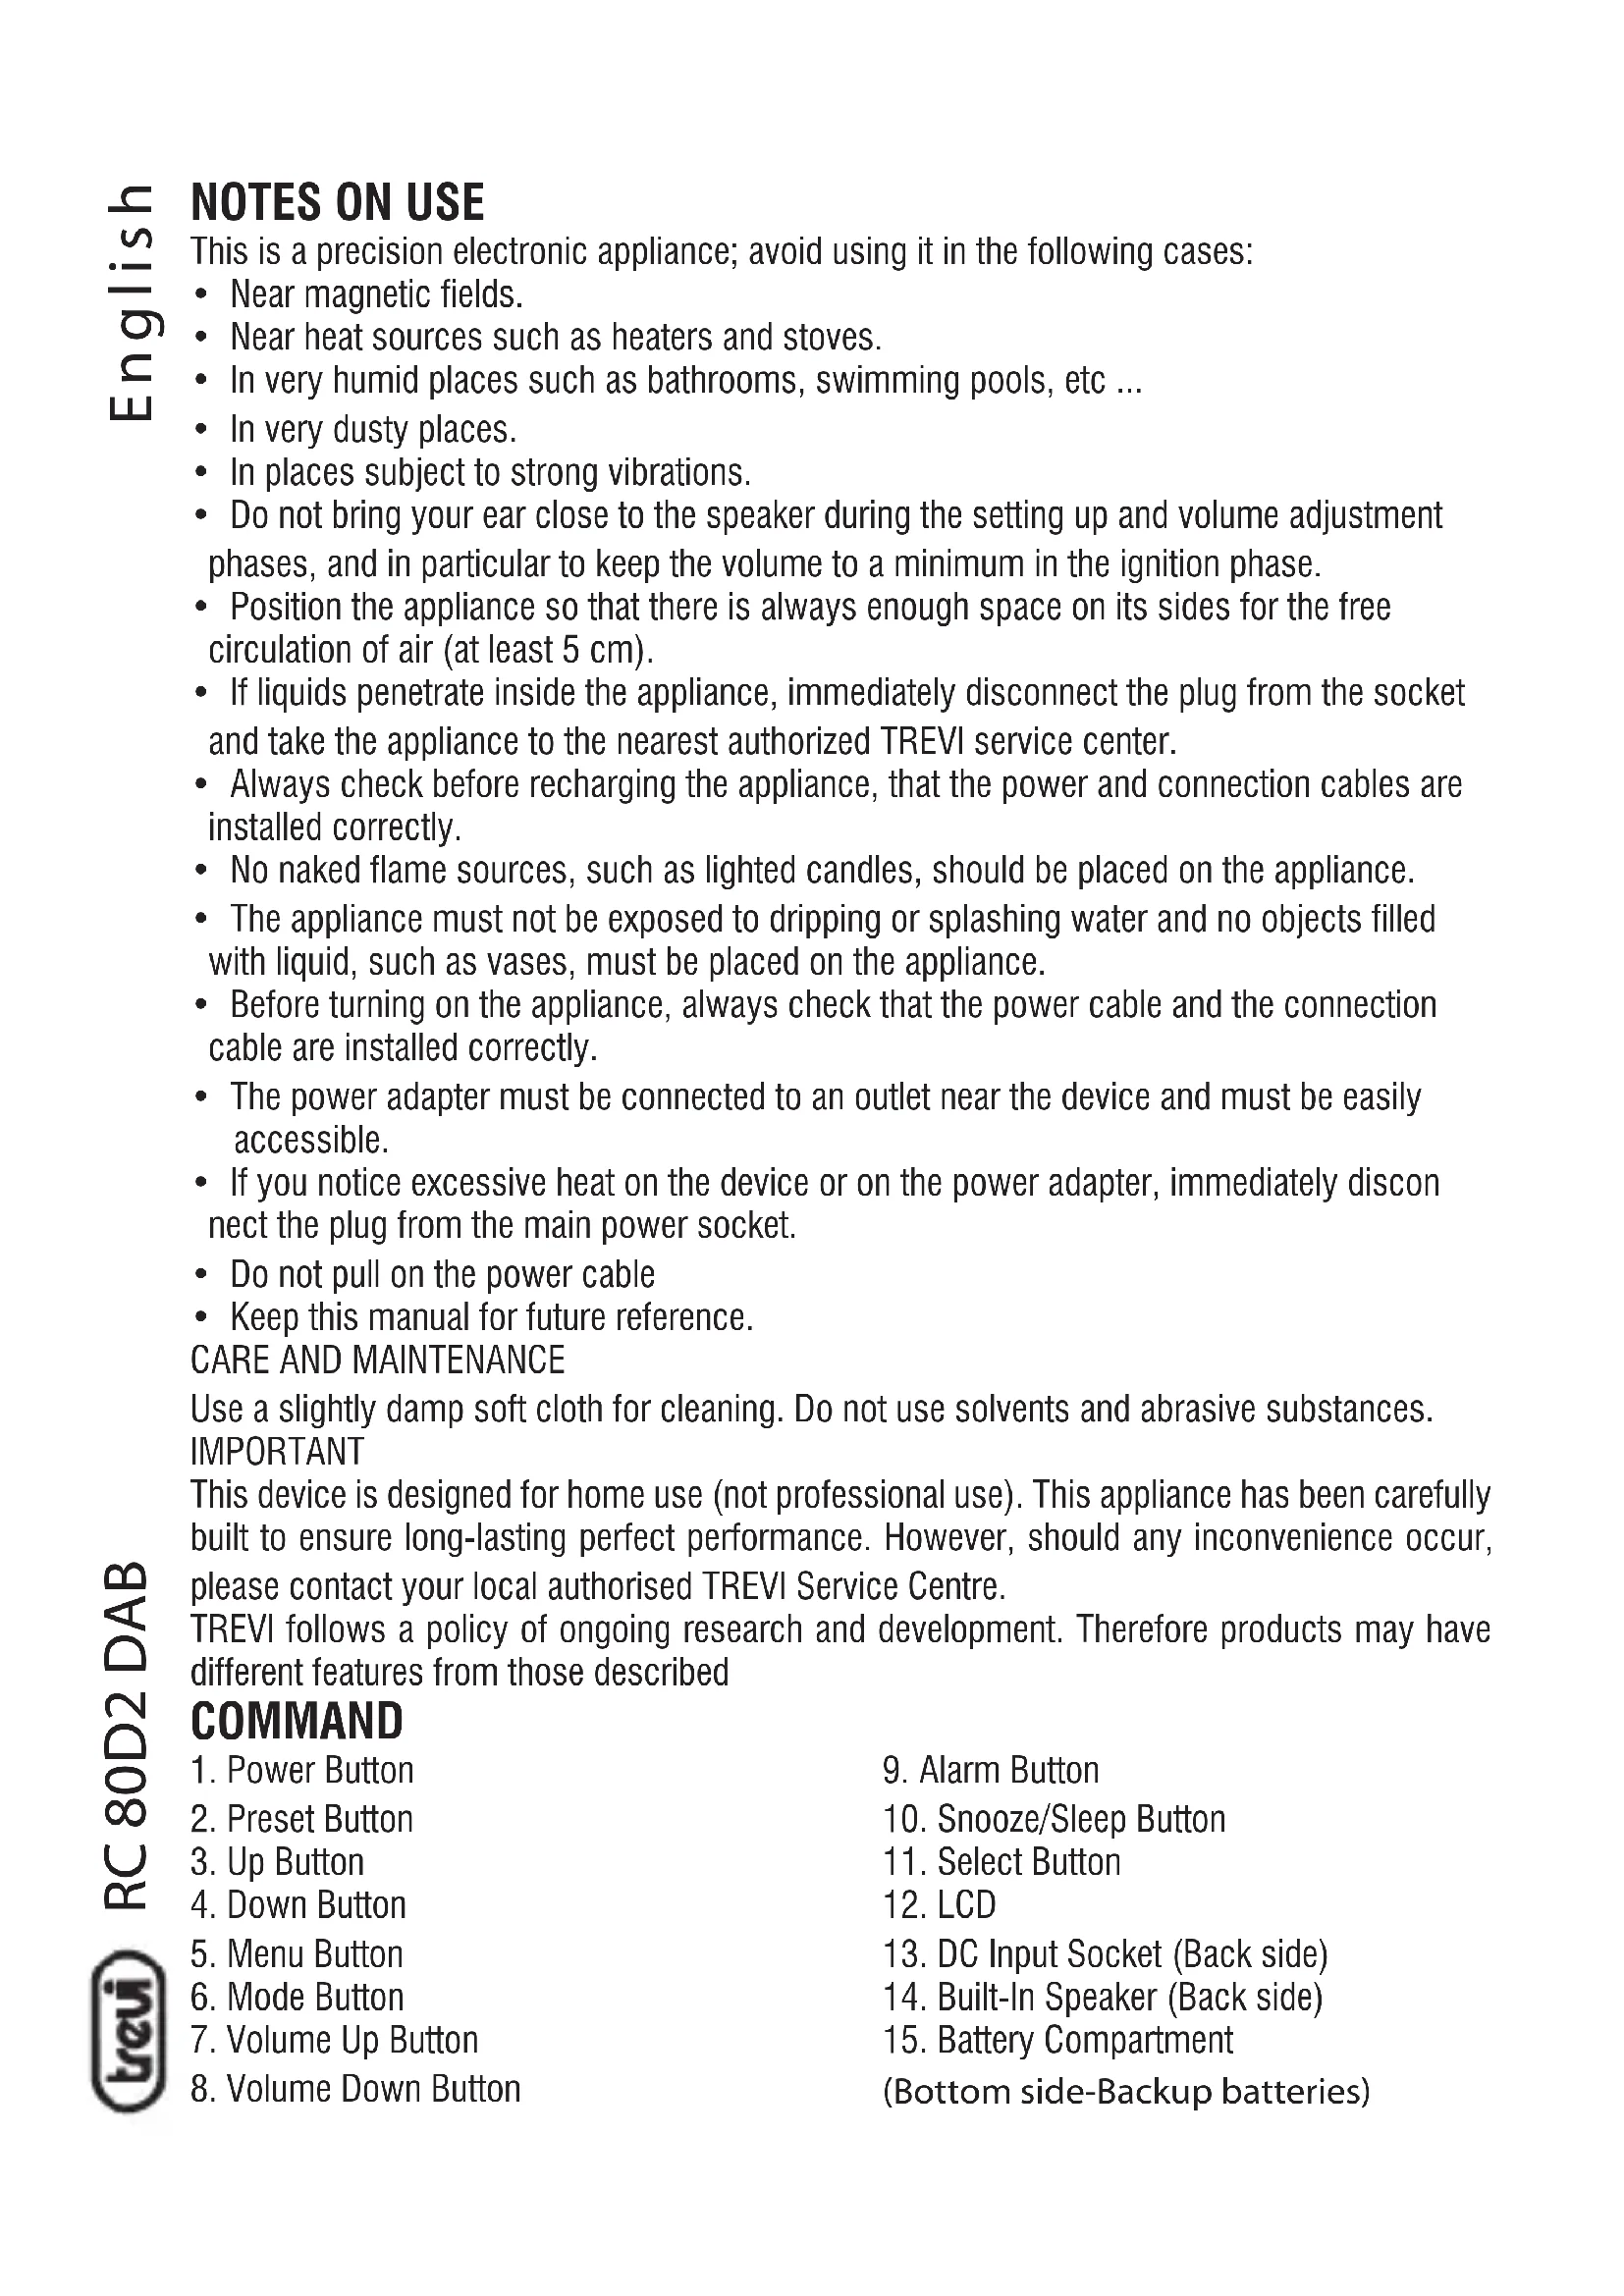
This is a precision electronic appliance; avoid using it in the following cases:
Near magnetic fields.
Near heat sources such as heaters and stoves.
- In very humid places such as bathrooms, swimming pools, etc ...
In very dusty places.
- In places subject to strong vibrations.
- Do not bring your ear close to the speaker during the setting up and volume adjustment phases, and in particular to keep the volume to a minimum in the ignition phase.
- Position the appliance so that there is always enough space on its sides for the free circulation of air (at least 5cm ).
- If liquids penetrate inside the appliance, immediately disconnect the plug from the socket and take the appliance to the nearest authorized TREVI service center.
- Always check before recharging the appliance, that the power and connection cables are installed correctly.
- No naked flame sources, such as lighted candles, should be placed on the appliance.
- The appliance must not be exposed to dripping or splashing water and no objects filled with liquid, such as vases, must be placed on the appliance.
- Before turning on the appliance, always check that the power cable and the connection cable are installed correctly.
- The power adapter must be connected to an outlet near the device and must be easily accessible.
- If you notice excessive heat on the device or on the power adapter, immediately disconnect the plug from the main power socket.
- Do not pull on the power cable
- Keep this manual for future reference.
CARE AND MAINTENANCE
Use a slightly damp soft cloth for cleaning. Do not use solvents and abrasive substances.
IMPORTANT
This device is designed for home use (not professional use). This appliance has been carefully built to ensure long-lasting perfect performance. However, should any inconvenience occur, please contact your local authorised TREVI Service Centre.
TREVI follows a policy of ongoing research and development. Therefore products may have different features from those described
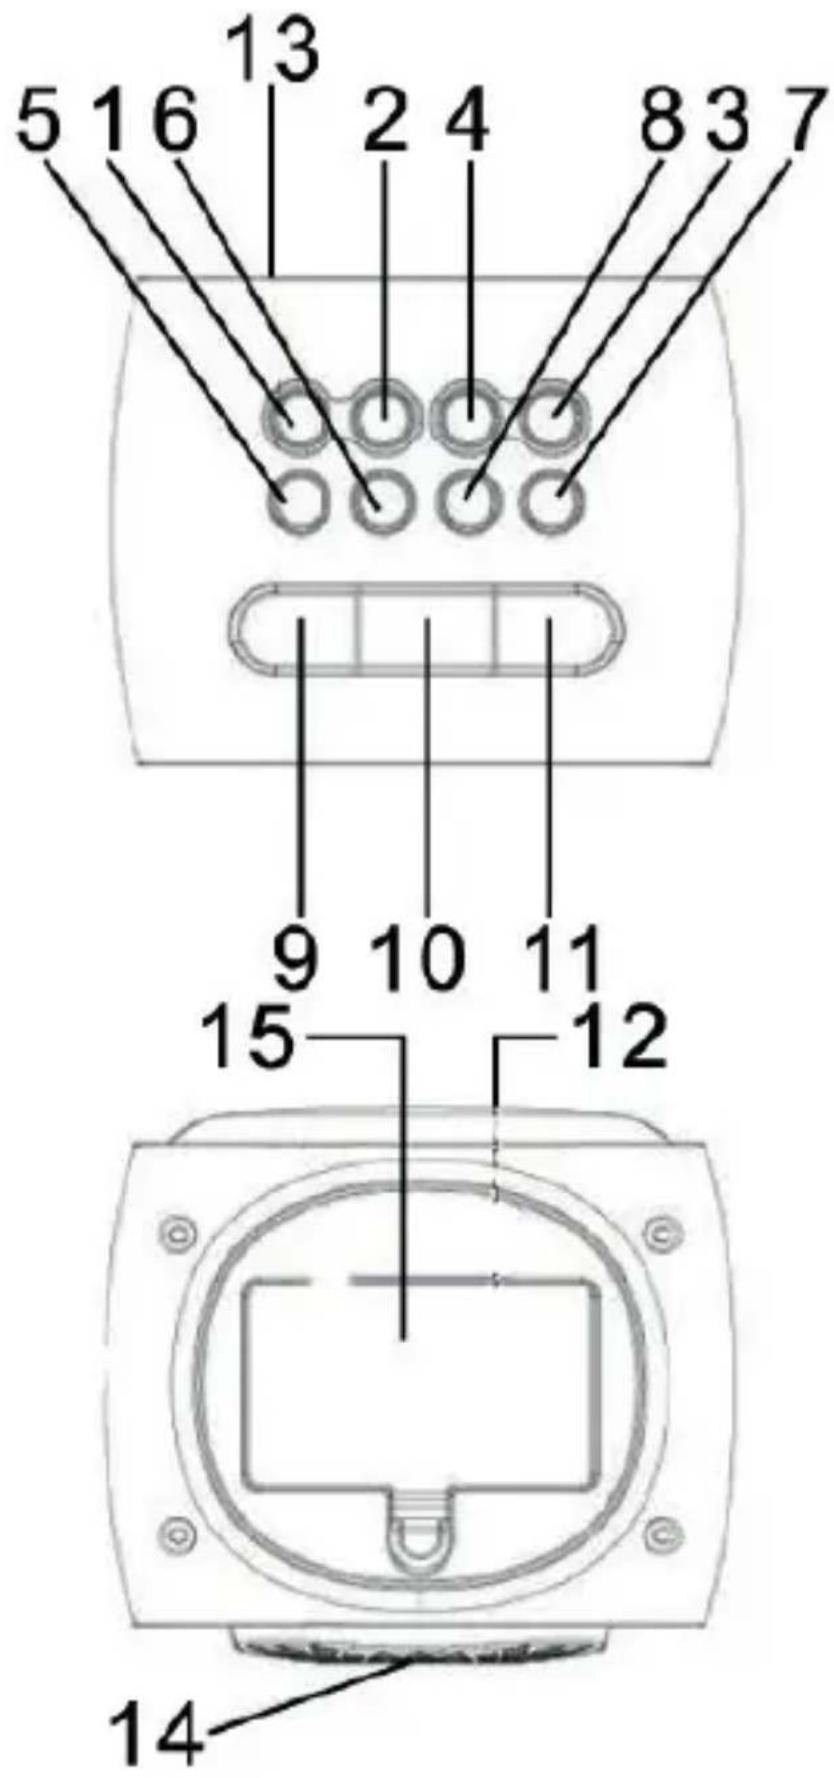
COMMAND
- Power Button
- Preset Button
3.UpButton - Down Button
- Menu Button
6.Mode Button - Volume Up Button
-
Volume Down Button
-
Alarm Button
- Snooze/Sleep Button
- Select Button
- LCD
- DC Input Socket (Back side)
- Built-In Speaker (Back side)
- Battery Compartment
(Bottom side-Backup batteries)
POWER THE UNIT
AC POWER
Plug the AC adaptor into a power outlet and the jack of the adaptor into the DC Input Socket (on the back side of unit).
BATTERIES
Insert 4 AA batteries (not included) into the battery compartment on the underside of the unit, respecting the indicated polarity (positive of the battery on the pin contact, negative of the battery on the spring contact).
Note: when inserting the batteries, remove the AC adapter from the power outlet.
During battery operation, with the device in standby, the display is turned off to safeguard battery consumption. To turn the display back on and view the current time, press the SNOOZE / SLEEP button (10). The alarm alarm function is always active even with the display off, if programmed, the alarm will work by activating the alarm set as described in the relevant paragraph.
On the display at the top right there is an icon that shows the charge level of the batteries, replace them when the level indicated is low (one notch).
With batteries running low, some malfunctions are possible such as changes in the brightness of the display or general malfunctions of the device; in these cases, replace the flat batteries.
In the event of blockages or malfunctions of the device, perform a reset by disconnecting the adapter and removing the batteries for about 5 minutes.
MENUBUCTION
When the unit is in standby mode, press and hold the Menu Button for about 2 seconds and then release the button. Press Up/Down Button repeatedly to select the following :-
1) Set Time/Date
2) Blacklight
3) Language
4) Factory Reset
5) SW Version
Press Select Button to confirm your selection. Under each selection, press Up/Down Button and Select Button for each setting.
SET DATE AND TIME
- Press and hold the Menu Button for about 2 seconds and then release the button. Press Up/Down Button repeatedly until "Set Time/Date" is displaying. Press once the Select Button to enter Time/Date setting mode.
- Press Up/Down Button to select Set Time, Set Date or Auto Update mode and press Select Button to make selection.
- Under each selection, press Up/Down Button and Select Button to make every selection. Press and hold the Menu Button for about 2 seconds (or wait for about 5 seconds without pressing any button) to complete the DATE AND TIME setting.
SET ALARM TIME AND ALARM MODE
- Press the Alarm Button to select Alarm 1 or Alarm 2.
- Press the Up/Down Button to toggle the Alarm 1 (Alarm 2) symbol on and off.
- When the Alarm 1 (Alarm 2) symbol is on, press once the Select Button to enter alarm setting mode.
- You can adjust the alarm time, select Once, Daily, Weekdays or Weekends, Buzzer/ FM/DAB, Duration-15, 30, 45 or 60 Mins by pressing Up/Down Button and Select Button under each selection.
- Under each selection, press and hold the Menu Button for about 2 seconds (or wait for about 5 seconds without pressing any button) will complete the alarm setting mode.
- When it reaches the alarm time, you can hear the Buzzer or radio. Press once the Power Button to turn off the alarm sound.
When you first power up and turn on your unit, it begins an automatic scan for DAB stations.
A progress bar will show the progress of the scan and the number of stations found will also be displayed. When scan is completed, your radio will select the first available station and begin to play. Stations are listed in numerical and then alphabetical order by default.
- Press once the Power Button to set the unit to Radio mode.
- Press the Mode Button to select FM or DAB mode.
- Tune a station by pressing the Up/Down Button.
Pressing either Up/Down Button for more than 1 second to activate the automatic tuning mode. The automatic tuner will scan up or down and lock onto the next station. If the automatic tuning does not precisely tune into a radio station, press the Up/Down Button to adjust the tuning.
- Adjust the volume by pressing Volume Up/Down Button.
- Press the Menu Button to check the information of the tuned radio station.
- To turn off the radio, press once again the Power Button to set the unit to Standby mode.
Note: The DAB radio station list is stored in the memory and so the next time you switch your radio on, the station search will not start again.
STORES PRESET STATIONS
Up to 10 stations for DAB and 20 stations for FM can be stored in memory :
- Tune to a desired station as described in previous section.
- Press and hold the Preset Button for about 2 seconds then the Preset Station Number will flash. Release the button.
- Press once or more times the Up/Down Button to select your desired Preset Station Number from P1 to P10 in DAB mode or P1 to P20 in FM mode.
- Press once the Select Button then the Preset Station Number will stop fl ashing. Now the station is stored in your desired Preset Station Number.
To replace a station stored in the memory, repeat all the stages described above. The new station will replace the previously stored one.
To receive Preset Stations :
Under DAB or FM mode, press once or more times the Preset Button to select the desired Preset Station Number.
SNOOZE OPERATION
To obtain approximatively further 9 minutes sleep, press the Snooze Button after the radio or the buzzer switch on at the preset wake-up time. The Alarm Indicator will be flashing.
This will silence the radio or the buzzer for 9 minutes.
SLEEP FUNCTION
You can only use SLEEP FUNCTION when the unit is in FM or DAB mode.
- Press once and repeatedly the Sleep Button to select the sleeping time (minutes) as 15-30-45-60-90-Sleep Off (Sleep Off meaning that Sleep function is cancelled).
After setting a sleeping time, the SLEEP indicator will appear on the LCD.
- The FM or DAB will be off and return to standby mode when it reached the sleep set time.
If you want to cancel the sleep function, press the Sleep Button to select the sleeping time as Sleep Off.
ANTENNA
The unit has a fl exible wire on the back of the unit and it should be extended to its full length for best reception white receiving radio.
TECHNICAL FEATURES
(battery not included)
AC/DC Adaptor: Input 100-240V~, 50/60Hz
Output 5V d.c., 1.2A, 6.0W
Frequency Range : FM 87.5-108 MHz
DAB 174 - 240 MHz
Precautions for correct disposal of the product.
The symbol shown on the equipment indicates that waste must be disposed of in "separate collection" and so the product must not be disposed of together with urban waste.
The user must take the product to special "separate waste collection centres" provided by local government, or deliver it to the retailer against the purchase of a new product.
Separate collection of waste and subsequent treatment, recycling and disposal operations promotes the production of equipment with recycled materials and limits negative effects on the environment and on health caused by improper handling of waste.
Illegal disposal of the product leads to the enforcement of administrative penalties.
NOTES D'EMPLOI
SIMPLIFIED EU DECLARATION OF CONFORMITY
Hereby TREVI Spa declares that equipment type RC 80D2 DAB is in compliance with directive 2014/53/EU.
The full text of the EU declaration of conformity is available at the following internet address:
https://www.trevi.it/dms/zidi/TREVI/DOCRC80D2DAB.pdf
- NOTE D'USO
- CARE AND MAINTENANCE
- COMMAND
- POWER THE UNIT
- AC POWER
- BATTERIES
- MENUBUCTION
- SET DATE AND TIME
- SET ALARM TIME AND ALARM MODE
- STORES PRESET STATIONS
- SNOOZE OPERATION
- SLEEP FUNCTION
- ANTENNA
- TECHNICAL FEATURES
- Precautions for correct disposal of the product.
- NOTES D'EMPLOI
- SIMPLIFIED EU DECLARATION OF CONFORMITY
Brand : Trevi
Model : RC 80D2 DAB
Category : Alarm clock radio