
CSWSQ496TWMCE84 - Tumble dryer CANDY - Free user manual and instructions
Find the device manual for free CSWSQ496TWMCE84 CANDY in PDF.
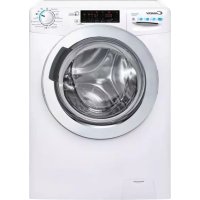



| Product type | Condenser dryer with heat pump |
| Brand | Candy |
| Model | CSWSQ496TWMCE84 |
| Loading capacity | 9 kg |
| Dimensions (H x W x D) | 85 x 60 x 60 cm |
| Net weight | Approximately 45 kg |
| Power supply | 230 V, 50 Hz, 10 A |
| Energy class | Class A++ |
| Drying programs | Cotton (ready to store, cupboard dry), Synthetics, Delicates, Wool, Quick, Anti-allergy |
| Options | Delay start, Gentle drying, Anti-crease, Child lock |
| Noise level | 65 dB(A) |
| Water tank capacity | 4.5 L |
| Routine maintenance | Clean the lint filter after each cycle, empty the water tank, clean the condenser regularly |
| Available spare parts | Door seal, hinge, door lock, detergent drawer, water tank |
| Repairability | Disassembly possible with tools (Torx key, screwdriver). Instructions available for replacing door glass, hinge, lock, seal, drawer |
| General information | Appliance designed for domestic use. Follow safety and installation instructions |
Frequently Asked Questions - CSWSQ496TWMCE84 CANDY
User questions about CSWSQ496TWMCE84 CANDY
0 question about this device. Answer the ones you know or ask your own.
Ask a new question about this device
Download the instructions for your Tumble dryer in PDF format for free! Find your manual CSWSQ496TWMCE84 - CANDY and take your electronic device back in hand. On this page are published all the documents necessary for the use of your device. CSWSQ496TWMCE84 by CANDY.
USER MANUAL CSWSQ496TWMCE84 CANDY
ENGLISH | REPAIR INSTRUCTIONS
SPANISH | INSTRUCCIONES DE REPARACION
FRENCH | INSTRUCTIONS DE RÉPARATION
CROATIAN | UPUTE ZA POPRAVAK
9.
Remove the screws from the housing with a Phillips screwdriver, turning clockwise. 7. Remove the cover.

END OF
THE DOOR
INSTRUCTIONS
END OF THE DOOR TIN1
TOOLS: PHILLIPS SCREWDRIVER, PLIERS, FLATHEAD SCREWDRIVER
1.
Open the door lock
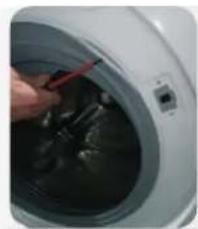
2.
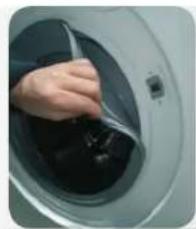
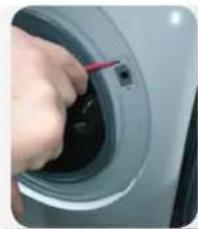
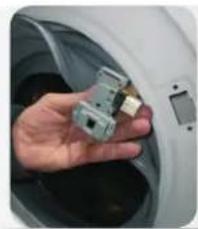
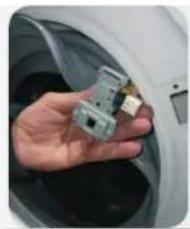
TO THE CONNECTOR
TIN TASON
ATTENTION △
DO NOT USE
GROUNDING
HOCKOOO
DOOR LOCK FOR GATE TIN2
TOOLS: PHILLIPS SCREWDRIVER, GLUE, FLAT SCREWDRIVER
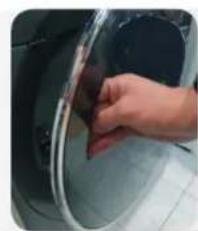
1.
REMOVE THE DOOR-GATE
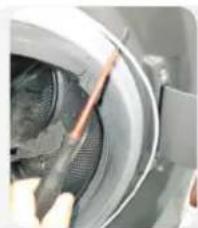
2.
USE THE
FLAT
SCREWDRIVER TO
TIGHTEN
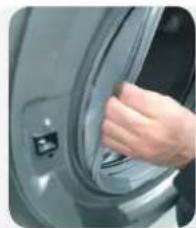
3.
Korato cko6ata
e CBQAeHA,
ofaeet
M
AGCHHETAO
BbTDEUHOCTTA HO
Vpea
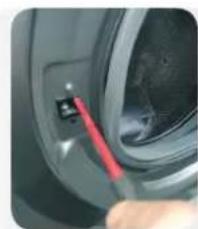
4.
Kato H3NOA3BATE
TaeHekAOH
CBAAeTe
3akpenBaLHTe
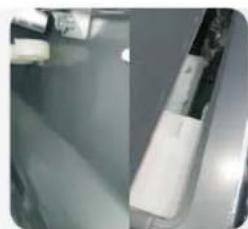
5.
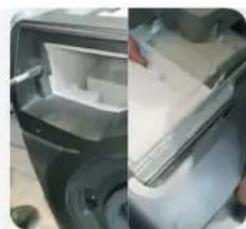
6.
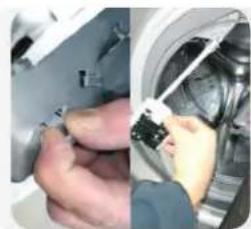
7.
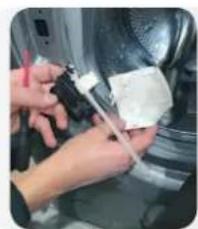
8.
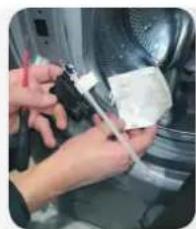
9.

YIΛbTHHTEA HA BPATATA
INHCTPYMEHTI: TAEHEH KAIOH, KAEELUN, OTBEPTKA C IAOCKA TAABA, DBA TPbBHN KIAOHA C BbPTTIL MOMEHT 7
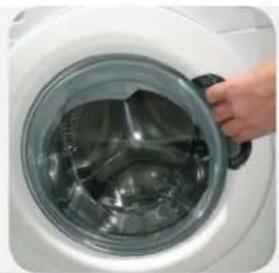
1.
OTbopete AIOK-Bpata
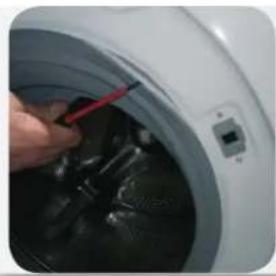
2.
N3noA3BaIte NAOCKATA OTBepTKa 3a NOBAnrAhe H CBAAHe Ha BbHHata CKo6a
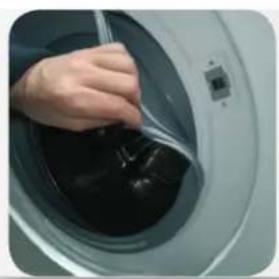
3.
Korato cko6atae CBAeHa,OTaTeMaHHTAOT yNbTHHeHHeTO,3a Da CTnHETe DO BbTpewHOCTTHaypeaa
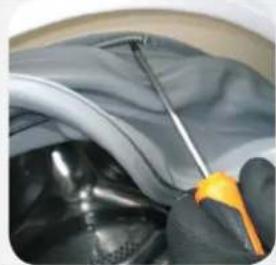
4.
Kato n3no3Bate nOACKoTBeptka, CBAaTe CkO6aTa Bbpxy MaHweta
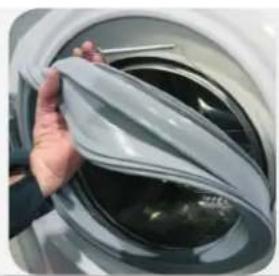
5.
Cbaete yNAbTheHHeNo
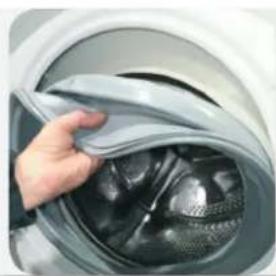
6.
IOCTABETEOHOBOTUINBTHENHEKATO BHIMABATE3aPABHANOHOAOXEHHeBAab6HATNHTE
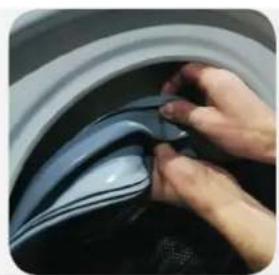
7.
Handle the bracket on the manifold
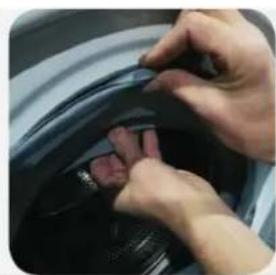
8.
Remove the bracket on the manifold using the tools
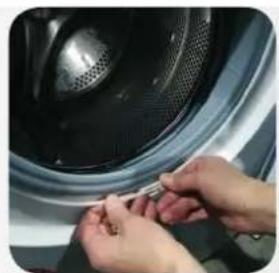
9.
Place the seal on the housing. Insert the pin and tighten it (if necessary, with the help of glue)
INSTRUCTIONS FOR PREPARING THE SURFACE
INSTRUCTIONS
INSTRUCTIONS FOR PREPARING THE SURFACE
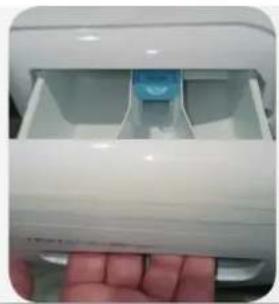
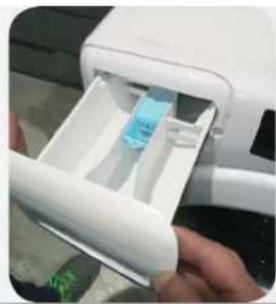
1.
Prepare the surface for the preparation
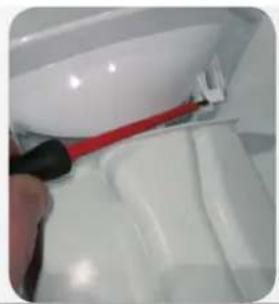
2.
With the help of a spatula, scrape it off thoroughly
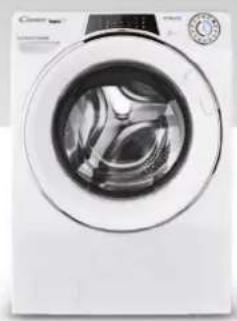
3.
Remove the mask from the surface preparation, being careful not to touch the hooks
DVERE
INSTRUCTIONS
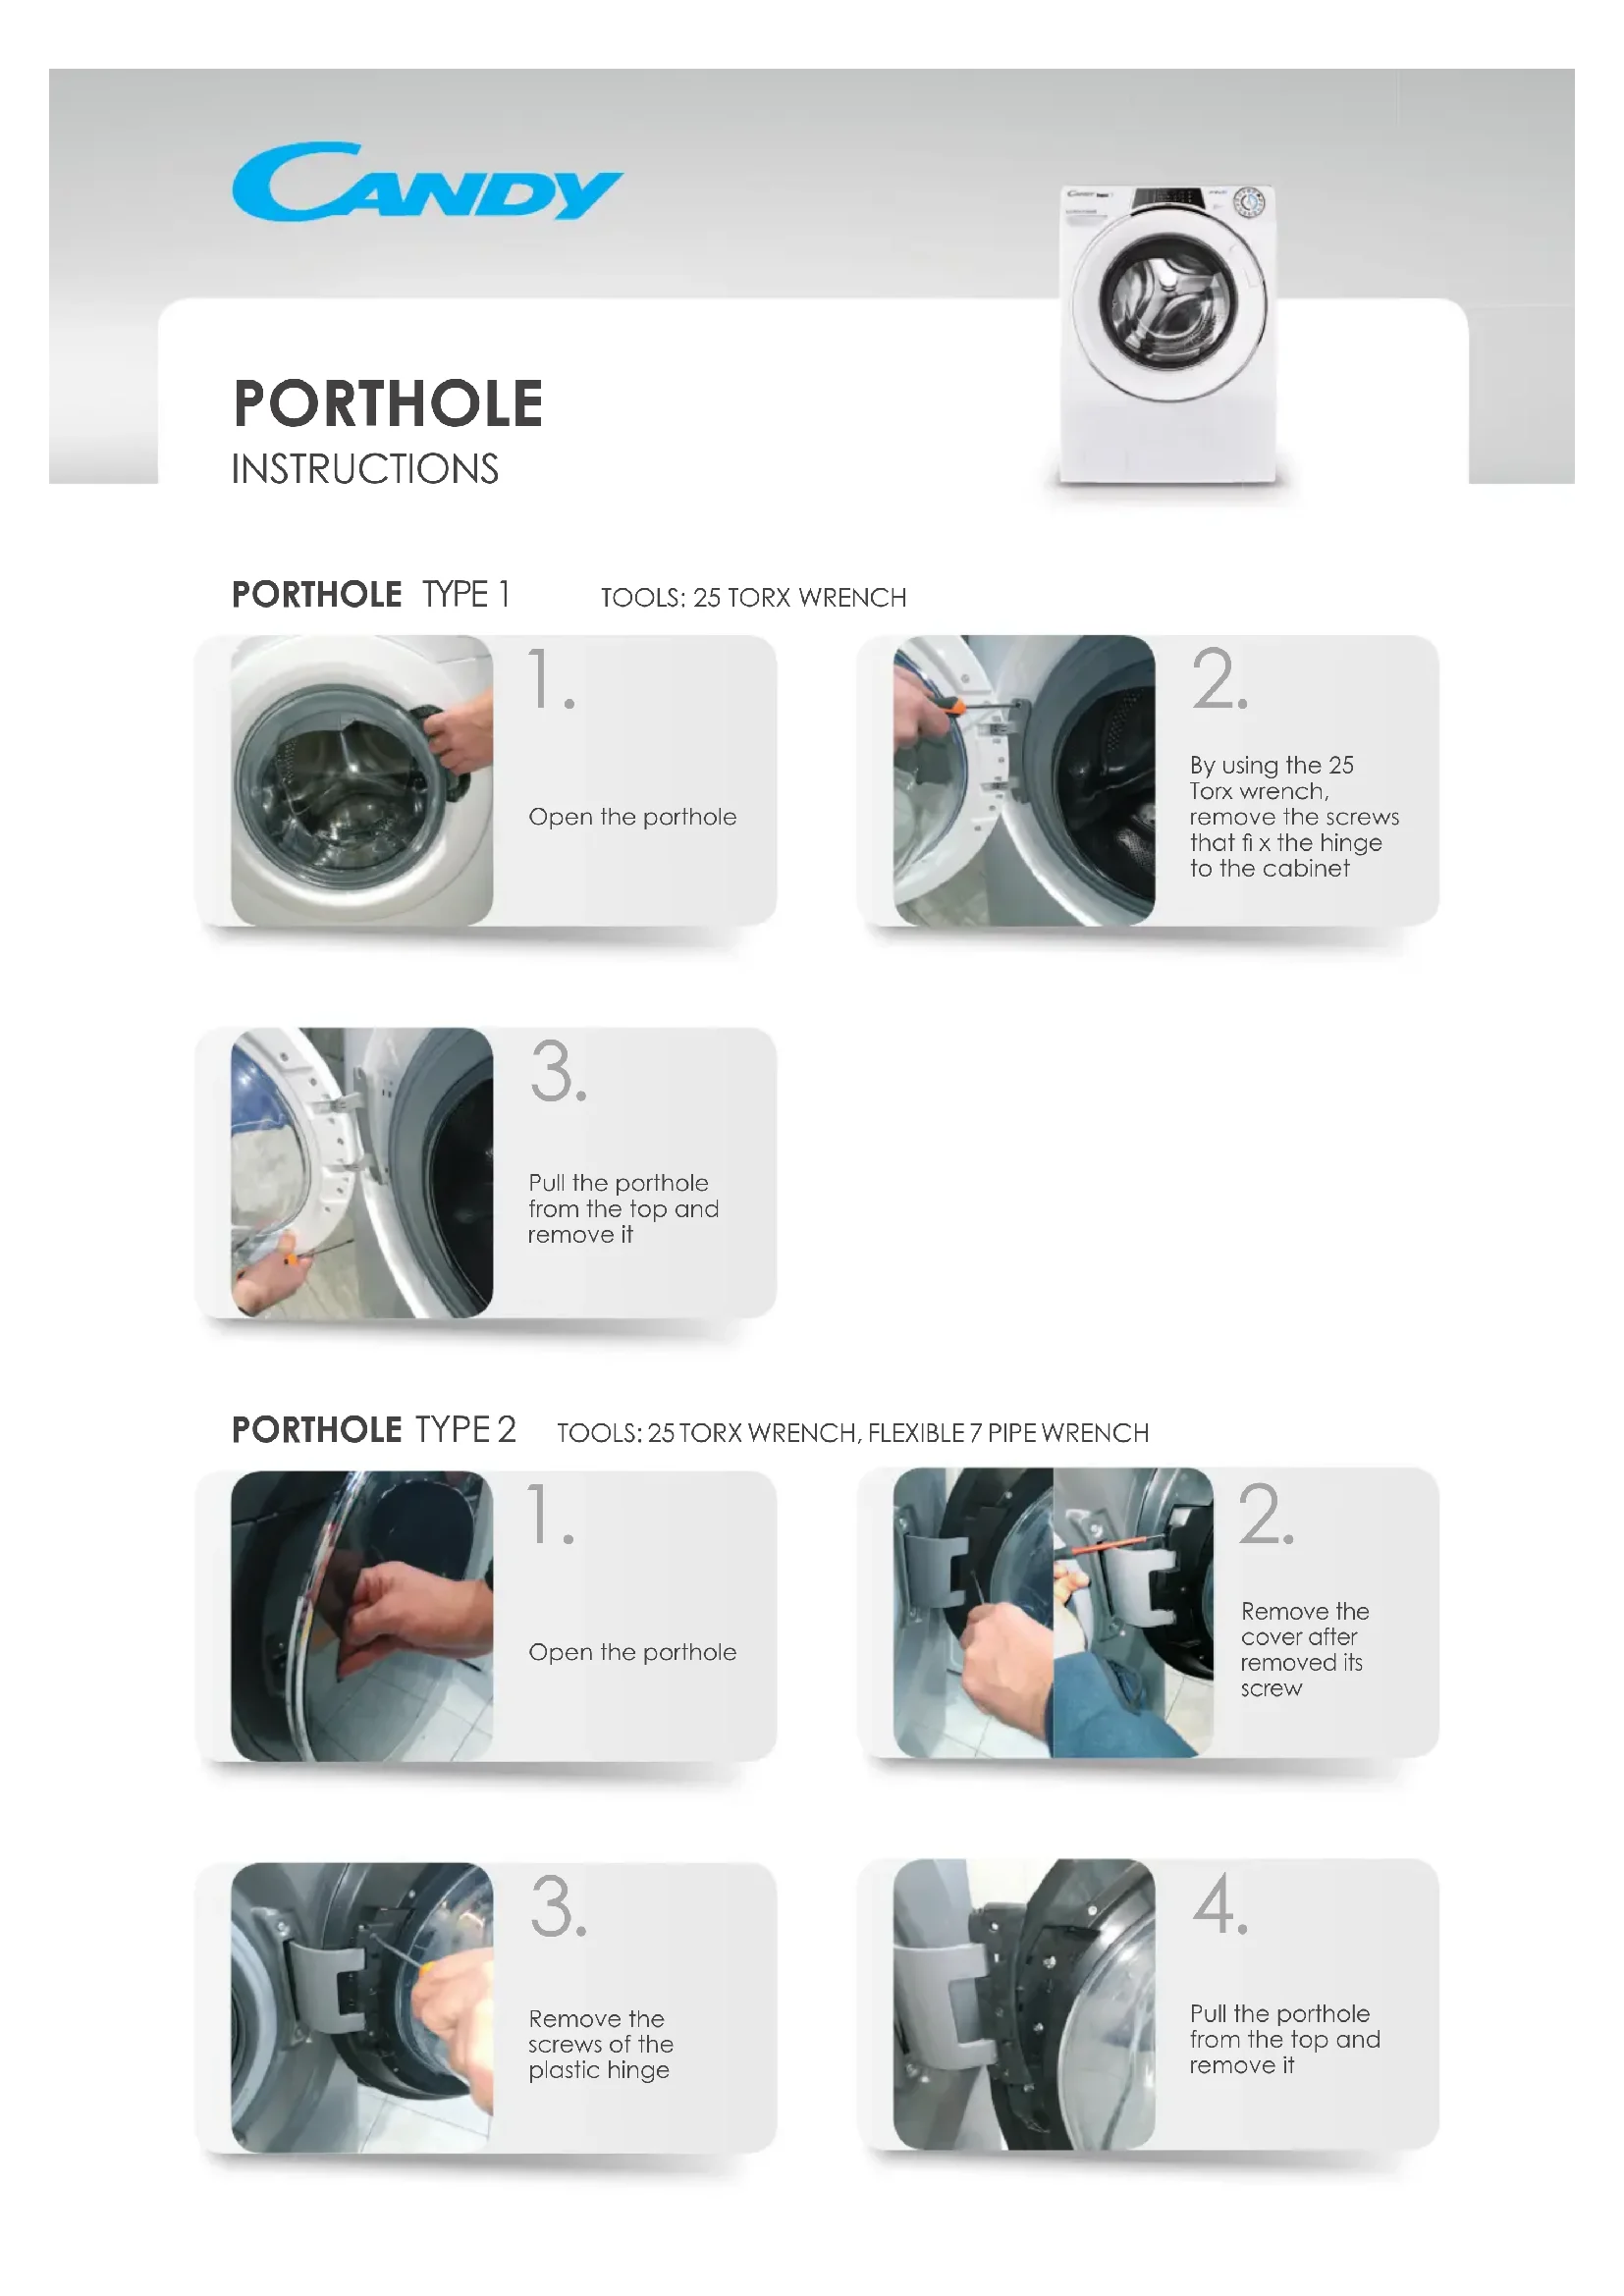
DOOR TYPE 1
TOOLS: 25 TORX WRENCH
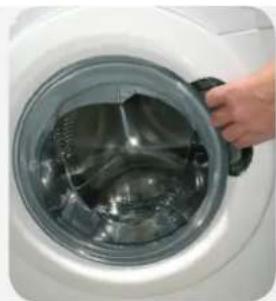
1.
Open the door.
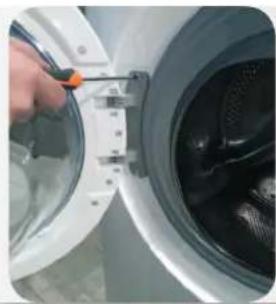
2.
Using the 25 Torx wrench, remove the screws that fix the hinge to the cabinet.
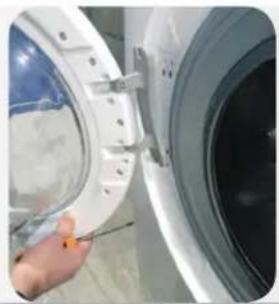
3.
Pull the door from the top and remove it.
DOOR TYPE 2
TOOLS: 25 TORX WRENCH, FLEXIBLE 7 PIPE WRENCH
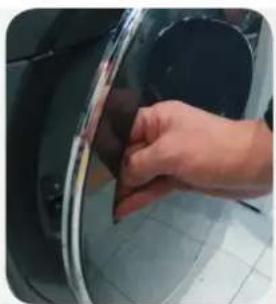
1.
Open the door.
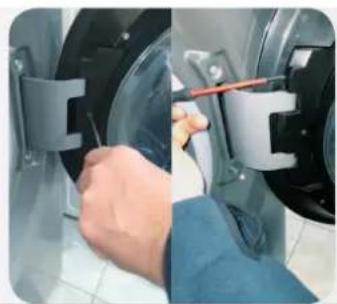
2.
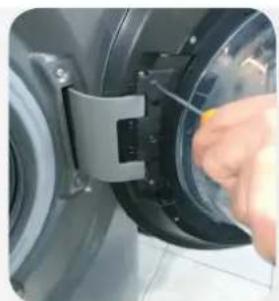
Remove the cover after removing its screw.
3.
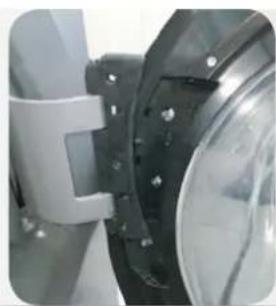
Remove the screws of the plastic hinge
4.
Pull the porthole from the top and remove it

HINGE
INSTRUCTIONS
HINGE TYPE 1 TOOLS: 25 TORX WRENCH
1.
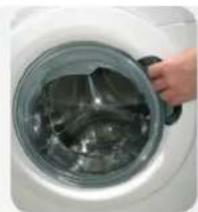
Open the porthole
2.
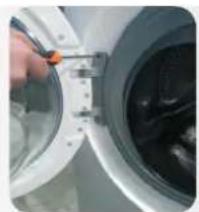
Using the 25 pipe wrench, remove the screws that fix the hinge to the cabinet
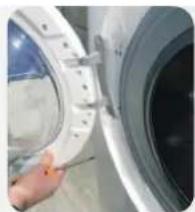
3.
Pull the porthole from the top and remove it
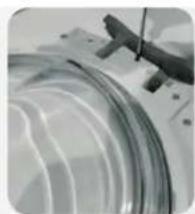
4.
Remove all the screws of the porthole
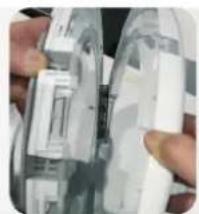
5.
Separate the frame from the counter frame.
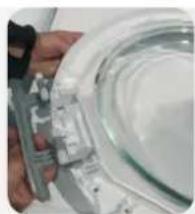
6.
Replace the hinge, taking care not to lose the bushes.
HINGE TYPE 2 TOOLS: 25 TORX WRENCH, FLEXIBLE 7 PIPE WRENCH
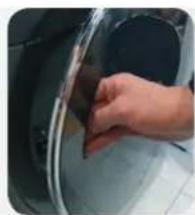
1.
Open the porthole.
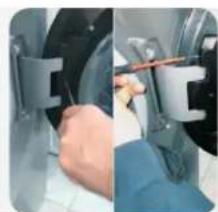
2.
Remove the cover after removing its screw.
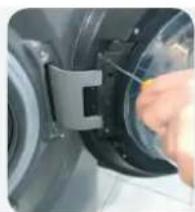
3.
Remove the screws of the plastic hinge.
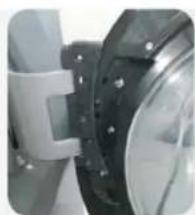
4.
Pull the porthole from the top and remove it.
5.
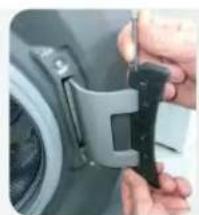
Remove the pin.
6.
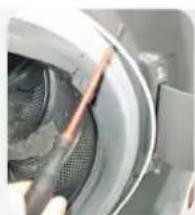
Remove the door clip
7.
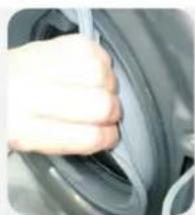
Once the strap is removed, detach the flap from the gasket, to allow access to the inside of the product
8.
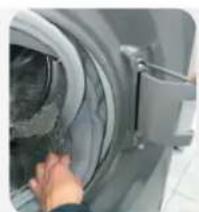
Remove the external screws from the hinge
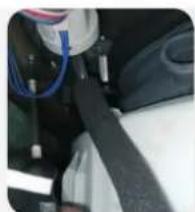
9.
Remove the screws inside the cabinet with the 7 pipe wrench. Remove the hinge

DOOR LOCK
INSTRUCTIONS
DOOR LOCK TYPE 1
TOOLS: CROSS-HEADED SCREWDRIVER, TONG, FLAT SCREWDRIVER
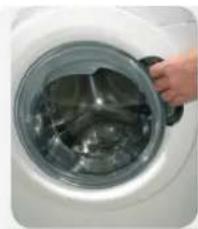
1.
Open the porthole
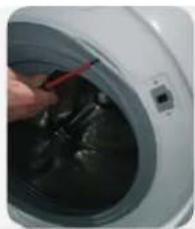
2.
Use the flat screwdriver for leverage, and remove the external clamp
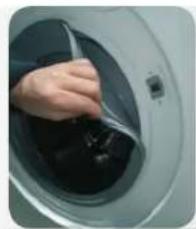
3.
Once the clamp is removed, detach the flap from the gasket, to allow access to the inside of the product
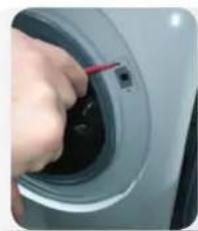
4.
By using Torx wrench, remove the fixing screws of the door lock, and press its buckle.
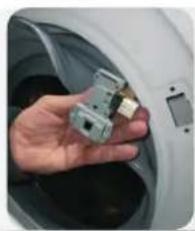
5.
Remove the door lock
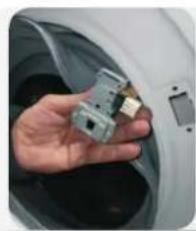
6.
Disconnect the wiring, in case of "faston", pay attention to do not invert the wiring
DOOR LOCK TYPE 2
TOOLS: CROSS-HEADED SCREWDRIVER, TONG, FLAT SCREWDRIVER
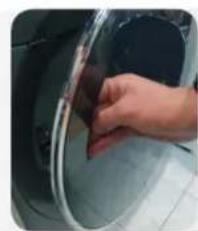
1.
Open the porthole
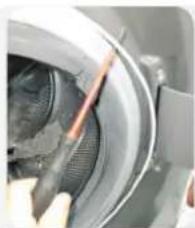
2.
Use the flat screwdriver for leverage, and remove the external clamp
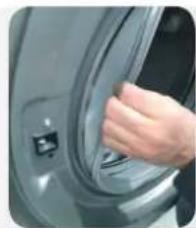
3.
Once the clamp is removed, detach the flap from the gasket, to allow access to the inside of the product.
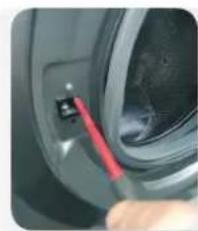
4.
By using a Torx wrench, remove the fixing screws of the door lock.
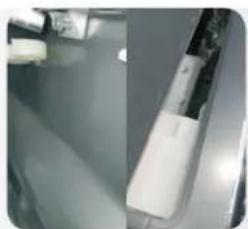
5.
Disassemble the work top and trims.
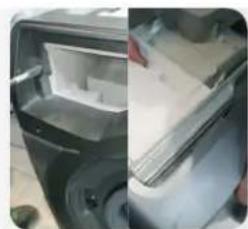
6.
Disassemble the dispenser and bezel.
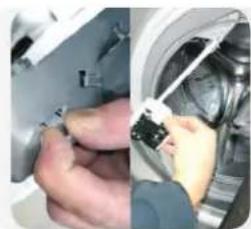
7.
Remove the door lock.
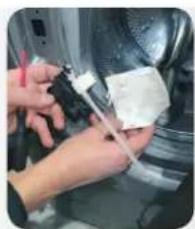
8.
Remove the water protection.
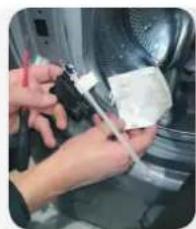
9.
Replace the door lock, paying attention to the mechanical linkage of the emergency opening and the electrical connections.

DOOR'S GASKET
INSTRUCTIONS
DOOR'S GASKET
TOOLS: TORX WRENCH, TONG, FLAT SCREWDRIVER, TWO 7" PIPE WRENCHES
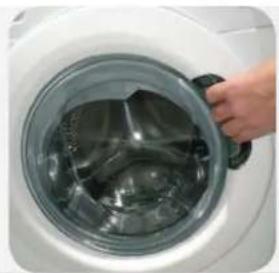
1.
Open the porthole.
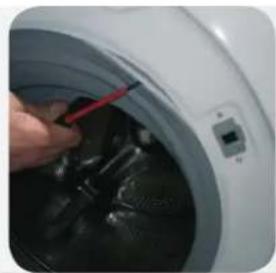
2.
Use the flat screwdriver for leverage, and remove the external clamp.
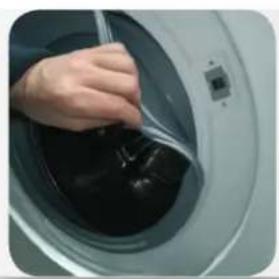
3.
Once the clamp is removed, detach the flap from the gasket, to allow access to the inside of the product.
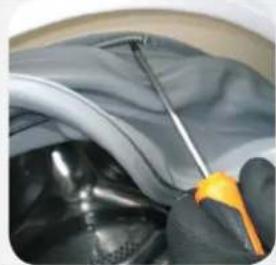
4.
By using flat screwdriver, remove the clamp on the tube.
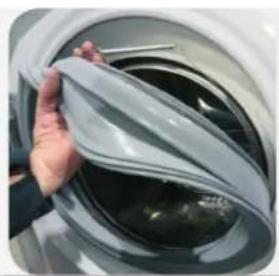
5.
Remove the gasket.
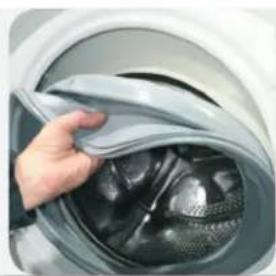
6.
Place the new gasket, paying attention to the positioning notches.
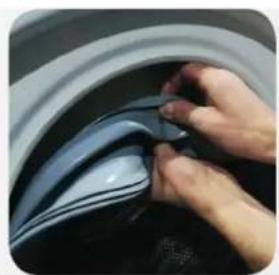
7.
Insert wiring clamp on the tube side
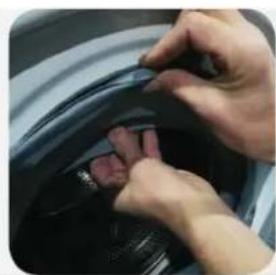
8.
Tighten the clamp flush on the tube by using the tool
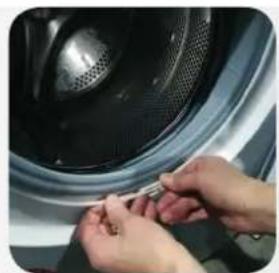
9.
Fit the gasket on the cabinet. Fix the external clamp and tighten it (if needed with tongs)
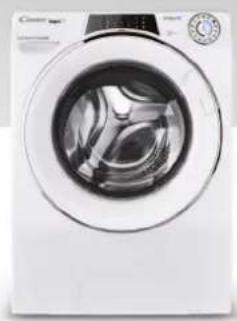
DETERGENT DRAWER
INSTRUCTIONS
DETERGENT DRAWER
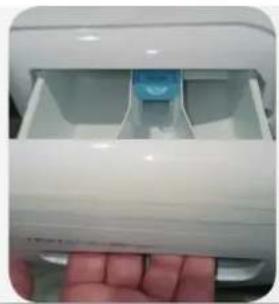
1.
Open the detergent drawer
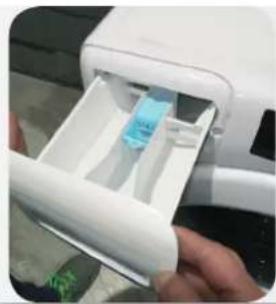
2.
By using two hands, pull it out firmly
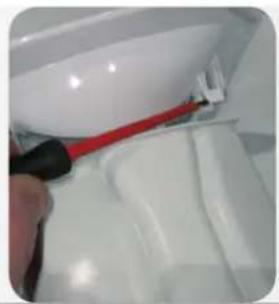
3.
Unhook the mask from the detergent drawer, being careful not to break the hooks
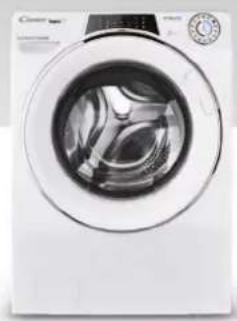
FRONT DOOR
INSTRUCTIONS
Remove the door lock
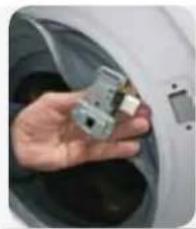
6.
Disconnect the wiring, and in the case of "faston" connectors, be careful not to reverse the wiring
DOOR LOCK TYPE 2
TOOLS: PHILLIPS SCREWDRIVER, PLIERS, FLAT SCREWDRIVER
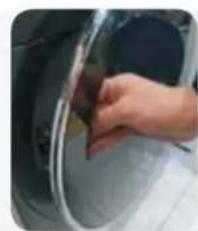
1.
Open the window
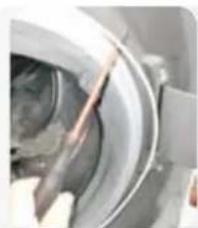
2.
Using a flat screwdriver, create leverage and remove the outer cover
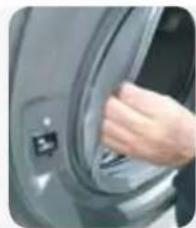
3.
After the cover is removed, separate the trim from the frame to allow access to the interior of the product
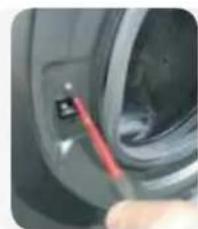
4.
Using a Torx key, remove the door lock retaining screws
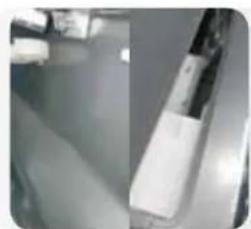
5.
Disassemble the upper working part and the reverse
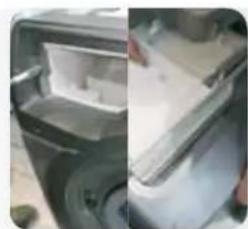
6.
Disassemble the dispenser and the frame
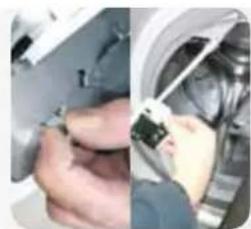
7.
Remove the door lock
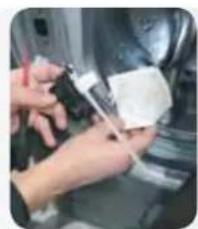
8.
Remove the water seal
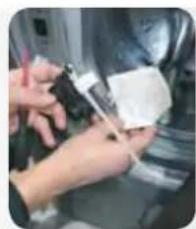
9.
Replace the door lock and pay attention to the mechanical connection of the opening for emergency electrical connection
DOOR SEAL
INSTRUCTIONS
DOOR SEAL
TOOLS: TORX KEY, PLIERS, SCREWDRIVER, TWO PIPE WRENCHES 7
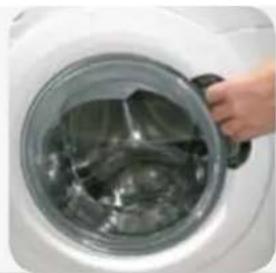
1.
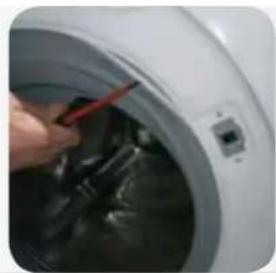
2.
Using a flathead screwdriver, create leverage and remove the outer clip.
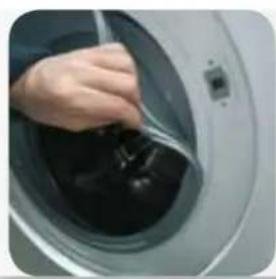
3.
After the clip is removed, separate the cover from the beam to allow access to the interior of the product.
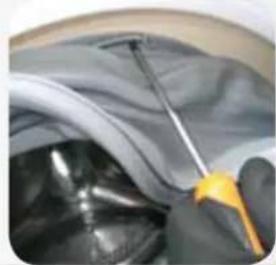
4.
- END OF
- THE DOOR
- END OF THE DOOR TIN
- DOOR LOCK FOR GATE TIN
- YIΛBTHHTEA HA BPATATA
- INSTRUCTIONS FOR PREPARING THE SURFACE
- DVERE
- INSTRUCTIONS
- DOOR TYPE
- HINGE
- HINGE TYPE 1 TOOLS: 25 TORX WRENCH
- HINGE TYPE 2 TOOLS: 25 TORX WRENCH, FLEXIBLE 7 PIPE WRENCH
- DOOR LOCK
- DOOR LOCK TYPE
- DOOR'S GASKET
- DETERGENT DRAWER
- FRONT DOOR
- TOOLS: PHILLIPS SCREWDRIVER, PLIERS, FLAT SCREWDRIVER
- DOOR SEAL
Brand : CANDY
Model : CSWSQ496TWMCE84
Category : Tumble dryer