
MXHC2600 - Oven Mx Onda - Free user manual and instructions
Find the device manual for free MXHC2600 Mx Onda in PDF.
| Product type | Countertop oven |
| Brand | Mx Onda |
| Model | MXHC2600 |
| Capacity | 66 liters |
| Power | 2200 W |
| Power supply | 230 V ~ 50 Hz |
| Temperature range | 90 °C to 230 °C |
| Timer | 60 minutes |
| Door | Double tempered glass |
| External dimensions (W x D x H) | 635 x 455 x 395 mm |
| Cavity dimensions (W x D x H) | 500 x 380 x 350 mm |
| Weight | 11.3 kg |
| Convection | Yes (with and without rotisserie) |
| Rotisserie | Yes (included accessory) |
| Interior light | Yes |
| Included accessories | Crumb/juice tray, enamel tray, grill, grill support, rotisserie, rotisserie handle |
| Operation indicators | Yes |
| Safety | Automatic timer shut-off, overheat protection |
| Cleaning | Exterior: damp cloth; Interior: specific products; Accessories: dishwasher safe |
| Repairability | Do not open, contact an authorized MX ONDA service center |
| Standards | Conforms to RoHS, EMC and low voltage directives |
Frequently Asked Questions - MXHC2600 Mx Onda
User questions about MXHC2600 Mx Onda
0 question about this device. Answer the ones you know or ask your own.
Ask a new question about this device
Download the instructions for your Oven in PDF format for free! Find your manual MXHC2600 - Mx Onda and take your electronic device back in hand. On this page are published all the documents necessary for the use of your device. MXHC2600 by Mx Onda.
USER MANUAL MXHC2600 Mx Onda
natural_image
Black and white photo of a Mx Onda 10-wheat cooktop oven with open doors showing various dishes (no visible text or symbols on the main subject)CE
ANTES DE SU USO LEA ATENTAMENTE ESTE MANUAL
¡ATENCIÓN!
natural_image
Diagram of a multi-panel air duct system with directional arrows indicating flow or movement (no text or labels)MANUAL DE INSTRUÇÕES
Mx Onda
natural_image
Black and white photo of a Mx Onda 30-wheat toaster oven with open doors showing raw meat and bread rolls (no visible text or symbols on the main subject)CE
ANTES DE USAR, LEIA ESTE MANUAL
ATENÇÃO
natural_image
Diagram of airflow patterns inside a vehicle cabin with directional arrows indicating movement (no text or labels)Modo de uso
MANUEL D'INSTRUCTIONS
Mx Onda
FOUR CONVECTION SUR TABLE
MODÈLE: MX-HC2600

natural_image
Black and white photo of a Mx Onda 10-wheat cooktop oven with open doors showing various meat slices (no visible text or symbols on the oven itself)CE
AVANT D'UTILISER CE MANUEL DE LIRE ATTENTIVEMENT
ATTENTION
natural_image
Diagram of airflow patterns inside a vehicle cabin with directional arrows indicating movement (no text or symbols)natural_image
Black and white photo of a Mx Onda 10-wheat cooktop oven with open doors showing various meat slices (no visible text or symbols on the oven itself)CE
PRIMA DI UTILIZZARE IL MANUALE DI LEGGERE ATTENTAMENTE
ATTENZIONE
natural_image
Diagram of a door with directional arrows indicating movement or flow, no text or symbols presentnatural_image
Black and white photo of a Mx Onda 10-wheat cooktop oven with open doors showing various meat slices (no visible text or symbols on the oven itself)CE
VOR GEBRAUCH SORGFÄLTIG LESEN SIE DIESE
ACHTUNG
natural_image
Diagram of a mechanical or electrical component with directional arrows and internal structures (no text or symbols)natural_image
Black and white photo of a Mx Onda 10-wheat cooktop oven with open doors showing various meat slices (no visible text or symbols on the oven itself)CE
PLEASE READ THIS MANUAL BEFORE OPERATION
ATTENTION!
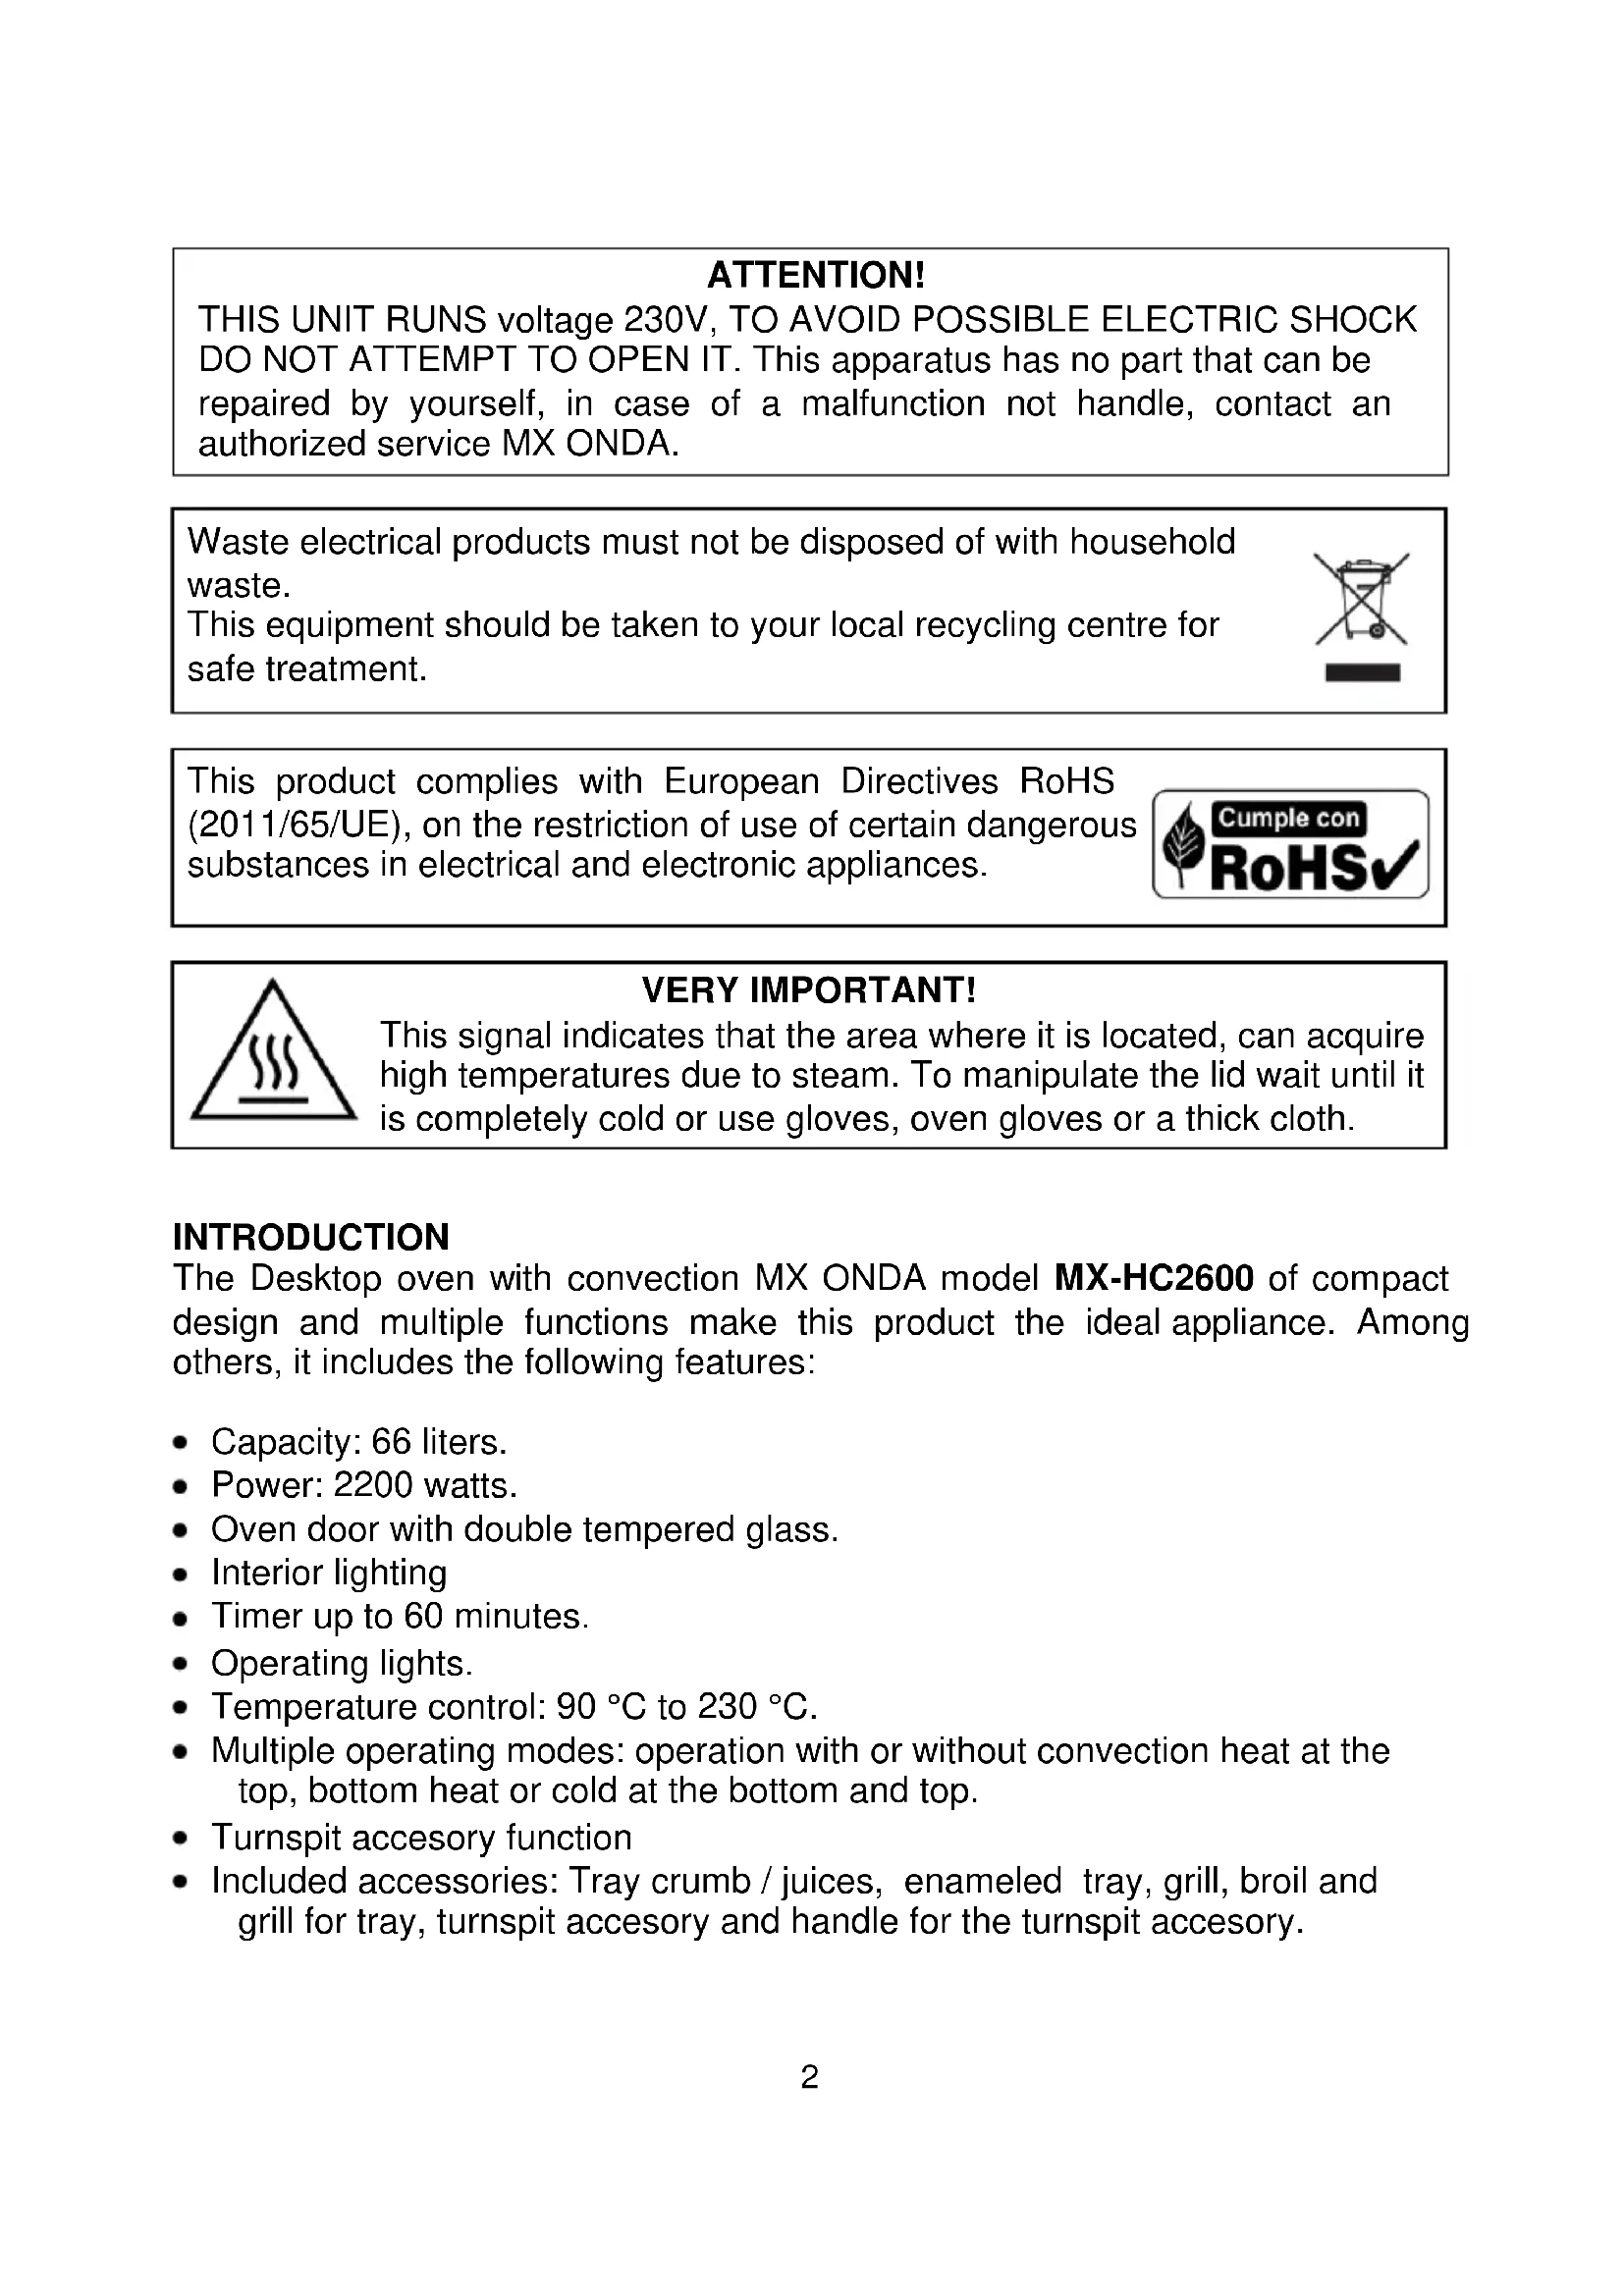
THIS UNIT RUNS voltage 230V, TO AVOID POSSIBLE ELECTRIC SHOCK DO NOT ATTEMPT TO OPEN IT. This apparatus has no part that can be repaired by yourself, in case of a malfunction not handle, contact an authorized service MX ONDA.
Waste electrical products must not be disposed of with household waste.
This equipment should be taken to your local recycling centre for safe treatment.

This product complies with European Directives RoHS (2011/65/UE), on the restriction of use of certain dangerous substances in electrical and electronic appliances.


VERY IMPORTANT!
This signal indicates that the area where it is located, can acquire high temperatures due to steam. To manipulate the lid wait until it is completely cold or use gloves, oven gloves or a thick cloth.
INTRODUCTION
The Desktop oven with convection MX ONDA model MX-HC2600 of compact design and multiple functions make this product the ideal appliance. Among others, it includes the following features:
• Capacity: 66 liters.
• Power: 2200 watts.
- Oven door with double tempered glass.
- Interior lighting
- Timer up to 60 minutes.
- Operating lights.
• Temperature control: 90 °C to 230 °C.
- Multiple operating modes: operation with or without convection heat at the top, bottom heat or cold at the bottom and top.
- Turnspit accesory function
- Included accessories: Tray crumb / juices, enameled tray, grill, broil and grill for tray, turnspit accesory and handle for the turnspit accesory.
BEFORE CONNECTING THE APPLIANCE
- Read these instructions and save them for later use carefully.
- Check that the voltage of your outlet is 220-240 V and is provided grounding.
- Before using the oven for the first time, you should wash the accessories included (tray, grill, etc.) with soapy water or in the dishwasher.
- In order to remove traces of oil from the manufacture must put the oven in operation for 15 minutes in the oven mode (heat at the top and bottom) and the maximum temperature.
- The first few times you use the oven may peel off some smell, this is normal and not a malfunction.
- The electrical safety of this appliance is only guaranteed if it is connected to an outlet with a efficient earth, as envisaged safety regulations in force.
- The manufacturer is not liable for damage caused by the lack of grounding in the installation. If in doubt, consult a professional.
- If you need to use an extension cord, use only an extension cord that is in good condition with grounded plug and is suitable for the power of the appliance.
- Do not leave the power cord below the oven, which comes into contact with hot surfaces and do not fit in the door hinges or the area because you risk damaging or cutting the insulating sheath of the cable network.
- After removing the packaging, check that the appliance is not damaged. If in doubt do not use it and contact the technical support staff.
- Keep out of reach of children packaging materials (bags, polystyrene, etc.), as they are a potential source of danger.
- The manufacturer declines any liability for damages resulting from improper, incorrect or careless use of the appliance.
SECURITY MEASURES
- This device cannot be used by children or people with or without experience and knowledge reduced physical, sensory or mental capabilities, unless they have received appropriate instructions on the use of the device and be supervised by an adult or responsible person.
- This appliance is designed only for domestic use, not professional. MX ONDA not accepts any responsibility and the guarantee will not apply in case of misuse or failure to follow instructions.
- Failure to follow these warnings and safety instructions could result as a result burns or serious injury.
- Do not walk away when preparing foods with excess fat or oil. These materials can catch fire if it overheats.
- To reduce the risk of fire, electric shock or personal injury, do not block or insert objects into the ventilation slots.
- Keep out of reach of children, the oven surfaces and containers, can reach high temperatures.
- If you see smoke or fire in the oven, keep the door closed to smother the flames and unplug it from the mains.
- DO NOT store flammable materials inside the oven. Catch fire risk if you turn the oven without prior removal. Use the device only for the purpose it was developed.
- Always use oven mitts or handles (supplied) when handling trays or containers.
- Unplug the oven when they go unused for a long period of time, when a power outage occurs, or a fuse or circuit or during the cleaning process.
- Make sure the outlet where the device is connected is easily accessible. To disconnect the oven from the mains pull the plug from the socket. You do never pull on the cable.
- This oven is designed for indoor use do not use outdoors. Avoid exposure to rain, moisture or other atmospheric phenomena.
-
Do not use not recommended by the manufacturer utensils.
-
Do not place the oven above kitchens, or microwave ovens.
- Use extreme caution when handling trays, racks or containers, when they are still hot.
- DO NOT place the shallow pan juices on the heating rods, or cover with foil, this would increase the heat build and modify cooking times.
- DO NOT place the tray collects juices on the oven floor, or cover with foil, this would increase the heat build and modify cooking times.
- Use specific containers for ovens; metal, tempered glass, clay, etc. NEVER use plastic containers, paper, cardboard, etc.
- The outer surface of the furnace becomes high temperatures, therefore, to avoid burns do not touch these surfaces when the oven is in operation and no objects plastic, cardboard or flammable near the oven.
- When the oven door is open Do not lean on it and do not place objects on it.
- In case of failure, anomalies, if the oven has fallen, yes tempered glass door is damaged (scratches, cracks, etc.), the plug or other parts have impaired, or the cord is damaged, unplug the appliance and not try to repair it yourself. Contact our Customer Service nearest MX ONDA.
INSTALLATION
- Place the oven on a stable, level surface, away from hot areas with high humidity or near flammable materials (oil, curtains, cloths, etc.).
- To ensure proper ventilation, leave at least 10 cm apart on each side of the oven and 30 cm at the top. DO NOT obstruct the ventilation slots.
- Fully unroll the cord and plug the appliance plug into the mains.
CONTROLS AND ELEMENTS

- Temperature selector
- Indicator mode rotisserie
- Function selector
- Convection mode indicator
- Heating rods selector
- Operation indicators
- Timer
- Door handle
- Door with double glazing
-
Heating rods
-
Inside wall of the oven
- Tray support slots
- Oven casing
- Crumbs / juices tray
- Handle for tray and grill
- Glazed tray
- Grill
- Rotisserie
- Handle for rotisserie
Operating mode selector (FUNCTION 📄)
This selector you can select the operating mode of convection system and rotisserie. Refer to the following table:
| POSITION | SYMBOL | OPERATING MODE |
| 1 |  | Operation of the oven in the conventional mode |
| 2 |  | Operation of the oven in the conventional with rotisserie |
| 3 |  | Operation of the oven in the convection mode |
| 4 |  | Operation of the oven in mode convection with rotisserie |
Depending on the selected mode (rotisserie, convection or both), the corresponding indicator lights (2 and 4) will light up.
Temperature selector (TEMP)
Choose between a temperature range of 90 to 230°C, depending on the food to be cooked. Turn this control in the sense clockwise to increase the temperature and counterclockwise to decrease temperature.
Note:
The oven takes time to reach the set temperature, so it is recommended "preheat" the oven before introducing the food.
Selector heating rods (FUNCTION 📄)
This switch activates or deactivates the upper and lower heating rods, has 4 positions which are indicated in the following table with the function they perform:
| POSITION | SYMBOL | FUNCTION PERFORMING THE OVEN |
| 1 | OFF | All heating rods are off |
| 2 |  | Only the upper heating rods are on - heat at the top |
| 3 |  | Only the lower heating rods are on - heat at the bottom |
| 4 |  | The upper and lower heating rods are on - heat at the top and bottom |
TIMER
Turning the timer control in the clockwise direction, the oven will operate, the operation indicator lights up and the timer will activate and start the countdown from the set time. After the time an audible indication and switch off the oven.

Note:
Anytime you can increase or decrease the timer, simply turn it to the left or right to decrease or increase the time respectively.
Operation indicator and inner light
When the timer is counting down (has selected a time), the inner light and the operation indicator will light up to warn that the oven is in operation. But if the selector of the heating rods (SELECTOR), is in the OFF position, the heating rods will not heat up.
TIPS
- Before entering the food we recommend to preheat the oven.
- Use containers suitable for ovens (resistant to high temperatures).
- The time required for the cooking depends on the size and quality thereof.
- Try not to open the oven door as little as possible, use the window of the oven door to check the process. It will save time and energy.
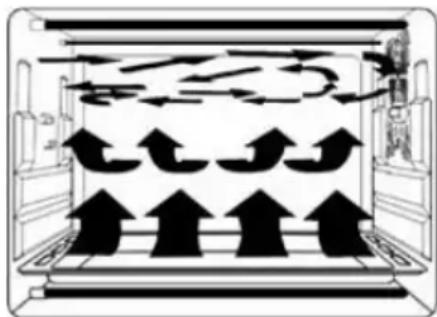
- The system convection distributes heat inside the furnace and the temperature of food by accelerating the cooking process. Until you become familiar with the system by convection, not neglect the process, it may happen that the cooking time decreases.
- You should also leave a space of at least 3 cm between the container and the walls of the oven, to allow hot air flow.
- The weight of food deposited on the grill or in the enamel tray should not exceed approximately 2 kg.
- Distribute food throughout the area of the grill tray or enamel to obtain a uniform cooking.
- If the parts are medium in size, half the process should turn them over and get a homogeneous result.
ACCESSORIES
Depending on the food to cook, you must use the appropriate accessory:
Crumb tray / juices
The tray should be located between the heating rods and the furnace base.
This tray is always placed you are using the oven, your mission is only to prevent the oven floor is dirty. Once you have done cooking and when the oven is cold, remove the tray and clean the debris.
Grill
Use this accessory for roasting, baking or cooking in suitable containers for furnaces (glass or clay pans, pastry molds, etc.).
In roasts and casseroles it is recommended in conjunction with enamelled tray to collect juice spills and grease.
Enameled tray
For moist cakes and roasts. You can use to recover the juices or fat when making casseroles on the grill or the rotisserie.
Rotisserie
Use this accessory for roasting meat or poultry, to thereby enter the main axis in the food. Then with sprats hold and center the piece, tighten the knobs to prevent the piece from moving.
For affixing the main axis of rotisserie inside the oven, it has to be noted that this has position. First insert the end A into the hole on the right inner wall of the oven. Then match the end B slot in the bracket on the left inside wall of the oven, see figure below:

flowchart
graph LR
    A["Attach this end support"] --> B["B"]
    B --> C["Fit support in this area"]
    C --> D["A"]
    D --> E["Insert this end into the hole"]
MODES OF OPERATION
Use one of the following operating modes described, depending on the type of food to be cooked, depending on their experience and the recipe chosen.
Standby mode or off
When you do not use the oven, you must place the controls in the off position, for this turn the selector of the heating rods and the operating mode selector in the position (OFF), the timer must be in position 0.
Operating in conventional mode
In the conventional mode, the system remains off convection, in this mode you can use the rotisserie.
How to use
- By the heating selector rods, choose the desired type of heat: position 2 heat at the top (☐), position 3 heat at the bottom (☐) or the position 4 heat at the top and bottom (☐).
- Preheat oven to temperature specified in the recipe.
- Place the food in the container or the rotisserie.
- If you use the rotisserie place the enamel tray below the food to cook, take care to leave enough space between the tray and the food to run freely.
- By the function selector choose the position 2 operation of the oven in the conventional way with rotisserie ( ).
- Then select the desired temperature or specified in the recipe.
- By the time the timer choose corresponding cooked.
- 5 or 10 minutes before the end of the selected time check is being cooked properly.
- To test the food before removing from the oven, use the appropriate handle for the tray, grill or rotisserie. The handle is your guide to get food or place it in the oven.
- Once the process is complete, set the oven controls in standby mode or off
Operation in convection mode
Mode convection flow of hot air in the oven is generated, distributing the heat evenly in food and accelerating the cooking process. Until you become familiar with the system by convection not neglect the process, it may happen that the cooking time decreases.
natural_image
Diagram of a train interior with directional arrows and stairs, no text or symbols presentYou should also leave a space of at least 3 cm between the container and the walls of the oven, to allow hot air flow. In the convection mode you can use the rotisserie.
How to use
- By the heating selector rods, choose the desired type of heat: position 2 heat at the top (☐), position 3 heat at the bottom (☐) or the position 4 heat at the top and bottom (☐).
- Preheat oven to temperature specified in the recipe.
- Place the food in the container or the rotisserie.
- If you use the rotisserie place the enamel tray below the food to cook, take care to leave enough space between the tray and the food to run freely.
-
When using the rotisserie mode in the function selector should select position 4, operation of the oven in convection mode with rotisserie (☐). If you do not want to use the rotisserie, choose the function selector to position 3 (☐).
-
Then select the desired temperature or specified in the recipe.
- By the time the timer choose corresponding cooked.
- 5 or 10 minutes before the end of the selected time check is being cooked properly.
- To test the food before removing from the oven, use the appropriate handle for the tray, grill or rotisserie. The handle is your guide to get food or place it in the oven.
- Once the development is complete, set the oven controls in standby mode or off.
Note:
Cooking times are based on foods found to refrigerator temperature. Meat or frozen food should be cooked for a longer period of time. Therefore, it is advisable to use a meat thermometer.
MAINTENANCE AND CLEANING
Before cleaning disconnect the unit from the mains. And be sure the oven is completely cold. Do not use alcohol or abrasive products and not allow the appliance to contact volatile agents such as gasoline, solvents, insecticides, etc.
Cleaning the outside of the oven
- Clean the outside with a damp cloth and then with a dry one.
- Avoid water from the vents.
- Hold the door on both sides and the seals always clean. Clean these parts with a damp cloth with warm water and soap. Then dry them carefully.
Cleaning of the accessories
- Clean the accessories after each use with a grease product.
- You can also wash the accessories in the dishwasher.
Cleaning inside the oven
- Do not use metal scouring pads that may scratch the surfaces, use specific cleaning products for ovens. For stubborn stains, wipe them after preheating to 90 °C for 30 seconds.
- Some juices and grease stains, crumb tray / juices aluminum, which are not cleaned with cleaning products. Use the enamel tray in order to prevent juices and fats falling into crumb tray / juices.
- For cleaning of resistance at the top and bottom of the oven, use a cloth soaked in soapy water and make cleaning with longitudinal movements.
TECHNICAL SPECIFICATIONS
Operating voltage 230 V \~ 50 Hz
Power consumption 2200 W
Oven capacity 66 liters
Temperature range 90 to 230 °C
Timer control 60 minutes
External dimension 635 x 455 x 395 mm (l, a, h)
Oven cavity dimension 500 x 380 x 350 mm (l, a, h)
Approximate weight 11.3 Kg
Specifications subject to change without notice.
This product complies with the European Directives 2004/108/EC (EMC – Electromagnetic Compatibility) and the 2006/95/EC (LVD – Low Voltage Directive) relative to Low Tension Security.
"MX, MX ONDA" and its logos are trademarks of MX ONDA, S.A.
Telephone of information and Technical Service: +34 902 551 501
MX ONDA, S.A.
Isla de Java, 37
28034 - MADRID (SPAIN)
E-MAIL: mxsat@mxonda.es
http://www.mxonda.es

natural_image
Icon of a person reading a book inside a circle (no text or symbols)Manual de instrucciones Instruction manual Manual de instruções Benutzerhandbuch Manuel utilisateur Manuale di istruzioni


- ¡ATENCIÓN!
- MANUAL DE INSTRUÇÕES
- Mx Onda
- ATENÇÃO
- Modo de uso
- MANUEL D'INSTRUCTIONS
- FOUR CONVECTION SUR TABLE
- ATTENTION
- ATTENZIONE
- ACHTUNG
- ATTENTION!
- VERY IMPORTANT!
- INTRODUCTION
- BEFORE CONNECTING THE APPLIANCE
- SECURITY MEASURES
- INSTALLATION
- CONTROLS AND ELEMENTS
- Operating mode selector (FUNCTION 📄)
- Temperature selector (TEMP)
- Note:
- Selector heating rods (FUNCTION 📄)
- TIMER
- Operation indicator and inner light
- TIPS
- ACCESSORIES
- Crumb tray / juices
- Grill
- Enameled tray
- Rotisserie
- MODES OF OPERATION
- Standby mode or off
- Operating in conventional mode
- How to use
- Operation in convection mode
- MAINTENANCE AND CLEANING
- Cleaning the outside of the oven
- Cleaning of the accessories
- Cleaning inside the oven
- TECHNICAL SPECIFICATIONS
Brand : Mx Onda
Model : MXHC2600
Category : Oven