INOSOP084.0CAP - Tablet Synchro Digital - Free user manual and instructions
Find the device manual for free INOSOP084.0CAP Synchro Digital in PDF.

User questions about INOSOP084.0CAP Synchro Digital
0 question about this device. Answer the ones you know or ask your own.
Ask a new question about this device
Download the instructions for your Tablet in PDF format for free! Find your manual INOSOP084.0CAP - Synchro Digital and take your electronic device back in hand. On this page are published all the documents necessary for the use of your device. INOSOP084.0CAP by Synchro Digital.
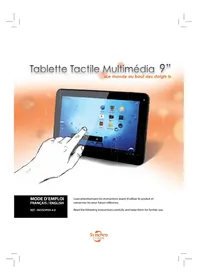
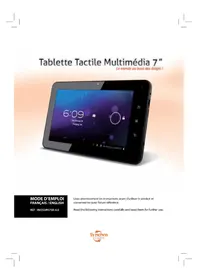
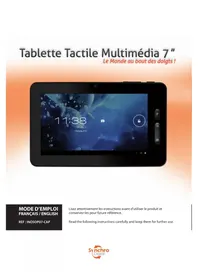
USER MANUAL INOSOP084.0CAP Synchro Digital
Read the following instructions carefully and keep them for further use.
- NOTES 1
- ACCESSORIES 2
- LA TABLETTE 2
- DEMARRAGE ET ARRET 3
5.BUREAU 4 - BOUTONS 5
- PARAMÉTRES SYSTÉME 6
- GESTION DES APPLICATIONS 10
- RÉSEAU 12
10.MUSIQUE 13
11.VIDEO 14
12.FOND D'ECRAN 15 - ENREGISTREMENT 16
14.CAMERA 17 - PLAY STORE 18
- E-MAIL 26
- PÉRIPHÉRIQUES EXTERNES 29
-
DÉPANNAGE RAPIDE 30
-
NOTES 31
- ACCESSORIES 32
- OUTLOOK DESCRIPTION 32
- STARTUP AND SHUTDOWN 33
5.DESKTOP 35
6.BUTTONS 35 - SYSTEM SETTINGS 36
8.APPLICATIONS 40 - NETWORK 42
10.MUSIC 43
11.VIDEO 44
12.WALLPAPER 45
13.RECORD 46
14.CAMERA 47 - PLAY STORE 48
- E-MAIL 55
- EXTERNAL DEVICES 59
- TREATMENT FOR COMMON PROBLEMS 60
1. NOTES
Incoming server settings

inbox checking frequency Every 15 minutes
Send email from this account by default.
Notify me when email arrives.
Sync email from this account.
Previous
Next

Account setup
Your account is set up, and email is on its way!
Give this account a name (optional)
longjinhu@126.com
Your name (displayed on outgoing messages)
Kill Eward
Next

. This is a high-density electronic product; please do not dismantle it by yourself.
. Avoid strong beat and collision.
. Avoid using this product in the following environments: high and low temperature, humidity, dusty, with strong magnetic and long-term exposure to the sun.
. Please wipe the product shell use twist dry wet cotton cloth gently; the use of other chemical cleaning is prohibited. This product should keep away from water drop and water splash, so cups filled with liquids should not be placed near the product.
. Use the headset long time, high volume may cause permanent damage to hearing.
. Do not use headphones when going across a road, driving a motorcycle or bicycle, in order to avoid traffic accidents.
. Please use permitted battery, charger and accessories only, the use of any other type of product would be a breach of warranty regulations, and may be dangerous.
. Please deal with waste machinery and accessories according to local environmental regulations.
. If you have any questions in the process of using of the product, please contact the local dealer or contact customer service center of our company directly.
. For the smeared memory loss that is caused by product damage, repair or other causes of product damage, repair, the company is not responsible for it, so please follow the user's guide and timely backup.
. All pictures display on this manual are just for reference, please according to actual products. The sellers retain all the rights to change specs & pictures & softwares & hardwares without notice
2. ACCESSORIES
With your tablet you will find:
1.5V 2A Charge
2. User manual
3. USB cable
4. HDMI cable (option)
Please note that the SD card is not provided, you can get one in stores or in supermarkets multimedia.
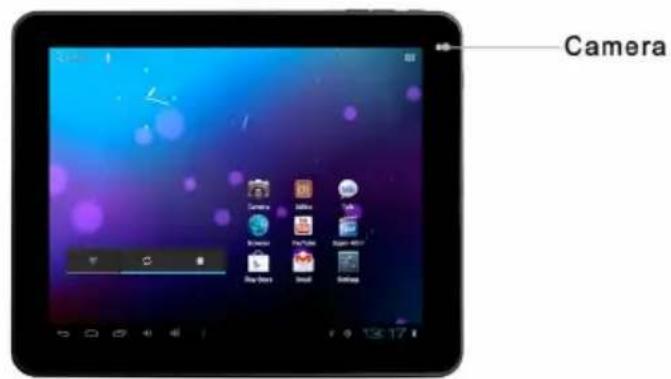
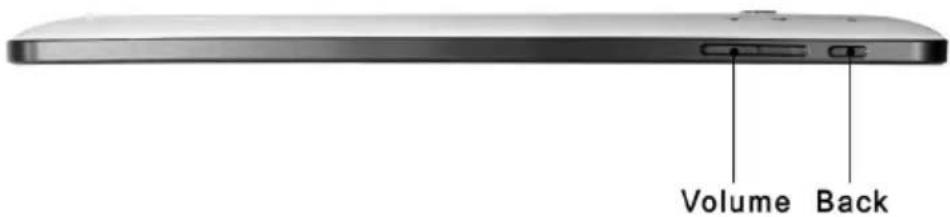
3. OUTLOOK DESCRIPTION
Front view:
Right view:
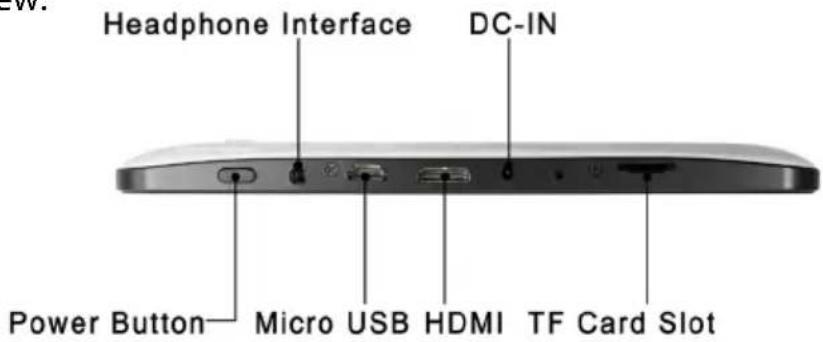
Top view :
EN
Back view:

4. STARTUP AND SHUTDOWN
STARTUP: press the power key and the system will enter the process of Startup, as shown below:
Startup Logo, in the process of startup
The system has been started and is entering the Android system:
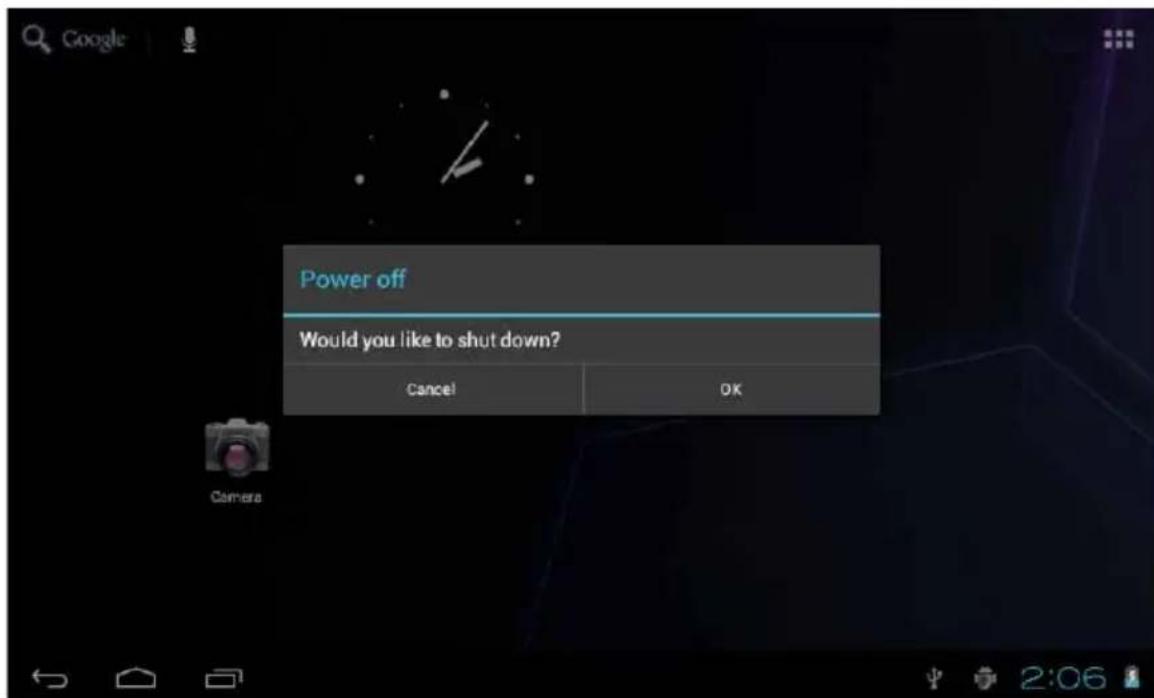
SHUTDOWN: Press the power key then pop-up options will be on the desktop, choose the option of Power off as shown below
SLEEP: in the normal state operation of the machine, press the power button, enter a state of dormancy, at this time, the screen will be closed. Another short press on the power button can be resume to normal mode. When machine is not used you can start this function, in order to reduce power consumption.

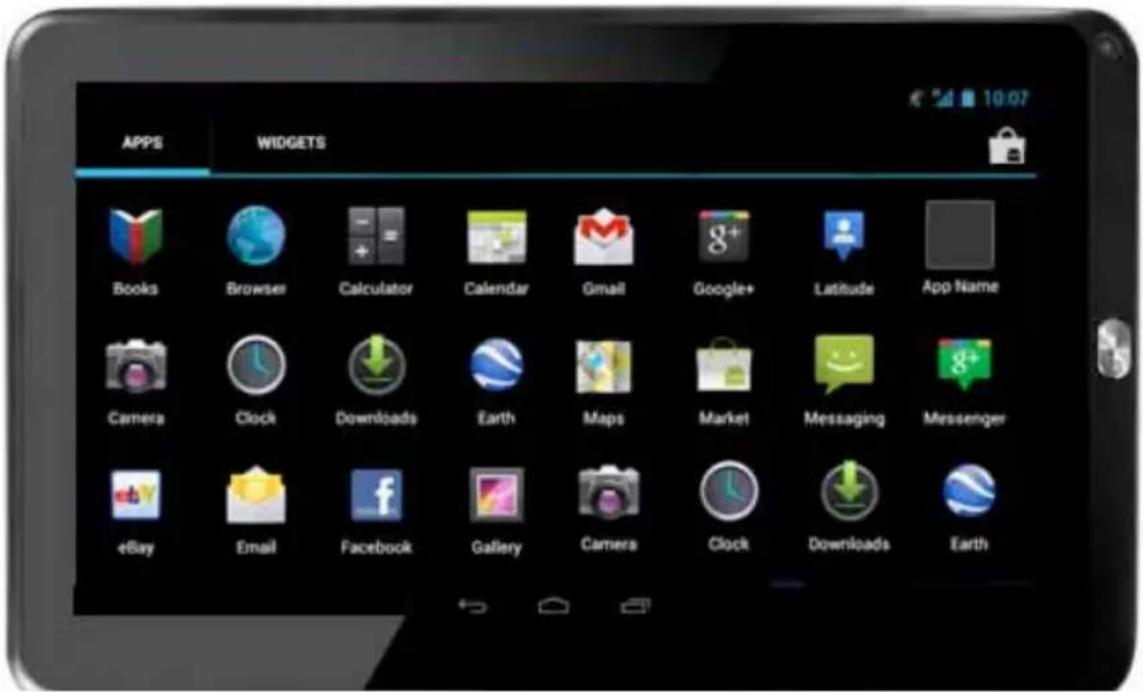
5. DESKTOP
After the normal startup of the system is completed, you can see the Android4.0 desktop (below). The default desktop is consisted by quick search icon, status bar, menu label icon,etc.
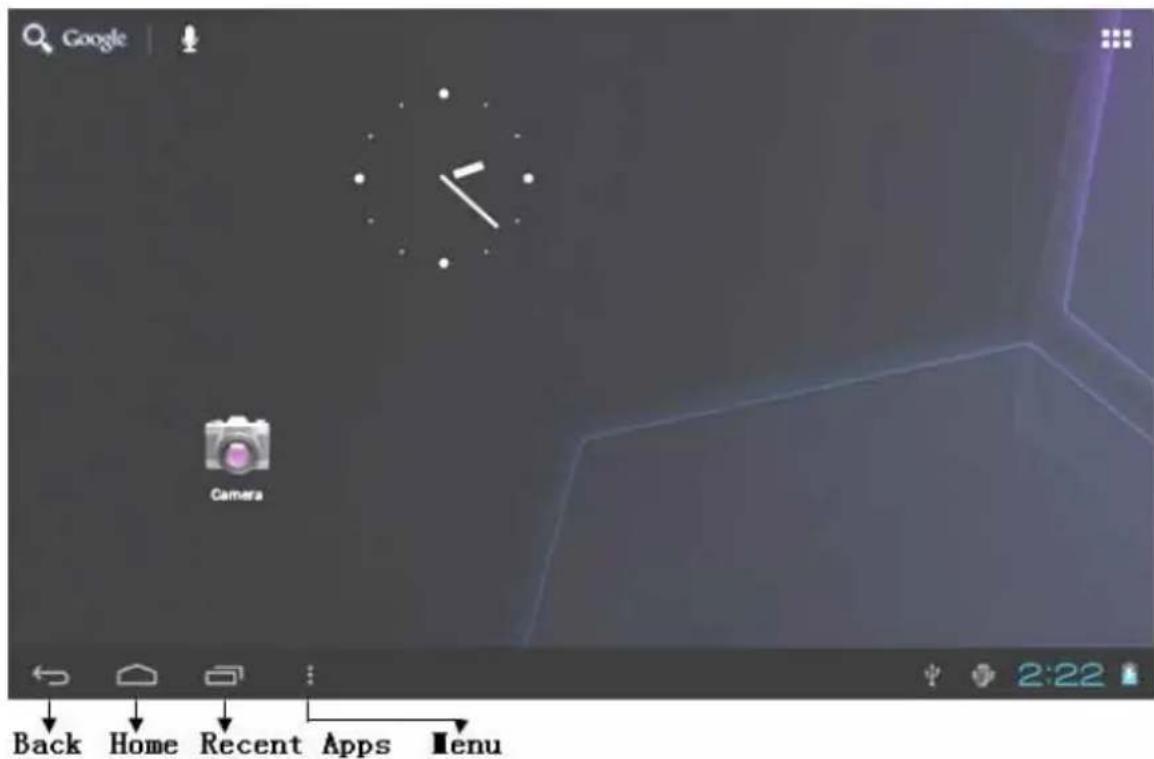
The status bar is used to display the network status of current system, battery power, time and other information.
Quick search box is used by typing keywords to do the Internet search. The main menu tag is in the right middle side of the screen, tap it and the default menu bar can be expanded.
6.BUTTONS
Keys used in Android systems process:
The volume keys: «Volume +», «Volume -» on the shell can be used for Volume change.
The power button: press long time for switching machine. Press quickly to enter or leave the state of dormancy.
The key «Menu»: display the current form of the menu item.
The key «Home»: return or select the main interface.
The key «Retour»: return to the last desktop.
Main menu operation
Press the main menu tag on the screen, as shown below:
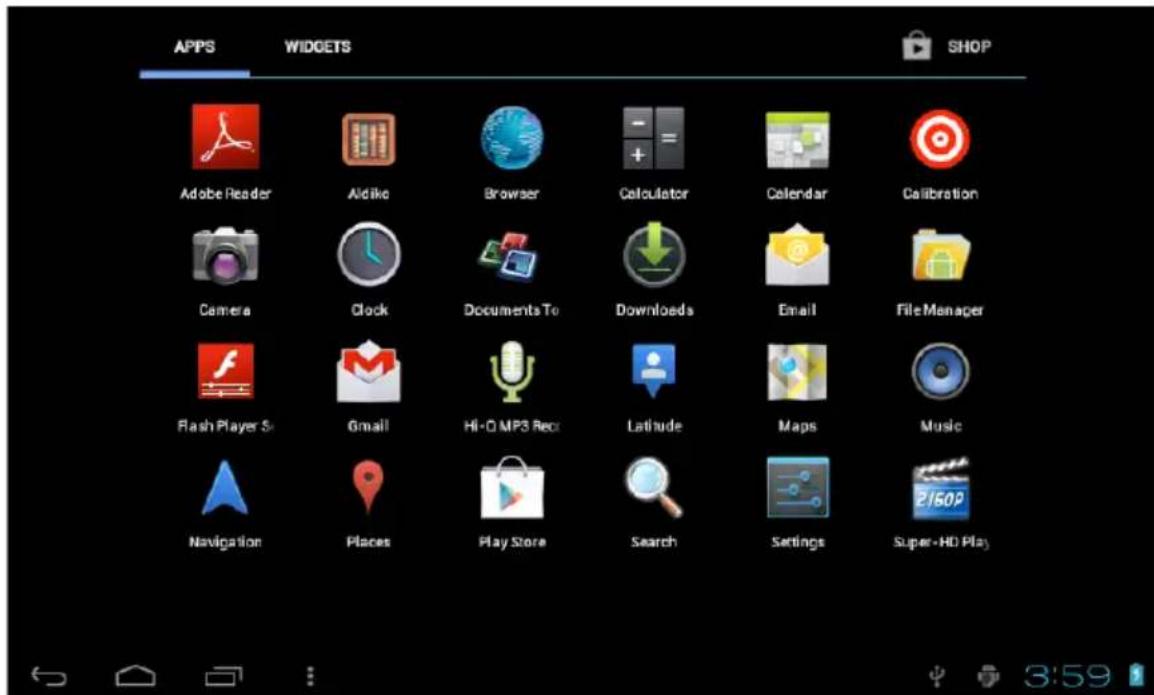
In the main menu, you can set the system, operate the existed application, install a new application, play music, browse webpage, play game and other operations.
7. SYSTEM SETTINGS
Tap the «Settings» icon, and then open the system settings interface, as shown below:
EN
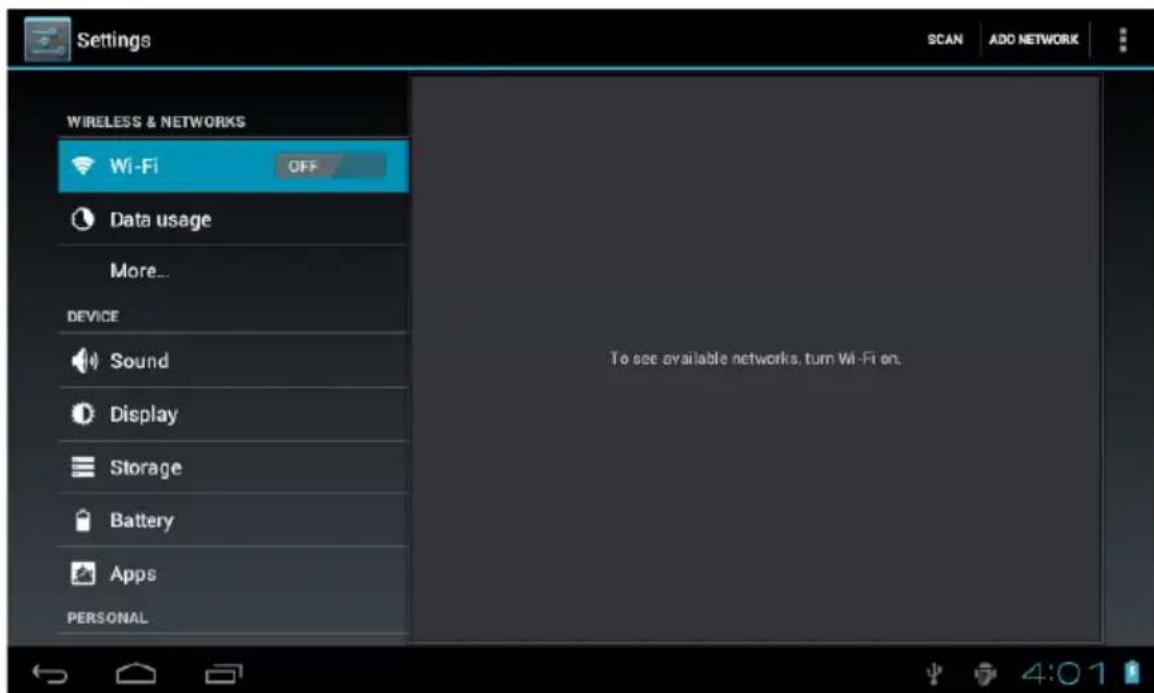
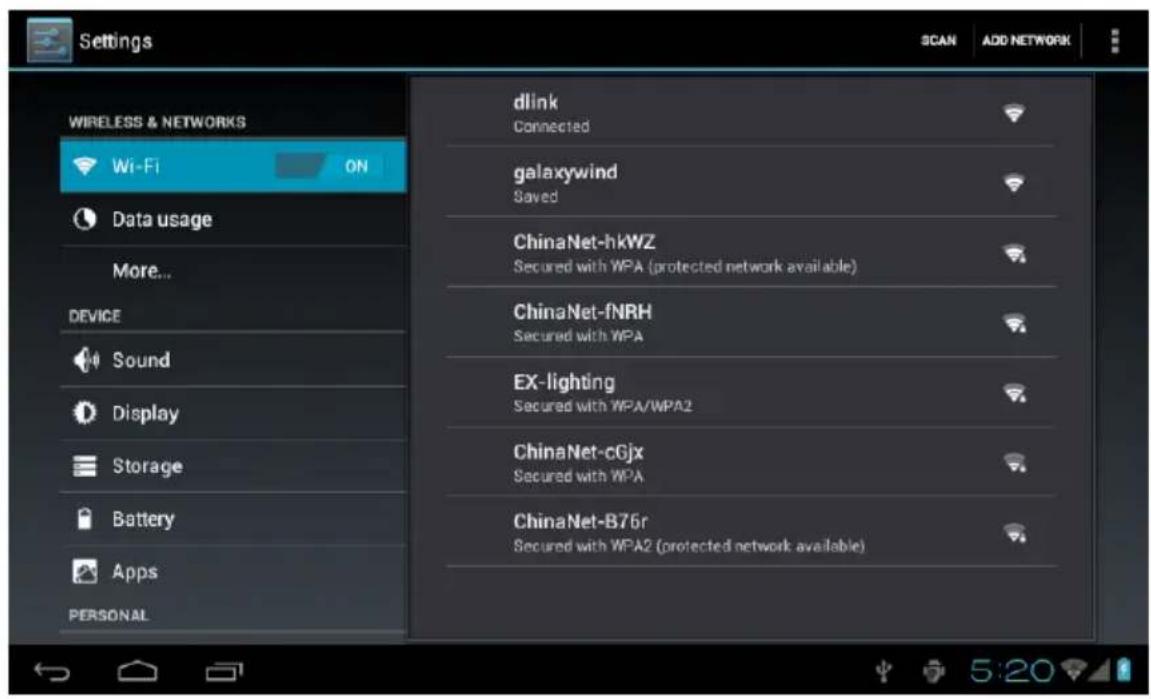
Wi-Fi
Tap "Wi-Fi" column and right drag the "OFF", you can open the WIFI function and into the wi-fi settings interface, as shown below:
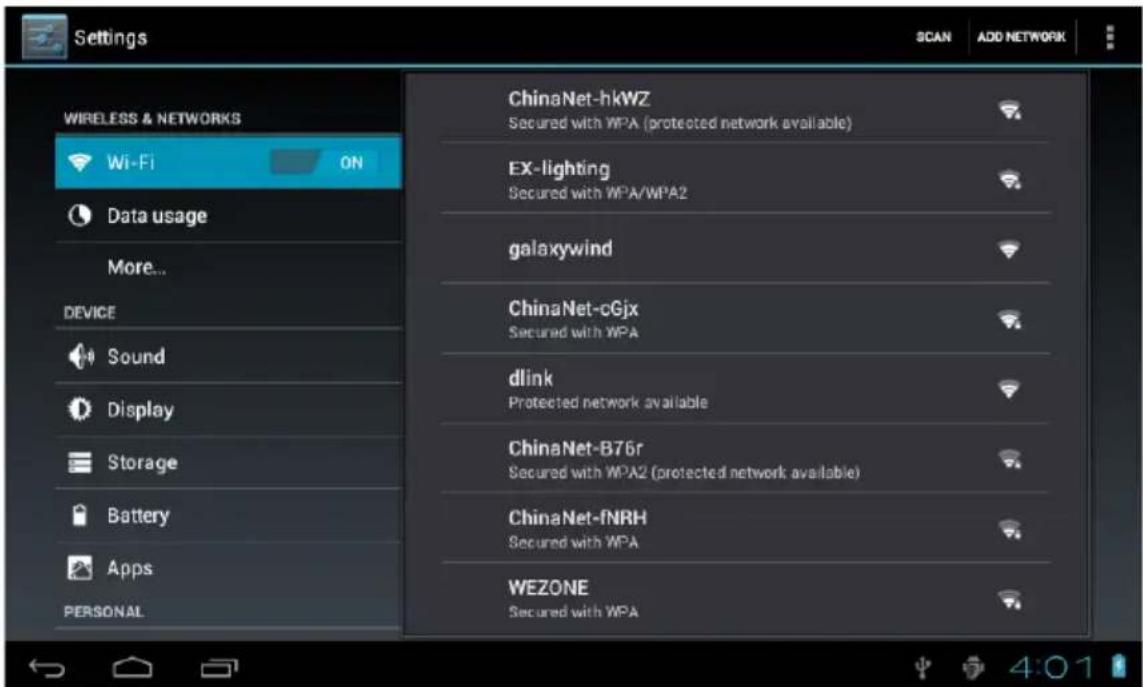
In the «WIFI» interface (pictured above), it will list the wireless router that is searched by MID, tap the searched wireless router setup window will pop-up, please according to the prompts to complete the WIFI network links. Some encryption network, need to enter a valid key. Link diagram as follows:
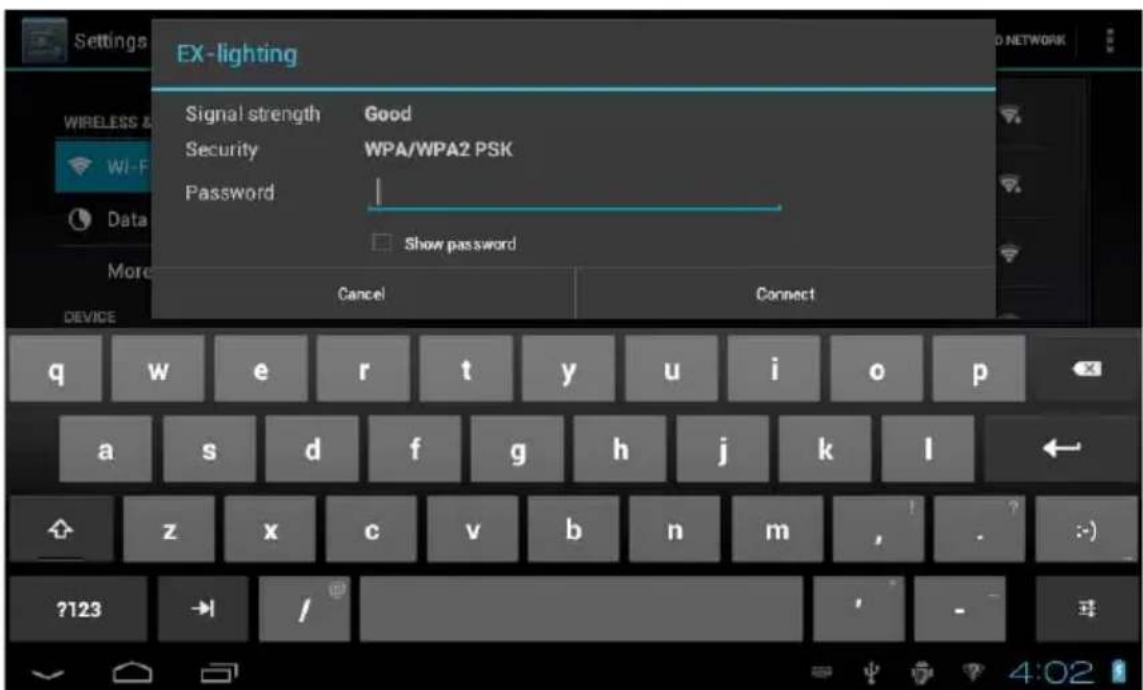
After you connected WI-Fl as shown above, the follow image will appear:
EN
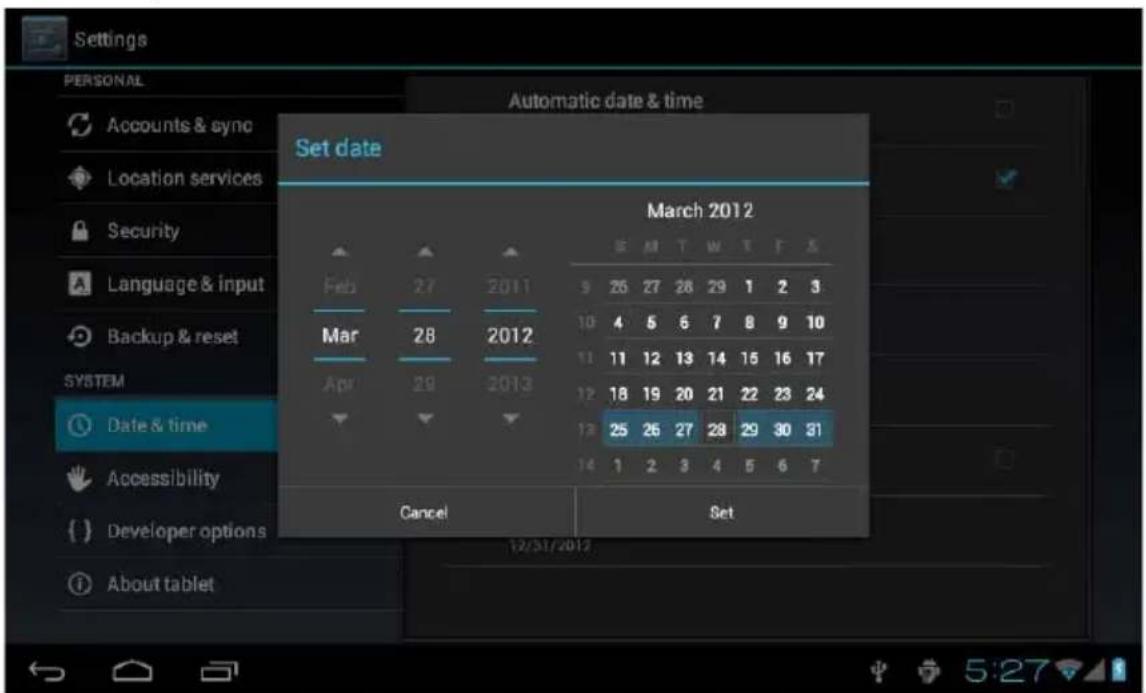
Date and time
In the interface of the setting to select «Date & time» to enter the date and time settings interface:
You can choose the automatic mode: using the network time.
You also can choose to set the date, select time zone, set time, select date format, set date and other information
For example, choose the set date, as shown below:
You can also choose the number, enter the input pattern. Directly input the number, and then select the button done, as shown below:
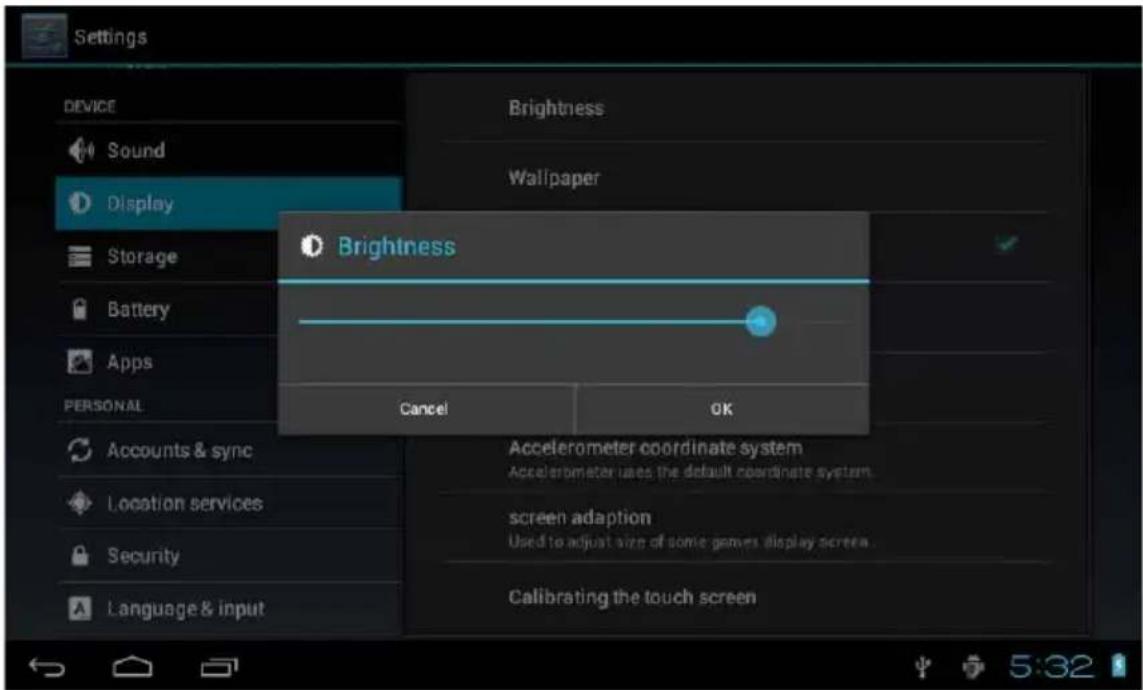
Display
In the setting of the interface to select «Display» into the display settings interface, rolling drop-down lists, select «Brightness», appeared the following dialogue.
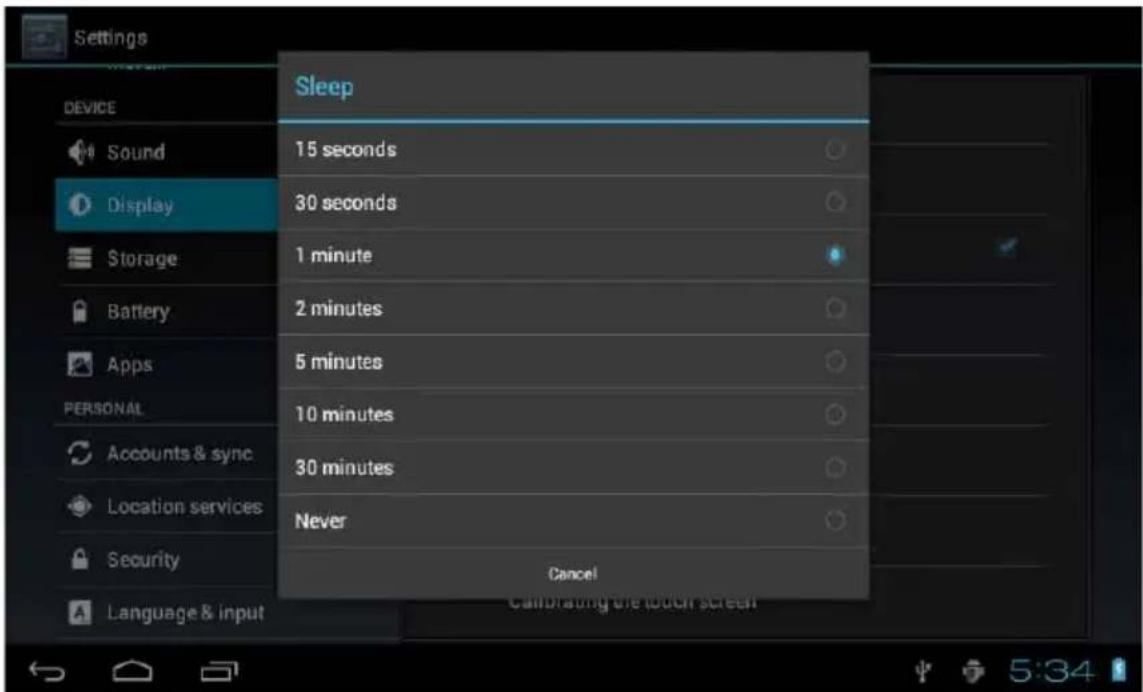
Screen standby
Screen standby: the delay before the screen standby automatic locking. In the setting of the interface to select «display settings» into the display settings interface, rolling drop-down lists, select «screen standby», appeared the following interface:
Note: during video broadcast, the screen automatically standby function is invalid.
8. APPLICATIONS
Install the application: there are a variety of ways to install applications, for example by USB setup, third party programs support installation. Here we introduced the way to install with the TF card.
1- Enter the menu, select Settings - Security.
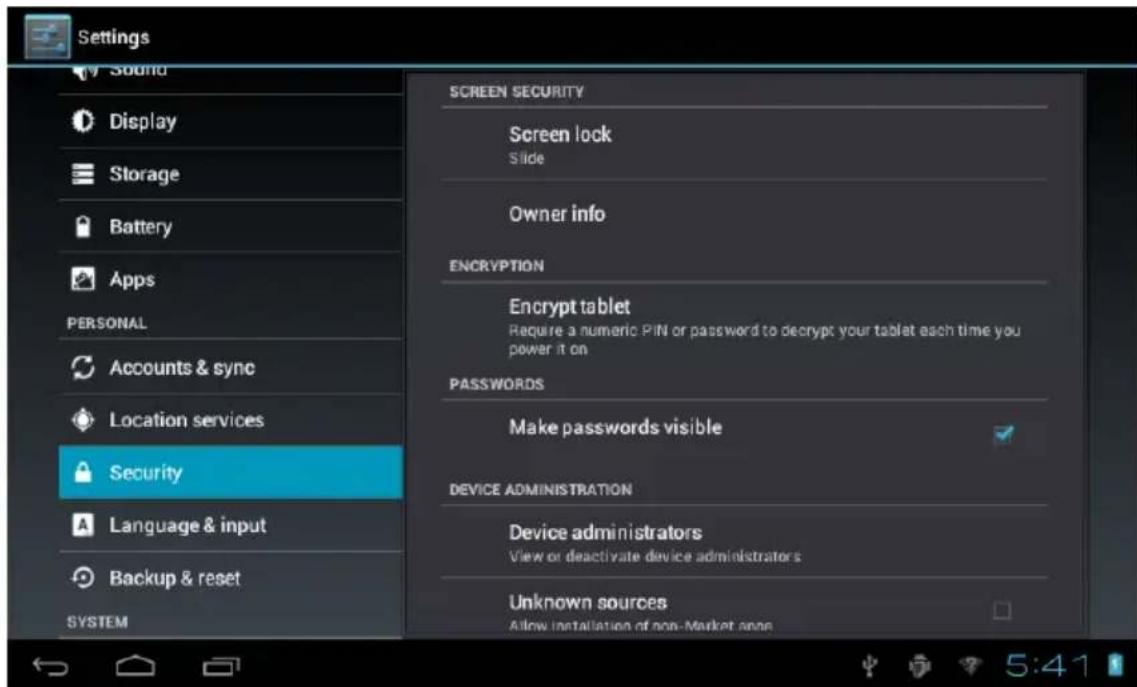
2- Press "Unknown sources" and then "OK" the following image will appear
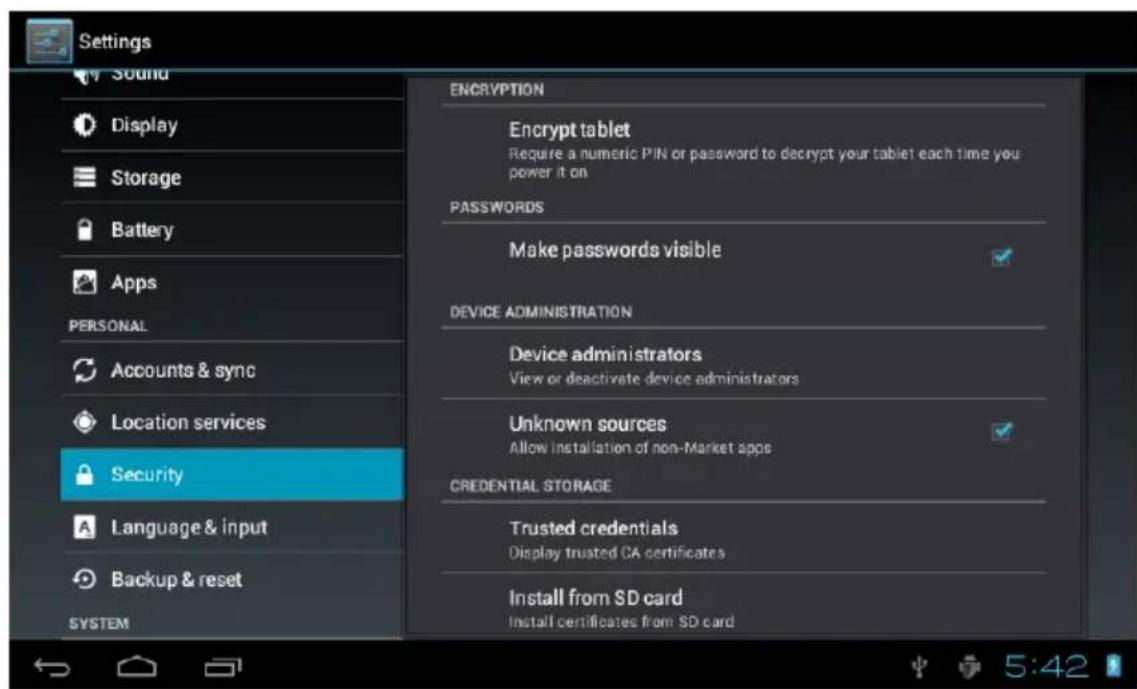
EN
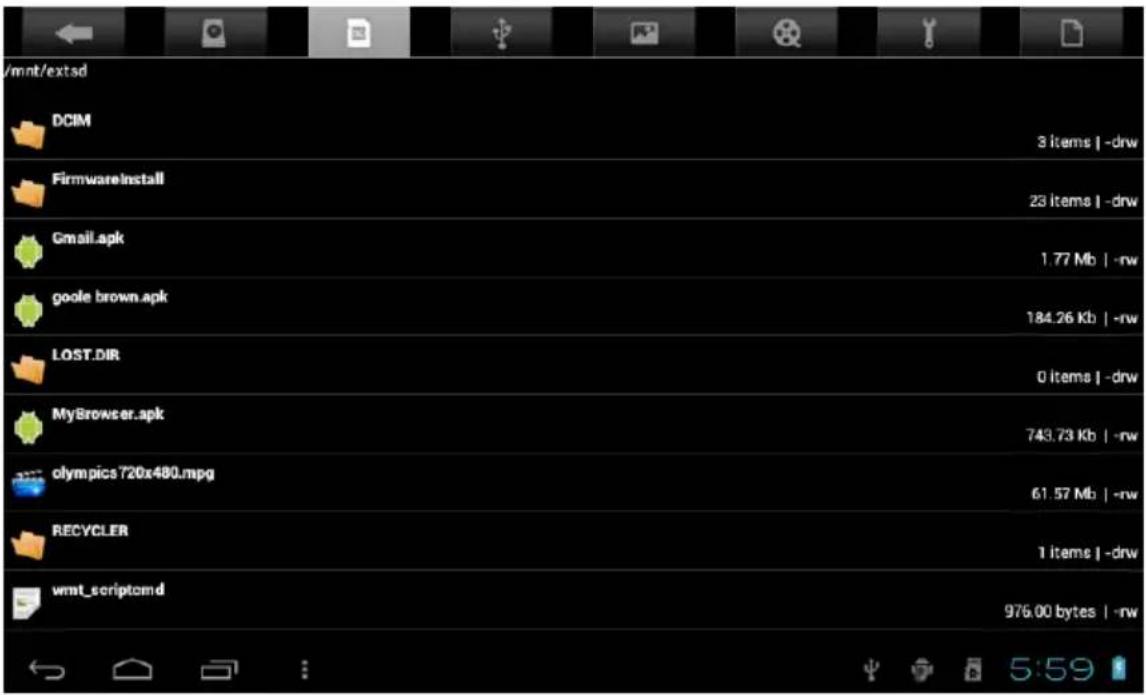
3- Copy the APK software program to the TF card on PC, the TF card insert to MID, tap main menu and then tap "File Manager" into File Manager interface, tap SD, as shown below:
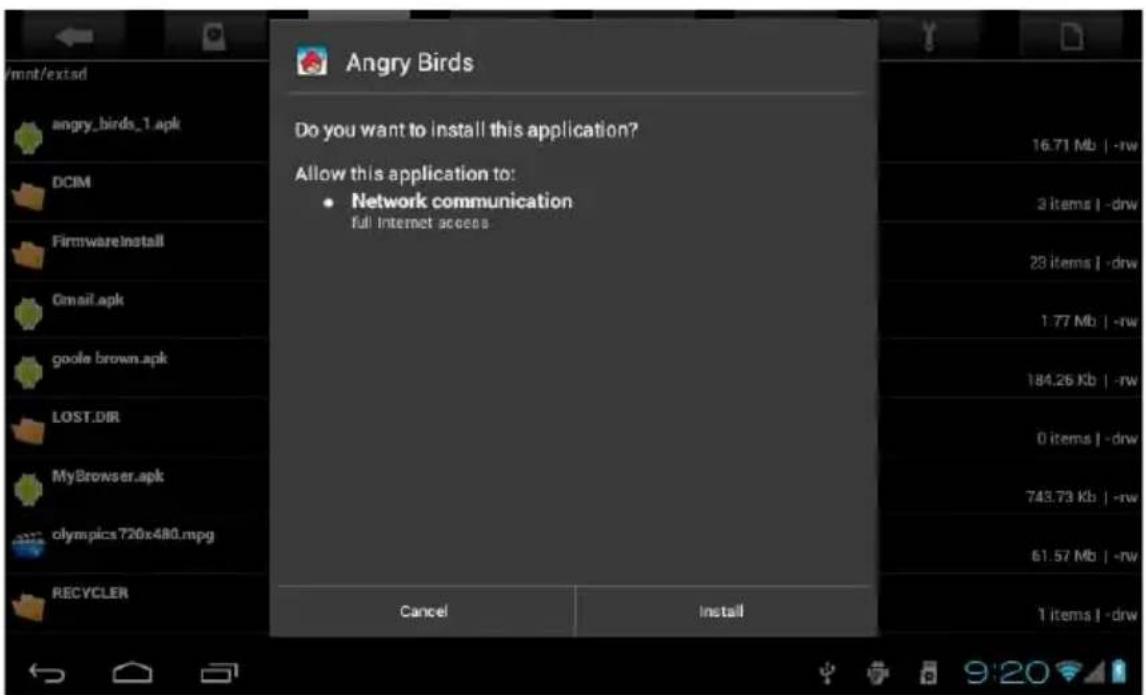
4- Tap "angry_birds.apk", and then tap "Install", as shown below:
The user can do on-line installation through "Market", or download and install by the computer, or through a built-in browser download and install online.
Uninstall the application
EN
you can use the third party software management tools or use the built-in Android application management software.
Select «Settings»/«Apps»/, select the corresponding installed applications to check the program information, uninstall the program and other operations.
9. NETWORK
Webpaging browsing
When the network is connected, open the browser and enter the URL, you can browse webpage; or through the main desktop search bar to input the URL and open the webpage.
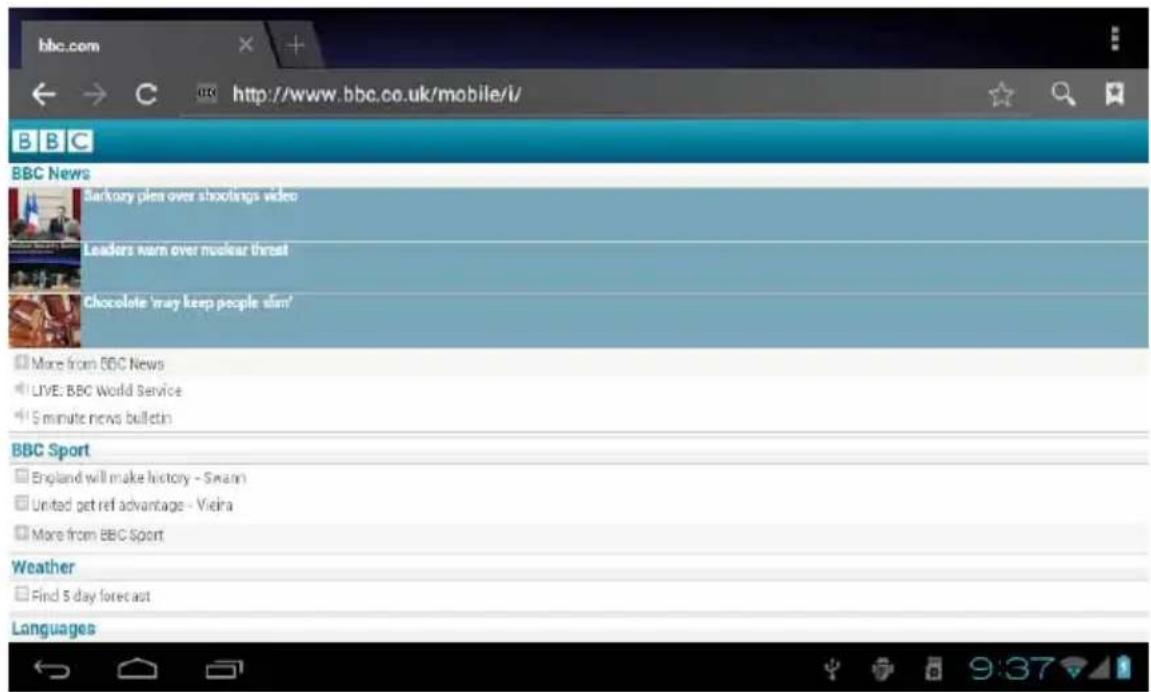
Webpage can be free scaled by the scaling controller.
Online video
Users can through the "Market" or other ways to download online video player software, online TV player software, online music software, and then install in the machine. To open the installed software, you can watch online video or online TV, listen to online radio.
Users can also download other third party network application software, including the webpage browsing, video player, website client, instant messaging and other software.
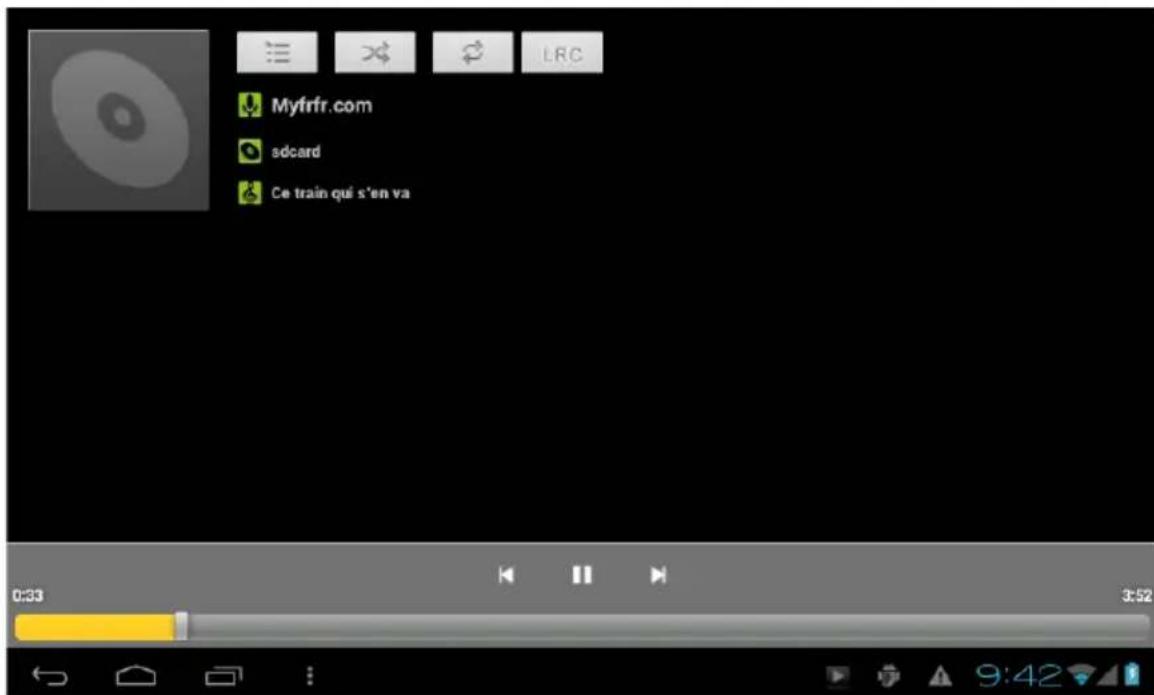
10. MUSIC
Tap the «music» icon on the main menu, and then enter the music player interface. The default list system in the user data area for all audio files as shown below:

You can through the synchronous USB to input audio file, or by inserting a SD card with audio file to input audio files, you can also through the network to download the audio file.
Select the corresponding tag, and check the interface as «artists», «album», and “song» and so on to play the song.
11.VIDEO
Tap the «Super-HD player» icon on the main menu, it will list all video files and image files. As shown below:
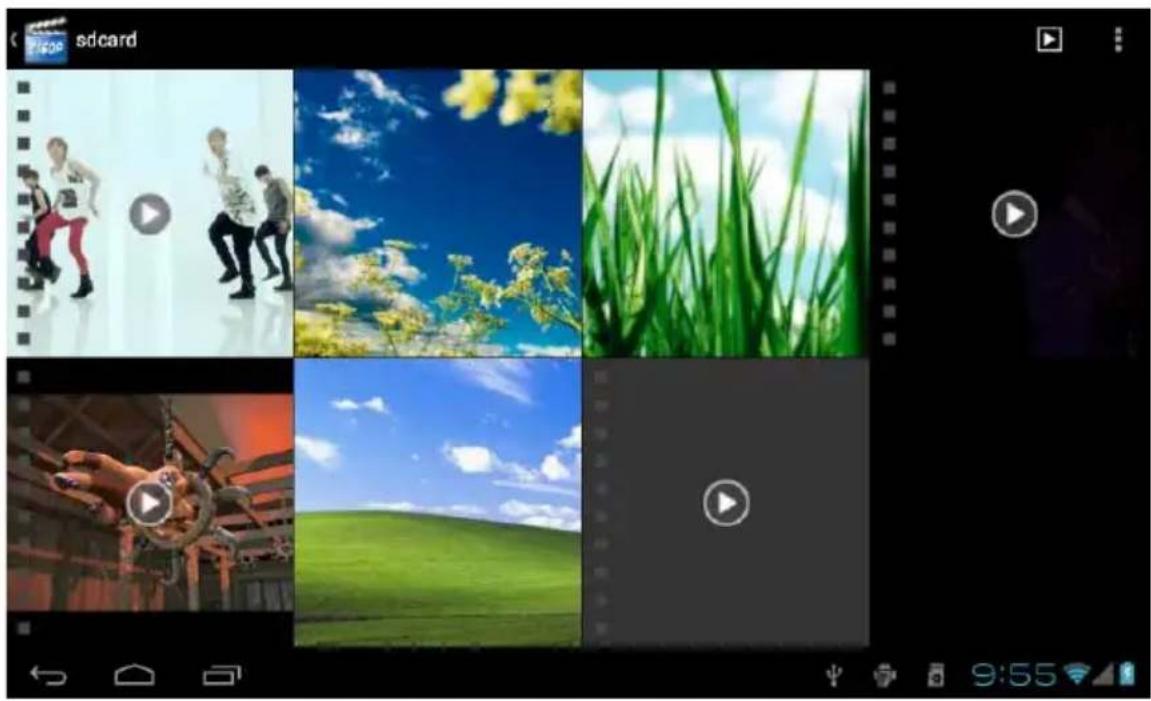
Select the video file and enter the video playing interface, as shown below. Select «play», «stop», «fast forward», «rewind», «progress» and other control keys to control the broadcast schedule.

EN
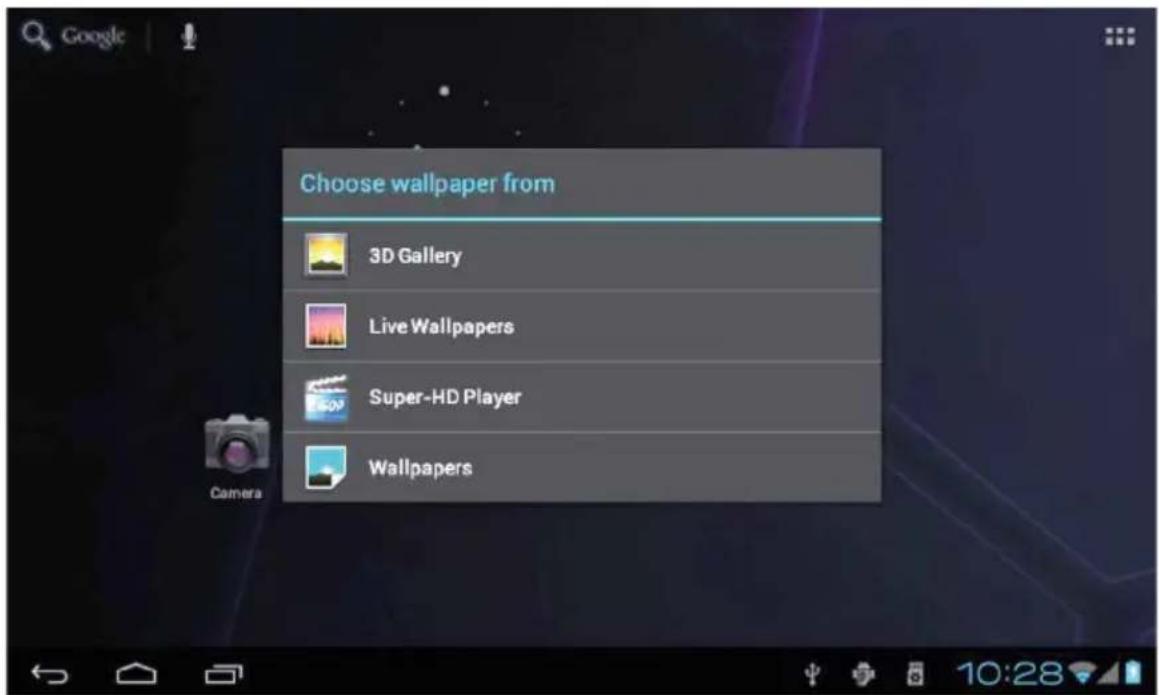
12.WALLPAPER
The system supports static wallpaper, and 3D wallpaper. In the desktop interface, press down the Menu key, pop-up menu options, select «wallpaper», and pop-up “choose the wallpaper source» selection box:
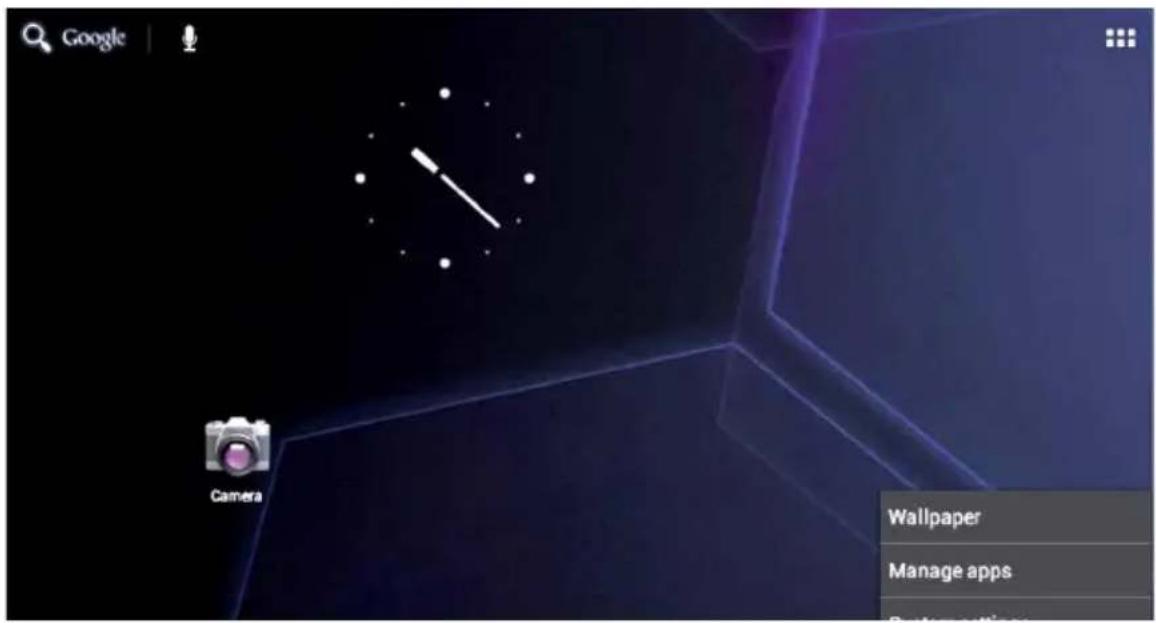
There are the following options:
Select «wallpaper»: can customized using image as wallpaper.
Select the «dynamic wallpaper»: can use the systems supplied 3D wallpaper.
Select the «Gallery»: can choose a picture supplied by the system as the static wallpaper.
Or press on the screen and dialog box will pop up as follows:
Into the above dialog box, tap on the «wallpaper» set,
There are the following options:
Select «wallpaper»: can customized using image as wallpaper.
Select the «dynamic wallpaper»: can use the systems supplied 3D wallpaper.
Select the «Gallery»: can choose a picture supplied by the system as the static wallpaper.
13. RECORD
Tap the «Hi-Q MP3 Recorder» icon in main menu and enter the «Hi-Q MP3 Recorder» main interface as shown below:
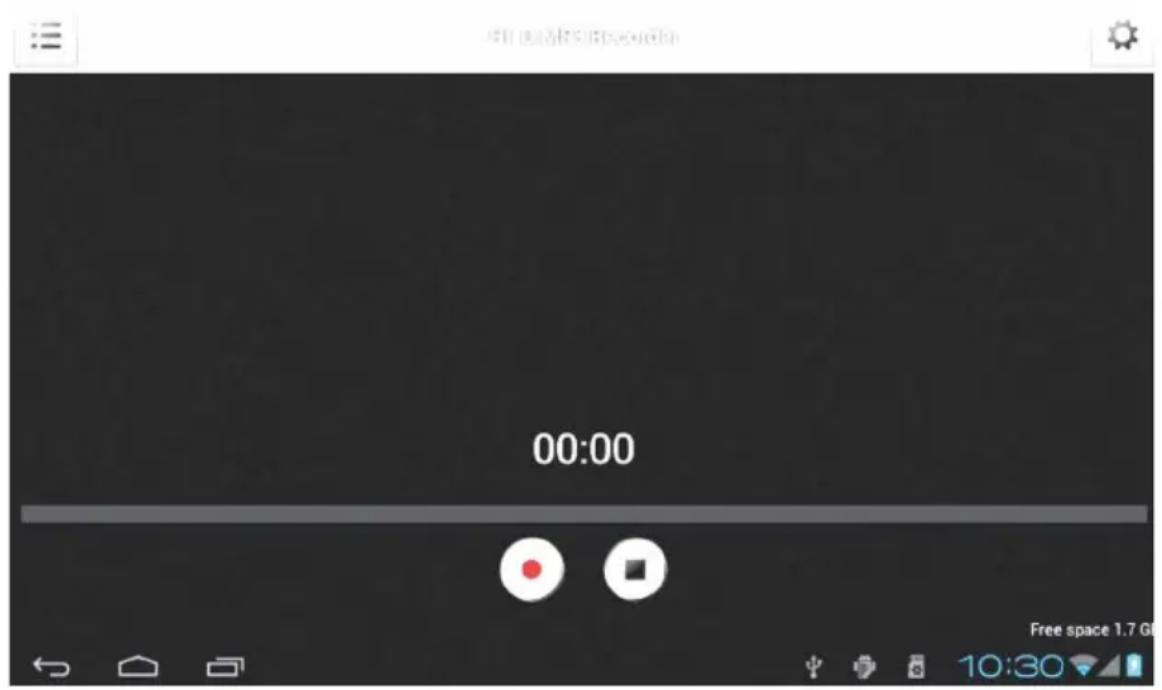
Select the «recording» button to record, after recording is completed, press «stop» button. At this time you can select the «play» button to play the recorded sound. you can find the corresponding audio files in «File Manager»/ "Recordings".
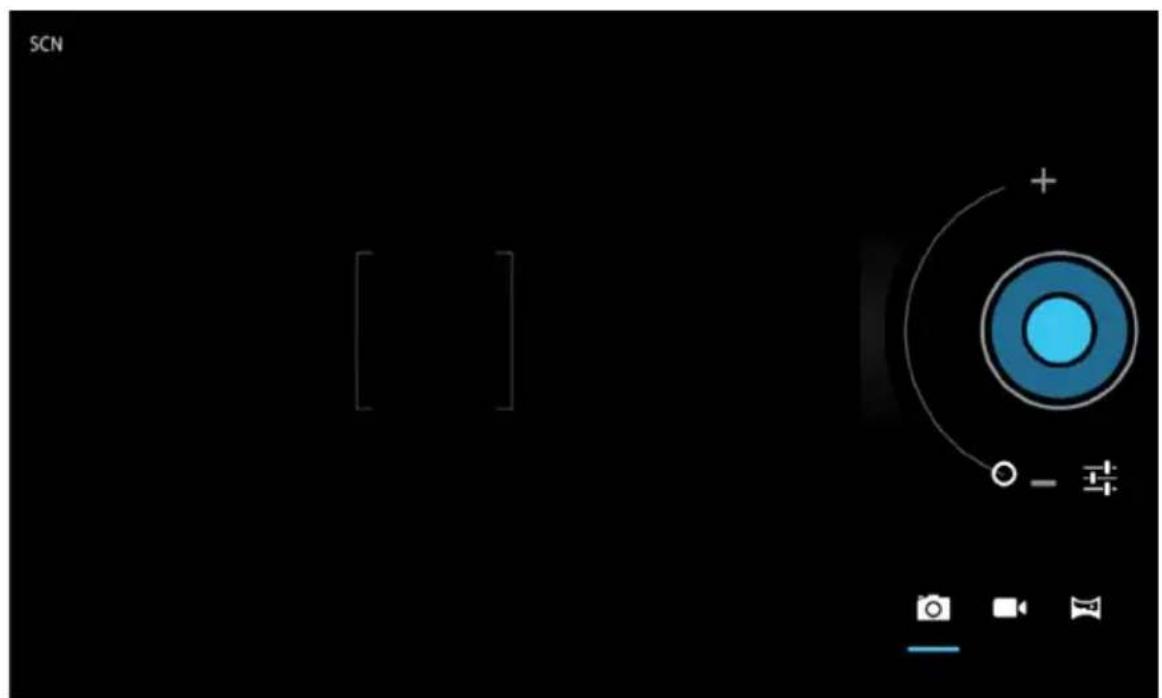
14.CAMERA
Tap the «Camera» icon on the main menu and enter the «camera» main interface as shown below:
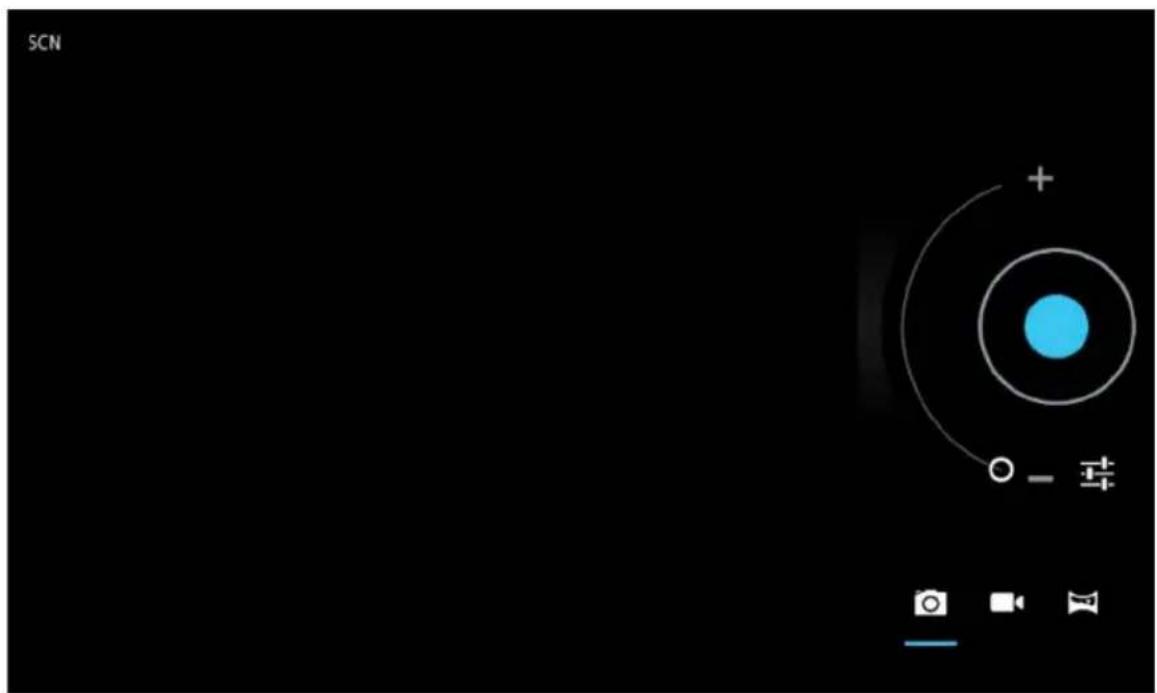
Tap on shutter in the camera:
15. MARKET
Tap the "Play Store" icon on the main menu, as shown below:
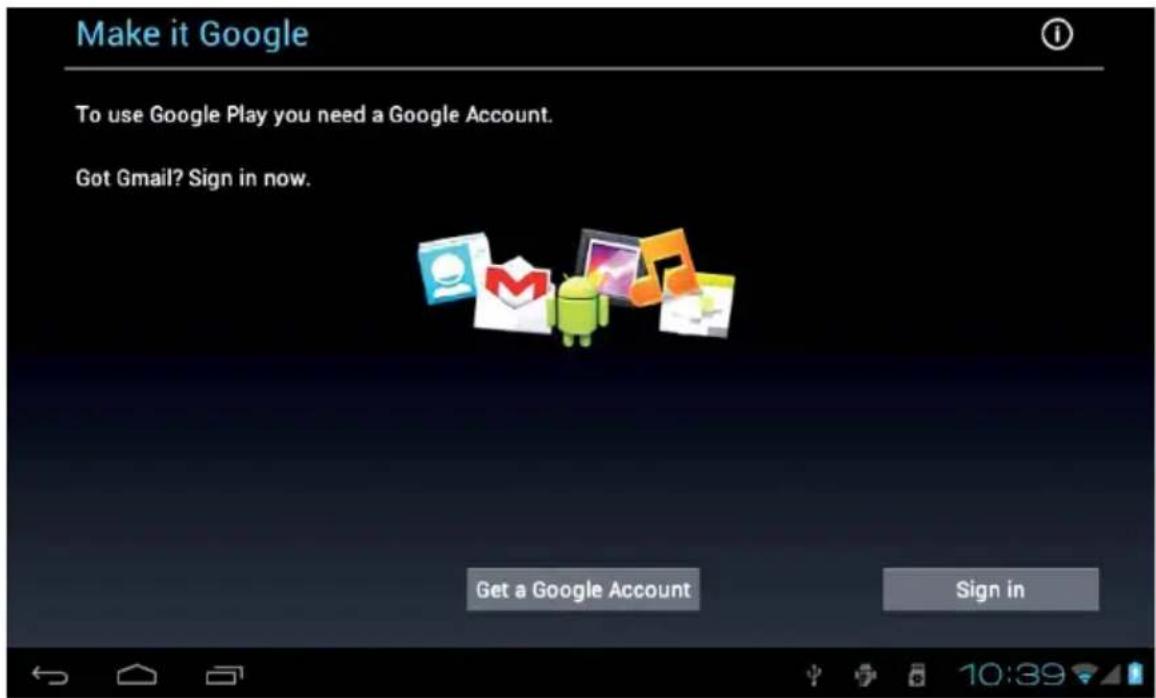
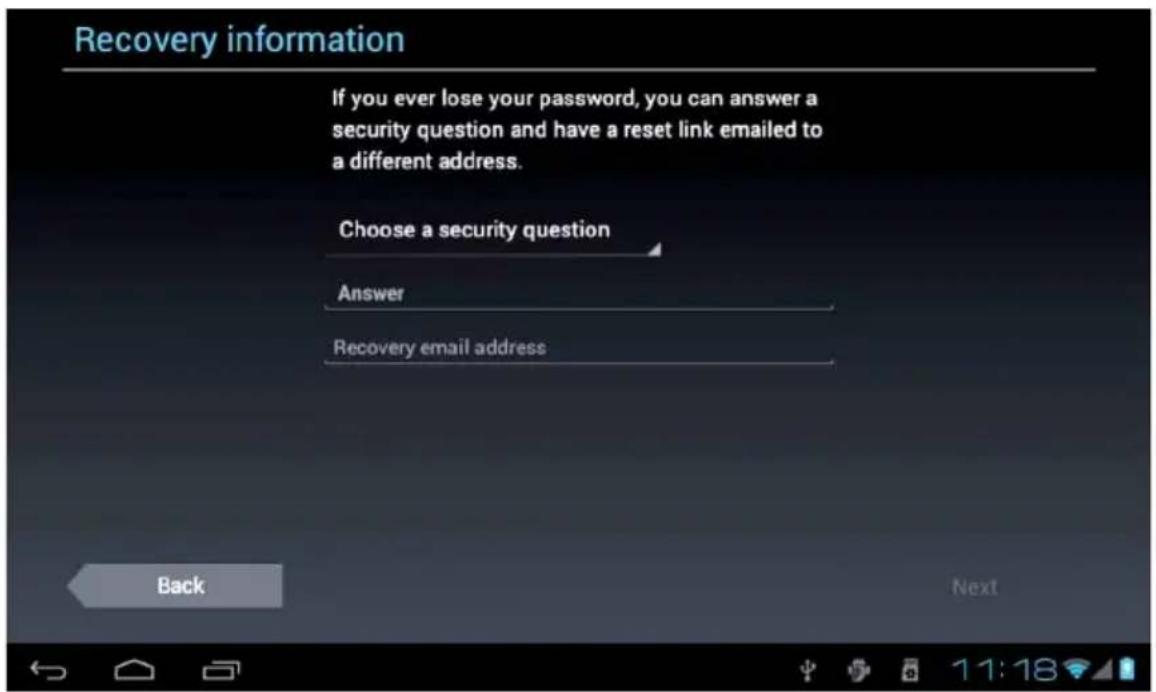
If you have no Gmail account, you need to create a Gmail account, tap «Get a Google Account» the following picture will appear:
EN
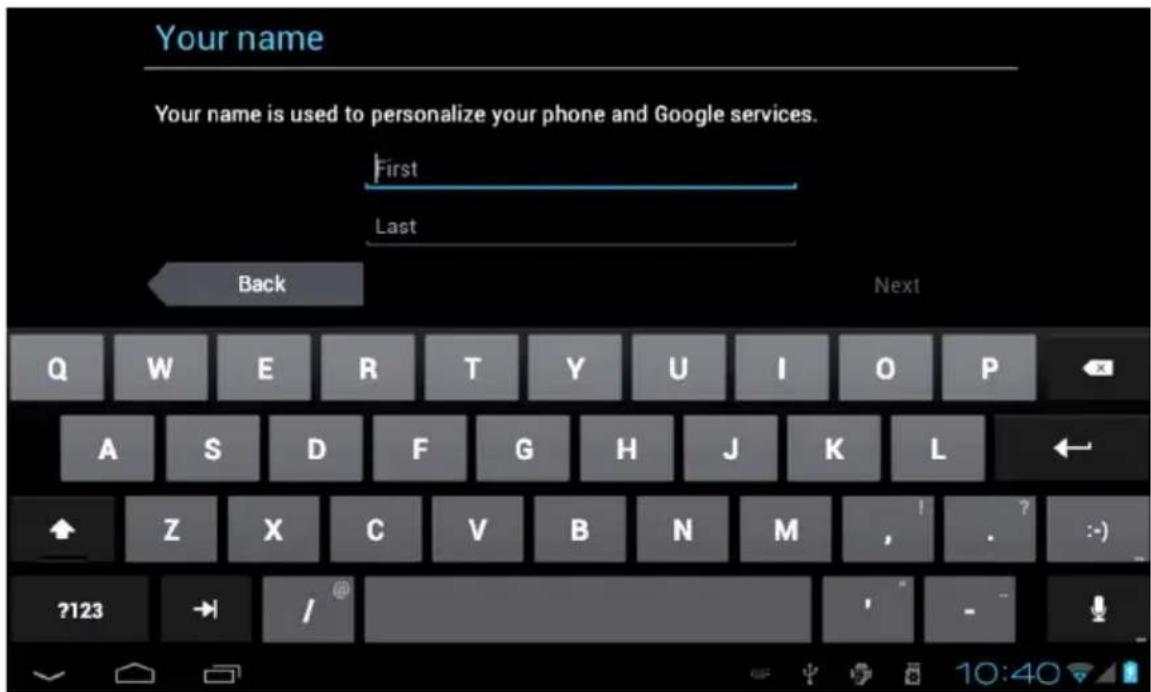
Input "First name" and "Last name".
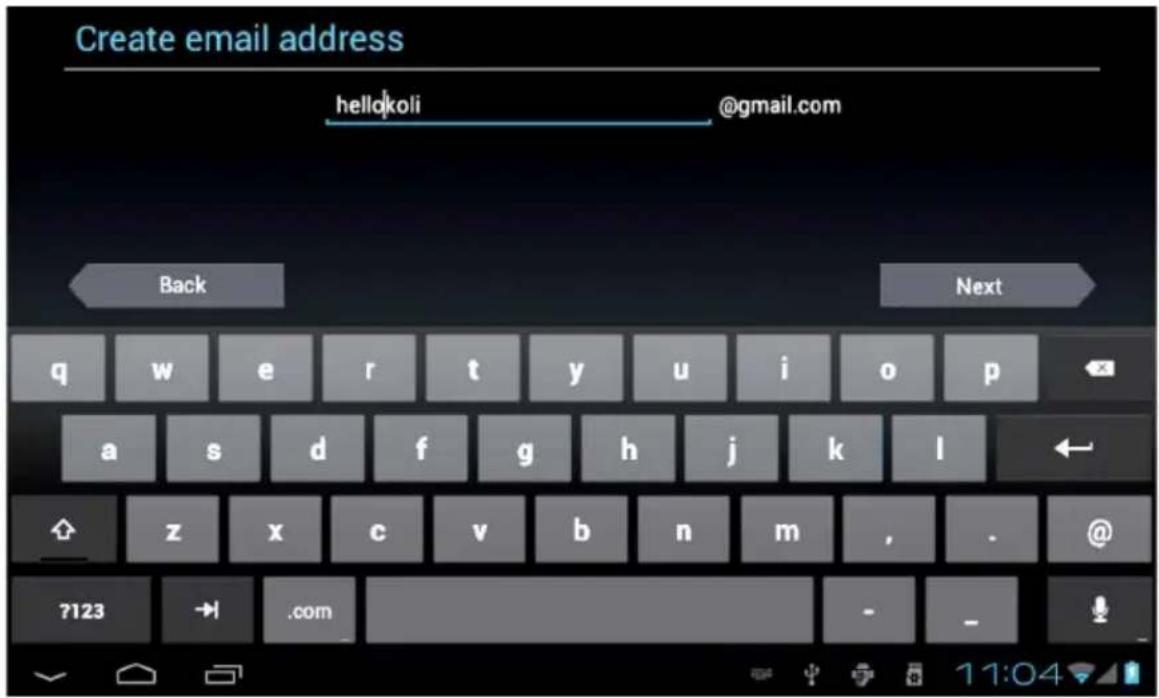
Select "Next", input gmail account, the following picture will appear.
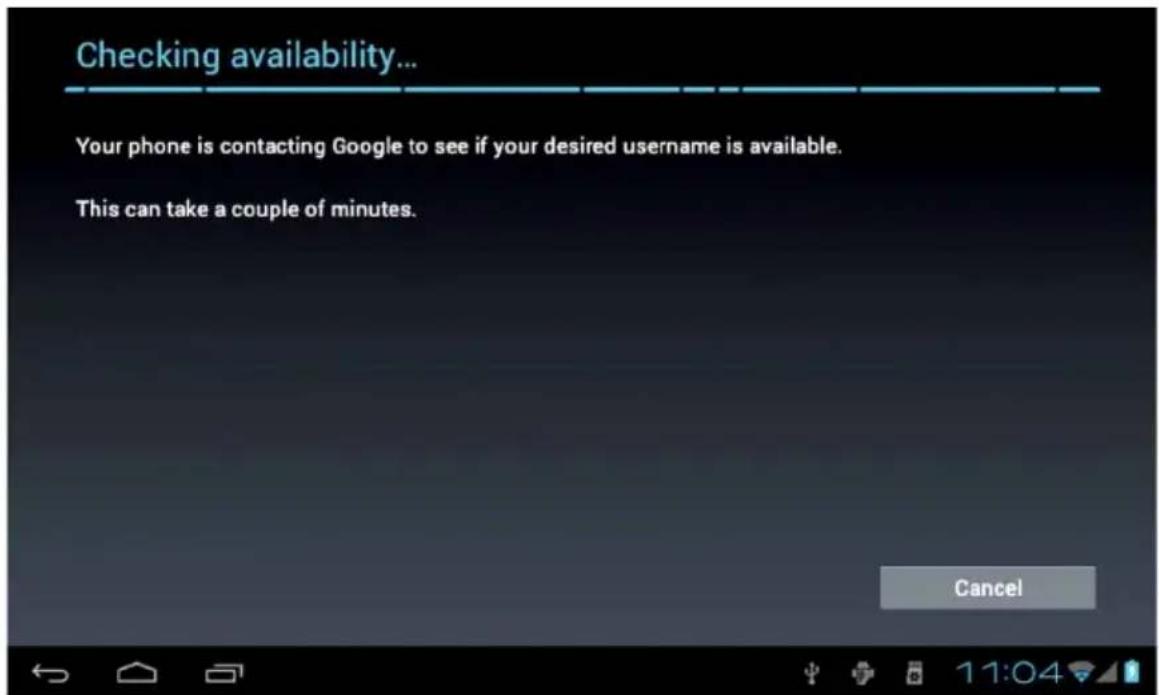
Create a password:
EN
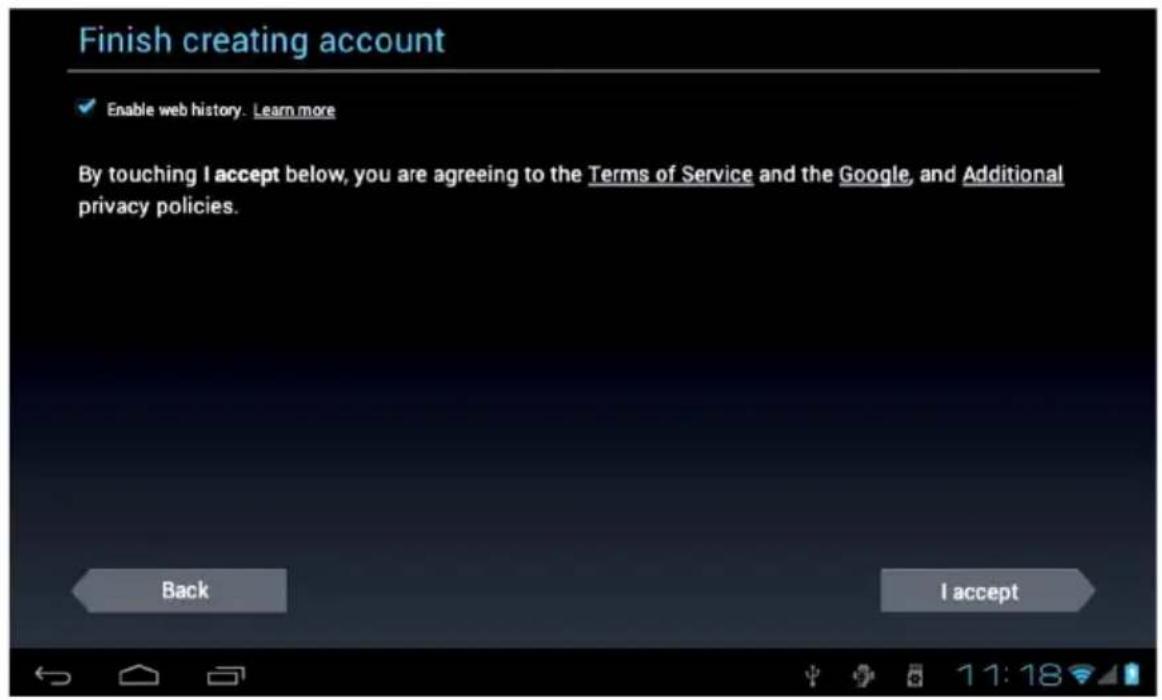
EN
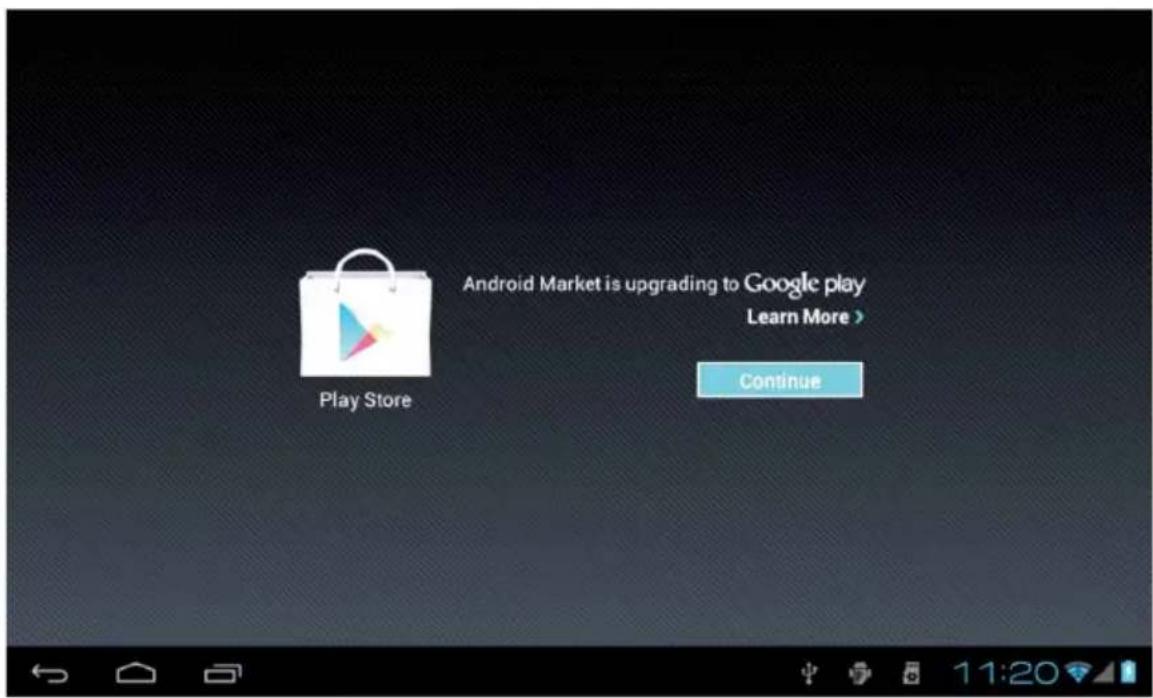
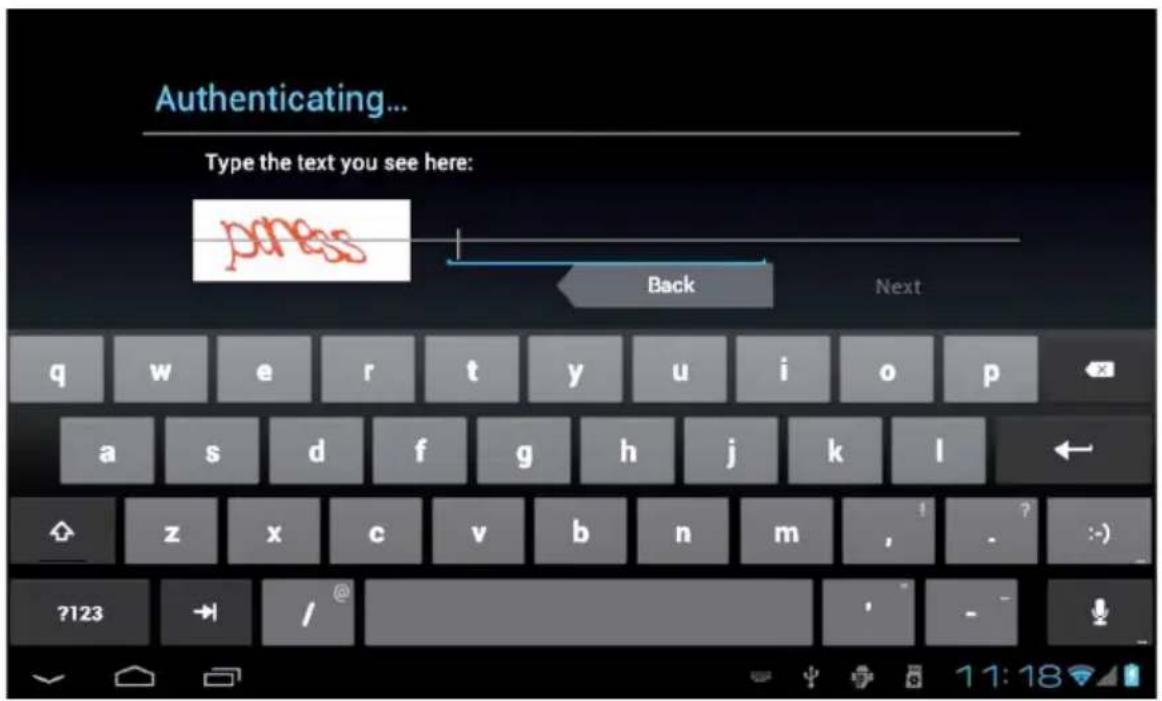
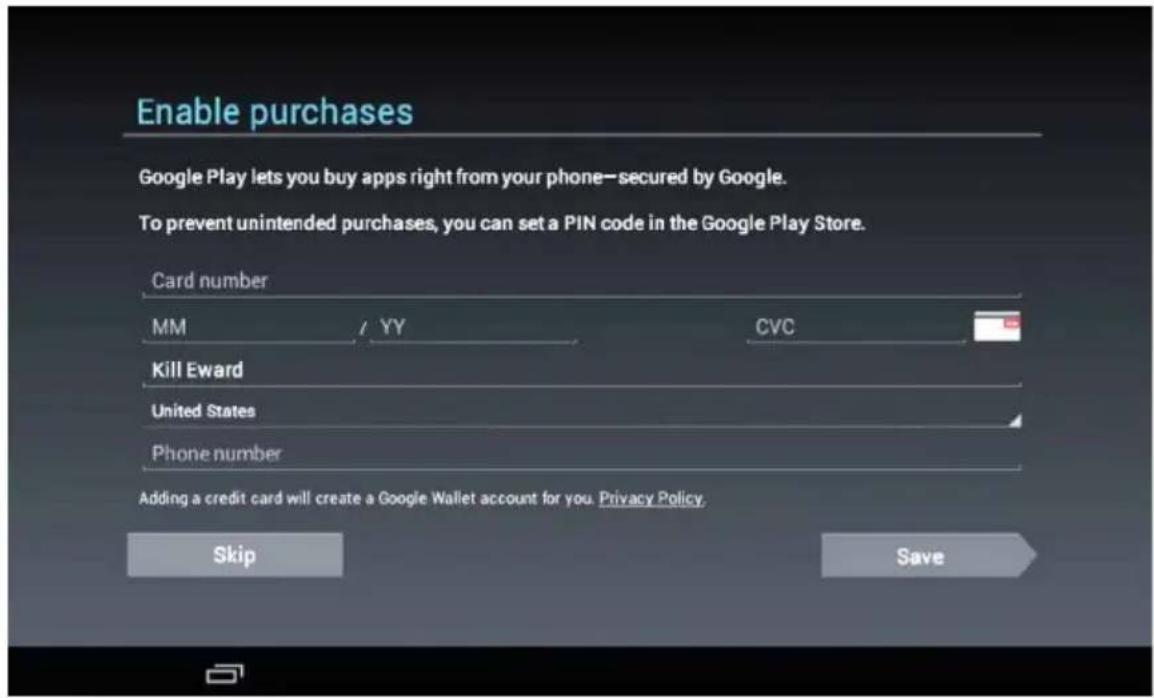
Tap "Continue" and you will officially enter the «Google Play» the following picture will appear:
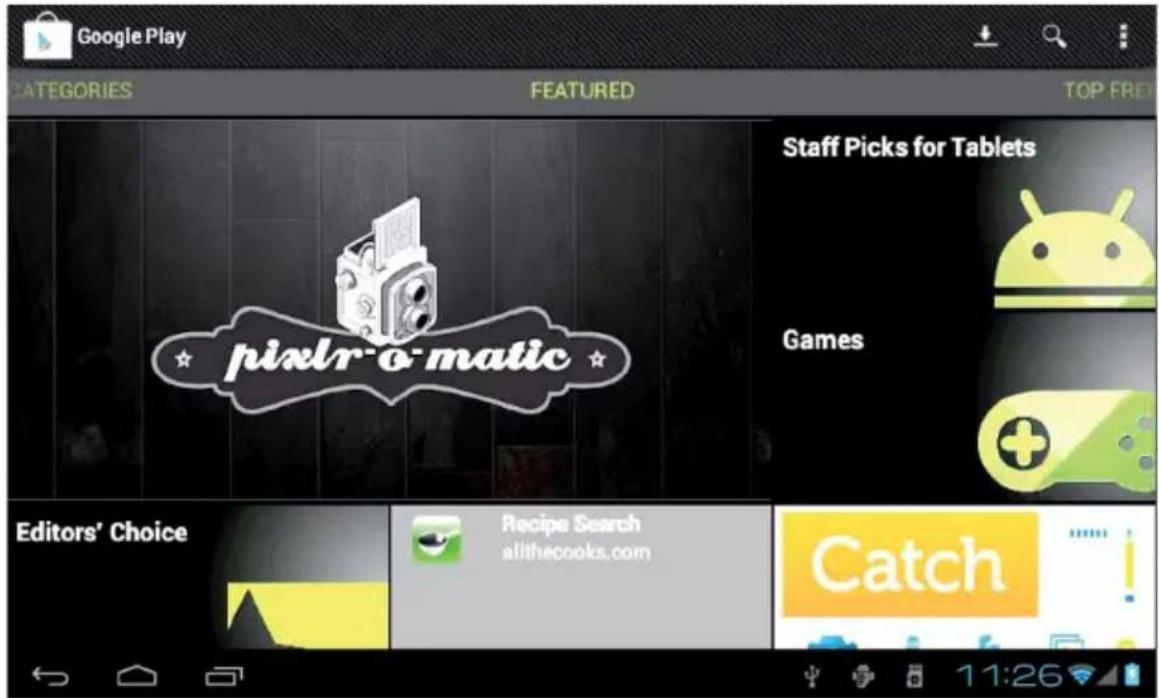
Tap "Games", the following picture will appear:
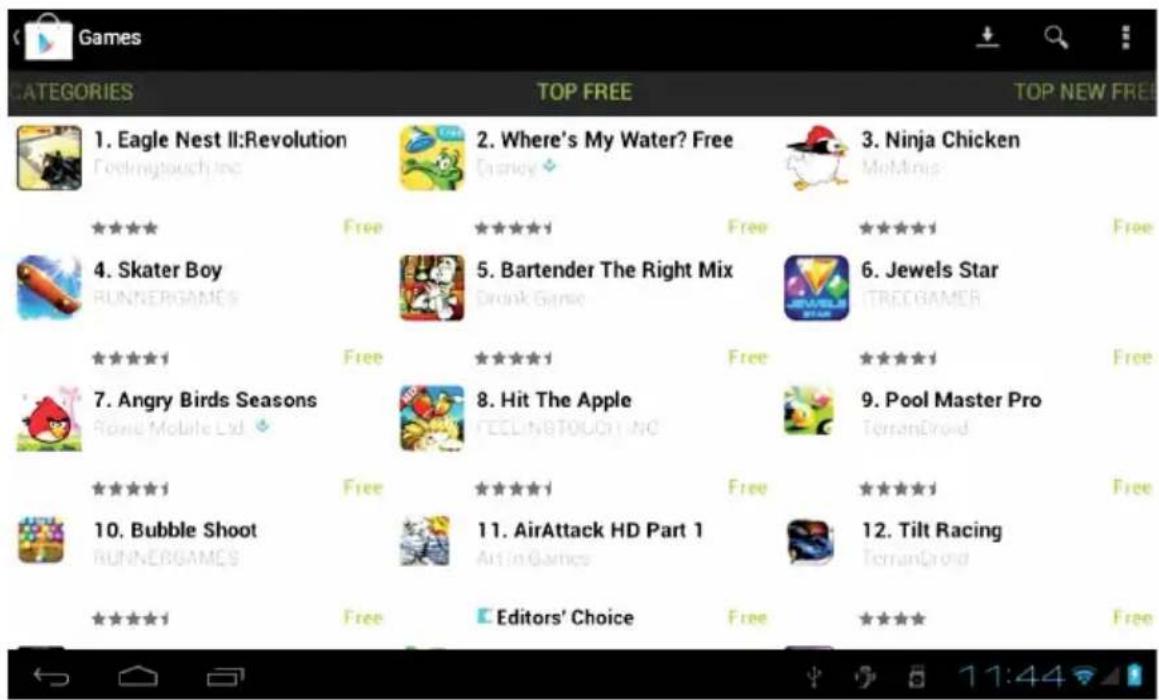
Tap "7.Angry Birds Seasons", the following picture will appear:
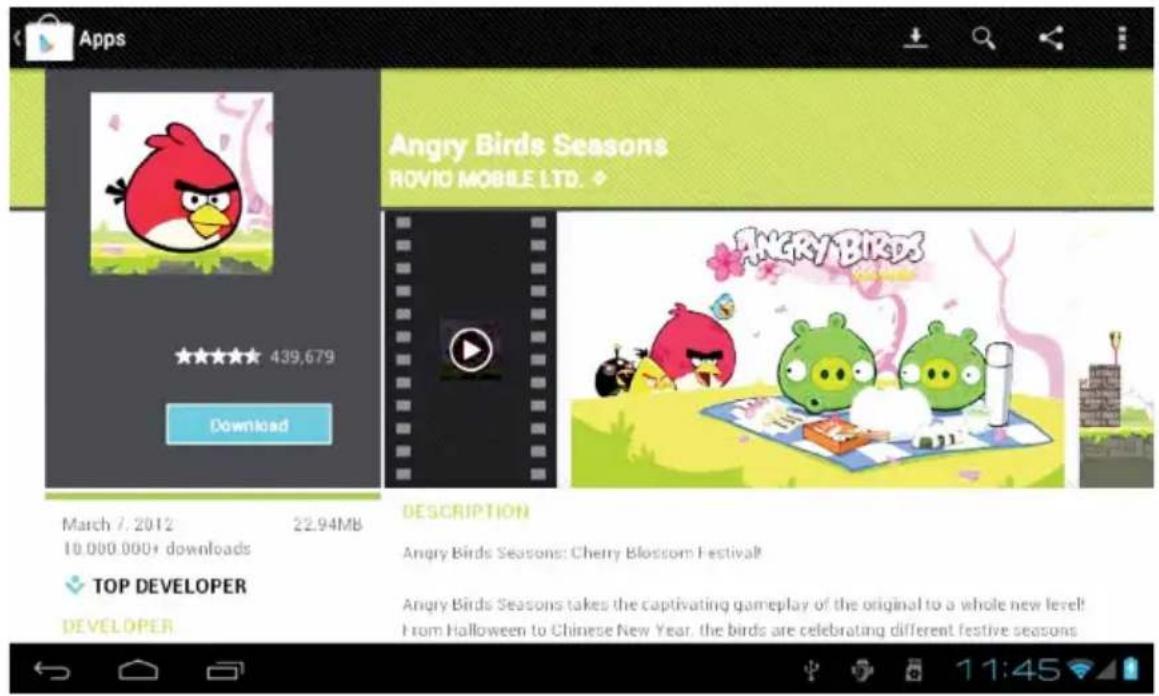
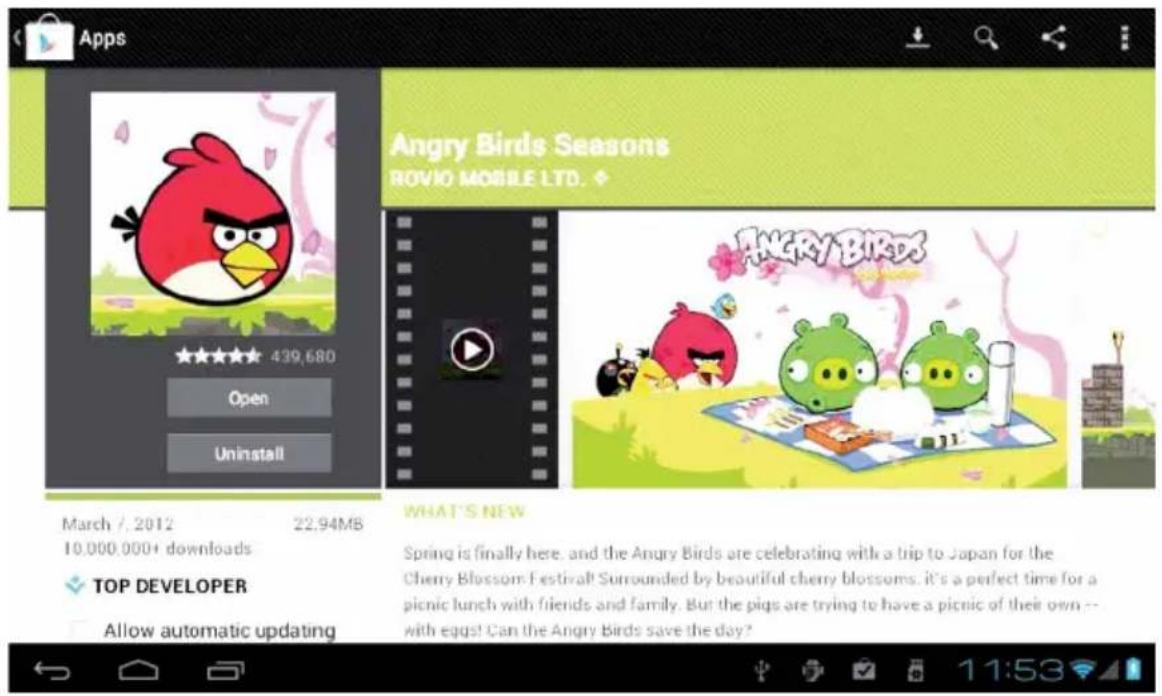
Tap to download and install software (pictured above), take a few minutes, software will installed, as the following picture:
EN
16. E-MAIL
Tap the «e-mail» icon on the main menu to enter email client. Allocation of account information will be required the first time. As shown below:
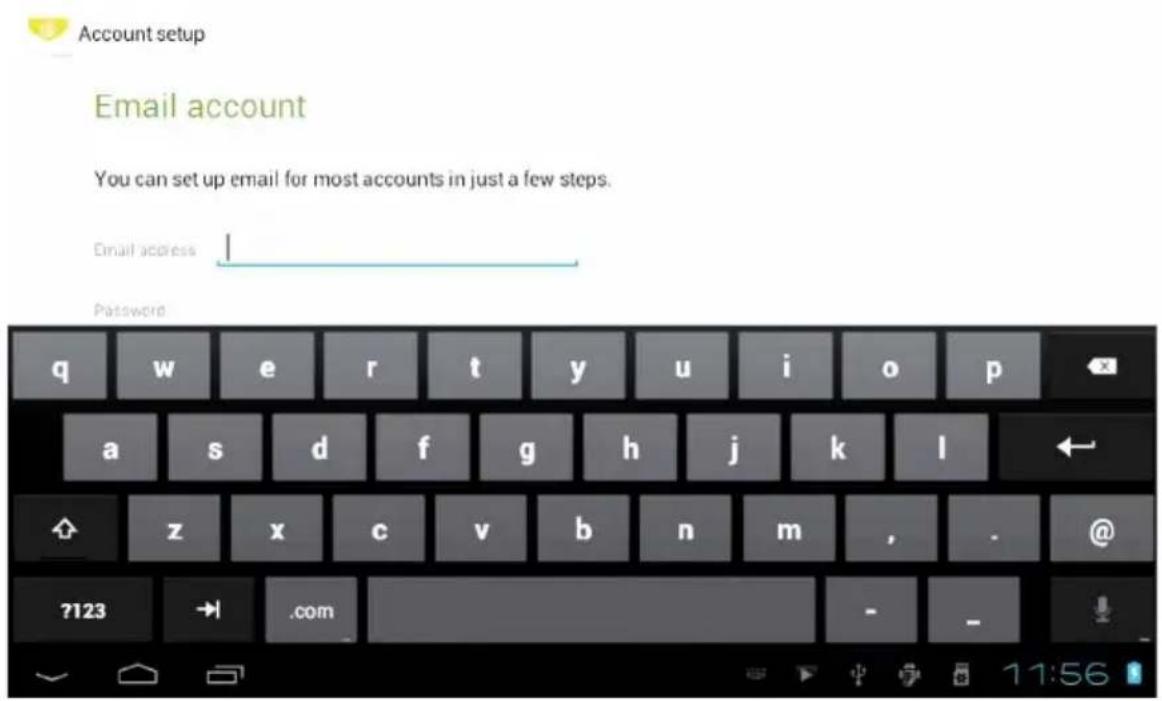
Email requires network support, please ensure that network mail link is normal.
Here we take whhpwjh@126.com as an example:
In the email address bar, enter your valid email address: whhpwjh@126.com In the password field to enter your valid password: *******
Then you can choose the «next», account type selection interface will appear as shown below:
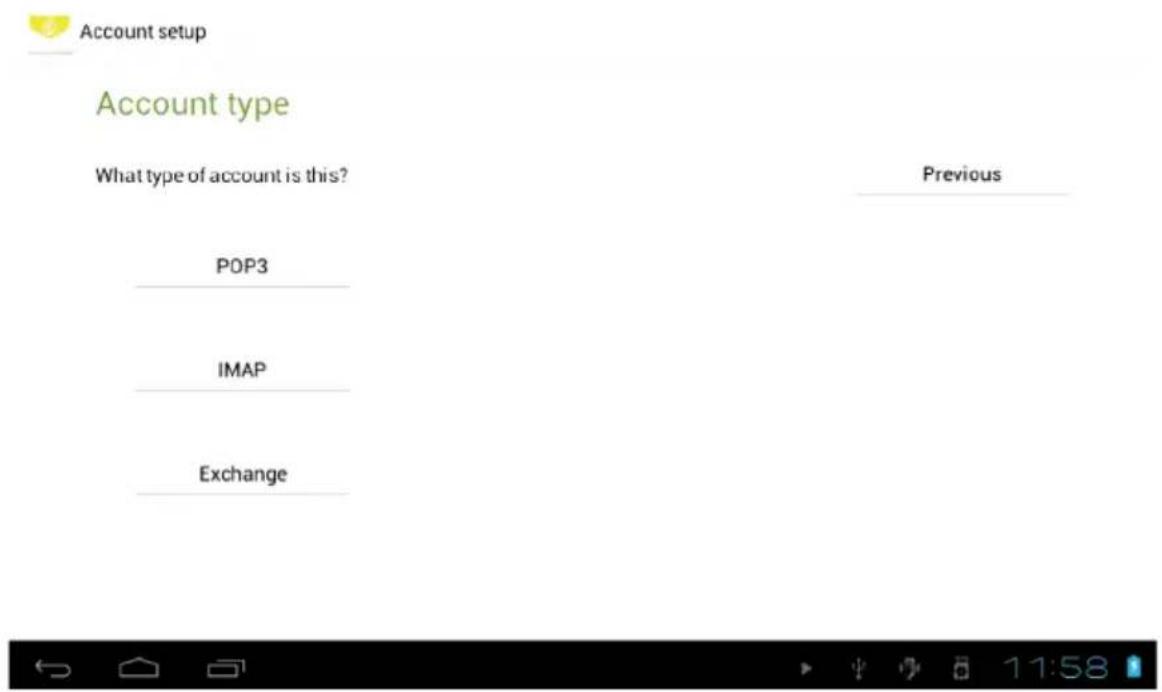
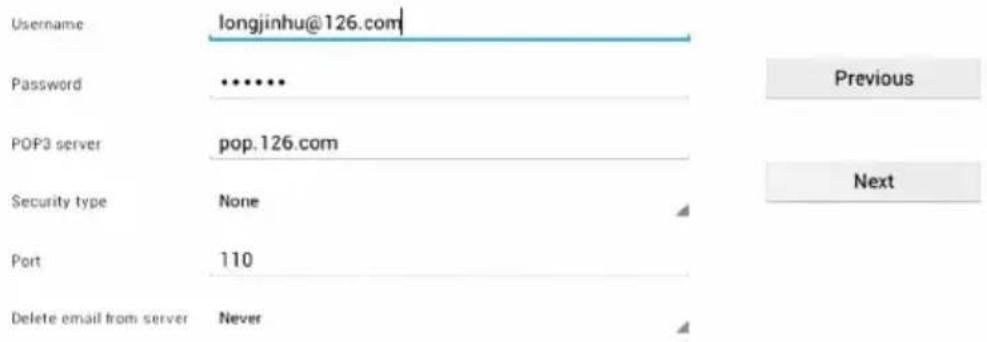
Here we are using the POP3 account type. And the receiving service settings will appear, interface as shown below:

Account setup
Incoming server settings
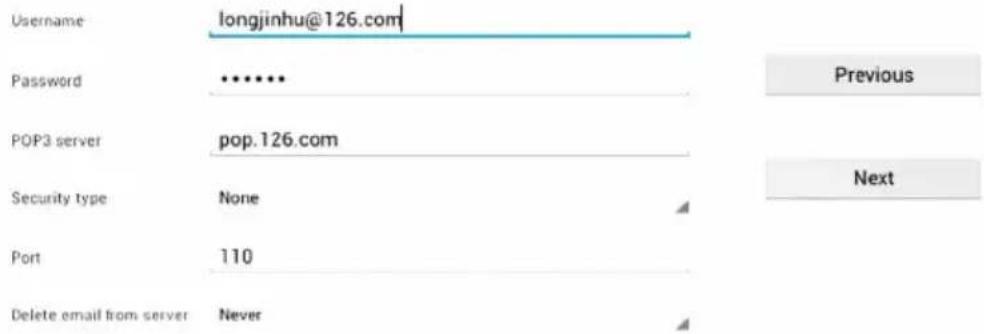

Please according to each email provider's information, set different parameter, such as:
The POP3 server: default is «126.com», and should be modified for «pop.126.com"
The port number is 110
Then select the «next «, you will enter the «inspection acceptance server settings», if set up correctly, there will be a «foreign server settings» interface as follows:

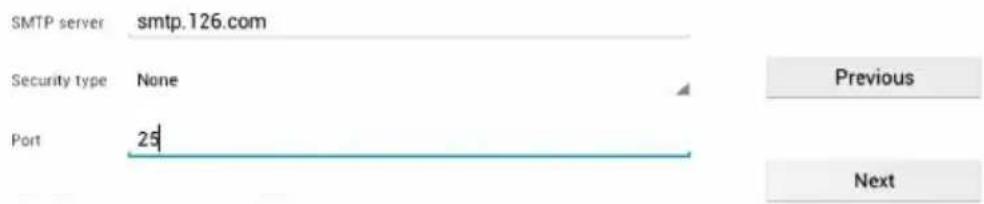
Account setup
Outgoing server settings
Require sign-in.


EN
Correct the SMIP server «126.com» for «smtp.126.com»
Modify the port number «587» to «25»
select the «Next», If set up correctly, you will enter the following interface:

Account settings
Account options
Inbox checking frequency Every 15 minutes
Send email from this account by default.
Notify me when email arrives.
Sync email from this account.
Previous
Next

Account setup
Your account is set up, and email is on its way!
Give this account a name (optional)
longjinhu@126.com
Your name (displayed on outgoing messages)
Kill Eward
Next

In the column «name» to input the name you want to display in the outgoing message, and then tap «Next» button. It will load the mail automatically; it list will be as follow:
EN
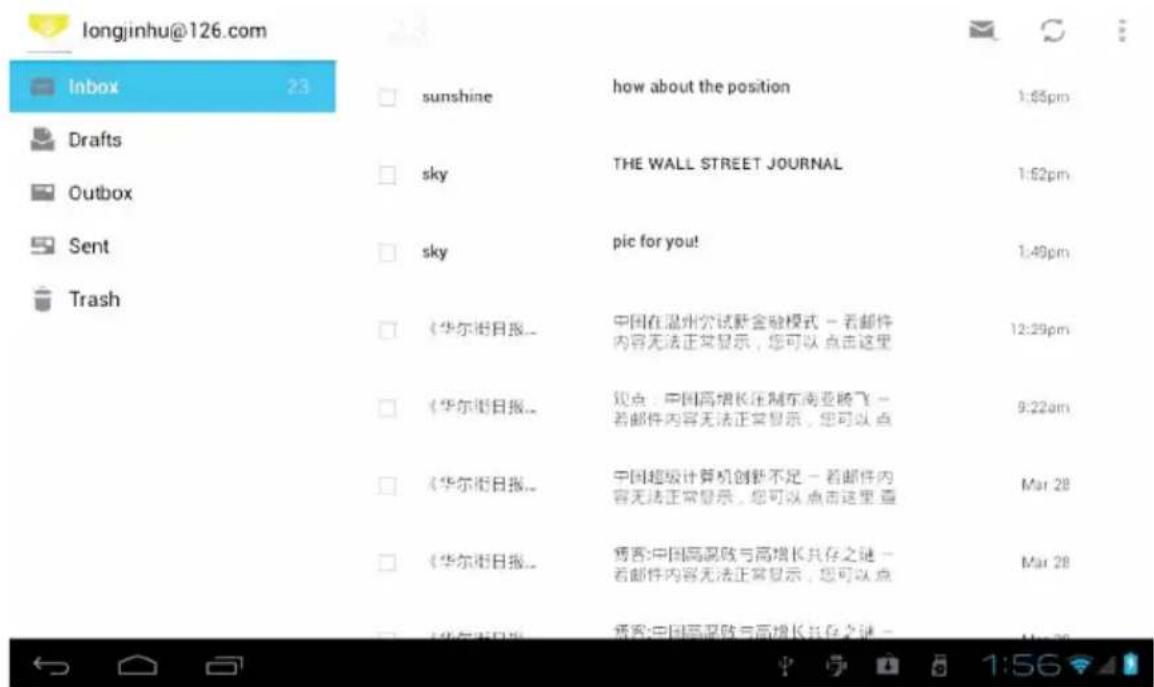
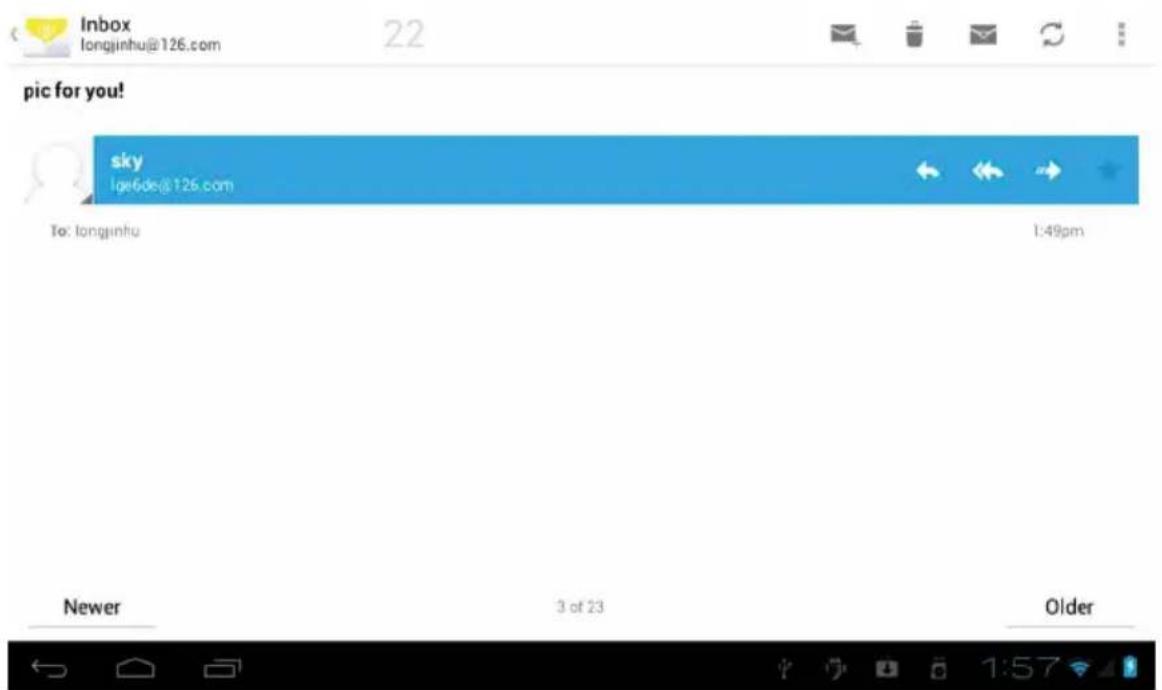
Select one of the column to be viewing the message, you can do «Reply», «delete», «more reply» and other operations at the view bar.
17. EXTERNAL DEVICE:
USB connection
Using USB to connect the MID and PC, the default connection mode is a synchronous mode. You can drag the status bar to drop, appeared the following interface:
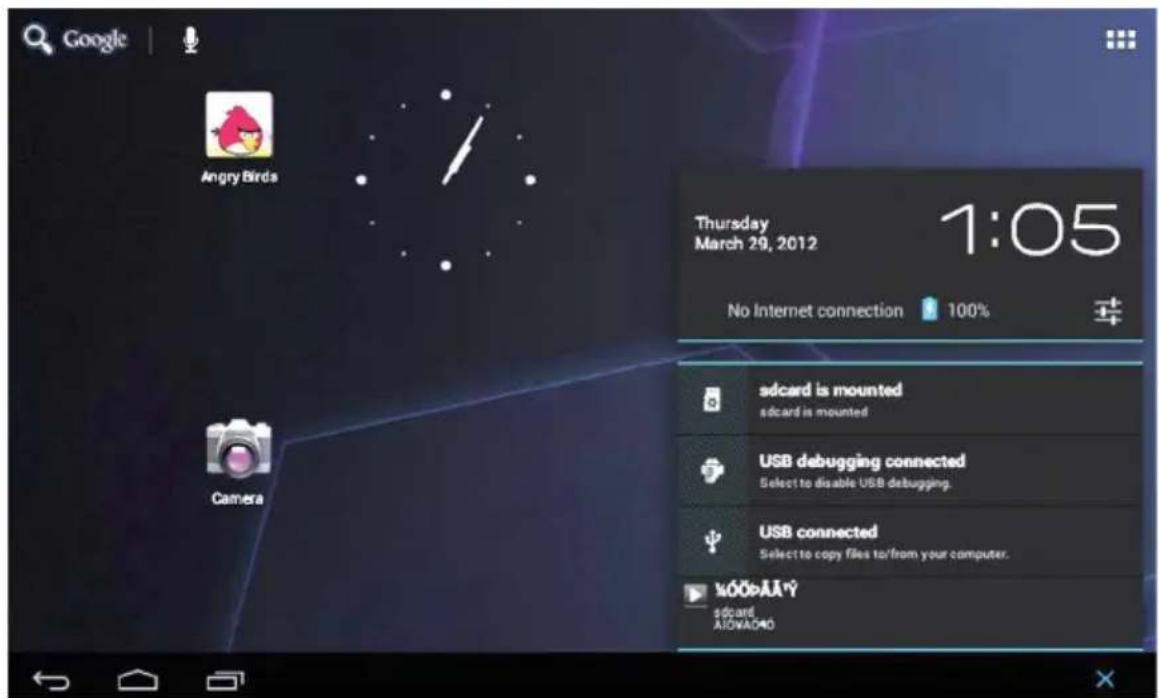
«USB is connected»: means external memory (SD) loading is completed, and you can see the corresponding letter in the PC terminal.
OTG use
Support FAT32 format mobile equipment: such as U disk, mobile hard disk.
The plug-and-play connection method:
Use the OTG wire to connect the MID USB OTG and the external
equipment.
Keyboard and mouse
Support plug and play USB mouse, keyboard device.
18. TREATMENT FOR COMMON PROBLEMS
EN
1: What is an Android?
Answer: Android is an operating system name that Google announced on November 5, 2007 that based on the open source operating system of Linux platform.
2: What is a APK?
Answer: APK is Android Package acronym, Android installation package.
3: How to get APK?
Answer: can download and install it by PC terminal online, you can also download and install it by "Android market" online too.
4: What is the version of machine operating system?
Answer: This machine adopts Android2.3, 3D built-in hardware acceleration, can run on most Android applications.
5: Can the machine be charged by USB?
Answer: Yes it is. Recommend the use of the accessories DC. 5V adapter to charge.
SECURITÉ - ENVIRONNEMENT

ART 3.1 (A)-SECURITE
EN 60950-1+A11
Test Report CTL120308152-WS - CONFORM
ART3.(B)-EMC
EN301489-1/-17
Test Report CTL120308152-WE - CONFORM
ART3.2-RADIO
EN 300 328
Test Report CTL120308152-WR - CONFORM
DIRECTIVE R&TTE - 99/5/EC