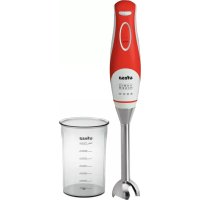
BP4562 - Blender UFESA - Free user manual and instructions
Find the device manual for free BP4562 UFESA in PDF.



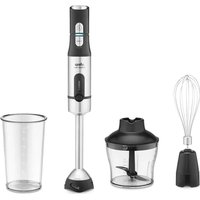
| Product Type | Immersion blender |
| Brand | Ufesa |
| Model | BP4562 |
| Usage | Domestic, preparation of usual quantities |
| Power Supply | 220-240 V ~ 50/60 Hz |
| Power | 500 W |
| Speeds | Variable speed control + Turbo button (maximum speed) |
| Main Functions | Blend, prepare mayonnaises, purées, compotes, milkshakes, baby food, grind small quantities of almonds |
| Included Accessories | Blending shaft with blade, mixing bowl, lid |
| Care and Cleaning | Motor unit: damp cloth; Blending shaft: tap water, do not immerse; Bowl and lid: dishwasher safe |
| Safety | Very sharp blades, do not touch during operation; do not use with metal utensils; do not immerse the motor unit |
| Spare Parts and Repairability | Repairs by Authorized Service Center only |
| General Information | Compliant with WEEE directive 2002/96/EC; recyclable packaging |
Frequently Asked Questions - BP4562 UFESA
User questions about BP4562 UFESA
0 question about this device. Answer the ones you know or ask your own.
Ask a new question about this device
Download the instructions for your Blender in PDF format for free! Find your manual BP4562 - UFESA and take your electronic device back in hand. On this page are published all the documents necessary for the use of your device. BP4562 by UFESA.
USER MANUAL BP4562 UFESA
natural_image
Product photo of aUFESA Vario Mixer blender with kitchen utensils and a whisk (no text or symbols visible on main objects)BP4560
BP4562
BP4564
BP4566
INSTRUCCIONES DE USO
OPERATING INSTRUCTIONS
MODE D'EMPLOI
INSTRUÇÕES DE USO
GEBRAUCHSANLEITUNG
HASZNÁLATI UTASÍTÁS
natural_image
Illustration of a stylized cylindrical device with a flared base and central oval top (no text or symbols)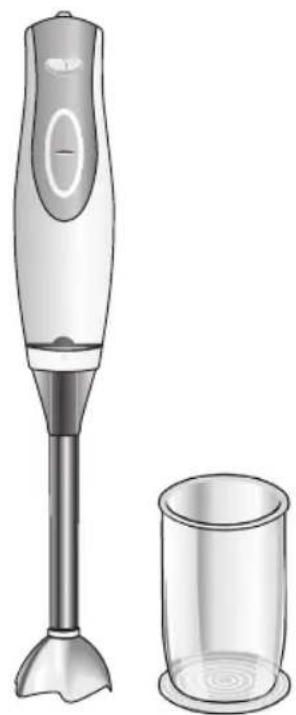
natural_image
Illustration of a blender and a glass cup (no text or symbols)BP4564 BP4566

natural_image
Illustration of a stylized cylindrical device with a flared base and central oval top (no text or symbols)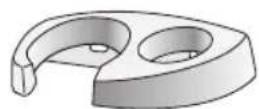
natural_image
Simple line drawing of a cylindrical container with a lid, no text or symbols present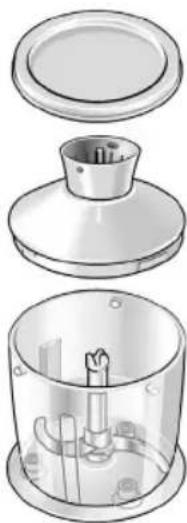
natural_image
Technical illustration of a mechanical device with a lid, showing internal components and wiring (no text or symbols)
natural_image
Illustration of a handheld electric shaver with a metallic handle and spout (no text or symbols)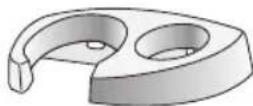
natural_image
Illustration of a transparent cylindrical container with a lid, no text or symbols present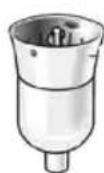
natural_image
Technical illustration of a mechanical device with internal components and housing (no text or symbols)Fig. 1
Mod. BP4564 BP4566

natural_image
3D diagram of a mechanical component with two curved arms and a circular end, labeled with number 6 (no text or symbols on the object itself)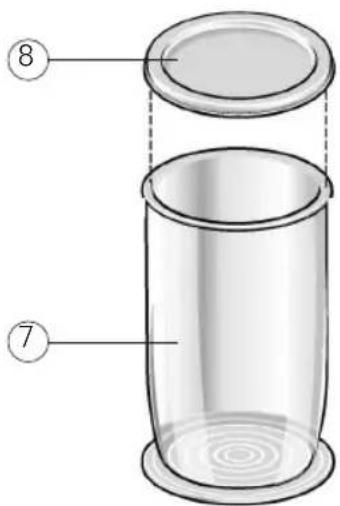
Mod. BP4564
BP4566
Mod. BP4562
BP4564
BP4566
Mod. BP4564
BP4566
natural_image
Illustration of a mechanical device with a cylindrical top and internal components (no text or symbols)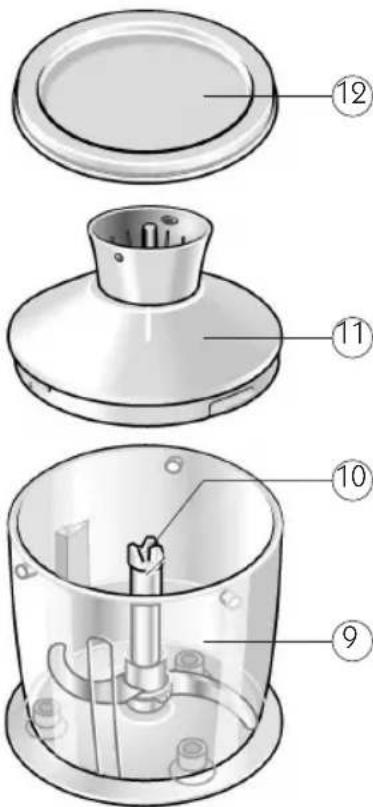
Mod. BP4566
natural_image
Illustration of a hairbrush with a stand and accessories, displayed on a grid background (no text or symbols)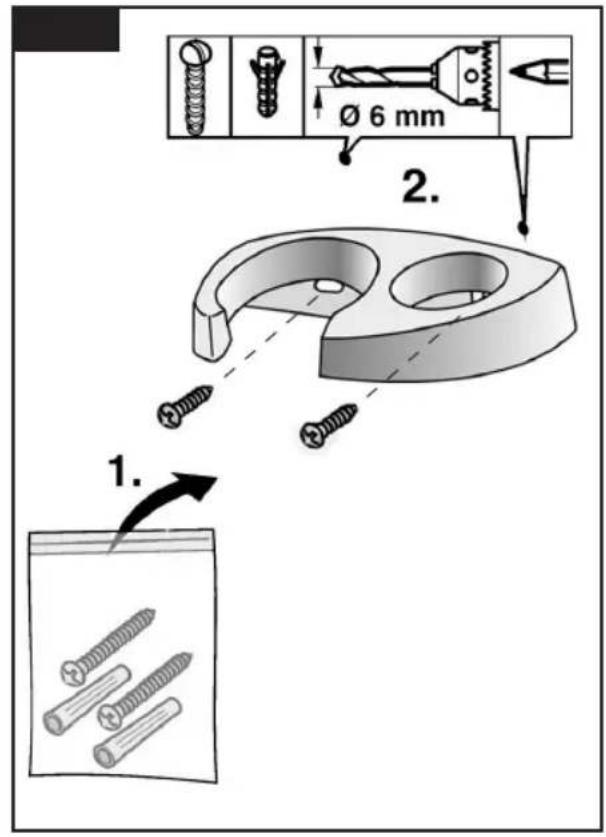
natural_image
Illustration of a cylindrical device with internal components and a central knob, no text or symbols presentFig. 7 F
natural_image
Diagram of a mechanical device with a lid and internal components, showing a downward arrow indicating motion (no text or symbols present)Fig. 9


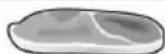
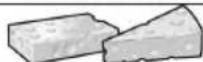
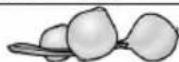
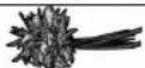
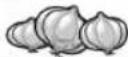
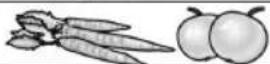
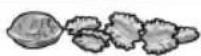

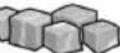
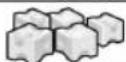
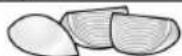
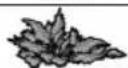

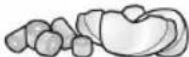

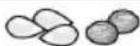
100 g
100 g
100 g
15 g
20 x
100 g
150 g
150 g
120 g + 120 g
10 - 20 s
30 - 40 s
10 s
20 - 30 s
15 s
15 s
20 s
30 - 40 s
5 s

(1,5 cm)

+
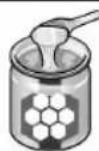

5irc C
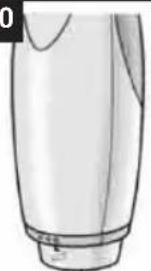
natural_image
Illustration of a cylindrical container with a curved top and side gap (no text or symbols)1.
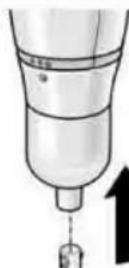
3.
ESPAÑOL
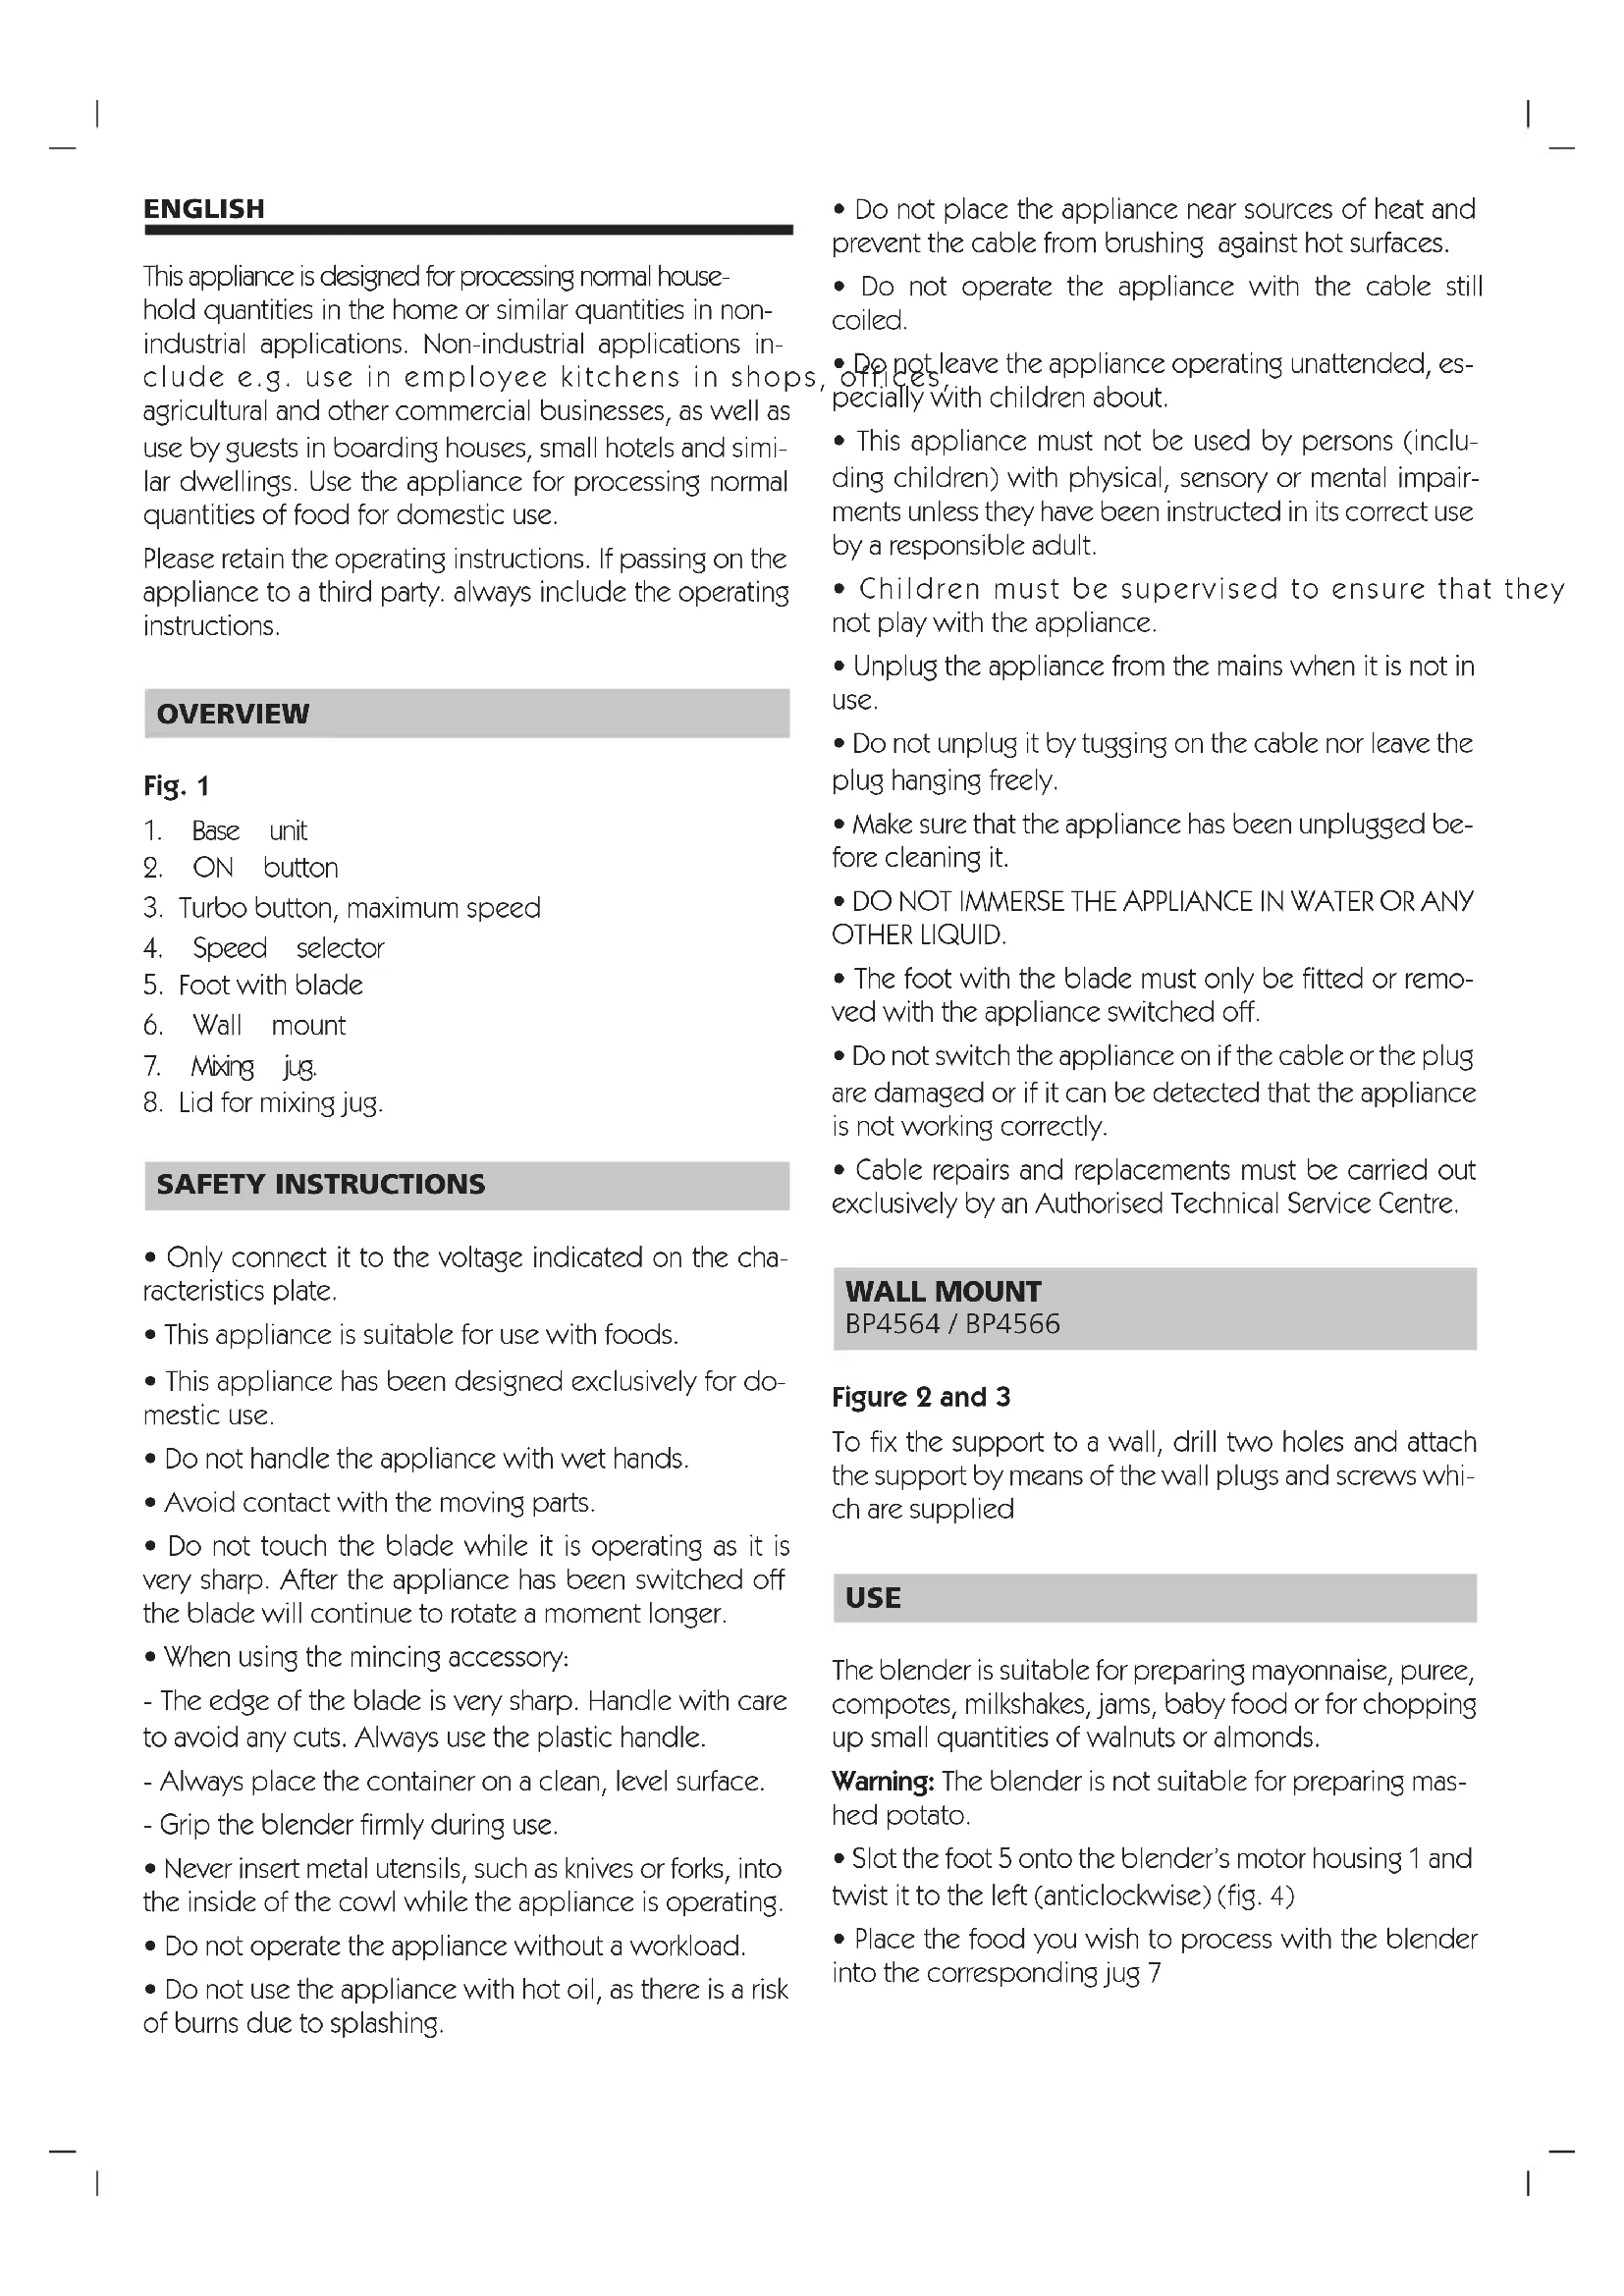
This appliance is designed for processing normal house-hold quantities in the home or similar quantities in non-industrial applications. Non-industrial applications include e.g. use in employee kitchens in shops, agricultural and other commercial businesses, as well as use by guests in boarding houses, small hotels and similar dwellings. Use the appliance for processing normal quantities of food for domestic use.
Please retain the operating instructions. If passing on the appliance to a third party, always include the operating instructions.
OVERVIEW
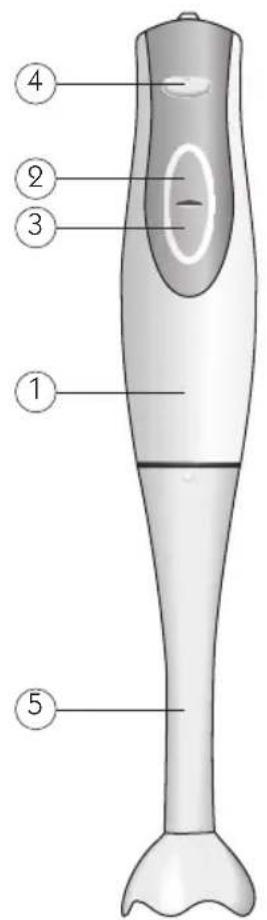
Fig. 1
- Base unit
- ON button
- Turbo button, maximum speed
- Speed selector
- Foot with blade
- Wall mount
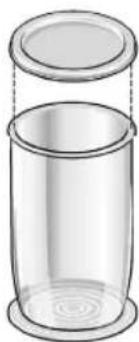
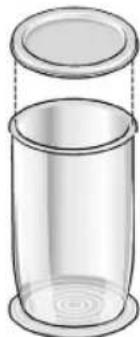
- Mixing jug.
- Lid for mixing jug.
SAFETY INSTRUCTIONS
- Only connect it to the voltage indicated on the characteristics plate.
• This appliance is suitable for use with foods. - This appliance has been designed exclusively for domestic use.
- Do not handle the appliance with wet hands.
- Avoid contact with the moving parts.
- Do not touch the blade while it is operating as it is very sharp. After the appliance has been switched off the blade will continue to rotate a moment longer.
- When using the mincing accessory:
- The edge of the blade is very sharp. Handle with care to avoid any cuts. Always use the plastic handle.
- Always place the container on a clean, level surface.
- Grip the blender firmly during use.
- Never insert metal utensils, such as knives or forks, into the inside of the cowl while the appliance is operating.
- Do not operate the appliance without a workload.
-
Do not use the appliance with hot oil, as there is a risk of burns due to splashing.
-
Do not place the appliance near sources of heat and prevent the cable from brushing against hot surfaces.
- Do not operate the appliance with the cable still coiled.
- Do not leave the appliance operating unattended, especially with children about.
- This appliance must not be used by persons (including children) with physical, sensory or mental impairments unless they have been instructed in its correct use by a responsible adult.
• Children must be supervised to ensure that they not play with the appliance. - Unplug the appliance from the mains when it is not in use.
- Do not unplug it by tugging on the cable nor leave the plug hanging freely.
- Make sure that the appliance has been unplugged before cleaning it.
• DO NOT IMMERSE THE APPLIANCE IN WATER OR ANY OTHER LIQUID. - The foot with the blade must only be fitted or removed with the appliance switched off.
- Do not switch the appliance on if the cable or the plug are damaged or if it can be detected that the appliance is not working correctly.
- Cable repairs and replacements must be carried out exclusively by an Authorised Technical Service Centre.
WALL MOUNT
BP4564 / BP4566
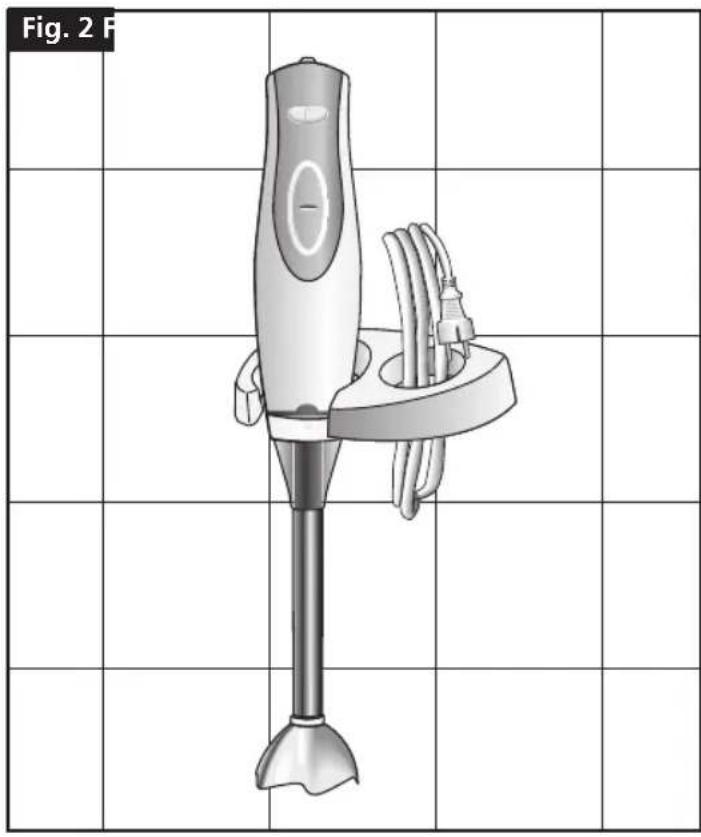
Figure 2 and 3
To fix the support to a wall, drill two holes and attach the support by means of the wall plugs and screws which are supplied
USE
The blender is suitable for preparing mayonnaise, puree, compotes, milkshakes, jams, baby food or for chopping up small quantities of walnuts or almonds.
Warning: The blender is not suitable for preparing mashed potato.
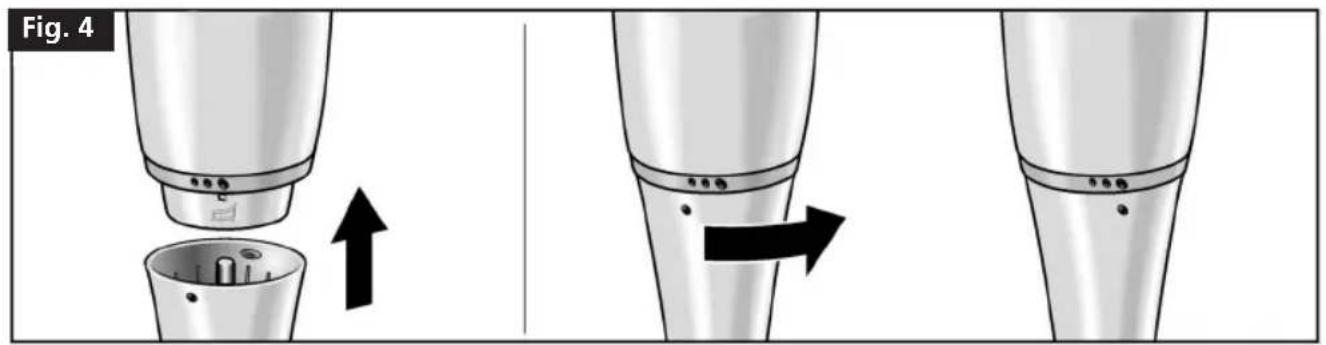
- Slot the foot 5 onto the blender's motor housing 1 and twist it to the left (anticlockwise) (fig. 4)
- Place the food you wish to process with the blender into the corresponding jug 7
- Hold the blender and the jug. To stop the food from splashing out during use, only switch the blender on or off when the foot is immersed in the food being processed.
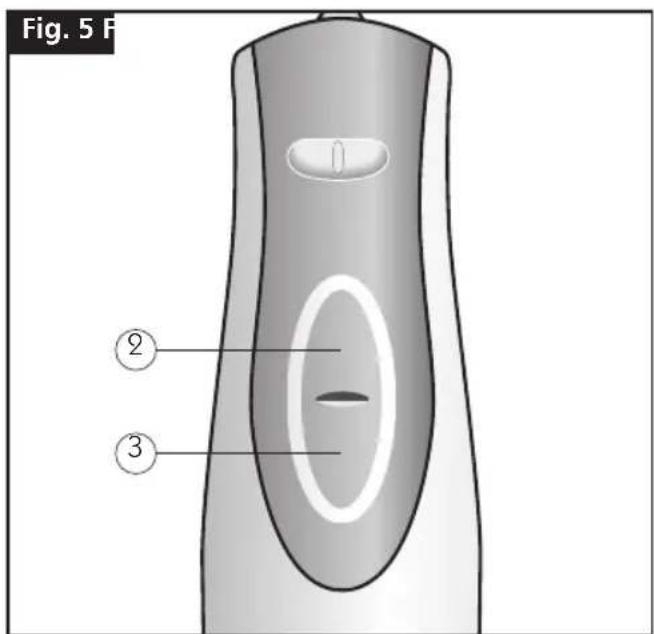
To switch the blender on, press button 2 (Figure 5). If you wish to use maximum speed during use, press button 3 (Figure 5).
SPEED SELECTOR
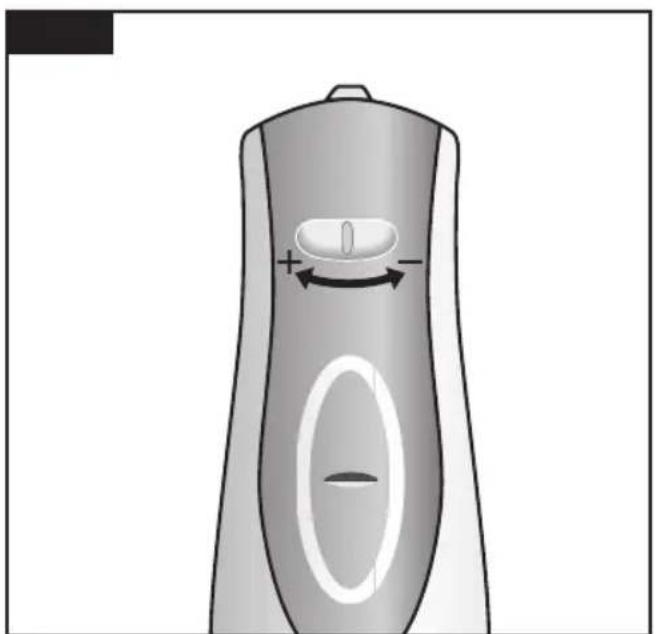
The speed selector allows you to set the speed for the type of food being processed. Low speeds are suitable for starting the blending process, churning, beating and mixing ingredients, as well as whipping egg whites. Higher speeds are suitable for beating eggs, preparing batters, etc. (Figure 6)
UNIVERSAL MINCING ACCESSORY
BP4564 / BP4566
The accessories can also be acquired individually at any Official Technical Service Centre for the brand.
Figure 1
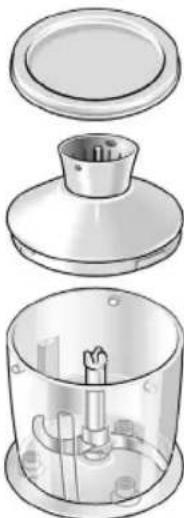
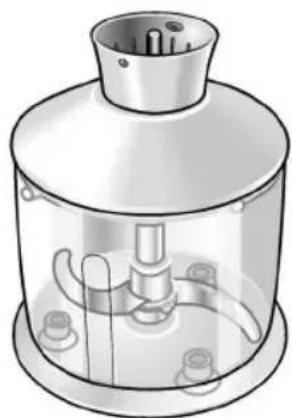
- Universal mincing accessory
- Blade
- Adapter
- Lid
GENERAL SAFETY WARNINGS
⚠ Danger of injury from sharp blades / rotary action!
Never touch the blade on the mincing accessory! Never clean the blade on the mincing accessory by hand! Always use a brush. The mincing blade must only be held by the integrated plastic handle.
Important!
The adapter for the mincing blade must only be fitted or removed with the appliance switch off.
USE
To mince meat, chop hard cheeses, onions, aromatic herbs, garlic, fruit, vegetables, nuts and almonds (see the table in fig. 9)
Attention!
Clean the meat of any bones, gristle or sinews before mincing the it.
The mincing accessory is not suitable for grinding very hard products (e.g. coffee beans, turnips, nutmeg) or frozen foods.
Figure 7
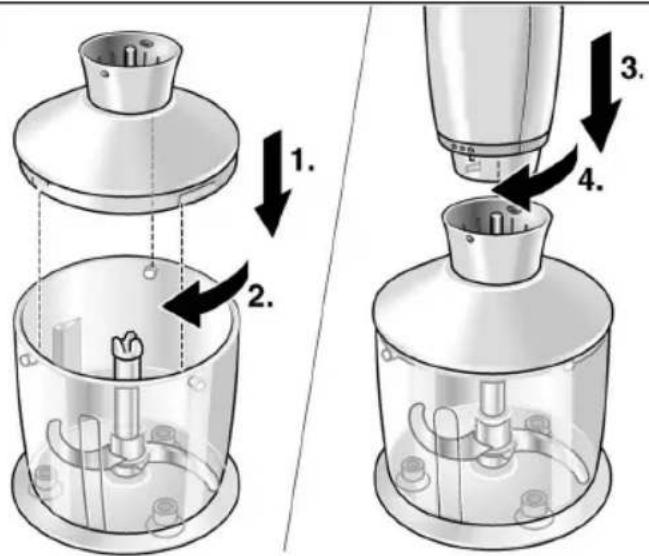
- Push the mincing accessory 9 down onto a flat, clean work surface
- Fit the blade 10 into the mincing accessory.
- Place in the food you wish to process with the min-cer.
- Fit the adapter 11 onto the mincing accessory and twist it to the right (clockwise) until it clicks shut.
- Place the drive unit onto the adapter and twist it to the right (clockwise).
- Hold the drive unit and the mincing accessory and switch the appliance on.
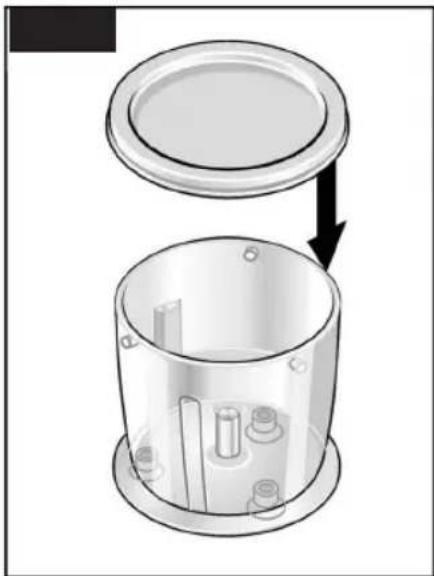
- Fit the lid 12 to protect the food minced with the mincing accessory (Fig. 8).
Examples of use:
Grated cheese for pasta dishes
Blend 200 g of moderately hard cheese (Emmental, etc.) for ten second to obtain a thickly grated cheese, ideal for sprinkling over pasta dishes.
WHISK ACCESSORY
BP4566
The accessories can also be acquired individually at any Official Technical Service Centre for the brand.
Figure 1
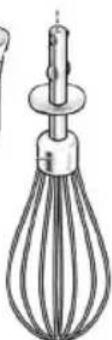
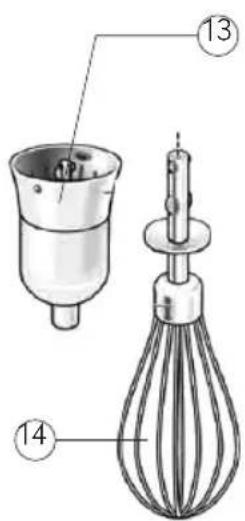
- Whisk.
- Drive mechanism
Important!
Only fit or remove the drive mechanism with the balloon whisk attached when the appliance is switched off.
USE
To whip cream, egg whites or milk (cold milk, maximum temperature 8°C)
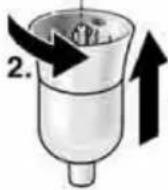
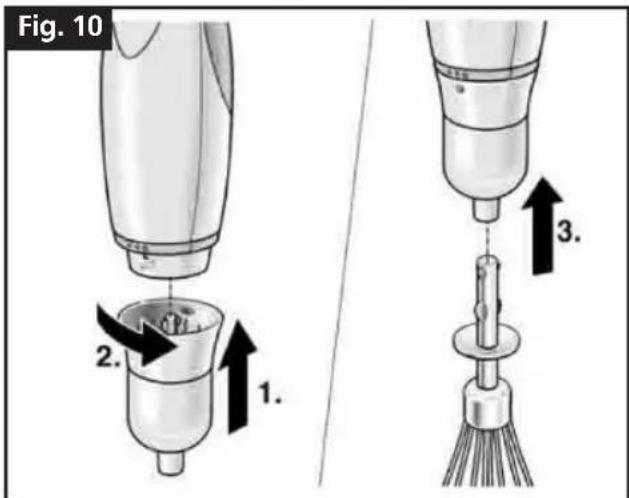
Figure 10
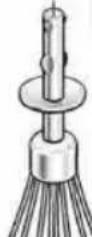
- Slot the drive mechanism into the blender's drive unit and twist it to the left (anticlockwise).
- Slot the balloon whisk into the drive mechanism.
- Place the food you wish to whisk into the jug.
- Hold the blender and the jug. Press the on/off button.
CLEANING & MAINTENANCE
Always unplug the appliance before cleaning it.
Motor housing
The adapter for the accessories and the motor housing must only be wiped clean with a damp cl immerse them in water or any other liquid.
Mixer foot
Do not immerse the foot in water as this will ruin the bearing lubricant. Clean it under a running tap, without using harsh detergents. Do not put it into the dishwasher. Turn it upside down to drain out any water that may have got into it.
Blender accessory
• Take the whisk out of the drive mechanism.
- Wash the whisk in the dishwasher. The drive mechanism must only be cleaned with a damp cloth.
Mincing accessory
Attention!
Never immerse the adapter 11 for the mincing accessory in water! Do not wash it in the dishwasher!
• Take the drive unit off the adapter 11.
- Twist the adapter 11 to the left (anticlockwise) and remove the mincing accessory 9.
- Hold the blade by the plastic handle and remove it.
- Both the mincing accessory and blade are dishwasher safe.
- The adapter must only be cleaned with a damp cloth.
ADVICE ON DISPOSAL:
Our goods come in optimised packaging. This basically consists in using non-contaminating materials which should be handed over to the local waste disposal service as secondary raw materials.
This product compl 2002/96/CE. The crossed wheelie bin symbol shown on the appliance indicates that when it comes to dispose of the product it must not be included in with household refuse. It must be taken to a special refuse collection point for electric and electronic appliances or returned to the distributor when purchasing a similar appliance. Under current refuse disposal regulations, users who fail to take discarded appliances to special refuse collection points may be penalised. Correct disposal of discarded appliances means that they can be recycled and processed ecologically, helping the environment and allowing materials used in the product to be reused. For more information on available waste disposal schemes contact your local refuse service or the shop where the product was purchased. Manufacturers and importers are responsible for ecological recycling, processing and disposal of products, whether directly or via a public system.
Your local town council can provide you with information about how to dispose of obsolete appliances.
FRANÇAIS


- ESPAÑOL
- OVERVIEW
- Fig. 1
- SAFETY INSTRUCTIONS
- WALL MOUNT
- Figure 2 and 3
- USE
- SPEED SELECTOR
- UNIVERSAL MINCING ACCESSORY
- Figure 1
- GENERAL SAFETY WARNINGS
- ⚠ Danger of injury from sharp blades / rotary action!
- Important!
- Attention!
- Figure 7
- Examples of use:
- WHISK ACCESSORY
- Figure 10
- CLEANING & MAINTENANCE
- Motor housing
- Mixer foot
- Blender accessory
- Mincing accessory
- ADVICE ON DISPOSAL:
- FRANÇAIS
Brand : UFESA
Model : BP4562
Category : Blender