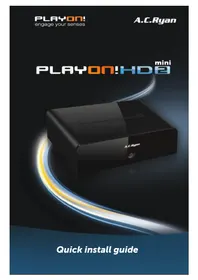
Playon!HD3 Mini ACRPV73800 - Media player AC Ryan - Free user manual and instructions
Find the device manual for free Playon!HD3 Mini ACRPV73800 AC Ryan in PDF.



| Product type | Media player |
| Brand | AC Ryan |
| Model | Playon!HD3 Mini ACRPV73800 |
| Dimensions (approx.) | 15 x 10 x 3 cm |
| Weight (approx.) | 200 g |
| Power supply | Power adapter 5V / 2A |
| Power consumption | < 10 W |
| Maximum video resolution | 1080p Full HD |
| Supported video formats | MKV, AVI, MP4, MOV, TS, M2TS, etc. |
| Supported audio formats | MP3, AAC, FLAC, WAV, OGG, etc. |
| Supported image formats | JPEG, PNG, BMP, GIF, etc. |
| Video connections | HDMI, Composite, Component (via cables) |
| Audio connections | HDMI, Composite, Optical SPDIF TOSLINK |
| Network connections | Ethernet RJ45 + Wi-Fi via optional dongle (not included) |
| Digital audio output | Yes, via optical SPDIF (up to 5.1) |
| Analog audio output | Yes, via RCA (red/white) |
| USB port | Yes (for USB drive or external hard drive) |
| Network functions | DLNA streaming, Samba, network file access |
| Remote control | Yes, included with batteries |
| Included accessories | HDMI cable, composite cable, power adapter, remote control, batteries |
| Maintenance | Clean with a soft, dry cloth. Do not use abrasive products. |
| Safety | Keep out of reach of children. Do not expose to moisture. |
| Repairability | Spare parts available from the manufacturer. Professional repair recommended. |
Frequently Asked Questions - Playon!HD3 Mini ACRPV73800 AC Ryan
User questions about Playon!HD3 Mini ACRPV73800 AC Ryan
0 question about this device. Answer the ones you know or ask your own.
Ask a new question about this device
Download the instructions for your Media player in PDF format for free! Find your manual Playon!HD3 Mini ACRPV73800 - AC Ryan and take your electronic device back in hand. On this page are published all the documents necessary for the use of your device. Playon!HD3 Mini ACRPV73800 by AC Ryan.
USER MANUAL Playon!HD3 Mini ACRPV73800 AC Ryan
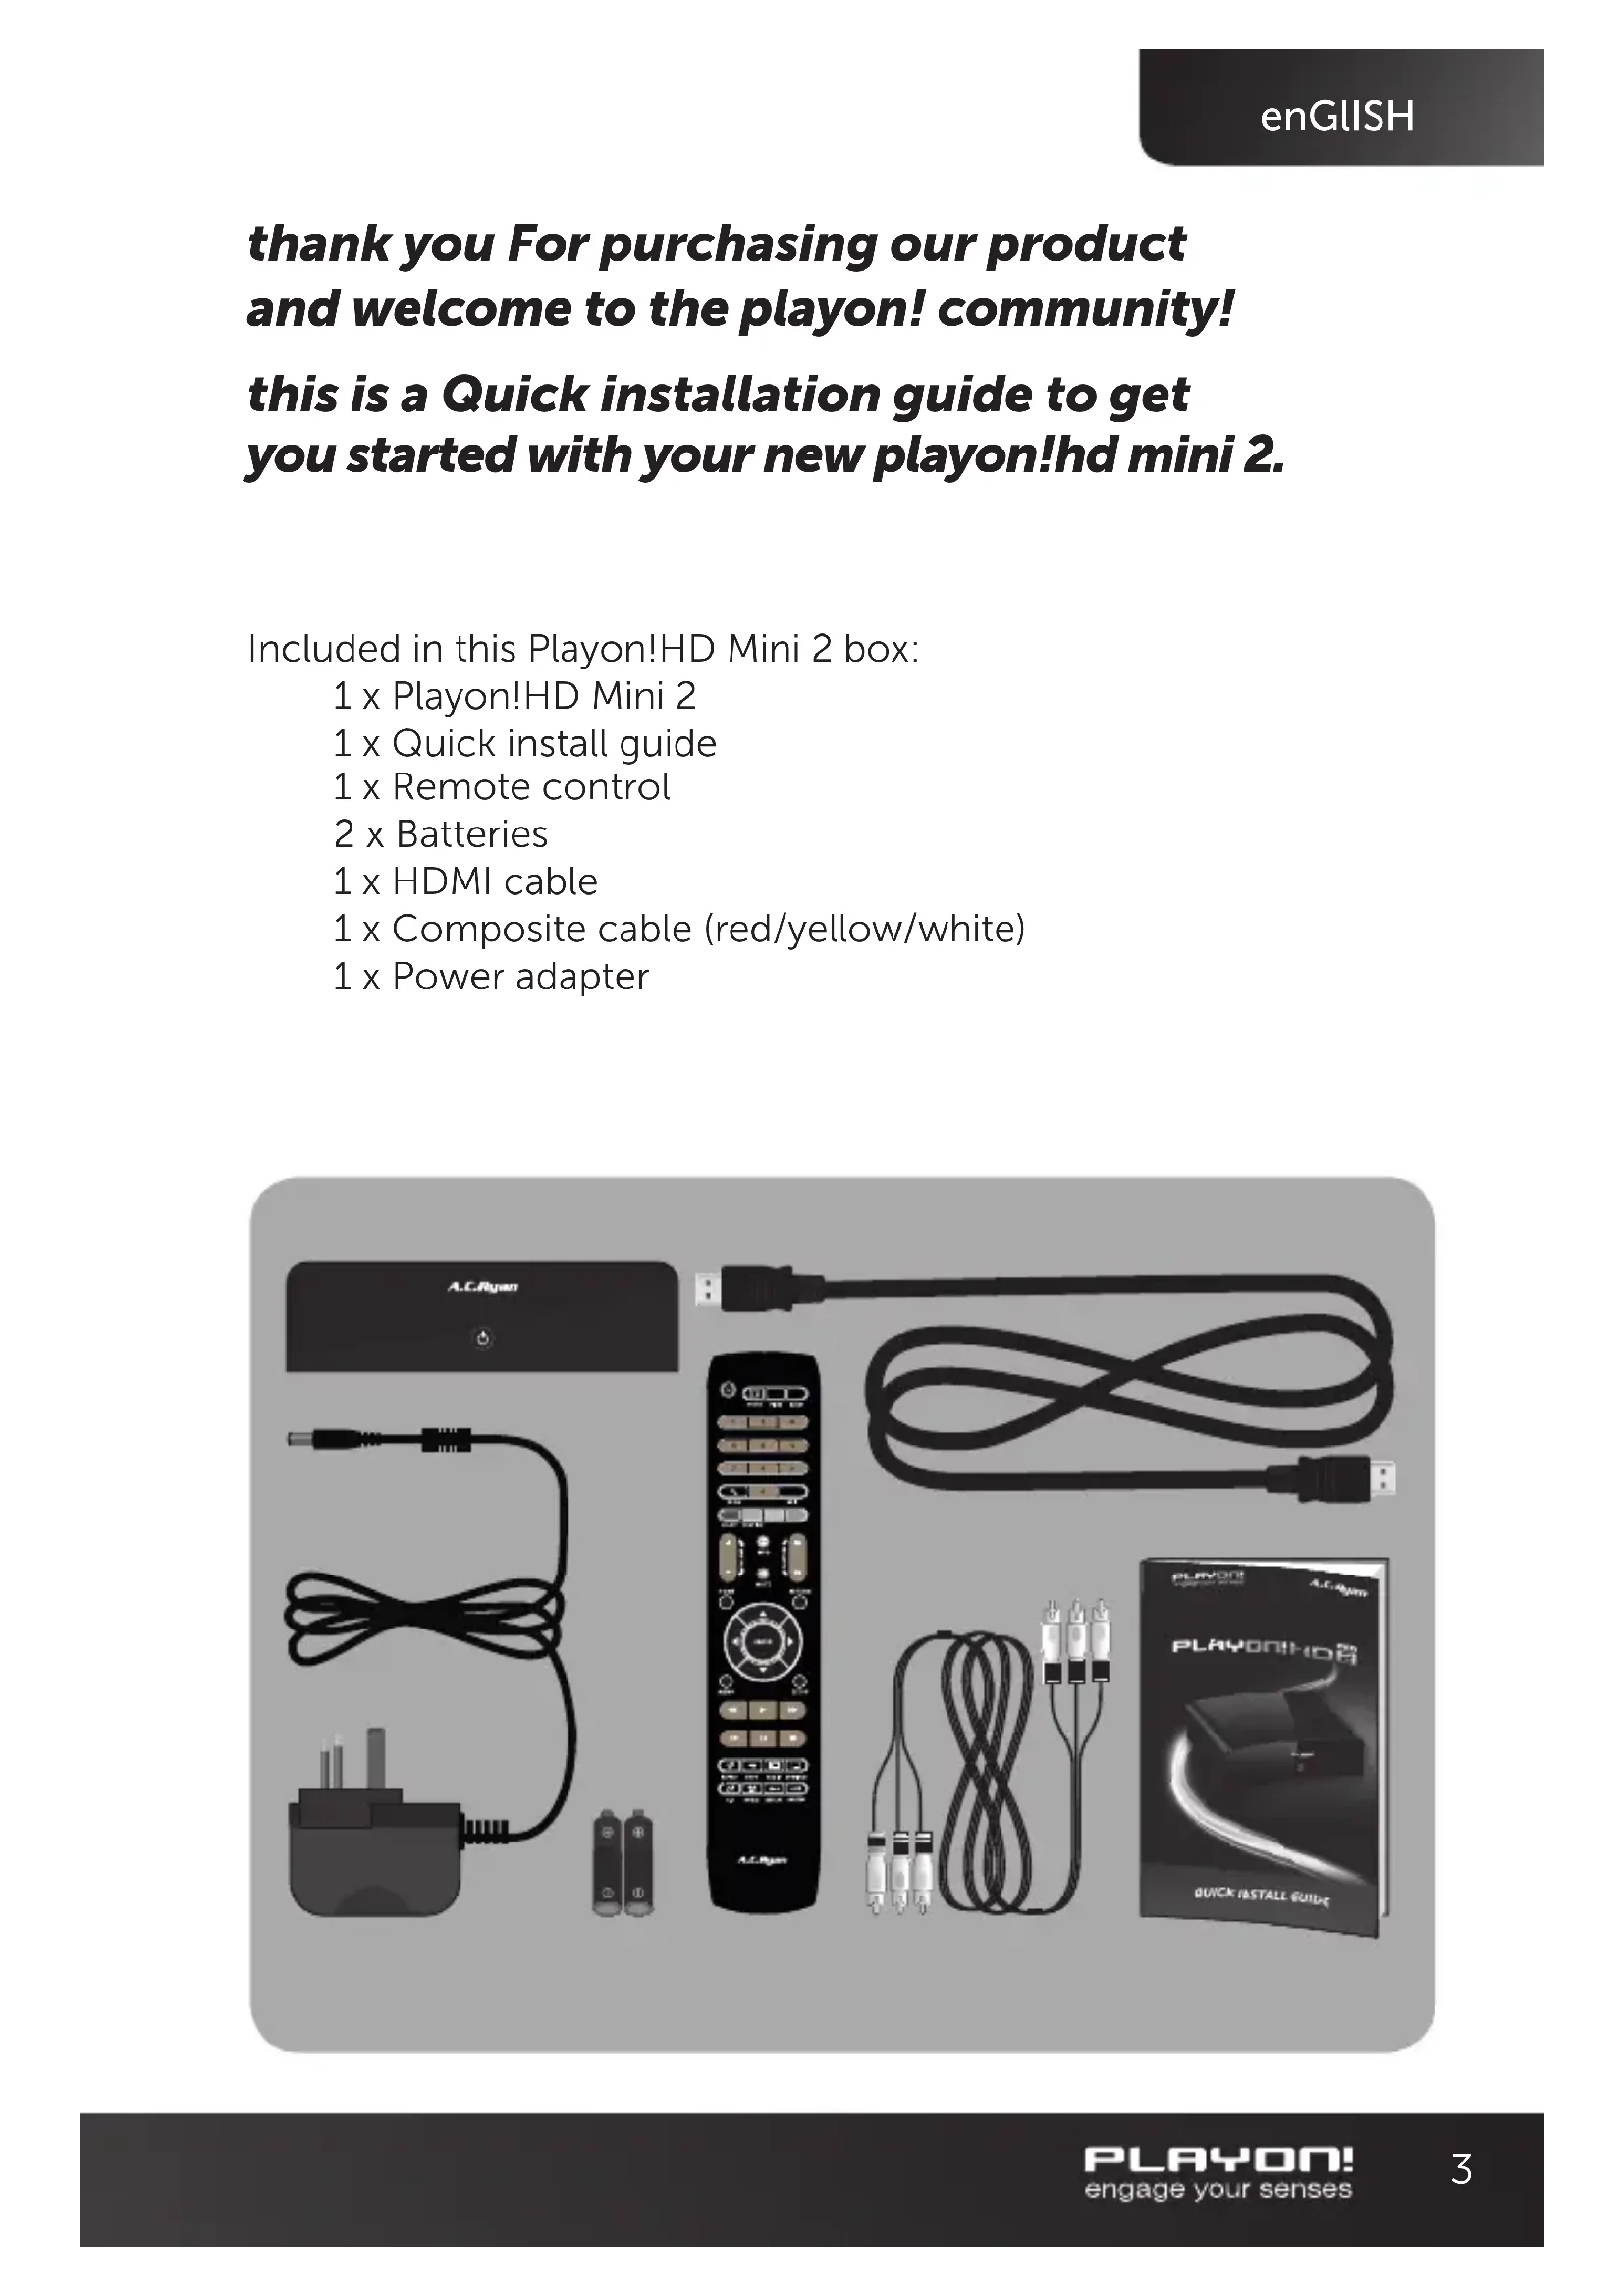
thank you For purchasing our product and welcome to the playon! community!
this is a Quick installation guide to get you started with your new playon!hd mini 2.
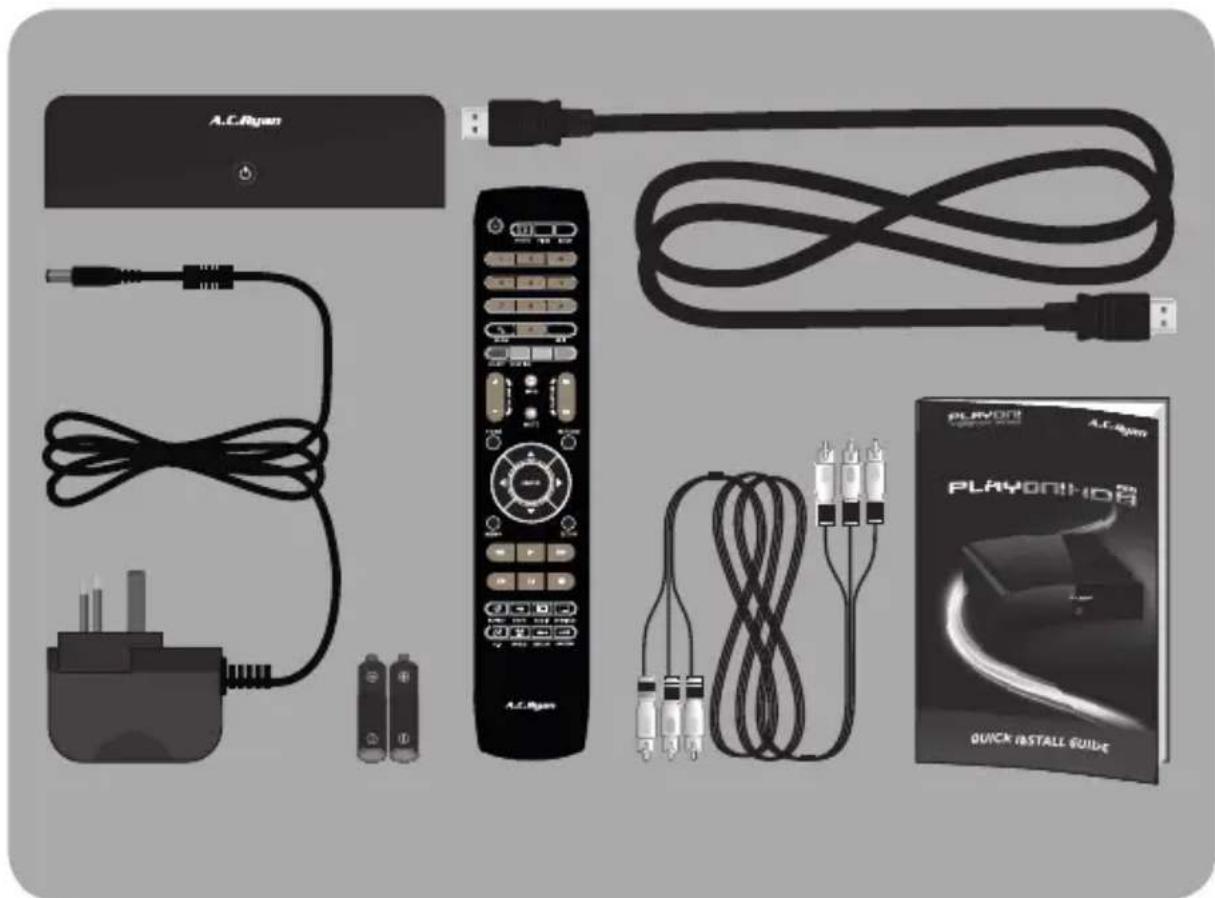
Included in this Playon!HD Mini 2 box:
1xPlayon!HD Mini 2
1 x Quick install guide
1 x Remote control
2 x Batteries
1 x HDMI cable
1 x Composite cable (red/yellow/white)
1 x Power adapter
Getting started with your Playon!HD Mini 2
Connecting the hardware to your TV
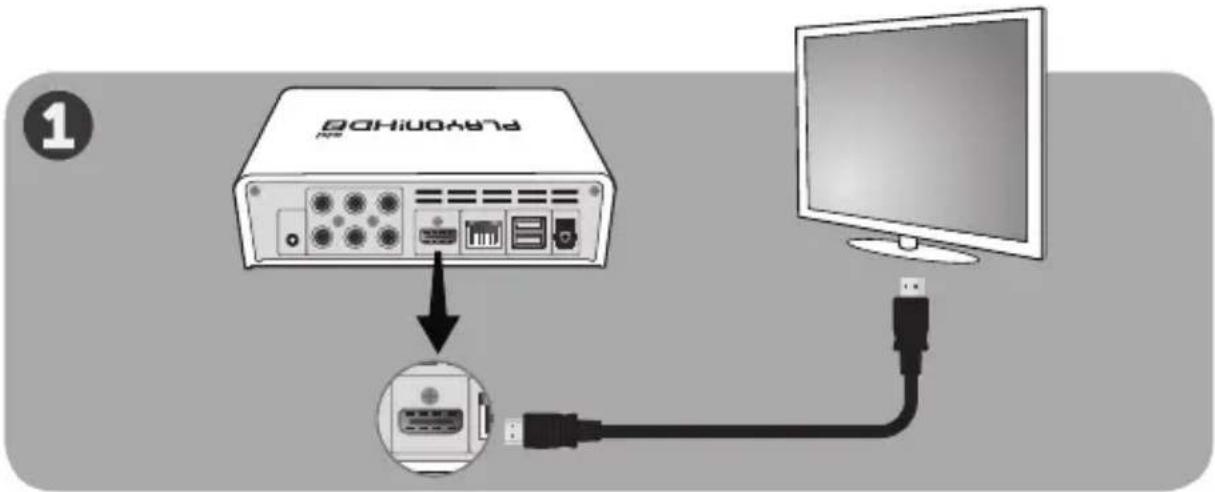
- Connect the included HDMI cable from the Playon!HD Mini 2 to your TV for the highest quality video/audio.
- Connect one end of the included power adapter jack to your Playon!HD Mini 2 and the other end to your wall power socket.
- To make the player part of your network you can connect your player to your network by using a normal network cable or optional Playon! Wireless dongle (both not included).
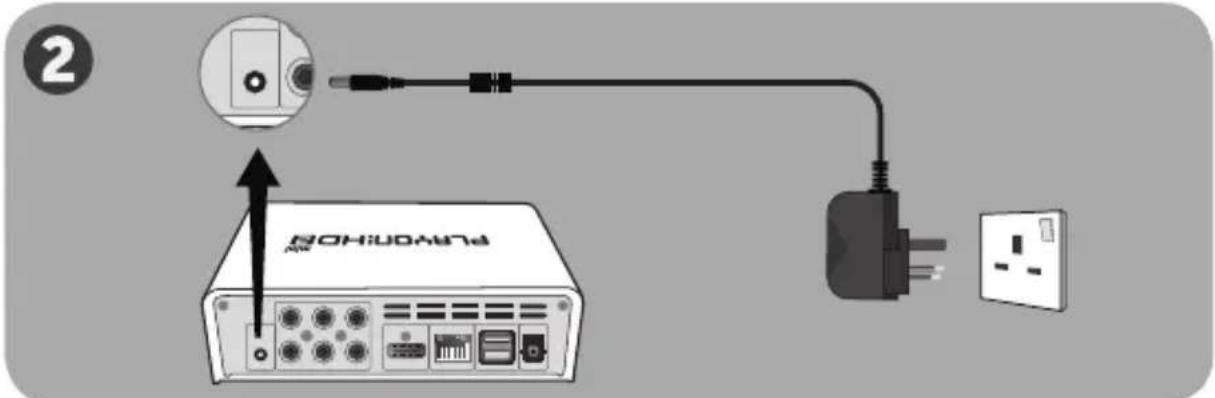
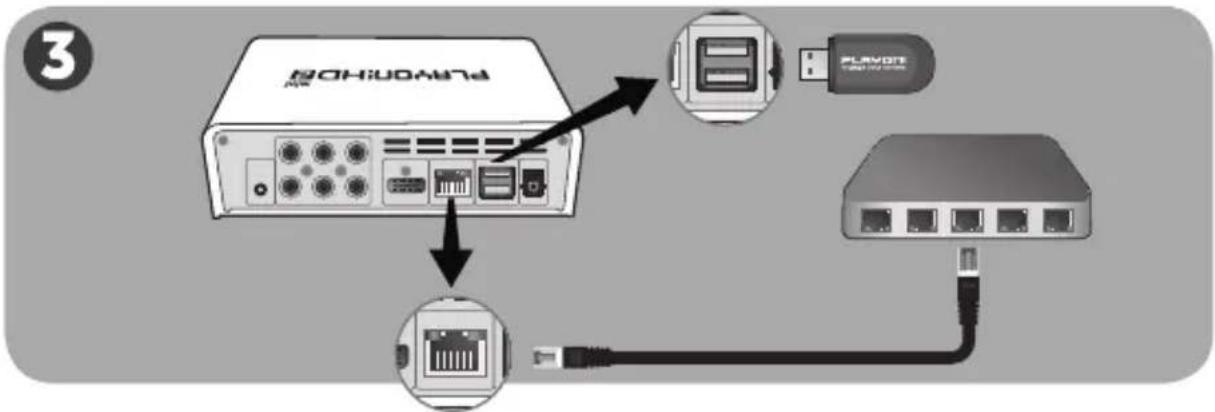
Alternative options: If your TV does not have a HDMI input, you can use the included Composite cable for both video and audio or a component cable (not included) for video and the composite cable (red/white) for audio.
If you have an Audio/Video Receiver you can connect your audio/video signals through it to receive audio and video with a HDMI, Composite, Component, SPDIF Optical TOSLINK cable.
*** SPDIF Optical TOSLINK cables (not included) supports up to 5.1 surround sound. For rich HD Audio in 7.1 surround sound you need to use a HDMI cable.
Initial Setup
Choose your:
Menu language: Select the language you want to use.
Wired set-up: Choose automatic or fixed IP/DNS address if you have a network cable attached. Follow the instructions on the screen. If you don't have a network cable attached you can skip this step.
Once you have done this initial setup, your Playon!HD Mini 2 will be in the main menu and ready to use.
Please take your time to go through the Setup menu and personalise the settings that you want to use, then you are ready to use your Playon!HD Mini 2. Playon! Engage your senses.
Brand : AC Ryan
Model : Playon!HD3 Mini ACRPV73800
Category : Media player