TKG CCG 1000 KTO - Coffee machine KALORIK - Free user manual and instructions
Find the device manual for free TKG CCG 1000 KTO KALORIK in PDF.
Document temporarily unavailable
The manual is currently being transferred to our new server. It will be accessible again in a few hours. Thank you for your patience.
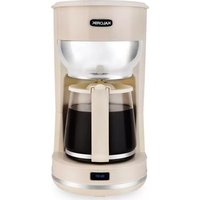
| Product type | Coffee machine with built-in grinder |
| Brand | Kalorik |
| Model | TKG CCG 1000 KTO |
| Maximum capacity | 10 cups |
| Coffee type | Beans or ground |
| Grind levels | 5 (from fine to coarse) |
| Aroma levels | 3 (Light, Medium, Strong) |
| Keep warm | Automatic up to 2 hours |
| Delayed programming | Yes, up to 24 hours in advance |
| Power supply | 220-240 V ~ 50/60 Hz |
| Power | Approximately 1000 W |
| Dimensions (approx.) | 30 x 20 x 40 cm |
| Weight (approx.) | 4 kg |
| Water tank capacity | Approximately 1.25 L (for 10 cups) |
| Bean hopper capacity | Not specified |
| Filter type | Paper or permanent (depending on model) |
| Automatic shut-off | Yes, after 2 hours of keep warm |
| Anti-drip valve | Yes, integrated |
| Cleaning removable parts | Warm soapy water, do not put in dishwasher |
| Recommended descaling | Every 70 cycles or according to water hardness |
| Safety | Sharp blades, hot surfaces, steam |
| Warranty | According to provided warranty card |
Frequently Asked Questions - TKG CCG 1000 KTO KALORIK
User questions about TKG CCG 1000 KTO KALORIK
0 question about this device. Answer the ones you know or ask your own.
Ask a new question about this device
Download the instructions for your Coffee machine in PDF format for free! Find your manual TKG CCG 1000 KTO - KALORIK and take your electronic device back in hand. On this page are published all the documents necessary for the use of your device. TKG CCG 1000 KTO by KALORIK.