
LDS3272 - Television DENVER - Free user manual and instructions
Find the device manual for free LDS3272 DENVER in PDF.
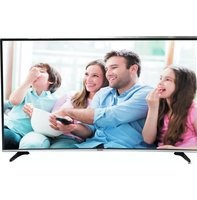
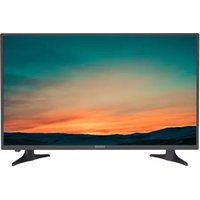
| Product type | 32-inch LED TV |
| Brand | Denver |
| Model | LDS3272 |
| Screen size | 32 inches (81 cm) |
| Resolution | HD (1366 x 768 pixels) |
| Triple tuner | DVB-T2 (terrestrial), DVB-C (cable), DVB-S2 (satellite) |
| Connectivity | HDMI (3), USB, SCART, VGA, YPbPr, AV, Ethernet RJ45, optical output, headphone jack |
| Smart TV functions | Integrated streaming, app access |
| Power supply | 220-240 V ~ 50 Hz |
| Maximum power consumption | 55 W |
| Weight | Approximately 4.5 kg |
| Dimensions (without stand) | 73 x 44 x 8 cm |
| Dimensions (with stand) | 73 x 48 x 18 cm |
| Wall mount | Compatible with VESA 200 x 200 mm |
| Maintenance | Wipe with a slightly damp cloth |
| Safety | Unplug during storms; do not expose to water |
| Included accessories | Remote control, stand, mounting screws |
| Warranty | 2 years |
Frequently Asked Questions - LDS3272 DENVER
User questions about LDS3272 DENVER
0 question about this device. Answer the ones you know or ask your own.
Ask a new question about this device
Download the instructions for your Television in PDF format for free! Find your manual LDS3272 - DENVER and take your electronic device back in hand. On this page are published all the documents necessary for the use of your device. LDS3272 by DENVER.
USER MANUAL LDS3272 DENVER
HD SMART TV with DVB-T2/S2/DVB-C and H.265/HEVC Support
o el:M d LDS-3272/LDS-4074
Quick start guide
Kurzanleitung
Full installation user manual can be found at
www.denver-electronics.com. Search for the model number.
IMPORTANT SAFETY INSTRUCTIONS - READ CAREFULLY BEFORE USE.
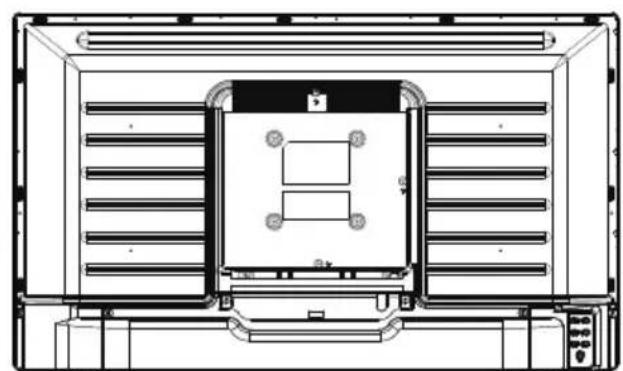
Take note of the following safety information which appears on the back of the TV.

CAUTION TO PREVENT ELECTRICAL SHOCK, DO NOT REMOVE ANY COVER SCREWS, NO USER SERVICEABLE PARTS INSIDE, REFER SERVICING TO QUALIFIED SERVICE PERSONNEL.

This symbol indicates that there are important operating maintenance instructions in the literature accompanying this unit.
This symbol indicates that dangerous voltage constituting a risk of electric shock is present within this unit.
Keep these instructions
- Do not use this TV near water.
Clean only with a slightly damp cloth. - Do not block any ventilation openings.
Install in accordance with the supplied Quick Start Guide and this User Guide. - Protect the power chord from being walked on or pinched, particularly at plugs, and the point where it exits from the TV.
- Do not allow the power chord to overhang the edge of a table.
- Unplug this TV during lightening storms or when unused for long periods of time.

WARNING! TO REDUCE THE RISK OF FIRE OR ELECTRICAL SHOCK, DO NOT EXPOSE THIS TV TO RAIN OR MOISTURE. THE TV MUST NOT BE EXPOSED TO DRIPPING AND SPLASHING AND NO OBJECTS FILLED WITH LIQUIDS SHOULD BE PLACED ON THE TV.
NOTE: No naked flames such as candles should be placed on the TV.
Smell/odor from TV
New televisions may produce an unusual smell or odor when first turned on.
Due to the manufacturing process of components, televisions and other electronic products can have parts that may produce a smell after the product is first turned on and warms up.
The smell will usually dissipate within a few days of use and does not return.
This is normal and occurs with many electronic products. Please ensure there is sufficient ventilation around the TV and in the room and the odor will dissipate.
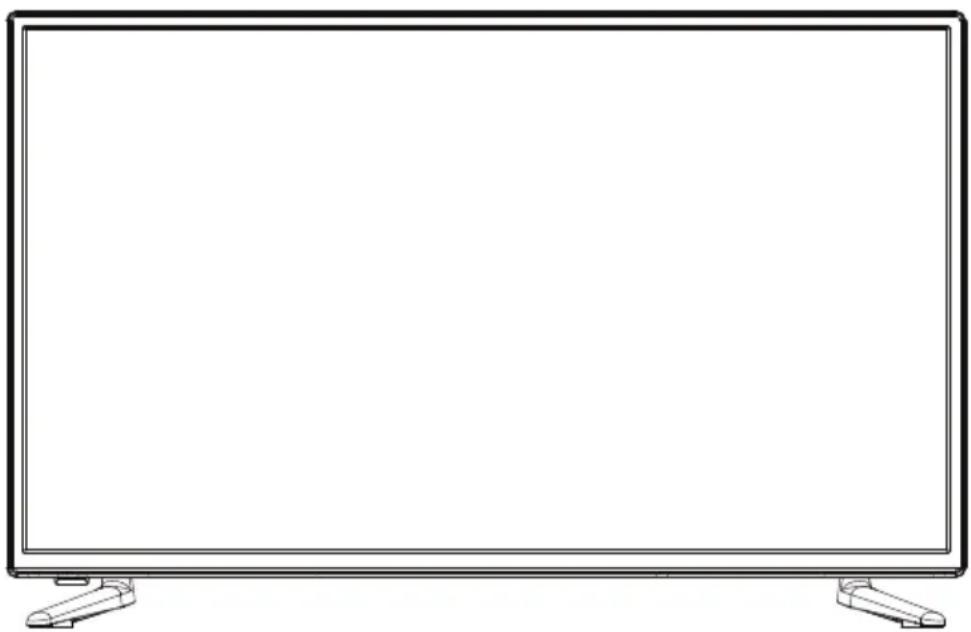
Front View
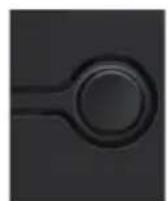
LED indicator Remote Control window(keep clear)
Model:LDS-3272
Model:LDS-4074
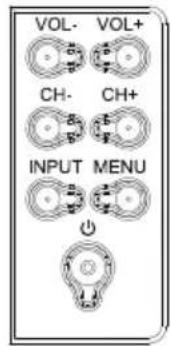
The functions of the TV buttons are described below.
POWER/STANDBY: Turn on/off the TV set.
INPUT: Press to select the source.
MENU: Press to display the OSD menu, Press again to exit the menu.
CH + / CH - : Press to scan through channels.
They are also can be used to move down/up in the OSD menu screen.
VOL+/VOL-: Press to adjust the volume.
They are also can be used to move left/right in the OSD menu screen.
VOL+ button can be used to skip forward to next menu.
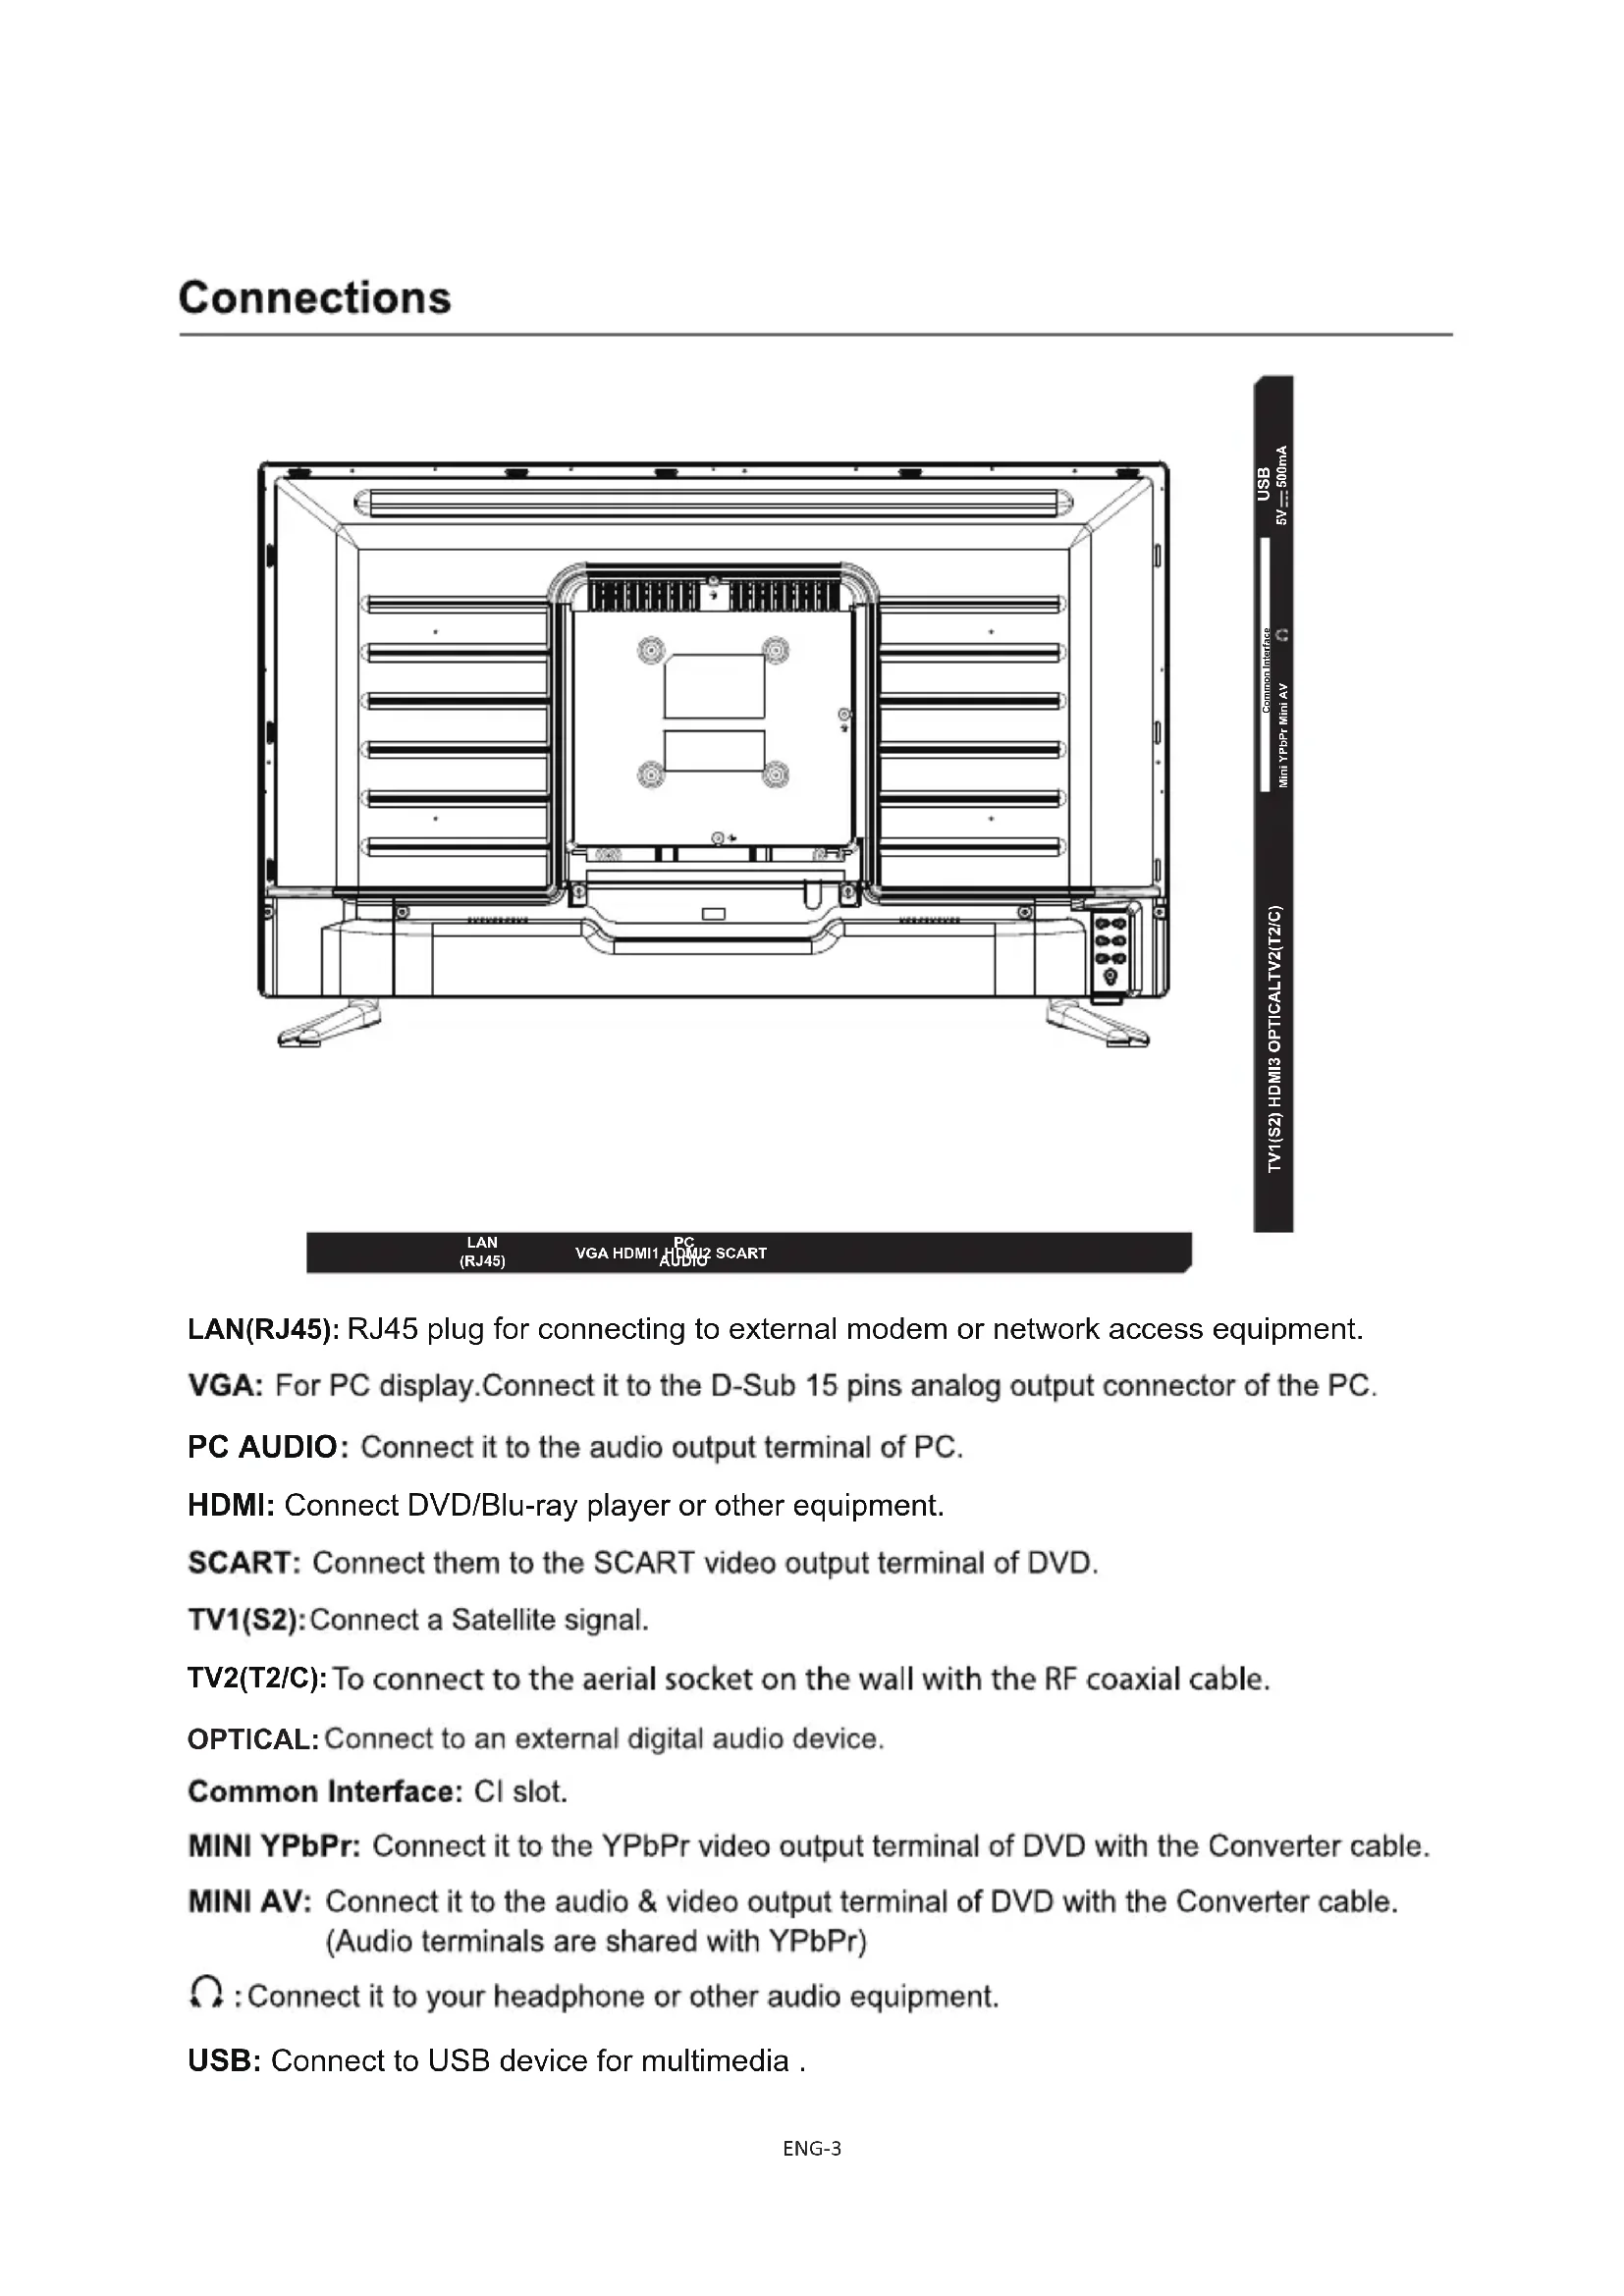
Common Interface USB Mini YPbPr Mini AY 5V-500mA
TV1(S2)HDMI3 OPTICALTV2(T2/C)
LAN
(RJ45)
VGAHDM1HDM2SCART
VGAHMBIY AUBIO 80ART
LAN(RJ45): RJ45 plug for connecting to external modem or network access equipment.
VGA: For PC display. Connect it to the D-Sub 15 pins analog output connector of the PC.
PC AUDIO: Connect it to the audio output terminal of PC.
HDMI: Connect DVD/Blu-ray player or other equipment.
SCART: Connect them to the SCART video output terminal of DVD.
TV1(S2): Connect a Satellite signal.
TV2(T2/C): To connect to the aerial socket on the wall with the RF coaxial cable.
OPTICAL: Connect to an external digital audio device.
Common Interface: CI slot.
MINI YPbPr: Connect it to the YPbPr video output terminal of DVD with the Converter cable.
MINI AV: Connect it to the audio & video output terminal of DVD with the Converter cable. (Audio terminals are shared with YPbPr)
: Connect it to your headphone or other audio equipment.
USB: Connect to USB device for multimedia.
Installation of TV channels
This TV comes with triple tuner.
For digital terrestrial TV: (DVB-T2-H.265 HEVC)
For digital cable TV: (DVB-C)
For digital satellite TV: (DVB-S2)
- it has an analogue tuner aswell.
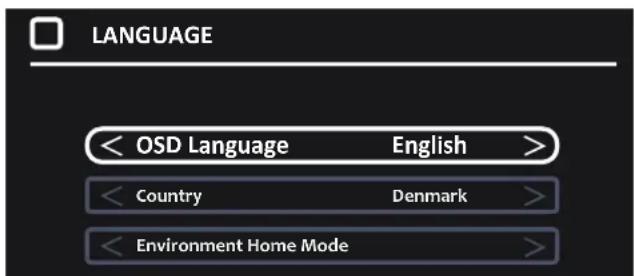
When you start the TV for the first time, you will enter a first time installation mode, Here you shall choose language& what country you are in. You do this by pushing the arrow left/right keys.
When you are finished making these settings, push OK button to get to autotuning menu.
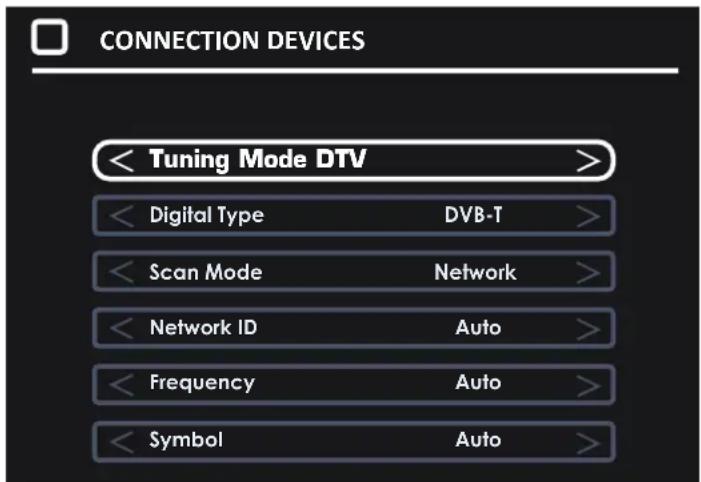
Choose Tune type. (either DTV, ATV (analogue, or both)
Then choose digital type: DVB-T for terrestrial (if you have own antenna on the roof), DVB-C if you have digital cable TV (please notice, you need to know the DVB-C info from your cable provider) or DVB-S if you have a satellite dish.
If using DVB-T, you can just make an autoscan, and it will scan in all available channel.
If using DVB-C, you can use either full scan or Network scan (some countries demand this). And insert Network ID, Frequency, Symbol rate and LCN on/off.
If using DVB-S, you have to know what satellite your dish are pointing towards, and choose this in the setup menu.
Example:
Please notice. The TV has a common interface+ input. This allows you to insert CA module + smartcard from your TV/cable provider to watch pay per view channels and selectable channels outside of your package.
Pay attention on the description shown on the back of the TV on how to insert CA module.
Streaming
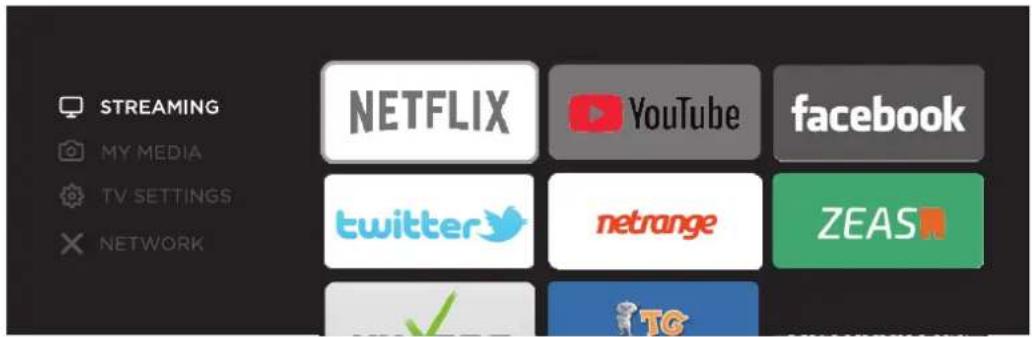
- Press MENU button on the main unit or on the remote to display the main interface. Then use the Arrow buttons to select STREAMING and press OK to enter. Use the Arrow buttons to select the desired APP and press OK button to view. Or press the hotkey on the remote control to enter the desired APP directly.
Network Settings

- Press MENU to display the main interface, use the Arrow buttons to highlight TV SETTINGS and press OK to confirm. Then Use the Arrow buttons to select NETWORK to enter and adjust each option setting.
| NETWORK TYPE | Select Wired and Wireless network, then connect the TV to the wired network or search the wireless network through searching available Wifi. |
| MY NETWORK | Display the current network which you connect to. |
| IP ADDRESS | Display the current IP information. |
1. The parts needed for installing the stand (supplied)
TV set
Before installing the stand, please check that you have all of the parts and that there is no visible damage. If a part is missing or appears damaged, please contact customer service.


Stand
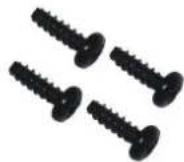
Screws(supplied) 4 × ST4 × 12
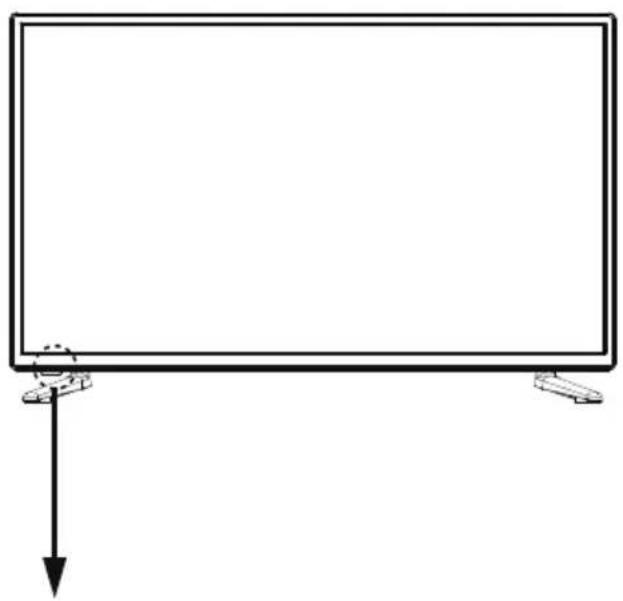
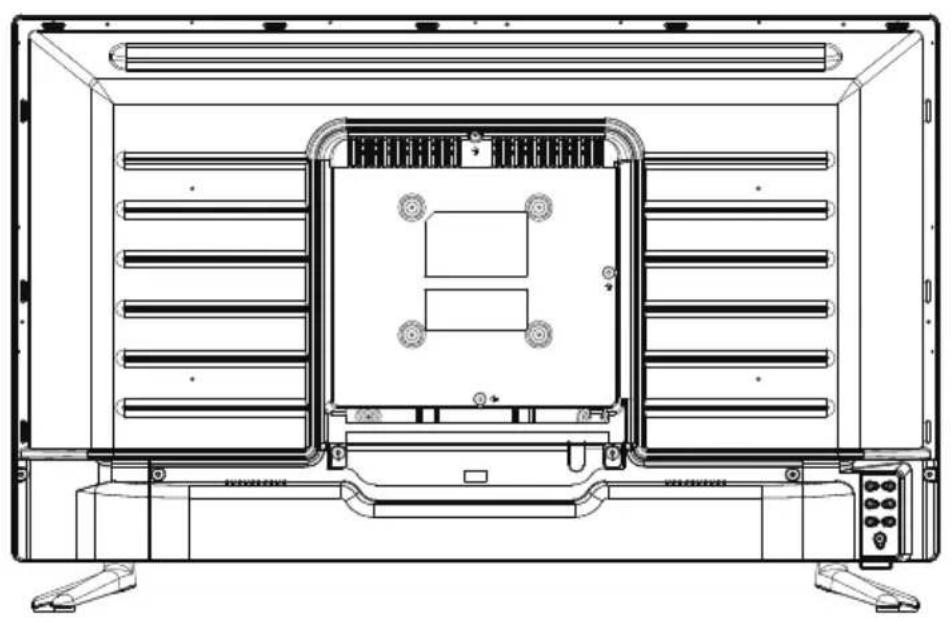
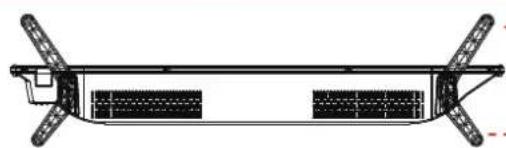
2. How to install the Stand?
Place the TV face down on a soft and flat surface (blanket, foam, cloth, etc.) to prevent any damage to the TV.
Put the stand to the neck of the TV set as shown below.
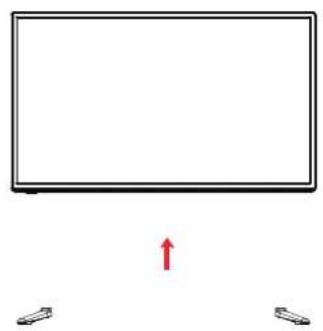
- Before you put on the stand, please make sure the direction is correct as shown below.
- When you are putting on the stand, please make sure the neck of the TV set is in the correct position and attached tightly.
If you do not attach the stand correctly, it will make the TV unstable and may tip over.
Front (Longer)
Attach the stand with the supplied screws.
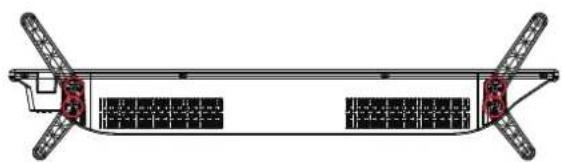
When attaching the stand, make sure the screws are attached tightly. If the screws do not attach tightly, it will lead the TV to be unstable or may even tip over.
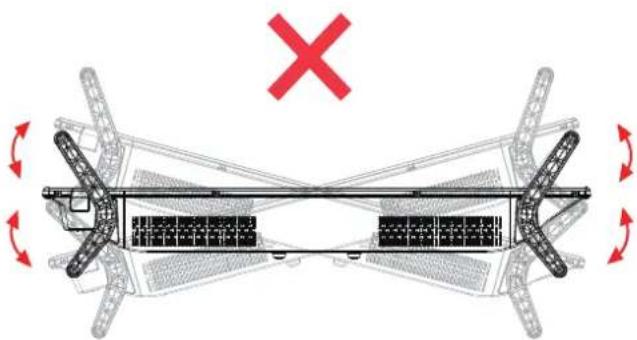
3.Warnings.
a. It can not be tilted to the front or back as shown below. Doing so may damage the stand.

b. It can not be tilted to the left or right as shown below. Doing so may damage the stand.
DENVER
www.denver-electronics.com
Electric and electronic equipment and included batteries contains materials, components and substances that can be hazardous to your health and the environment, if the waste material (discarded electric and electronic equipment and batteries) is not handled correctly.
Electric and electronic equipment and batteries is marked with the crossed out trash can symbol, seen below. This symbol signifies that electric and electronic equipment and batteries should not be disposed of with other household waste, but should be disposed of separately.
As the end user it is important that you submit your used batteries to the appropriate and designated facility. In this manner you make sure that the batteries are recycled in accordance with legislature and will not harm the environment.
All cities have established collection points, where electric and electronic equipment and batteries can either be submitted free of charge at recycling stations and other collection sites, or be collected from the households. Additional information is available at the technical department of your city.
Please enter: www.denver-electronics.com and then click the search ICON on topline of website. Write modelnumber:LDS-3272 or LDS-4074.
Now enter product page, and red directive is found under downloads/other downloads.
Operating Frequency Range: 177.5MHz ~ 858MHz
Max Output Power: 55W
DENVER ELECTRONICS A/S
Omega 5A, Soeften
DK-8382 Hinnerup
Denmark
www.facebook.com/denveretelectronics
Sicherheitshinweise
denver-electronics.com
SERVICEKARTE
Common Interface: Common Interface-sleuf.


- HD SMART TV with DVB-T2/S2/DVB-C and H.265/HEVC Support
- Keep these instructions
- Smell/odor from TV
- Front View
- The functions of the TV buttons are described below.
- Installation of TV channels
- Streaming
- Network Settings
- The parts needed for installing the stand (supplied)
- How to install the Stand?
- 3.Warnings.
- DENVER
- Sicherheitshinweise
- SERVICEKARTE
Brand : DENVER
Model : LDS3272
Category : Television