
Blucompact 01 - Aquarium Ferplast - Free user manual and instructions
Find the device manual for free Blucompact 01 Ferplast in PDF.
| Product type | Freshwater aquarium |
| Brand | Ferplast |
| Model | Blucompact 01 (Cayman 40) |
| Tank volume | 40 liters (estimated) |
| Lighting | Fluorescent lamp 8W with reflector, electronic power supply |
| Filter | Internal filter BLUCOMPACT 01 with foam cartridge |
| Heater | BLUCLIMA 50W (included in Plus version) |
| Thermometer | Included |
| Tank material | Glass |
| Frame | Plastic |
| Cover | Lifting with feeding hatch |
| Light switch | Yes |
| Ventilation | Adjustable Venturi air intake |
| Special features | Adjustable nozzle, flow regulation |
| Safety | Electronic lamp protection, automatic shutdown at end of life, 30 mA differential circuit breaker recommended |
| Filter maintenance | Clean cartridge every 2-3 weeks, replace every 2-3 months |
| Lamp maintenance | Replace once a year |
| Rotor maintenance | Clean every 4-6 months |
| Spare parts | Available from Ferplast retailer |
| Warranty | Against manufacturing defects, excluding lamp and consumables |
Frequently Asked Questions - Blucompact 01 Ferplast
User questions about Blucompact 01 Ferplast
0 question about this device. Answer the ones you know or ask your own.
Ask a new question about this device
Download the instructions for your Aquarium in PDF format for free! Find your manual Blucompact 01 - Ferplast and take your electronic device back in hand. On this page are published all the documents necessary for the use of your device. Blucompact 01 by Ferplast.
USER MANUAL Blucompact 01 Ferplast
-
PYKOBODCTBO NO PIPIMHEHIO
-
MANUAL DE USO
INSTRUKCJAOBSLUGI
•PRIRUCKAPOUZIVATELA

IT
EN
FR
D
NL
ES
SK
CS
HU
SV
DA
RU
PL
CAYMAN 40 PLUS/COLOURS/CLASSIC
IT
DISEGNO GENERALE DELL'ACQUARIO CAYMAN 40
1 Aquarium
2 Top cover
3 Front hatch
4 Upper frame
5 Lower frame
6 Cable housing
7 Light switch
8 Power cable
9 Hinges
FR
PLAN GENERAL DE L'AQUARIUM CAYMAN 40
A Dimensions
B Volume
C Glass thickness
D Weight when full
E Lamp with reflector dish
F Heater
G Filters
FR
m = 311 ;

BLUCOMPACT 01/02

IT
RICAMBI ED ACCESSORI
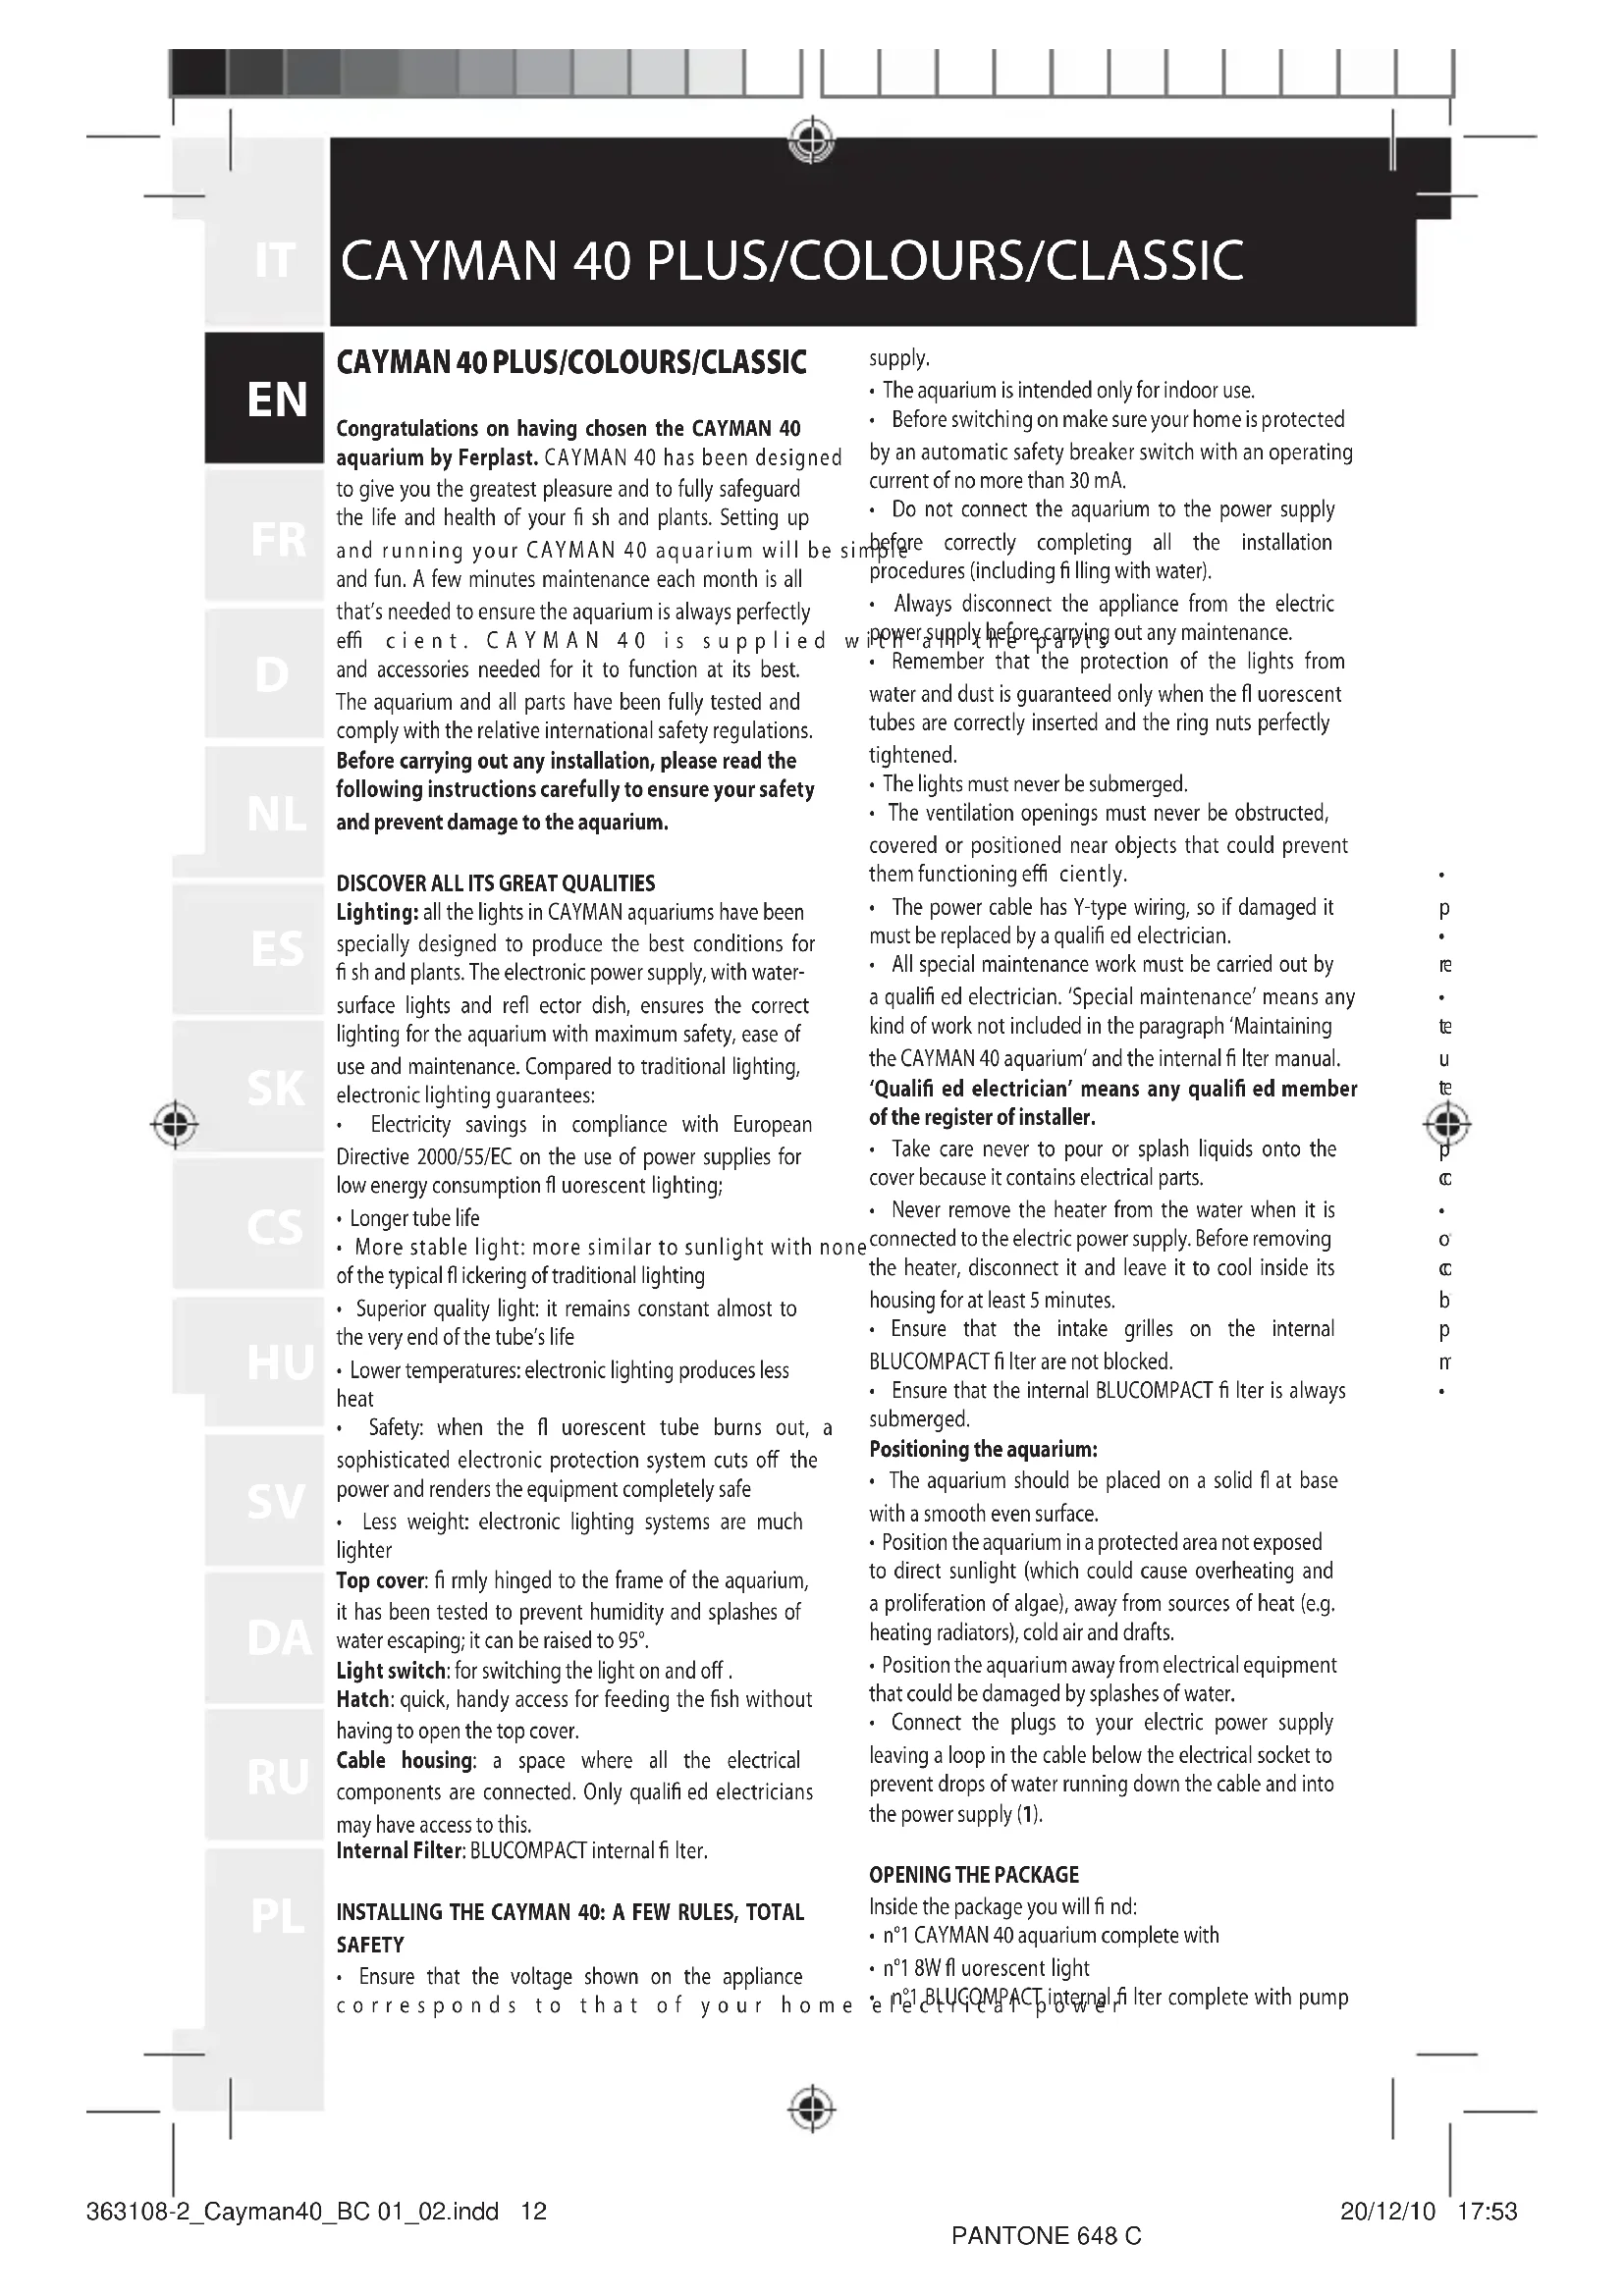
Congratulations on having chosen the CAYMAN 40 aquarium by Ferplast. CAYMAN 40 has been designed to give you the greatest pleasure and to fully safeguard the life and health of your fi sh and plants. Setting up and running your CAYMAN 40 aquarium will be s and fun. A few minutes maintenance each month is all that's needed to ensure the aquarium is always perfectly eff i cien t. CAYMAN 40 issupplied and accessories needed for it to function at its best. The aquarium and all parts have been fully tested and comply with the relative international safety regulations.
Before carrying out any installation, please read the following instructions carefully to ensure your safety and prevent damage to the aquarium.
DISCOVER ALL ITS GREAT QUALITIES
Lighting: all the lights in CAYMAN aquariums have been specially designed to produce the best conditions for fish and plants. The electronic power supply, with water-surface lights and reflector dish, ensures the correct lighting for the aquarium with maximum safety, ease of use and maintenance. Compared to traditional lighting, electronic lighting guarantees:
Electricity savings in compliance with European Directive 2000/55/EC on the use of power supplies for low energy consumption fluorescent lighting;
-
Longer tube life
-
More stable light: more similar to sunlight with none of the typical flickering of traditional lighting
-
Superior quality light: it remains constant almost to the very end of the tube's life
-
Lower temperatures: electronic lighting produces less heat
-
Safety: when the fluorescent tube burns out, a sophisticated electronic protection system cuts off the power and renders the equipment completely safe
Less weight: electronic lighting systems are much lighter
Top cover: firmly hinged to the frame of the aquarium, it has been tested to prevent humidity and splashes of water escaping; it can be raised to 95^ .
Light switch: for switching the light on and off
Hatch: quick, handy access for feeding the fish without having to open the top cover.
Cable housing: a space where all the electrical components are connected. Only qualified electricians may have access to this.
Internal Filter: BLUCOMPACT internal fi lter.
INSTALLING THE CAYMAN 40: A FEW RULES, TOTAL SAFETY
Ensure that the voltage shown on the appliance corresponds to that of your home
supply.
The aquarium is intended only for indoor use.
Before switching on make sure your home is protected by an automatic safety breaker switch with an operating current of no more than 30mA
- Do not connect the aquarium to the power supply before correctly completing all the installation procedures (including filling with water).
Always disconnect the appliance from the electric power supply before carrying out any maintenance.
- Remember that the protection of the lights from water and dust is guaranteed only when the fluorescent tubes are correctly inserted and the ring nuts perfectly tightened.
The lights must never be submerged.
-
The ventilation openings must never be obstructed, covered or positioned near objects that could prevent them functioning efficiently.
-
The power cable has Y-type wiring, so if damaged it must be replaced by a qualifi ed electrician.
-
All special maintenance work must be carried out by a qualified electrician. 'Special maintenance' means any kind of work not included in the paragraph 'Maintaining the CAYMAN 40 aquarium' and the internal fi lter manual.
'Qualified electrician' means any qualified member of the register of installer.
Take care never to pour or splash liquids onto the cover because it contains electrical parts.
- Never remove the heater from the water when it is connected to the electric power supply. Before removing the heater, disconnect it and leave it to cool inside its housing for at least 5 minutes.
- Ensure that the intake grilles on the internal BLUCOMPACT fiiter are not blocked.
- Ensure that the internal BLUCOMPACT fi iter is always submerged.
Positioning the aquarium:
- The aquarium should be placed on a solid fl at base with a smooth even surface.
- Position the aquarium in a protected area not exposed to direct sunlight (which could cause overheating and a proliferation of algae), away from sources of heat (e.g. heating radiators), cold air and drafts.
- Position the aquarium away from electrical equipment that could be damaged by splashes of water.
- Connect the plugs to your electric power supply leaving a loop in the cable below the electrical socket to prevent drops of water running down the cable and into the power supply (1).
OPENING THE PACKAGE
Inside the package you will find:
n°1 CAYMAN 40 aquarium complete with
n°18W fl uorescent light
e n aBLUGOMPACbipenerl, hiter complete with pump

BLUCOMPACT 01/02

and filtering material
n°1 50W BLUCLIMA heater (Plus version only)
- n°1 thermometer
Check that all parts are undamaged (lights, filter, glass, plastic parts, etc.). Ferplast uses strong, secure packaging and checks each aquarium individually, but we recommend you also check
t h a n o a c c i d e n t a l d a m a g transport, storage or sale which could affect its watertight seal and safe use.
SETTING UP THE CAYMAN 40
- Position the internal BLUCOMPACT fi iter at the side or back of the aquarium, as you prefer, using the special suckers (2).
- Ensure that the ring nuts on the lights are tightened (3).
- Attach the thermometer to the tank in a visible position.
- Decorate the aquarium as you please (your local retailer will be able to help and advise you).
- Set the heater (if included) to the required temperature according to the type of fi sh and plants used (e.g. for freshwater tropical fi sh the average temperature is about 25 - 26^ ).
- Only now should you connect the plug to the electric power supply and check all the equipment is working correctly. In case of problems, contact your retailer.
- If using live plants, we recommend laying about 2cm of fertilized gravel on the bottom of the aquarium covering it with 2 - 3cm of grit or gravel. Fill the aquarium by pouring water onto a dish placed on the bottom to prevent the material used to create the base from being moved about.
- We recommend lighting the aquarium for about 8 hours a day: if there are signs of excessive algae development, reduce the lighting to 7 hours; if the plants have difficulty growing, increase to 9-10 hours.
- It is advisable to check the readings and chemical levels of the water using the special testers available from your retailer, who can also advise you on the ideal water temperature, hardness etc., according to the type of fi sh and plants you have decided to keep in your CAYMAN 40 aquarium. It is advisable to repeat these tests regularly.
- We recommend not putting too many fish into the aquarium all at once, but building up to the maximum population gradually.
- Your retailer will be able to advise you on the choice of fish to keep in your CAYMAN 40 aquarium, th and type of food to use and the feeding frequency.
The main maintenance procedures we recommend, in addition to the daily provision of food and regular checking of the temperature and chemical levels, are:
1 Siphoning the bottom when required using the special Ferplast vacuum cleaner on sale at your lo retailer.
2 Adding demineralised water to replace that which is lost by evaporation. Remember that the internal filter must always be submerged.
3 Replacing 5 - 10% of the water with demineralised seawater at least monthly. rred during
4 Replacing the fluorescent tubes at least every year to retain an optimum light spectrum.
To replace a tube (4):
- remove the plug from the electric power socket
- unscrew the two watertight ring nuts on the light fitting (4a / 4b)
- remove the tube by rotating it a quarter turn until the pins are both lined up with the slit in the lamp holder (4c)
- insert the new tube in the same way, rotating it a quarter turn (you'll hear a small click).
- carefully tighten the ring nuts (3).
5 Cleaning the outside of the aquarium without detergents or chemical substances. A sponge soaked in distilled water with a few drops of vinegar is enough to remove any signs of lime scale from the glass. Be particularly careful not to damage the bead of silicone that firmly bonds the sheets of glass together.
6 Cleaning the inside of the aquarium with Ferplast magnetic brushes, these are available from your local retailer.
n maintaining the BLUCOMPACT filter according to the instructions in the enclosed manual.
BLUCOMPACT01
Congratulations on having chosen the BLUCOMPACT 01 fi Iter. BLUCOMPACT is a highly-efficient, easy-to-maintain internal filter. It not only cleans the water, but gives it natural movement and enriches it with oxygen. It can be easily and quickly adapted to suit any aquarium, providing the best conditions for plants and fi sh. Read the instructions carefully before installing the fi Iter.
INSTALLING BLUCOMPACT 01: A FEW RULES, TOTAL SAFETY
Preliminary warnings
- Ensure that the voltage shown on the appliances is 20 ~V and corresponds to that of your home electrical supply.
- Disconnect the appliance from the power supply before carrying out any maintenance work.
- The filter is intended only for indoor use.
- The power supply cable can not be repaired or replaced: if damaged, the whole appliance must be

CAYMAN 40 PLUS/COLOURS/CLASSIC
replaced.
The temperature of the water must not exceed 35^
The maximum depth of immersion is 1m
- Ensure that your home is protected by an automatic breaker switch with an operating current of no more than 30mA .
Installation and operation
Attach the filter to the desired position in the aquarium using the suckers provided. The water jet should be about 1-2 cm below the surface of the water. This will create good surface movement which ensures the best gaseous exchange. It will also create a slight circular current which ensures an optimum flow of water in the aquarium and simplifies the removal of dirt particles.
Adjusting the flow of water
It may be necessary to adjust the BLUCOMPACT flow of water according to the number of fish and size of your aquarium. To increase it: turn the control clockwise. To decrease it: turn the control anti-clockwise. (1)
Adjusting the direction of the flow
The special adjustable direction jet at the fi filter outlet can reproduce a flow of water similar to that found fi shes' natural environment. To change the direction of the water, simply rotate it with your fingers. (2)
Adjusting the flow of air
If you want to use the supplementary aeration, attach the air suction tube between the flow regulator and the adjustable circulation jet. It is possible to concentration of oxygen in the water with the adjustable Venturi air intake. (3)
BLUCOMPACT 01 CARE AND MAINTENANCE
Important! Always disconnect the appliance from the power supply before removing the fi liter from the water or carrying out any maintenance work. Over time, the filtration material in the fi liter becomes blocked, reducing the flow of water. Regular cleaning and/or replac of the fi lter cartridge is necessary to ensure that the fi lter operates at peak performance.
Cleaning the fi Iter cartridge
Remove the fi Iter from the aquarium. Open the fi Iter as shown in the picture. Remove the fi Iter cartridge. The fi Iter cartridge made of special sponge material must be rinsed at least every 2-3 weeks. (4/5)
Replacing the fi Iter cartridge
To ensure its effect effectiveness, the cartridge should be replaced regularly or, in any case, at least every 2-3 months. The replacement filtering element is available at leading retailers. If necessary, the sponge fi ler cartridge may be replaced with different types of filter ma An active carbon fi ler, available as an access eliminate aromatic and coloured compounds along with medical treatment residues.
Cleaning the rotor
Thanks to its innovative conception, the rotor does not
require frequent cleaning. Cleaning it every 4-6 months is sufficient. Use a soft brush and warm water to clean it. DO NOT use detergents or abrasives. (6)
BLUCOMPACT02
Congratulations on having chosen the BLUCOMPACT 02 filter. BLUCOMPACT is a highly-efficient, easy-to-maintain internal fi liter. It not only cleans the water, but gives it natural movement and enriches it with oxygen. It can be easily and quickly adapted to suit any aquarium, providing the best conditions for plants and fish. Read the instructions carefully before installing the fi liter.
INSTALLING BLUCOMPACT 02: A FEW RULES, TOTAL SAFETY.
Preliminary warnings
Ensure that the voltage shown on the appliance corresponds to that of your home electrical supply.
or Disconnect the appliance from the power supply before carrying out any maintenance work.
The filter is intended only for indoor use.
- The power supply cable can not be repaired or replaced: if damaged, the whole appliance must be replaced.
The temperature of the liquid must not exceed 35^
The maximum depth of immersion is 1m
- Ensure that your home is protected by an automatic breaker switch with an operating current of no more than 30mA .
Installation and operation
Attach the fi liter in the desired position in the aquarium using the suckers provided. The water jet should be about 1-2 cm below the surface of the water. This will
create good surface movement which ensures the best gaseous exchange. It will also create a slight circular current which ensures an optimum flow of water in the aquarium (and simplifi es the removal of dirt particles if a heater is installed).
Adjusting the flow of water
It may be necessary to adjust the BLUCOMPACT flow of water according to the number of fish and size of your aquarium. To increase it: turn the control clockwise. To decrease it: turn the control anti-clockwise (a).
Adjusting the direction of the flow
The special adjustable direction jet at the filter outlet can reproduce a flow of water similar to that found in your shes' natural environment. To change the direction of water, simply rotate it with your fingers (b).
Adjusting the flow of air
If you want to use the supplementary aeration, attach the air suction tube between the flow regulator and the adjustable circulation jet. It is possible to increase the

BLUCOMPACT 01/02

concentration of oxygen in the water with the adjustable Venturi air intake (c).
BLUCOMPACT 02 CARE AND MAINTENANCE
Important! Always disconnect the appliance from the power supply before removing the fi Iter from the water or carrying out any maintenance work. Over time, the fi Itration material in the fi Iter becomes blocked, reducing
the flow of water. Regular cleaning and/or repla of the sponges is necessary to ensure that the filter operates at peak performance.
Cleaning the fi iter cartridge
A special feature of the BLUCOMPACT 02 fi Iter is that the part containing the pump does not have to be taken out of the water for cleaning. Open the fi Iter by pressing the two buttons at the same time as shown in the illustration
(d). Separate the pre-filter by moving it forward until it reaches the position shown. Lift the entire fi iter unit upwards, then remove the cartridges.
Note: The operation described above must be done carefully, so that the dirt accumulated in the container does not go into the aquarium.
The fi liter cartridges in special sponge material must be rinsed at least every 2-3 weeks. After cleaning the fi liter cartridges, close the fi liter unit by following the opening instructions in reverse order.
Replacing the fi Iter cartridge
To ensure its effectiveness, the cartridge should be replaced regularly or, in any case, at least every 2-3 months. The replacement filtering elements are available at leading retailers.
Replacing the biological fi Itering material
The BLUCOMPACT 02 fi lter has a compartment for the special biological fi ltering material.
For its biological activation we recommend that you:
- Place 1 BLUSTART capsule (fi iter activator) in the compartment.
- Wait until the filter has matured: the first fish should only be introduced 10-12 days after the addition of BLUSTART.
Before doing so, it is in any case advisable to check the readings of the main water parameters using the special testers available from your retailer, who can also advise you on the ideal temperature, hardness etc. It is advisable to repeat these tests regularly.
- During the filter maturing period, add a small quantity
of dry food each day: this will help the formation of bacterial flora.
- When adding the fi sh, insert the remaining capsule of BLUSTART activator.
Note: we recommend not rinsing the biological material so as to retain the bacterial associations that make it active. As an alternative to the biological material, you
can insert special granules of active carbon to remove aromatic and coloured compounds or medicine residues.
Replacement of the biological material and/or active carbon must be carried out as shown in the illustration (d).
Cleaning the rotor
The rotor does not need frequent cleaning. Indeed, thanks to its innovative concept, it only needs to be cleaned every 4-6 months. Use a soft brush and warm water for cleaning.
DO NOT use detergents or abrasives.
SPARE PARTS AND ACCESSORIES
Every part of the CAYMAN 40 aquarium and internal BLUCOMPACT fi iter can be easily replaced. The parts are available from the retailer where you bought the aquarium. A full range of updated Ferplast accessories are always available for adapting your aquarium to your individual needs. To replace any part and always ensure the full working order and safety of your product, use only Ferplast original parts. Installing non-Ferplast parts nullifies the guarantee.
GUARANTEE
Ferplast guarantees the CAYMAN 40 aquarium and all its parts and accessories within the limits provided for in this paragraph and the legal regulations currently in force. The guarantee only covers manufacturing defects and provides for free repair or replacement. The guarantee does not cover damage and/or defects caused by carelessness, wear and tear, usage not in accordance with the instructions and warnings in this booklet, accidents, tampering, improper use, incorrect repairs and purchase not confirmed by receipt. The fl fluorescent tubes, starter (where included), sponges and fiitering materials are not covered by guarantee.
IMPORTANT
Within the European Union the barred rubbish container symbol indicates that the product, at the end of its lifecycle, needs to be sent to separate collection point for electrical and electronic waste and cannot be disposed of together with domestic solid waste. To ensure correct product disposal, please dispose of this product in compliance with the law provisions of the country where the product is found.

CAYMAN 40 PLUS/COLOURS/CLASSIC
CAYMAN 40 PLUS/COLOURS/CLASSIC
Innenfilter: Innenfilter BLUCOMPACT.
DIE INSTALLATION VON CAYMAN 40: WENIGE REGELN, GROSSE SICHERHEIT.
Binnenfilter: BLUCOMPACT binnenfilter.
HET INSTALLEREN VAN DE CAYMAN 40: EEN PAAR REGELS, TOTALE VEILIGHEID.
RESERVDELAR OCH TILLBEHOR
Juxtaposing of retning of flow

- CAYMAN 40 PLUS/COLOURS/CLASSIC
- IT
- DISEGNO GENERALE DELL'ACQUARIO CAYMAN 40
- FR
- PLAN GENERAL DE L'AQUARIUM CAYMAN 40
- BLUCOMPACT 01/02
- RICAMBI ED ACCESSORI
- DISCOVER ALL ITS GREAT QUALITIES
- INSTALLING THE CAYMAN 40: A FEW RULES, TOTAL SAFETY
- 'Qualified electrician' means any qualified member of the register of installer.
- Positioning the aquarium:
- OPENING THE PACKAGE
- SETTING UP THE CAYMAN 40
- BLUCOMPACT01
- INSTALLING BLUCOMPACT 01: A FEW RULES, TOTAL SAFETY
- Preliminary warnings
- Installation and operation
- Adjusting the flow of water
- Adjusting the direction of the flow
- Adjusting the flow of air
- BLUCOMPACT 01 CARE AND MAINTENANCE
- Cleaning the fi Iter cartridge
- Replacing the fi Iter cartridge
- Cleaning the rotor
- BLUCOMPACT02
- INSTALLING BLUCOMPACT 02: A FEW RULES, TOTAL SAFETY.
- BLUCOMPACT 02 CARE AND MAINTENANCE
- Replacing the biological fi Itering material
- SPARE PARTS AND ACCESSORIES
- GUARANTEE
- IMPORTANT
- DIE INSTALLATION VON CAYMAN 40: WENIGE REGELN, GROSSE SICHERHEIT.
- RESERVDELAR OCH TILLBEHOR
- Juxtaposing of retning of flow
Brand : Ferplast
Model : Blucompact 01
Category : Aquarium