
48″ MLS 3in1 Soccer Table - Table Triumph Sports - Free user manual and instructions
Find the device manual for free 48″ MLS 3in1 Soccer Table Triumph Sports in PDF.

Frequently Asked Questions - 48″ MLS 3in1 Soccer Table Triumph Sports
User questions about 48″ MLS 3in1 Soccer Table Triumph Sports
0 question about this device. Answer the ones you know or ask your own.
Ask a new question about this device
Download the instructions for your Table in PDF format for free! Find your manual 48″ MLS 3in1 Soccer Table - Triumph Sports and take your electronic device back in hand. On this page are published all the documents necessary for the use of your device. 48″ MLS 3in1 Soccer Table by Triumph Sports.
USER MANUAL 48″ MLS 3in1 Soccer Table Triumph Sports
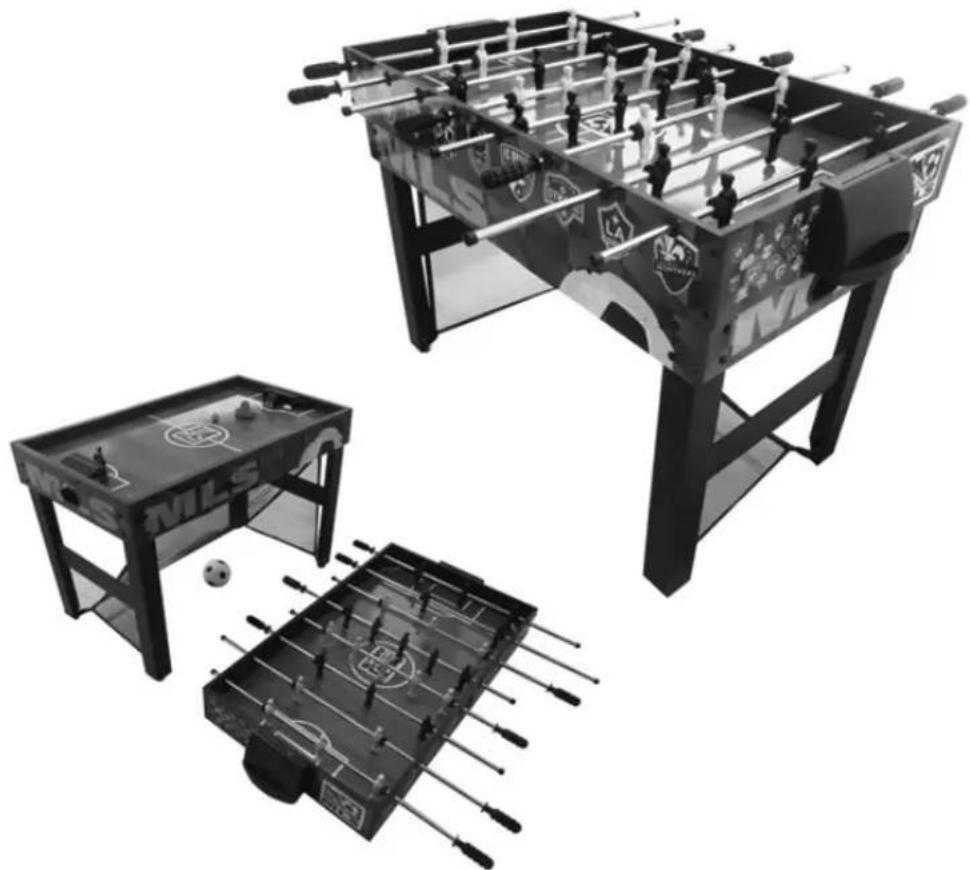
48" 3-in-1 Soccer Table
Table Soccer, Kick Soccer, Push Soccer
natural_image
Black-and-white photo of a football betting table with visible player positions and ball (no text or symbols)Please keep this instruction manual for future reference
If you have any problems with your new product, please contact Triumph Sports USA at 1-866-815-4173, or e-mail us at csr@triumphsportsusa.com for any technical support or warranty issues.
Limited 90-Day Triumph Sports USA, Inc. Warranty
All Triumph Sports USA, Inc. (TSU) games have a limited 90-day from date of purchase warranty. This warrants the retail purchaser for any TSU game purchased to be free from any defect in materials and construction for 90 days from the date of purchase. The only exceptions to the warranty include main frames, tabletops, playing surfaces, batteries or tools. Damaged main frames, tabletops, playing surfaces need to be returned to the store as we are unable to replace these parts. Normal play wear and usage is not covered under the warranty, nor is wear or damage due to improper use of the TSU game. This will void any and all TSU warranties.
A PURCHASE RECEIPT (or other proof of purchase date) will be required before any warranty service is initiated. All requests for warranty service can be submitted by email, in writing or by contacting our Customer Service Department at: 1-866-815-4173 or email us at csr@triumphsportsusa.com.
IMPORTANT NOTICE! Please contact us before returning the product to the store.
Warnings

WARNING: Choking Hazard—Product contains small balls and/or small parts. Not for children under 3 years of age.
Be sure to check out all the exciting games TRIUMPH has to offer. Visit our web site at:
www.triumphsportsusa.com
natural_image
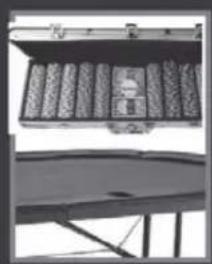
Three black-and-white cylindrical objects with decorative patterns, no visible text or symbolsBILLIARDS

natural_image
Close-up of a hand holding two dried, flower-like objects (no text or symbols visible)DARTS
natural_image
3D rendering of two gray industrial enclosures with visible internal components (no text or symbols)GAME TABLES
natural_image
Exterior view of a modern office building (no signage)CASINO
natural_image
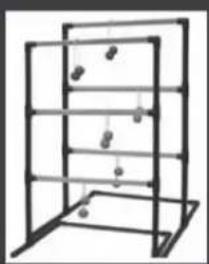
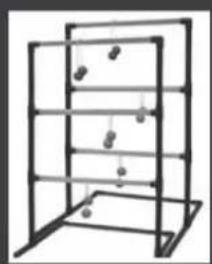
Pure 3D wireframe diagram of a multi-level structure with no text, numbers, or symbolsOUTDOOR GAMES
natural_image
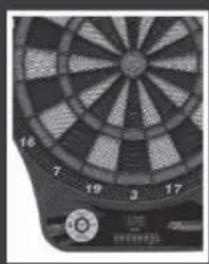
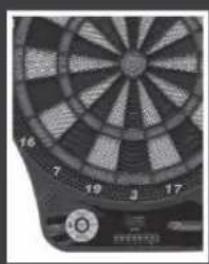
Close-up of a dartboard with number 16 and center (no text or symbols visible)DARTBOARDS
Triumph Sports USA
11327 W Lincoln Ave.
West Allis, WI 53227
www.triumphsportsusa.com
©2014 Triumph Sports USA. All Rights Reserved.
Parts List
1 Side Apron2pcs Side Apron2pcs | 2 End Apron2pcs End Apron2pcs | 3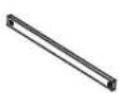 Support Brace2pcs Support Brace2pcs | 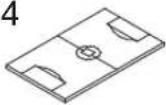 Playfield1pc Playfield1pc |
5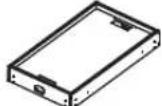 Soccer Table Cabinet1pc Soccer Table Cabinet1pc | 6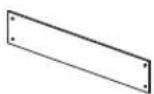 End Leg Panel2pcs End Leg Panel2pcs | 7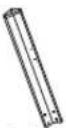 Left Leg2pcs Left Leg2pcs | 8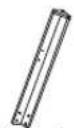 Right Leg2pcs Right Leg2pcs |
9 Leg Leveler4pcs Leg Leveler4pcs | 10 2-Hole Rod2pcs 2-Hole Rod2pcs | 11 3-Hole Rod4pcs 3-Hole Rod4pcs | 12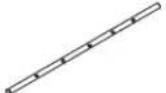 5-Hole Rod2pcs 5-Hole Rod2pcs |
13 14 Black Player13pcs Black Player13pcs | [IHTYA]Ivory Player13pcs | 15 Goal Box2pcs Goal Box2pcs | 16 Rod Washer16pcs Rod Washer16pcs |
17 18 Foam Bumper16pcs Foam Bumper16pcs | 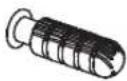 Handle8pcs Handle8pcs | 19 Rod End Cap8pcs Rod End Cap8pcs | 20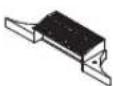 Goal2pcs Goal2pcs |
21 22 Pusher2pcs Pusher2pcs |  Felt Pad2pcs Felt Pad2pcs | 23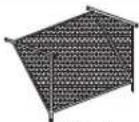 Net1pc Net1pc | 24 Small Table Soccer Ball 2pcs Small Table Soccer Ball 2pcs |
25 Large Kick Soccer Ball1pc Large Kick Soccer Ball1pc | 26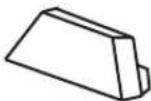 Goal Box2pc Goal Box2pc | 27[A228]Air Pump1pc | A1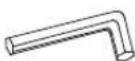 Allen Key1pc Allen Key1pc |
A2 1/4" X 1-1/8" Bolt16pcs 1/4" X 1-1/8" Bolt16pcs | A3 A4 1/4" Washer16pcs 1/4" Washer16pcs | 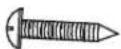 4 x 35 mm RoundHead Screw 12pcs 4 x 35 mm RoundHead Screw 12pcs | A5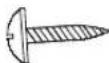 4 x 12 mm RoundHead Screw 18pcs 4 x 12 mm RoundHead Screw 18pcs |
A6 3 x18 mm Screw26pcs 3 x18 mm Screw26pcs | A7 M4x1/2" Bolt4pcs M4x1/2" Bolt4pcs | A8 M4 Nut4pcs M4 Nut4pcs | A9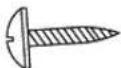 4 x 20 mm Round HeadScrew 4pc 4 x 20 mm Round HeadScrew 4pc |
P1 P2 Plastic Rod Bushing 16pc(Pre-installed) (Pre-installed) Plastic Rod Bushing 16pc(Pre-installed) (Pre-installed) |  Plastic Ball Entry Rim 2pc Plastic Ball Entry Rim 2pc |
Assembly Tips
Attention: If you are using an electric screwdriver in the assembly, please set at low torque and do not over tighten the hardware. When assembling individual parts, loosely tighten screws until all screws are inserted, then tighten completely.
Assembly Instructions
NOTE: We recommend that two adults work together to assemble this game.
Step 1
Find a clean, level place to begin the assembly of your Soccer Table. The table will be assembled upside down and then turned over on its legs once the assembly is completed.
Step 2
Remove all the parts from the box and verify that you have all of the parts as shown on the parts list above. Carefully cut or tear the four corners of the box so that the bottom of the box can be used as your work surface.
Step 3
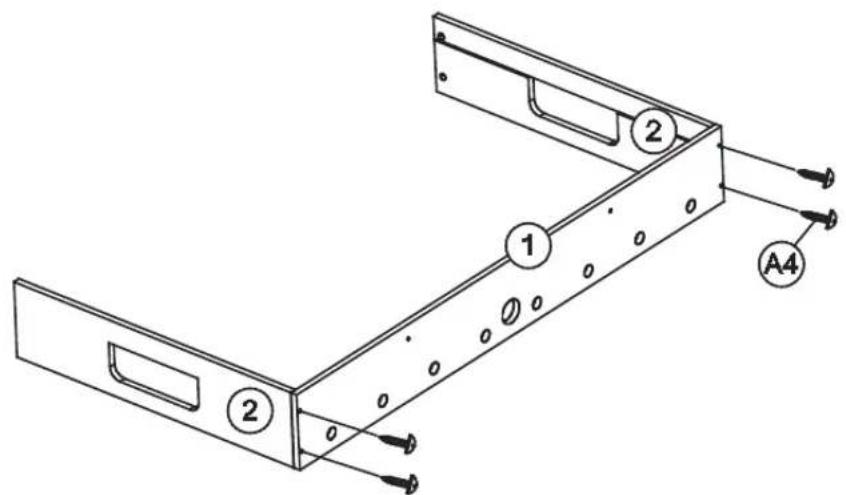
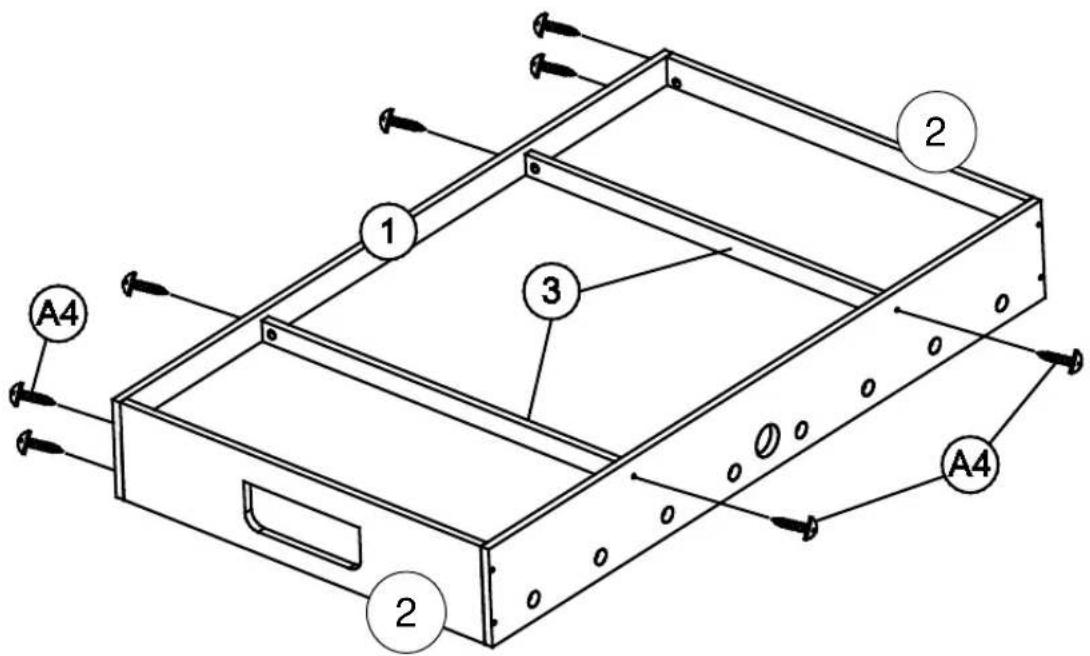
Attach the Side Apron (#1) to the End Aprons (#2) using two Screws (#A4) per End Apron.
Step 4
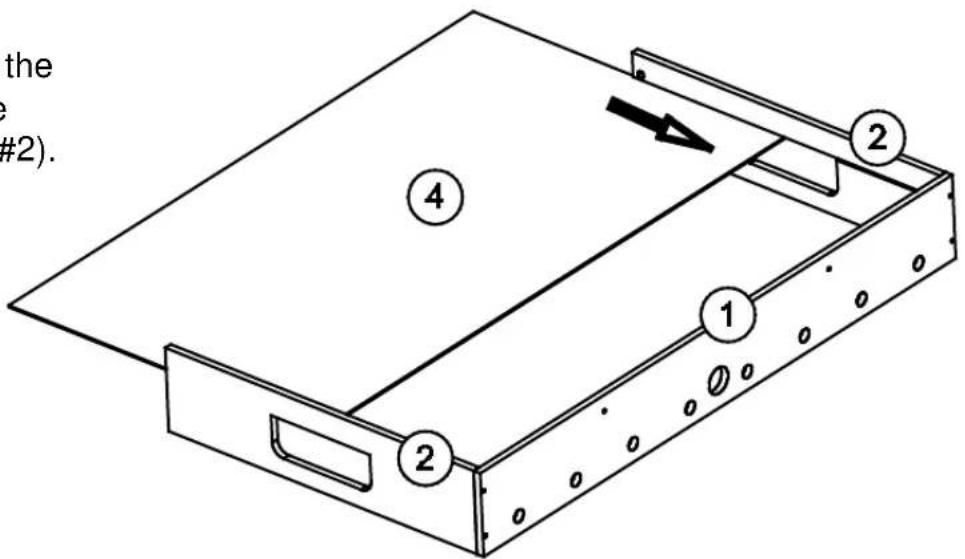
Slide the Playfield (#4), with the graphic facing down, into the grooves of the End Aprons (#2).
Step 5
Now attach the other Side Apron (#1) to the End Aprons (#2) using two Screws (#A4) per End Apron. Place the Support Braces (#3) on the Playfield (#4) and attach them to the Side Aprons (#1) using two Screws (#A4) per Brace.
Turn the Cabinet over.
Step 6
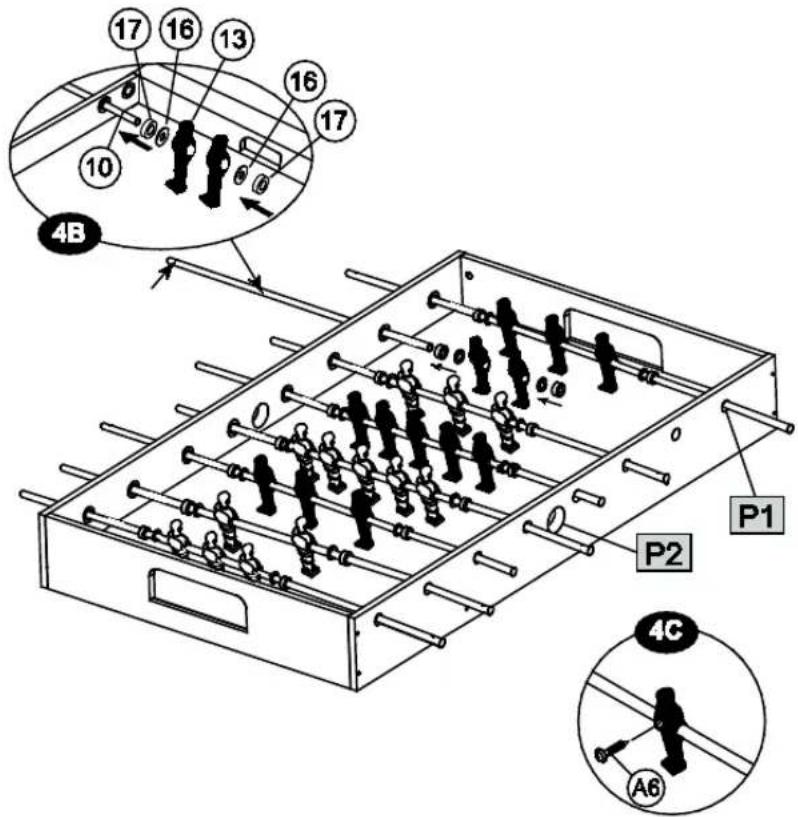
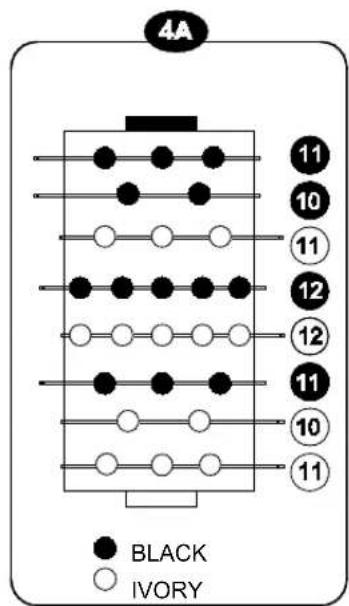
Slide the empty Rods (#10, 11, 12) through the Rod Bushings (#P1), which are the plastic sleeves in the Side Apron (#1). Be sure to insert the empty Rods (#10, 11, 12) on only one side of the Side Apron (#1) in the order shown in 4A, as this will determine how many players will attach to each rod.
Note: The player Rods have a hole at their end where the Handles (#18) will go.
Insert the players onto the empty Rods (#10, 11, 12) by pulling the empty rod back toward the Rod Bushing (#P1) and inserting a Rod Bumper (#17), Rod Washer (#16) and the appropriate number of Players (#13 or #14) followed by Rod Washer (#16) and Rod Bumper (#17) as shown in 4B.
Now insert the end of the rod through the Rod Bushing (#P1) on the other side of the Side Apron (#1).
Secure the Players (# 13 and #14) which you have attached to the Rods (#10, 11, 12) using one screw (#A6) as shown in image 4C.
Note: The goalie should be at the left side of each player.
Slide empty rod into rod bushing and attach parts
Note: Players of the same team color should have Handles on the same side, and each team's players should be facing their opponent.
ORDER OF PLAYERS
(Overhead View)
Step 7
Attach the Goal Boxes (#15) to the End Aprons (#2) using four Screws (#A5) per Goal Box.
Place the Handles (#18) onto the Player Rods with a hole at their end. Then place the End Caps (#19) onto the other side of the Player Rods.
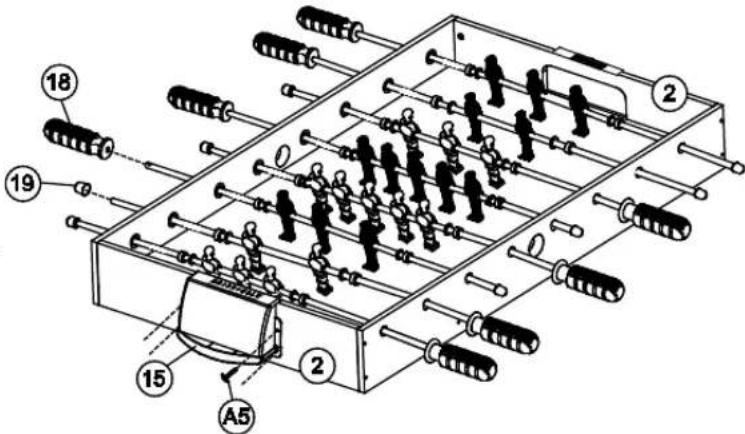
Step 8
Attach the Goals (#20) to the end of playfield using two Bolts (#A7) and Nut (#A8)per Goal.
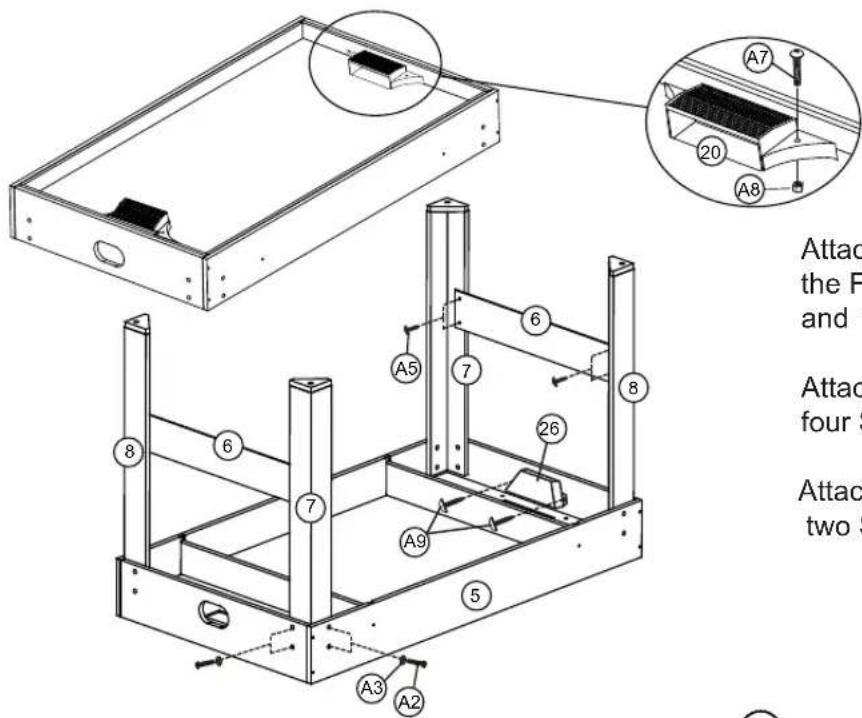
Attach the Left and Right Legs (#7 and #8) to the Foosball Main (#5) using four Bolts (#A2) and four Washers (#A3) per leg.
Attach the End Leg Braces (#6) to the Legs using four Screws (#A5) per End Leg Brace.
Attach the Goal Box(#26) to the end Apron, Using two Screw(#A9) per Goal Box.
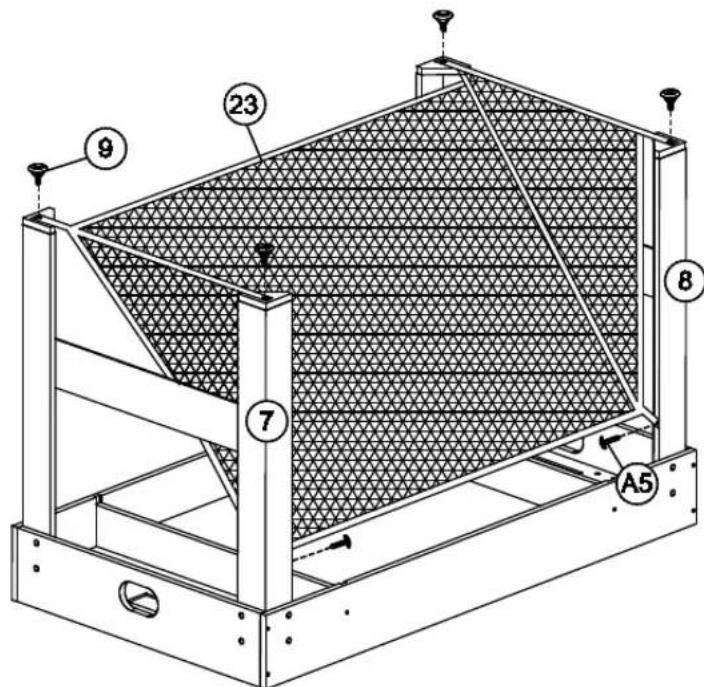
Step 9
Attach the Net (#23) to the Legs (#7 and #8) using one Screw (#A5) per Leg, and attach the Net to the bottom of the Legs using the Leg Levelers (#9).
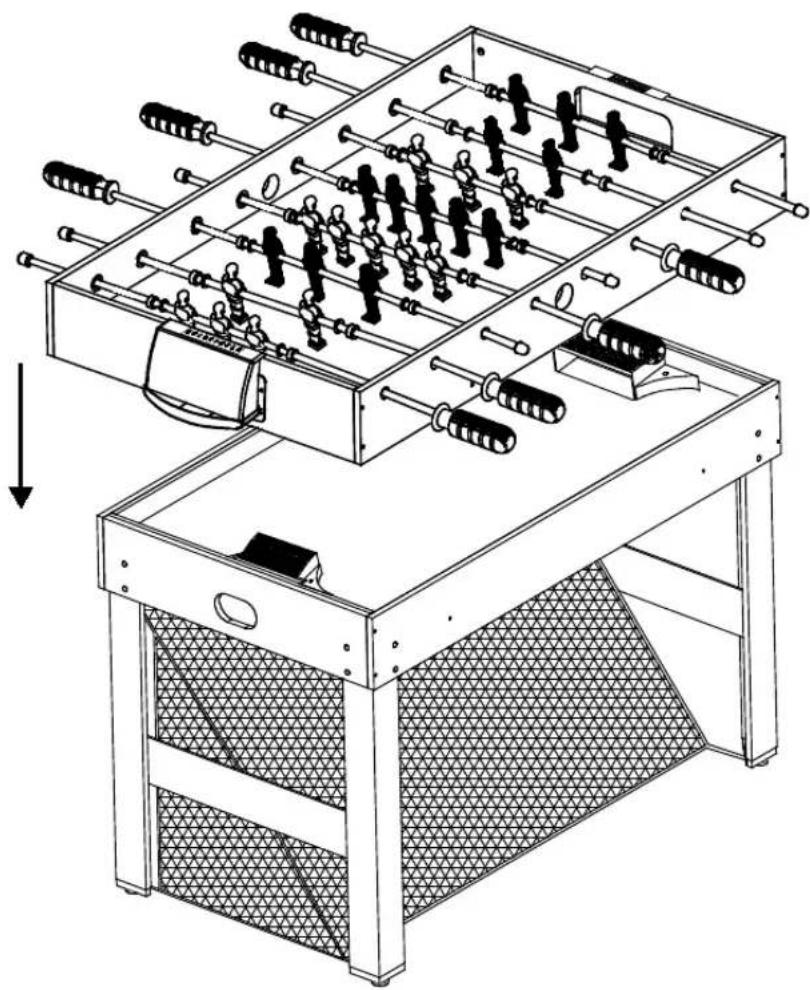
Step 10
Lift the assembled table from the floor with at least two strong adults, turn it over, and set the table on its legs in the location where you want to play.
natural_image
Technical line drawing of a multi-level mechanical device with rollers and a base unit (no text or symbols)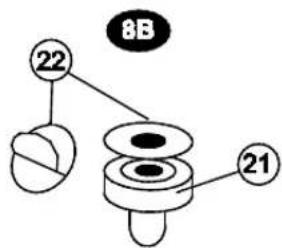
Tear the paper backing off the Felt Pads (#22) and stick them to the bottom of the Pushers (#21).
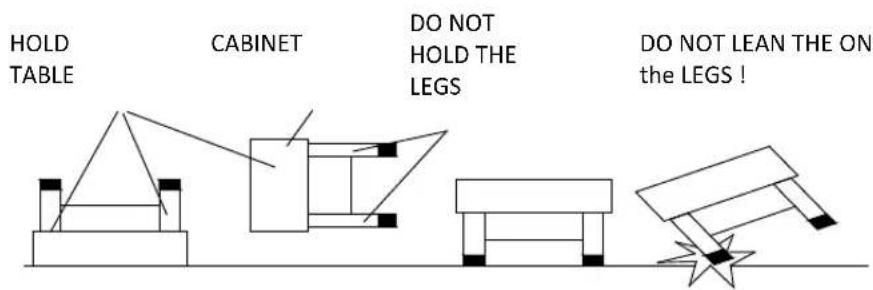
CAUTION: Two adults are recommended to flip the table as shown.
- Lift the table off the ground.
- Turn the table over, using caution to clear the legs as you turn.
- Place the table on all four legs at the same time.

TRIUMPH
SPORTS USA™
Table de soccer 3-en-1 48"
natural_image
Black-and-white photo of a soccer ball throughout a table with visible player positions and a small table with a ball (no text or symbols)www.triumphsportsusa.com

natural_image
Three black cylindrical objects with decorative patterns, no visible text or symbolsBILLARDS
natural_image
Close-up of a mechanical device with two protruding rods and a textured surface (no visible text or symbols)FLÉCHETTES
natural_image
Two views of a mechanical housing or enclosure with no visible text or symbolsTABLES DE JEUX
natural_image
Exterior view of a mechanical device with grid-like compartments and a handle (no visible text or symbols)CASINO
natural_image
Pure 3D wireframe diagram of a rectangular structure with internal vertical elements and small circular nodes (no text or symbols)JEUX D'EXTÉRIEUR
natural_image
Close-up of a dartboard with number 16 and center (no text or symbols visible)CIBLES DE FLÉCHETTES
Triumph Sports USA
11327 W Lincoln Ave.
West Allis, WI 53227
www.triumphsportsusa.com
Étape 4
Étape 5
Étape8
Étape9
natural_image
Technical line drawing of a multi-level mechanical device with rollers and a base unit (no text or symbols)