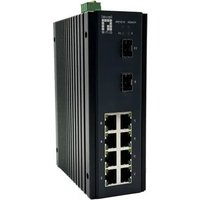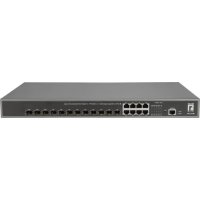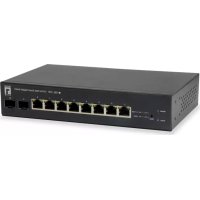
WAC2000 - Switch LEVELONE - Free user manual and instructions
Find the device manual for free WAC2000 LEVELONE in PDF.


| Brand | LevelOne |
| Model | WAC2000 |
| Product type | Managed network switch |
| Category | Switch |
| Dimensions (W x D x H) | 200 x 120 x 30 mm |
| Weight | 0.5 kg |
| Power supply | Power adapter 5 V / 1 A |
| Number of ports | 5 Ethernet ports 10/100/1000 Mbps |
| Main functions | Packet switching, VLAN, QoS, management via web interface (default IP 192.168.1.1) |
| Management | Web interface (HTTP), authentication by username and password |
| Maintenance and cleaning | Clean with a dry, soft cloth. Do not use chemicals. |
| Safety | Do not expose to moisture or heat sources. Unplug if not used for a long time. |
| Spare parts and repairability | Power adapter, Ethernet cable. Repair by a professional. |
| Certifications | CE, FCC |
| Operating temperature | 0 °C to 40 °C |
Frequently Asked Questions - WAC2000 LEVELONE
User questions about WAC2000 LEVELONE
0 question about this device. Answer the ones you know or ask your own.
Ask a new question about this device
Download the instructions for your Switch in PDF format for free! Find your manual WAC2000 - LEVELONE and take your electronic device back in hand. On this page are published all the documents necessary for the use of your device. WAC2000 by LEVELONE.
USER MANUAL WAC2000 LEVELONE
Wireless LAN Controller
Quick Installation Guide
English
Pycckn
Deutsch
Italiano
François
Polski
Espanol
EAAynvikα
Portugués
Table of Contents
English 3
Deutsch 4
Francais 4
Espanol 5
Portugues. 6
Pycckn. 7
Italiano 7
Angielski 8
Ayylka 9
Default Settings
| IP Address | 192.168.1.1 |
| Username | admin |
| Password | admin |
Thank you for purchasing the LevelOne Wireless LAN Controller. This Quick Start Guide shows you its typical deployment, how to access the Web User Interface and how to manage the WAC Series AP though the controller.
Packing List
- Wireless LAN Controller
- Power Plug
- CAT 5 Ethernet Cable
- Quick Start Guide
If any of the above items are missing, please contact your retailer or distributor.

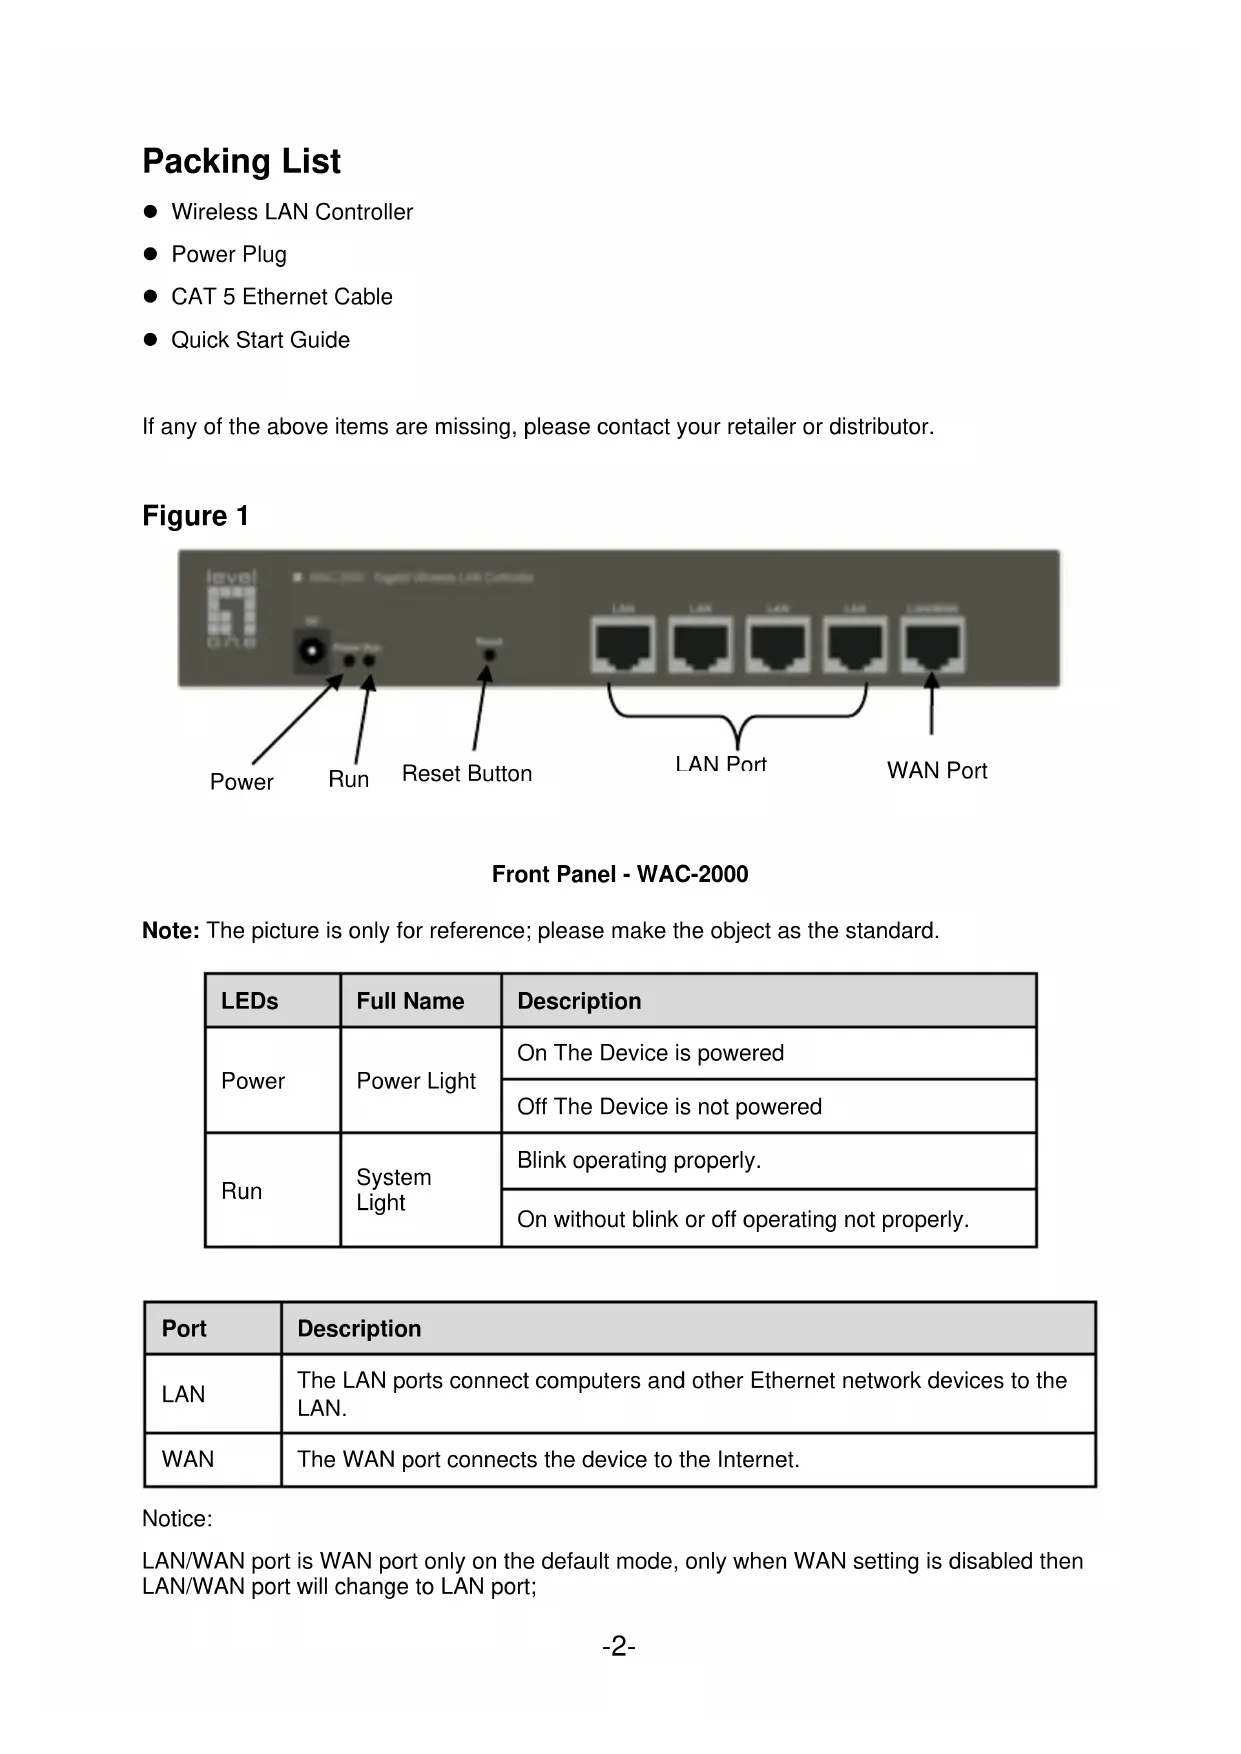
Figure 1
Front Panel - WAC-2000
Note: The picture is only for reference; please make the object as the standard.
| LEDs | Full Name | Description |
| Power | Power Light | On The Device is powered |
| Off The Device is not powered | ||
| Run | System Light | Blink operating properly. |
| On without blink or off operating not properly. |
| Port | Description |
| LAN | The LAN ports connect computers and other Ethernet network devices to the LAN. |
| WAN | The WAN port connects the device to the Internet. |
Notice:
LAN/WAN port is WAN port only on the default mode, only when WAN setting is disabled then LAN/WAN port will change to LAN port;
Reset Button
If you need to restore the AC Controller into factory default, please do following procedure: Power on AC Controller, use a pin to press and hold the reset button until all LED becomes quick-flash from slow-flash. Then release the button and wait AC Controller to reboot to its factory default settings. After that, the default IP address of AC Controller is still 192.168.1.1, default user name and password are both admin;.
Note:
The reset operation will clear all custom settings on the device, please do it with caution.
Hardware Installation
Please follow the steps mentioned below to install the hardware:
1. Connect the Device to the local network.
Connect one end of an Ethernet cable to one of the LAN ports on the Device, and the other end to a network port on a PC, hub, switch or wireless access point. Repeat this step to connect more PCs or other network devices to the Device.
2. Power on the Device.
Before you power on the Device, make sure that the power supply is normal and well grounded.
Now, the hardware installation is completed.
Configuring the Device
Note: Please assign your computer a static IP address within the same range as the controller's IP address (192.168.1.1 by default) and make sure your computer is connected with the controller.
1. Logging to the Device
(a). Launch a Web browser, enter the Device's LAN IP address (192.168.1.1 by default) in the address field, and then press the Enter key. (Figure 2)
(b). Enter the default username of admin in the User Name field and default password of admin in the Password field, click "OK" to access the controller's Web GUI. (Figure 3)
(c). If the login is successful, the home page appears. (Figure 4)