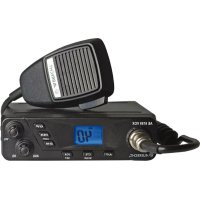
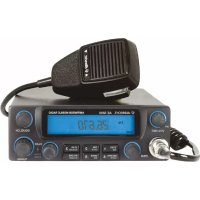
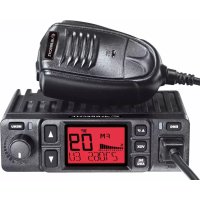
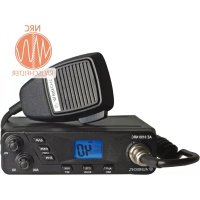
DR 460 C - Radio ALBRECHT - Free user manual and instructions
Find the device manual for free DR 460 C ALBRECHT in PDF.
Frequently Asked Questions - DR 460 C ALBRECHT
Download the instructions for your Radio in PDF format for free! Find your manual DR 460 C - ALBRECHT and take your electronic device back in hand. On this page are published all the documents necessary for the use of your device. DR 460 C by ALBRECHT.
USER MANUAL DR 460 C ALBRECHT
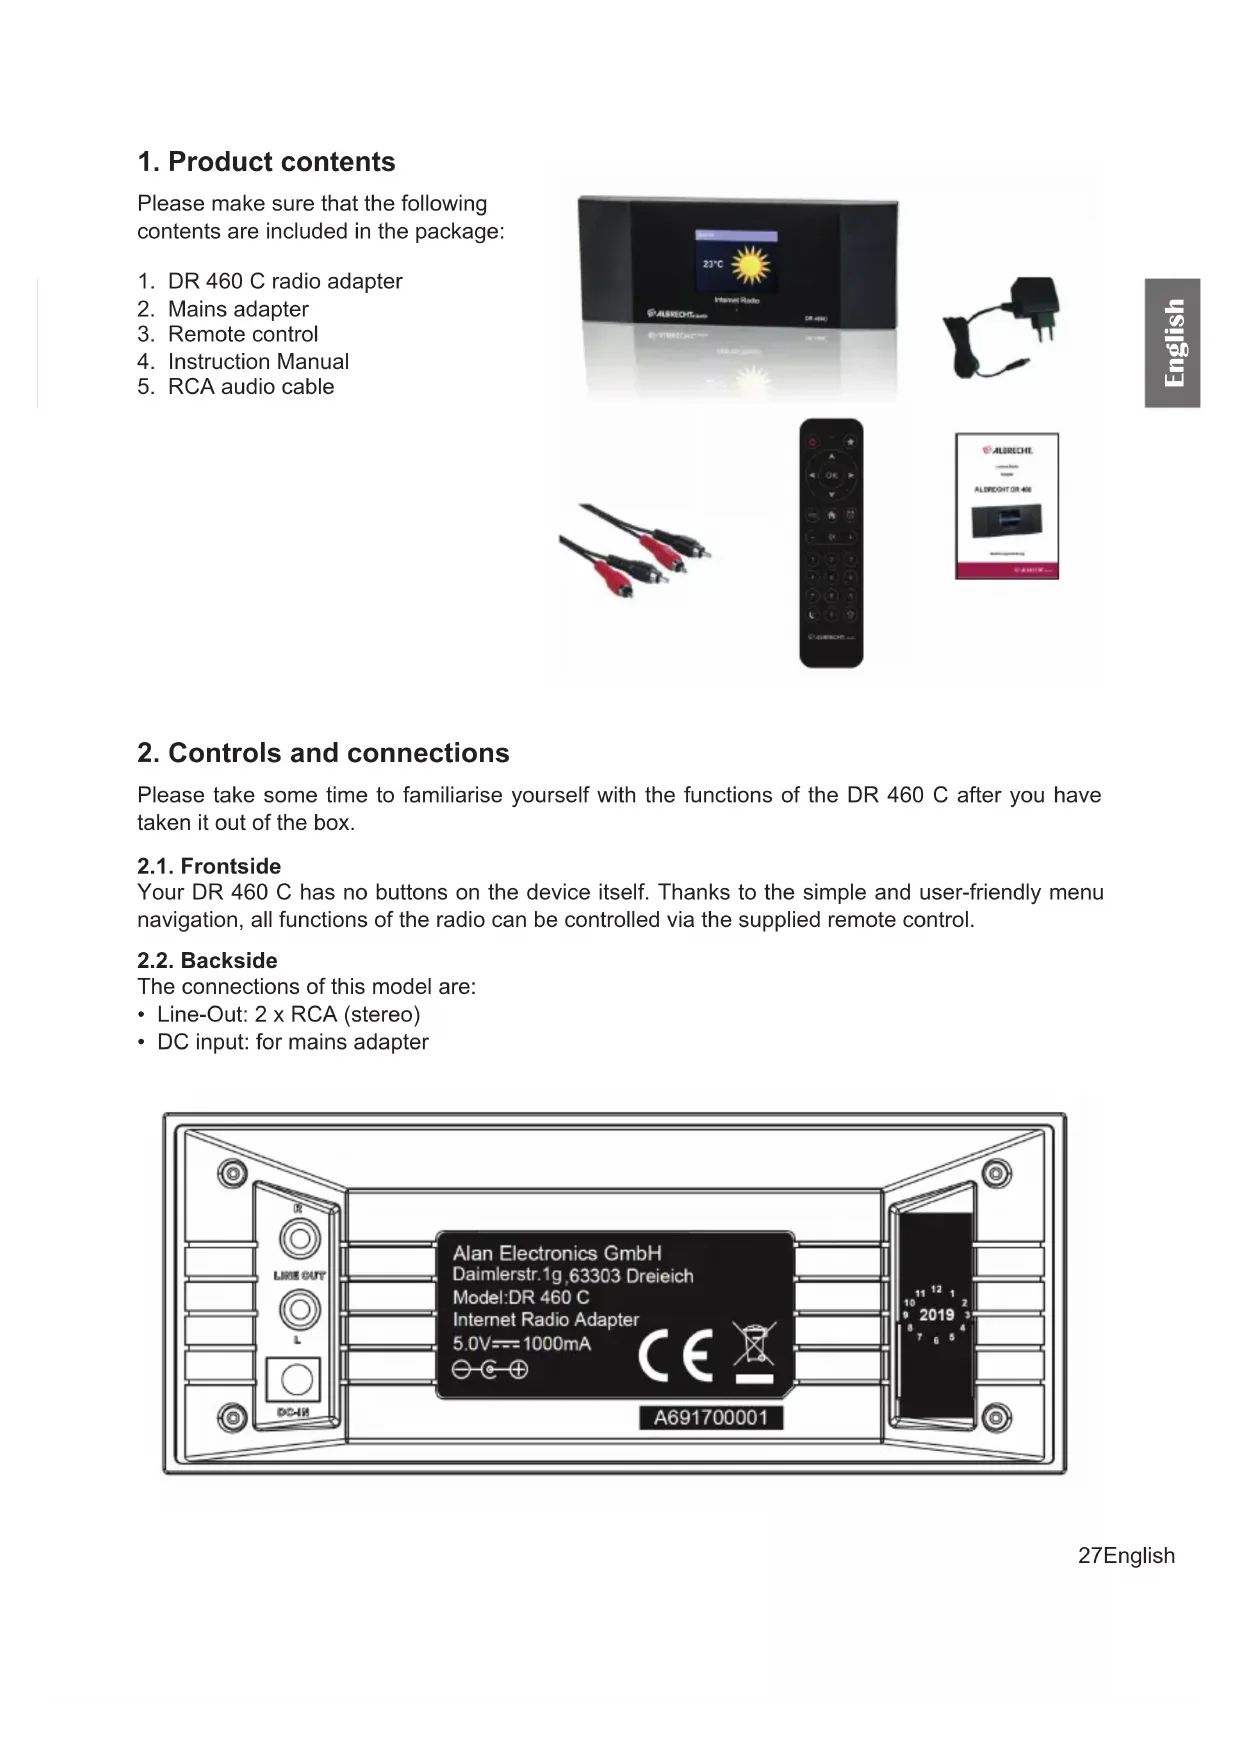
Please make sure that the following contents are included in the package:
2. Controls and connections
Please take some time to familiarise yourself with the functions of the DR 460 C after you have taken it out of the box. 2.1. Frontside Your DR 460 C has no buttons on the device itself. Thanks to the simple and user-friendly menu navigation, all functions of the radio can be controlled via the supplied remote control. 2.2. Backside The connections of this model are:
- Line-Out: 2 x RCA (stereo)
- DC input: for mains adapter28 English English 2.3. Remote control On/Off Switch device on and off (standby) Favourites Show favourites list Long press: Save favourites
Navigation up Scroll up through menu Enter text
Navigation left Return to the previous menu
Navigation right Con rm selection of option and view submenu
Navigation down Scroll down through menu Enter text MODE MODE Switch between the modes. Function changeable in the “Button” menu HOME View the main menu Alarm View the alarm menu
Volume + Increase the volume 0-9 Station memory 0-9 Recall saved stations Sleep timer Select automatic switch-off time Long press: Sleep radio menu Dimmer Dim the backlight To open the battery compartment of the remote control, push the battery compartment open with your thumb. Insert AAA batteries, the polarity is indicated in the battery compartment. Please dispose of used batteries in an environmentally friendly way.
3.1. Network requirements Before using the DR 460 C, the following requirements must be met: ● Broadband connection with a wireless access point, router or similar network device. ● The network device must support WLAN (802.11b/g/n) wireless connection. ● If you want to remotely control the DR 460 C via DLNA, you will need a PC or smartphone connected to the same network as the DR 460 C. 3.2. Preparing the network
- Establish a WLAN connection as follows:
- Make sure that the WLAN indicator on the wireless access point or router is lit. Please refer to the corresponding user manual for further information.29English English Please note: WLAN allows data transmission over short distances up to 20 m without cables. Walls or ceilings reduce the range of the WLAN connection. Therefore, place the DR 460 C and/or the access point within this distance as much as possible and avoid obstacles between the devices. 3.3. Navigation through menus With the Navigation through menus button, you can access the main menu of the DR 460 C at any time. Use the arrow buttons ◄ ► ▲ ▼ to move through the individual menus. Always con rm a selection with the OK button. Use the ► button to go to the next menu and use the ◄ button to return to the previous menu. The possible buttons are shown at the bottom right and left of the display.
When you add the address of an online radio station or your wirless network key, you need to enter text. It is the same procedure to set the time, date or the alarm. To enter upper/lower case letters, symbols, or numbers:
1. Press the up/down navigation button to select a character from the following:
NOTE: When entering numbers the numeric keys on the remote control can also be used. 3.4. Connecting to an audio system Connect the DR 460 C to your existing audio system (e.g. stereo, external speaker, etc.) with the supplied RCA audio cable. 3.5. Getting started Connect the mains adapter to the back of the DR 460 C and connect the mains plug to an electrical outlet. When using the device for the rst time, please select a language and a wireless network.30 English English See Section 9.3 Network for detailed network con gurations. You can set the network connection at the rst start or later.
- Press (On/Off) to enter standby mode. The time, date and active alarms are shown on the display.
- If you have set up the network connection and use the DR 460 C again within the network, the connection will be established automatically. If you would like to change the network, call up Settings to change the corresponding connection.
- Enter the network password using the keypad on the remote control or via ▲ and ▼. If the desired character is displayed, press ► to navigate to the next entry. At the end of the input, press OK to con rm. Alternatively, press ◄ to navigate to the previous entry.31English English 3.6. AirMusic Control App The DR 460 C can be controlled with your smartphone via WiFi. It is recommended to use the AirMusic Control App. Additionally to controlling the radio, the app is able to play the smartphone’s music les on the DR 460 C. Due to frequent updates of the app the manual is only available online. Please visit www.alan-electronics.de and enter the article number 27462 into the search. You will nd the DR 460 C product page. On the tab Downloads you will nd the AirMusic Control Manual. The app itself is available for Android and iOS. It can be downloaded from here: Apple iOS Android
In the main menu you can select the following modes: Internet Radio, Media Center, Spotify Connect, Information Center, Con guration and My mediaU (if activated, see chapter 6 My mediaU ).32 English English
The DAB radio mode receives DAB/DAB+ digital radio and displays information about the station. To switch to Internetradio-mode, press , select Internet Radio and con rm with OK.
After connecting any station, the bit rate and the format of the station are displayed on the playing screen. 5.1. My Favorite Create a list of your favorite preset stations. It supports 250 favorite entries including stations and folders. To store a station, press and hold and select the required memory with ▲/▼ and con rm with OK. You may replace a previous saved station with a new one. You can also save the station to your favorites while scrolling through the station list. When the station is highlighted you can press ► to enter this menu where you can add the station to your favorites. If the selected station has been saved, you cannot save it again. In the preset station list, move to your station, press OK to listen. You may also press ► to enter its submenu to Delete, Shift Up/Down (move station to a different memory slot), Rename or Play. 5.2. Station/music Stations are categorized into Global Top 20, Genre and Country/Location. Enter to continue the subcategories and choose a station to listen. For each station, press OK to play directly. You may press ► to enter its submenu – you can Add to Favorite, Auto Scan or Play. When you choose Auto Scan, the radio introduces every station in the list by playing it for 30 seconds. This is stopped when every station is played or you press the OK button. 5.3. Local Station In this menu all stations of your local area will be displayed. You can set the local radio setup as described in chapter 12.15. In the default setting the radio recognizes your location automatically.33English English 5.4. Sleep radio Select this option if you want to hear relaxing background sounds to fall asleep. You have a choice between:
- Wave (sea noise) By pressing and holding the sleep timer button (only possible in Internet radio mode!), you can go directly to the menu. If the device switches off automatically, the sleep timer must also be activated, see Chapter 9.11 Sleep timer . 5.5. History Shows you a list of last listened stations. It can save up to 10 history stations. 5.6. Service Search radio station - Enter your keyword to search radio station from the list. Add new radio station - The added stations will be stored in My Favorite. Tips: Loading the data from the server can take several seconds, especially if the WLAN connection is poor, as long as blank appears on the display.
Display and playback your own mediaU station list on the mediaU server. Set your account rst. To activate your own station list, follow the steps below:
1. Access http://www.mediayou.net/
2. Join my mediaU membership
3. Login to the website
4. Enter the wireless MAC addresses of DR 460 C to the mediaU website. This information can
be obtained in Information Center > System Information > Wireless Info
5. After successfully con guring, you are able to save and view your own mediaU station
playlist(s). Username and password are not required to enter to DR 460 C.34 English English
6. If there are different accounts stored in DR 460 C, you can choose the one you currently use
under Con guration menu. After registration please turn off the radio and log in again. Each time you have made any updates on the playlist from the website, go to Con guration If enabled, My mediaU is displayed in the main menu. If there are several mediaU accounts for the DR 460 C, select the default account with which you want to log in. See Chapter 9.2 Manage my mediaU for more information about mediaU account setup.
With the DR 460 C, you can play music tracks using UPnP or DLNA. The difference between the two technologies lies in the direction of access. The UPnP server can be accessed from the DR 460 C and its music will be played back. Control and navigation are done by the DR 460 C. With DLNA, playback can be started on a PC, for example, and the DR 460 C is only selected as a playback device. 7.1. UPnP To enjoy music streaming from your PC, the following steps are to be done on the PC:
- Connect the PC to the network.
- Ensure the DR 460 C is powered on and connected to the same network.
- Open the UPnP platform Windows Media Player (11 or later). Alternatively, other platforms or server such as Windows Media Connection may be used35English English
- Allow to share your media to ALBRECHT DR 460 C zu. Add the audio les and folders you want to share with DR 460 C to the media library. You may also enjoy the streaming music from other music server, such as smart phone (Android platform):
- Connect the mobile to the network
- Search and install media sharing apps from Google Play.
- Add the audio les from your mobile you want to share. After setup the shared server, choose the music and control playback on the DR 460 C. If you have set up shared media, you should see the shared media from UPnP. If you have more than one computer sharing media, the alternatives are listed. Select the shared media you want to play. In the main menu, select Media Center and choose UPnP. It may take a few seconds for the radio to complete the scan for available UPnP servers, especially when the WiFi connection is bad. If no UPnP servers are found, it will show Empty. After a successful scan is done, select your UPnP server. The radio will show the media categories available from the UPnP server, e.g. ‘Music’, ‘Playlists’ etc. Choose the media es that you wish to play. Press ▲/▼/◄/► on the remote control and OK to play or stop. to stop or play. Press ► to view the display information of the playing track. Tips: The radio can only read the track of le names with less than 40 characters. And the characters should be in European language. If you encounter failure of reading the track under UPnP mode, you may try to rename the le. However, if the track is still unable to play, you can try converting the le to a different format.
You can create a playlist of favorite music from UPnP. When you play the music, press and hold OK to save it into My Playlist.
7.1.2. Clear My Playlist
You can delete all tracks from the playlist36 English English 7.2. DLNA The default device name for DLNA is "ALBRECHT DR 460 C". Alternatively, you can customise the name individually (see Section 9.16 DLNA-Setup ). See Chapter 7.1 UPnP for information on how to set up media streaming from your PC or other media servers. Also take a look at the instructions of your software or app. The music les must be in MP3/AAC/AAC+/WMA/FLAC 32kbps->320kbps format for streaming via the DR 460 C.
8. Information centre
8.1. Weather Information There are weather information and forecasts for over 5000 cities. Select the country and then the city for the weather details. Press ◄/► to see the weather forecasts. It is able to display the weather information on the standby mode. On the weather information page, press OK to set the city to displaying on the standby mode. Then turn on the weather display as mentioned in 12.13.. 8.2. Financial Information37English English View the stock index from around the world. 8.3. System Information Check out the version of the system, and the details of connected network. The information includes MAC address which you are required to ll in when registration of my mediaU membership.
The software version of the device is displayed here.
8.3.2. Radio network info
It displays the following information:
9.1. Time Display Choose the style of clock during standby mode: Analog or Digital.l38 English English 9.2. Manage my mediaU When it is enabled, My mediaU will be shown in the main menu. If various mediaU accounts exist in the DR 460 C, Select the default login account in here. Refer to
chapter 11 for more information of mediaU account setup.
Enable / disable WiFi network. When you enable the WiFi network, the system will automatically connect to the network Select your required AP.39English English Enter WEP or WPA code to connect the WiFi. If you would like to change/correct an entry , press ◄ to correct.
9.3.2. Wireless Network (WPS)
If you are using a router with WPS/QSS button, you may set up the network connection simple via WPS function. Enter it and go to press the WPS/QSS button on your router within 120 seconds. The connection between the router and the DR 460 C will then be con gured automatically.
9.3.3. Manual Confi guration
You can choose DHPC (which IP assigned automatically) or manually input IP address for wireless network connection. When you select manual setting for wired connection, the followings have to be entered:
1. SSID (the name of Access Point);
You may choose (Manage) speci c network if you have setup more than one network connection within an area.40 English English
9.3.4. Check Network when Power On
“Enable / disable WiFi network”: When you enable the WiFi network, the system will automatically search the available AP. Select your required AP. Enter WEP or WPA code to connect the WiFi. If the wireless network connection is not existed or failed, the icon at the top left corner will have a cross on it. 9.4. Date & Time
- Press Set Date and Time between Manual Setup and Auto Detect. When Auto Detect is chosen, the time is determined automatically, therefore deleted pont 4 (DST)
- Setup the date and time
- Turn on/off (default) the Daylight Saving Time (DST).Available only on manual setup With a wireless network connected, GMT (+00:00) time is a time reference of time setting. Add or deduce the hour according to your time zone when you set the time. 9.5. Alarm You can choose between 2 regular alarms (Alarm 1 and Alarm 2) or the NAP Alarm in this menu. Press You can choose between 2 regular alarms ( on the remote control to enter the menu directly. To set Alarm 1 or Alarm 2, press and turn it on. Now choose the frequency (daily, once or on speci c days of the week, e.g. Monday to Friday). Next choose the desired alarm source: Beep tone, Melody, Internet Radio, FM Radio or DAB/DAB+ Radio. Afterwards you can leave the settings by pressing tone, Melody, Internet Radio, FM Radio or DAB/DAB+ Radio. Afterwards you can leave the settings or ◄.41English English At the time of the alarm the radio connects to the Internet if the set network is available. Therefore there may be some delay before the radio starts playing your station. If no network connection is established within one minute, the alarm will change automatically to Melody. If the NAP alarm is activated, it alarms once after 5/10/20/30/60/90/120 minutes depending on which one you have set. You may choose Alarm Volume to con gure the volume of the alarms. During the alarm the volume will increase automatically up the set value (Crescendo function). When the alarm(s) is/are set, there will be a clock icon at the top of the display. The clock icon with alarm time will also be displayed on the standby screen. During alarm, press any key to enter snooze mode. It will alarm again in 5 minutes. Press the key to stop the alarm. 9.6. Timer Press ◄/► to set the timer, press OK to start. The timer will count down and beep sound when it reaches 00:00. To cancel the timer, enter the timer screen and press OK again. When the timer is running, you can change the mode, the remaining time is then displayed in the top right of the display. 9.7. Language Select the OSD language: English / Deutsch / Español / Français / Português / Nederlands / Italiano / Pусский / Svenska / Norsk / Dansk / Magyar / Český / Slovenský / Polski / Türkçe / Suomi42 English English 9.8. Dimmer Con gure the brightness of backlight on the display. If you select Power Saving you can select the level to which the display is dimmed down when the radio enters the Standby mode or when the radio gets no key input for 15 seconds. The Turn On options keeps the display illumination always on. If you select it you can choose how bright the display shall be. See below table how the Dimmer settings will affect the screen illumination: Choice Brightness level On Playing On Standby Power Saving As you set After 15s, the screen brightness switches to Power saving brightness level you set After 15s, the screen brightness switches to Power saving brightness level you set Turn On As you set The screen stays always on the set brightness level After 15s, the screen brightness switches to Power saving brightness level you set 9.9. Display Choose the style of display: Color or Monochrome 9.10. Power Management Choose the power management timer (5/15/30mins) to set the duration of the radio to switch to the standby mode automatically when no network connection is available. Choose “Turn off” to ignore the power management function.43English English 9.11. Sleep timer Turn off or set the sleep time to 15/30/60/90/120/150/180 minutes. Once the time is set, there will be a bed icon with remaining minutes at the top right corner. The DR 460 C will shut down once the time runs out. Press Sleep on the remote control for the shortcut of this function. Pressing and holding the button calls up the sleep radio, see Chapter 5.4 Sleep radio 9.12. Buffer memory Con gure the buffer time of the music playback, 2/4/8 seconds. 9.13. Weather DR 460 C is able to display current weather information under standby mode. Turn on Show on Standby and set Temperature Unit (°C or °F) to get the weather displayed at the standby mode. When it is turned on, the display will switch between time and weather while being in standby mode.44 English English 9.14. Local Radio Setup There is a shortcut Local Radio under Internet Radio (see section 7.2 DLNA ) so that you can easily go to the station list of your location. You may Manual Setup your location, or let the system Auto Detect your current location. The system detects the location according to the IP address of your connected network. 9.15. Playback Setup Select the playback mode of media center – Off (no repeat or shuf e), Repeat all, Repeat one, or Shuf e. 9.16. DLNA-Setup The default device name for DLNA is ALBRECHT DR 460 C. You may rename it for DLNA setup on the PC or mobile. 9.17. Resume When Power On The system is default set to resume internet radio playback if you were listening to internet radio or media center before switch off the unit. If you turn this setting off, the system will start in the main menu when switching on the unit. 9.18. Software-Update Update software. If there is an updated software version on the server, the system will notify you when you return to the main menu.45English English 9.19. Factory Reset Restore the default settings. After DR 460 C is reset, the system will move to Language setting menu. And it will automatically turn to Network setting menu once the OSD language is selected.46 English English
Error Remedy The device does not switch on. 1. Check if the power adaptor is connected properly.
2. The device may malfunction when used in areas
with strong radio interference. The device will work properly again once there is no more interference. No sound 1. Turn on the sound as it may be muted
2. Increase the volume.
No network connection can be established.
1. Check the WIFI function.
2. Try to set an IP address at the device.
3. Activate the DHCP function on the router and make
the connection again at the device.
4. A rewall is activated on the network – set the
respective program in such a way that access is possible.
5. Reboot the unit to try.
WIFI connection cannot be established.
1. Check the availability of WIFInetwork on the access
2. Place the device closer to the router.
3. Make sure the WEP/WPA password is correct.
No station is found. 1. Check the network as well as the access point and rewall.
2. The station may not be available currently, try it again
later or select another station.
3. The link of the station is changed or the station no
longer transmits – ask the provider for information.
4. The link of manual added station is not correct, make
sure it is correct and re-enter. Alarm does not work. 1. Switch on the alarm.
2. Due to the volume setting, refer to the solutions of “No
3. The source of alarm was set to be station but there is
no network connection. Change the source of alarm or recongure the connection. Unable to do DLNA streaming. 1. Check the connection of the network. DR 460 C and your device need to be in the same network; and test if the network in good condition.
2. Make sure the settings on your device are correct.47English
English Error Remedy System freezes suddenly. 1. The radio is overloaded, reboot the unit.
2. The normal function of the product may be disturbed
by strong Electro-Magnetic Interference. If so, simply reset the product to resume normal operation by following the instruction manual. In case the function could not resume, please use the product in other location.