HV052 - Heating Duronic - Free user manual and instructions
Find the device manual for free HV052 Duronic in PDF.


| Product Type | Oil-free MICA Panel Heater |
| Brand | Duronic |
| Model | HV052 |
| Power | 1500 W |
| Power Supply | 220-240 V, 50/60 Hz |
| Dimensions (W x D x H) | 525 x 232 x 648 mm |
| Weight | 4.8 kg |
| Display | LED Digital |
| Remote Control | Yes |
| Timer | 18 hours (auto-off) |
| Adjustable Temperature | 5 °C to 36 °C |
| Number of Power Levels | 2 |
| Heating Time | Less than 1 minute |
| Overheat Protection | Yes, automatic shut-off |
| Tip-over Protection | Yes, automatic shut-off if tilted |
| Wheels | Yes, integrated |
| Carry Handle | Yes |
| Cord Storage | Yes, built-in system |
| Maintenance and Cleaning | Vacuum grills, dry/damp cloth; do not use abrasive detergents |
| Safety | Do not cover, maintain a 90 cm perimeter, do not use with timer |
| Spare Parts and Repairability | Repair by an approved professional only |
| Warranty | 1 year (subject to conditions) |
Frequently Asked Questions - HV052 Duronic
User questions about HV052 Duronic
0 question about this device. Answer the ones you know or ask your own.
Ask a new question about this device
Download the instructions for your Heating in PDF format for free! Find your manual HV052 - Duronic and take your electronic device back in hand. On this page are published all the documents necessary for the use of your device. HV052 by Duronic.
USER MANUAL HV052 Duronic
Creative Consumer Electronics
natural_image
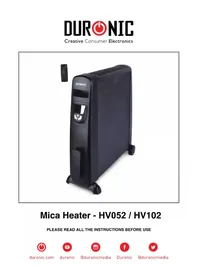
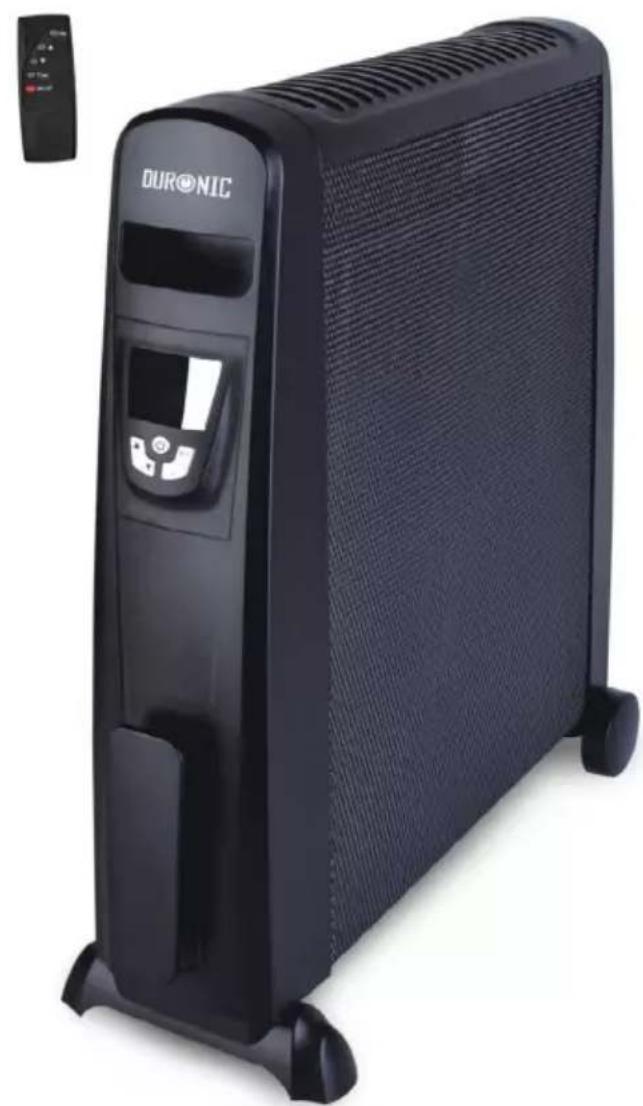
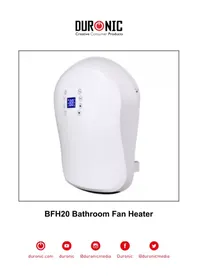
Black DURONIC electric heater with control panel and remote control (no visible text or symbols on body)Mica Heater - HV052 / HV102
PLEASE READ ALL THE INSTRUCTIONS BEFORE USE

duronic.com

duronic

@duronicmedia

Duronic

@duronicmedia
DURONIC
Contents
English Manual 5
Features & Specifications 8
Introduction 9
Remove Packaging 10
Installation of Wheels 11
Operation 12
Important Safeguards 14
Cleaning, Storage & Warning 16
Troubleshooting 17
Features & Specifications
Oil-Free Column Heater
The Duronic HV102 and HV052 uses Mica Heating Element which is a leading heating technology used for heaters. Our mode is not only oil free, but offers more than a standard heater. It heats up within a minute, making it a very cost effective heater. All our Mica heaters have carry handles and wheels to make it a fantastic portable heater.
Special Features
Full heat in 1 Minute
Two Power settings
Digital LED display
Temperature adjustable between 5-36°C
Remote control
18 hours auto-off timer
Tip-over and overheat protection
Quiet operation
No oil= No leakage
No dehumidifying
Power cord storage on front
Specification
| Item Power Voltage Rating Unit Size Unit Weight | ||||
| HV102 25 | 00W 220-240V,50/60Hz | 710(L)*232(W)*6 48(H)mm | 6.1kg | |
| HV052 15 | 00W 220-240V,50/60Hz | 525(L)"232(W)"6 48(H)mm | 4.8kg | |
Introduction
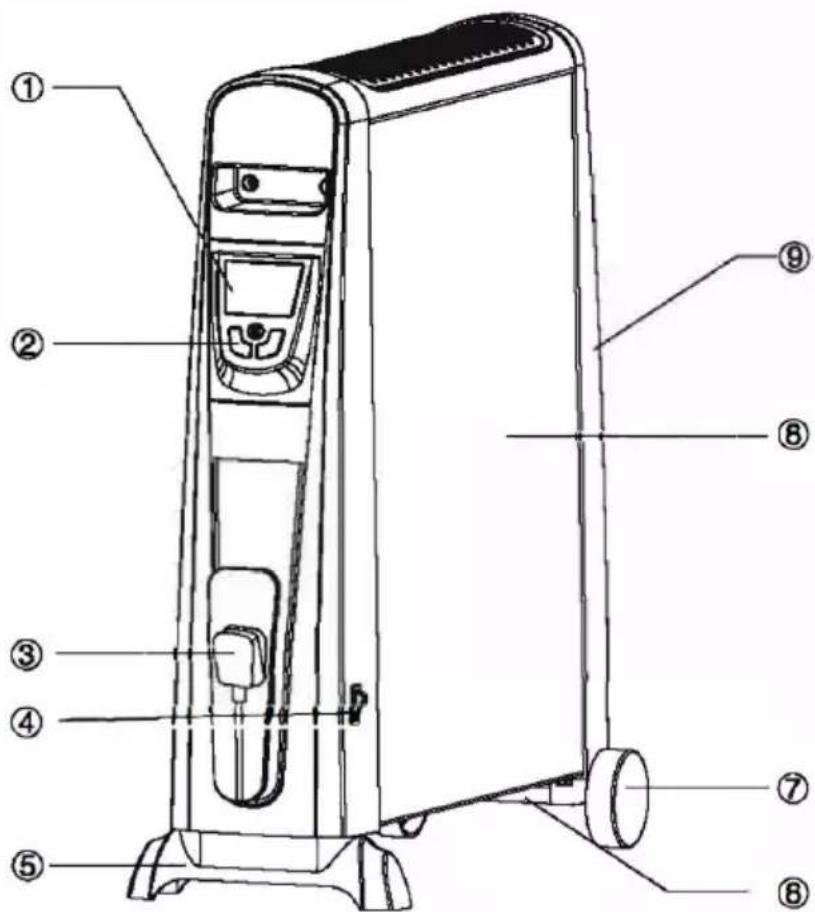
Unit Layout
- Display screen
- Button
- Storage location of plug cord
- Power switch
- Foot base
- Caster
- Wheel
- Body
- Back Cover
Removing Packaging
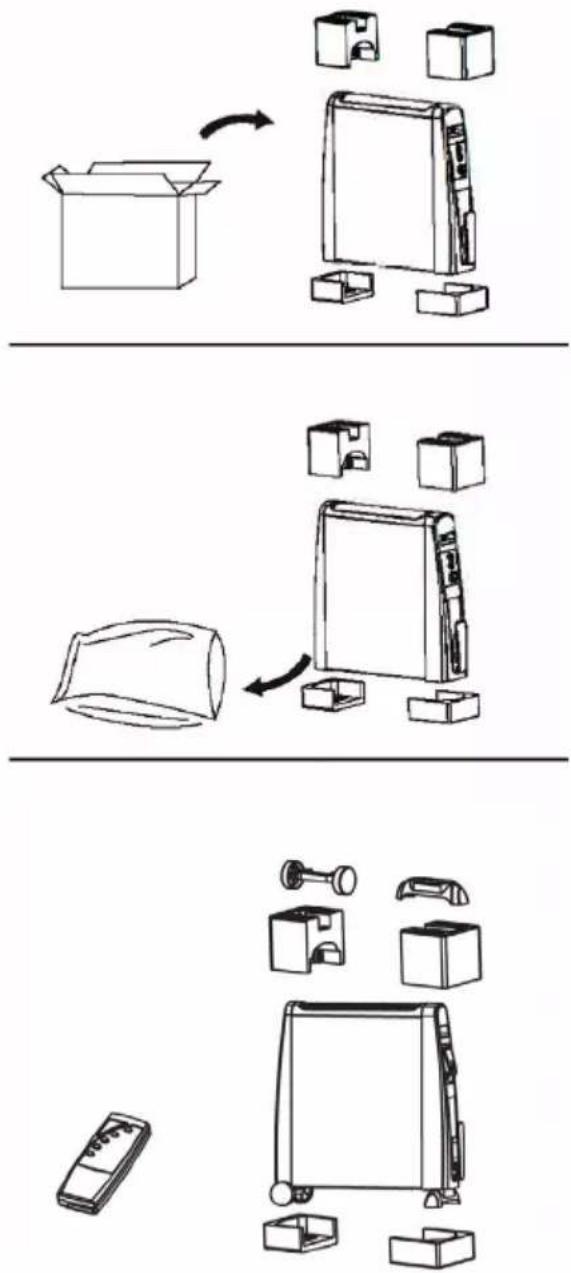
-
Take the heater and the packaging out of the gift box.
-
Remove foam from both ends of the heater. Remove the polybag which is covering the heater and store away. Keep any bags and foam away from children.
-
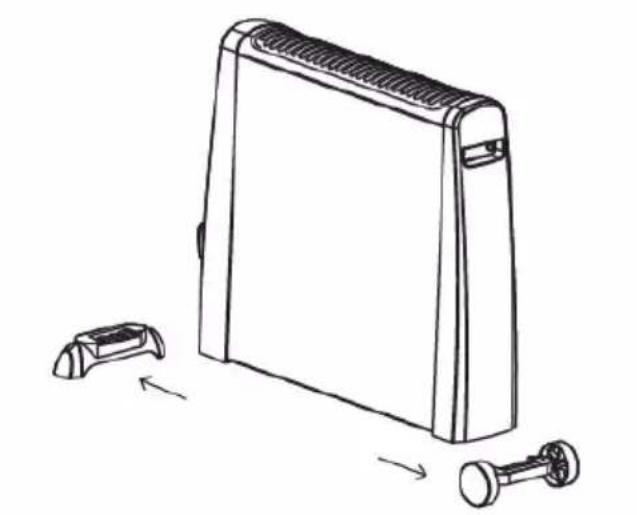
Remove the front foot and wheels from the foam packaging
-
Keep your packaging safe, as this is part of the guarantee. It is also useful for storing the heater when not in use.
Installation of Wheels and Wheels Mountings
Insert the wheels on the bottom rear of the heater by slotting it into the wheel holder. Similarly the foot will go on the front of the heater.
Operation
-
Plug in power cord to a suitable electrical outlet.
-
Locate the switch on side rear and switch the heater on.
The heater will now go into standby
natural_image
Line drawing of a portable electronic device with ports and connectors, showing no text or symbols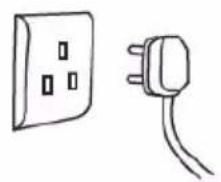
natural_image
Simple line drawing of a wall socket and a plug (no text or symbols)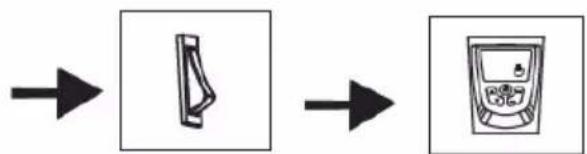
flowchart
graph LR
    A["Device"] --> B["Switch"]
    B --> C["Measurement"]
Operation
-
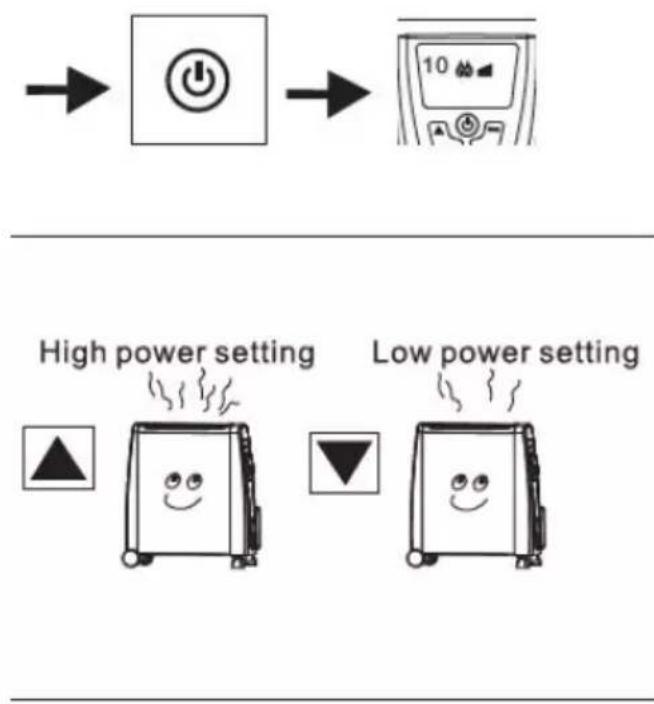
Press the ⏻ button on the front display panel. The screen will indicate the room temperature and power indicator light. It will start off on low settings.
-
Press to increase the power to "High power setting", press to decrease the power to "Low power setting".
-
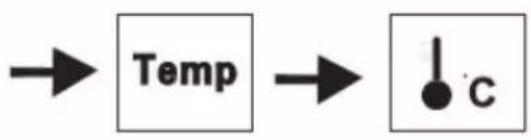
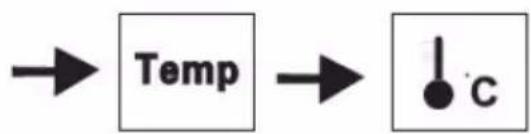
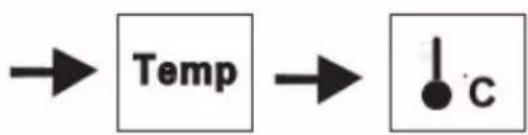
Press the 'Temp' button, then the room temperature will be on the display screen, the defaulted temperature is 25^ C .
There is 5-36°C which can be set as you desire. You can press to change temperature, the settings will be effective in 6 seconds.
The heater will remain on until the room temperature increases to your desired temperature. It will stop heating while at the desired temperature, when the room temperature is 2^ C less than the desired temperature, it will start heating again. This cycle will repeat to maintain the desired room temperature.
flowchart
graph LR
    A["Temp"] --> B["●c"]
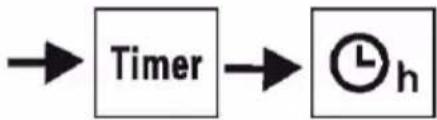
- The heater is equipped with a18-hours automatic timer. To activate the timer, press the "Timer" button and then press (. & or ..., ) on the control panel or remote control. This will increase or decrease the heater operating time by one hour each time. The screen will display the number you have selected. Select a time for the timer to turn off, and in 6 seconds the timer will be activated.
If you need to turn off the timer, simply press the" Timer" Button.
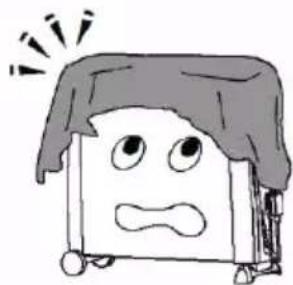
- Covering Sensors.
Even though a warning label “DO NOT COVER” has been placed on the unit, some users accidentally cover the unit by means of towels or blankets etc.
Therefore, a safety device has been installed within the heater to detect overheating. Once the unit overheats, the power will be cut off. When the unit temperature falls again, power will be resumed.
a. Tip over protection.
If the heater is accidentally knocked over, it will switch off automatically.
flowchart
graph LR
    A["Timer"] --> B(( Clock icon))
natural_image
Cartoon illustration of a surprised cube with a surprised expression and a frowning face (no text or symbols)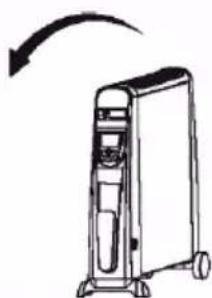
natural_image
Line drawing of a portable electronic device with a curved arrow indicating rotation (no text or symbols)Important Safeguards
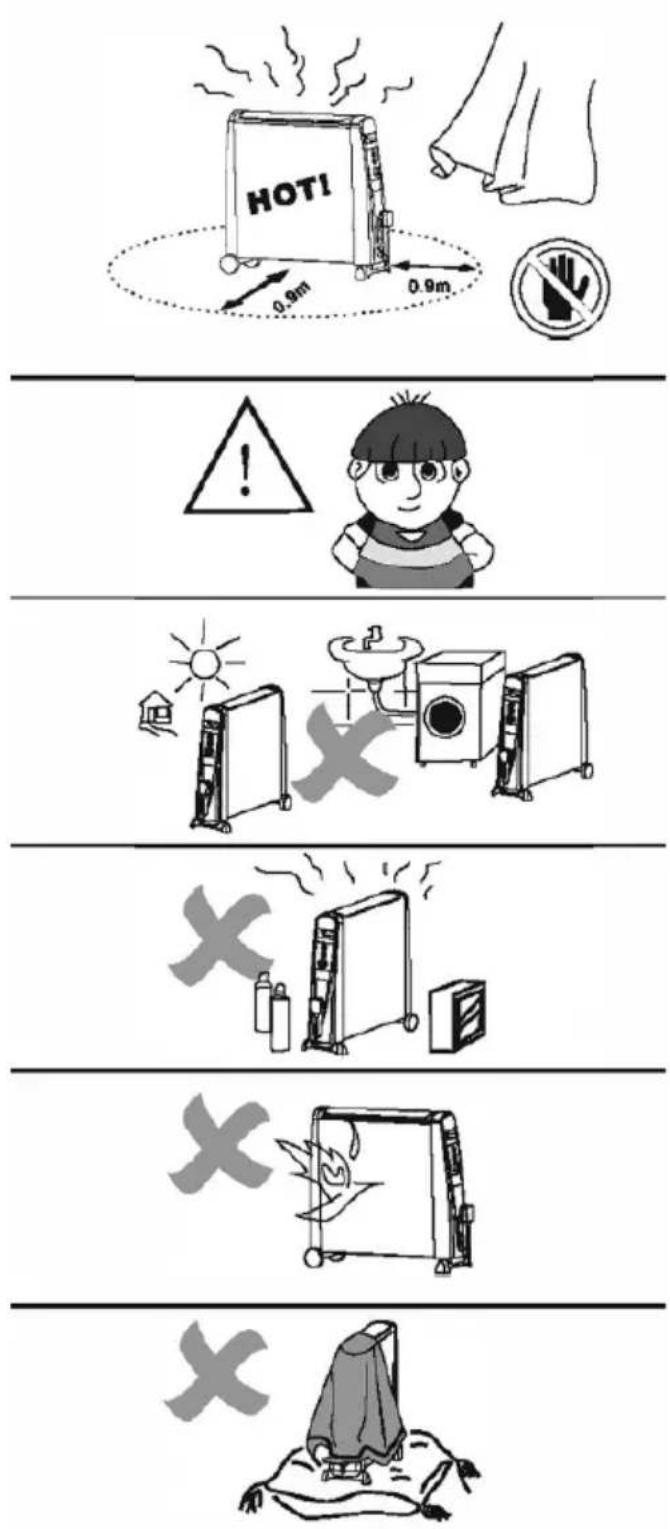
The heater is hot when in use. To avoid burns, do not let bare skin touch the hot surface. Use the handles when moving the heater. Keep combustible materials, such as curtains etc., and other furnishings at least 3 feet (0.9m) radius from the heater to avoid a fire hazard.
Extreme caution is necessary when any heater is used near children, Do not leave children unattended when this heater is ON. The heater is not a toy.
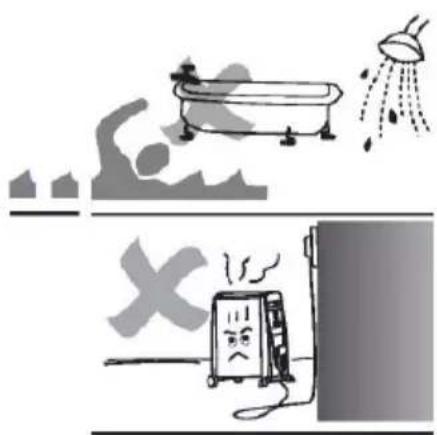
Do not use the heater outdoors. This heater is not intended for use in bathrooms, laundry areas and similar indoor locations. Never use the heater near any forms of water. Do not use the heater in areas where gasoline, paint or flammable liquids are used or stored.
Do not insert or allow any objects to enter any ventilation or exhaust opening as this may cause an electric shock or fire, or damage the heater.
To prevent a possible fire, do not block air intakes or exhaust in any manner. Do not operate this appliance on a soft or uneven surface as that can block the openings.
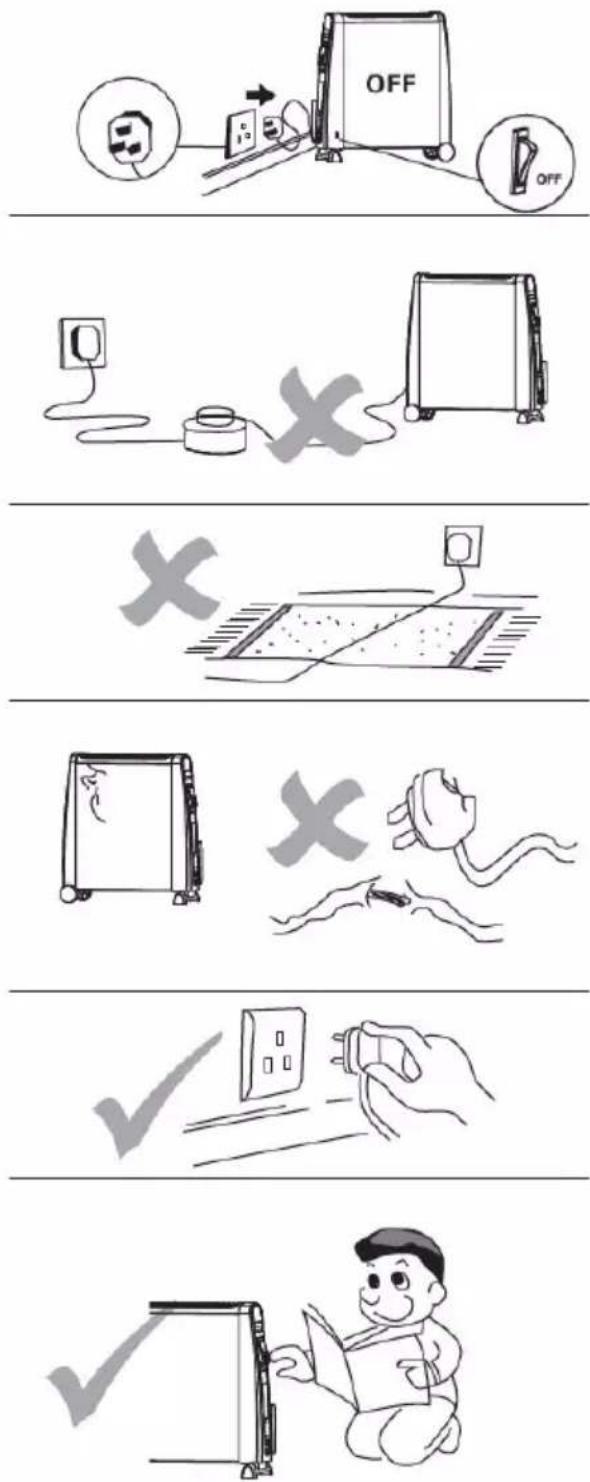
Always unplug heater when not in use. To disconnect the heater, remove plug from outlet.
Please avoid using an extension lead with this heater. All extension leads have a maximum wattage allowance, by using this heater with other appliances the wattage allowance may be exceeded and overheat the plug and extension socket and result in a fire risk.
Do not run cord under carpeting. Do not cover cord with throw rugs, runners, etc. Arrange tidily where is cannot be tripped over.
Do not operate any heater with a damaged cord or plug. If the supply cord is damaged, it must be replaced by a qualified person in order to avoid hazard.
Connect to properly grounded outlets only.
Use this heater only for the purpose described in this manual. Any other use not recommended by the manufacturer may cause fire, electric shock, or injury to persons. Do not use this heater with a programmer, timer or any other device that switches the heater on automatically, since a fire risk exists if the heater is covered or positioned incorrectly.
Cleaning
- Before cleaning, turn off the heater, unplug the power cord and allow the heater to cool.
- Do not immerse power cord, plug or heater in water or other liquid, or pour water or other liquid over the heater.
- Use a vacuum cleaner to remove dust and lint at the metal grill of the heater. Wipe the heater with a dry cloth to remove dust and a damp cloth (not wet) to clean off stains.
- Do not use detergents, abrasive cleaning products or any kind of polishing material on the body of the heater, as these can damage the finish.
Storage
- Store the heater in a cool dry location, preferably covered to present dust and dirt. Use old packaging to repack the unit.
- Unplug the heater and store the mains lead in the storage tidy at the front of the heater. Ensure that the plug does not trail.
Warning
Any other servicing should be performed by an authorized service representative.
Do not use this heater in the immediate surroundings of a bath, a shower or a swimming pool
The heater must not be located immediately below a socket-outlet.
Troubleshooting
Heater Not Warm
- Check the heater is operating or not
natural_image
Simple line drawing of a smiling refrigerator with steam rising, next to an electrical socket connected by a wire (no text or symbols)- Check the temperature setting in right position or not
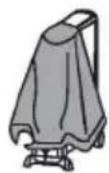
- Check if any object covering in front of the heater?
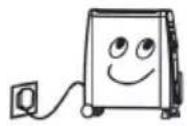
- On the lowest heat settings not all panels heat up. This does not mean that the heater is defect.
Heater is not Operating
-
Check the power cord is plugged into the electrical outlet
-
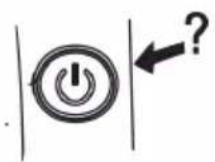
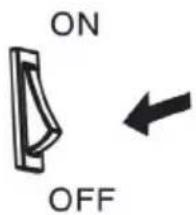
Make sure the power switch at[ ON] position.
- Check whether the electricity or the main fuse is working
- Check that the heater if it is on the Thermostat Control Condition.
There is a smell coming from the heater
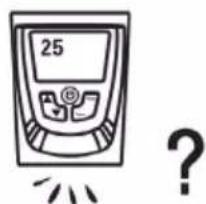
After storage or restarting the heater, the heater may smell slightly. This is because the heater absorbs the air from the room, which may contain cigarette smoke, cosmetic fumes and smells from furniture or the walls. When the heater starts up again, it will emit those smells, this is normal and after a short period of time the smell will start to disappear.
Keep these instructions safe
Warranty
1 Year Guarantee from Shine-Mart Ltd, Trademark owners of Duronic Products. NOTE: THESE STATEMENTS DO NOT AFFECT YOUR STATUTORY RIGHTS AS A CONSUMER
This product has been manufactured under the strictest or quality control procedures, and using the highest quality of materials, to ensure excellent performance and reliability. It will give very good and long lasting service, provided it is properly used and maintained. The product is guaranteed for 1 years from the date of original purchase. If any defect arises due to a faulty materials or poor workmanship, the faulty product must be returned to the original place of purchase. Refund or replacement is at the discretion of that company.
Duronic Products are offered with a 1 year guarantee under the following conditions:
- The product must be returned to the retailer with original proof of purchase.
- The product must be installed and used in accordance with the instructions contained in this operating manual.
- It must be used only for domestic purposes.
- It does not cover wear and tear, malicious damage, misuse, neglect, inexpert repairs or consumable parts.
- Shine-Mart Ltd has no responsibilities for accidental or consequential loss or damage.
- Shine-Mart Ltd are not liable to carry out any type of servicing work, under the guarantee
- Valid in the UK only
This product is fitted with BS:1363 plug and fuse Imported by Shine-Mart Ltd, RM3 8SB
CE
Information on waste Disposal for Consumers of Electrical & Electronic Equipment.
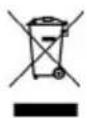
This mark on a product and/or accompanying documents indicates that when it is to be disposed of, it must be treated as Waste Electrical & Electronic Equipment, (WEEE).
Any WEEE marked products must not be mixed with general household waste, but kept separate for the treatment, recovery and recycling of the materials used.
For proper treatment, recovery and recycling; please take all WEEE marked waste to your Local Authority Civic waste site, where it will be accepted free of charge.
If customers dispose of Waste Electrical & Electronic Equipment correctly, they will be helping to save valuable resources and preventing any potential negative effects upon human health and the environment, of any hazardous materials that the waste may contain.
Follow Us

duronic.com

duronic

@duronicmedia

Duronic

@duronicmedia
DURONIC
Emballage
natural_image
Line drawing of a portable electronic device with two connectors and a side panel, showing no text or symbols.Utilisation
natural_image
Simple line drawing of a wall socket connected to a plug (no text or symbols)
flowchart
graph LR
    A["Temp"] --> B["c"]
natural_image
Cartoon illustration of a surprised character with a head covering, surrounded by steam lines (no text or symbols)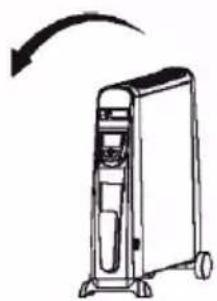
natural_image
Line drawing of a portable air conditioner unit with a curved arrow indicating rotation (no text or symbols)Mesures de sécurité
Dépannage
Auspacken
Montage der Räder
natural_image
Line drawing of a portable electronic device with two connectors and a front panel, showing no text or symbols.Betrieb
natural_image
Simple line drawing of a wall socket connected to a plug (no text or symbols)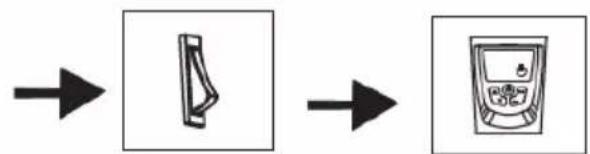
flowchart
graph LR
    A["Device Icon"] --> B["Measurement Device"]
flowchart
graph LR
    A["Temp"] --> B["c"]
natural_image
Cartoon illustration of a surprised computer with a head and wheels (no text or symbols)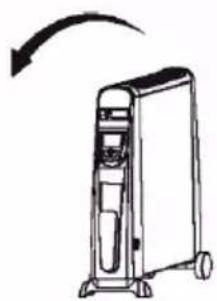
natural_image
Line drawing of a portable air conditioner unit with a curved arrow indicating rotation (no text or symbols)Fehlerbehebung
Embalaje
natural_image
Diagram showing a box being transferred to a computer monitor, with no text or symbols present.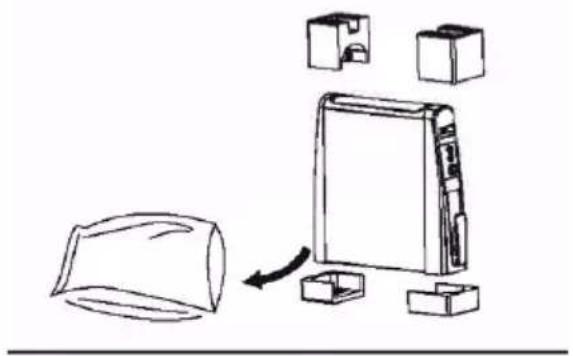
natural_image
Diagram showing a device with a cylindrical component being processed, with three boxes and an arrow indicating rotation (no text or symbols present)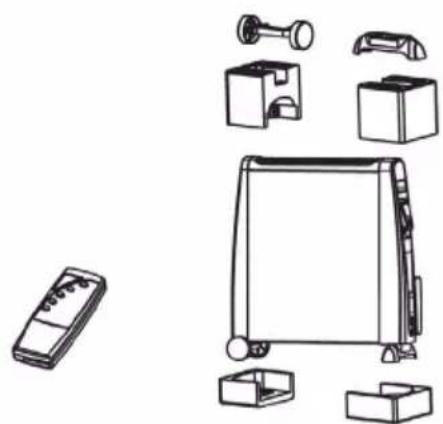
natural_image
Line drawings of various household appliances and devices including a refrigerator, washing machine, and accessories (no text or labels)natural_image
Line drawing of a portable heater with two side-mounted buttons and a separate handle (no text or symbols)natural_image
Simple line drawing of a wall socket connected to a plug (no text or symbols)flowchart
graph LR
    A["Device Icon"] --> B["Measurement Device"]
flowchart
graph LR
    A["Temp"] --> B["!c"]
natural_image
Cartoon illustration of a surprised face with a head covering, surrounded by steam lines (no text or symbols)
natural_image
Line drawing of a portable air conditioner unit with a curved arrow indicating rotation (no text or symbols)natural_image
Simple line drawing of a smiling refrigerator with steam rising, next to an electrical socket connected by a wire (no text or symbols)Rimuovere l'imballo
natural_image
Line drawing of a portable electronic device with attached ports and a handle, showing no text or symbols.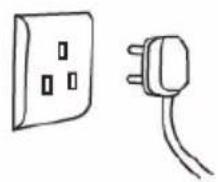
natural_image
Simple line drawing of a wall socket and a plug (no text or symbols)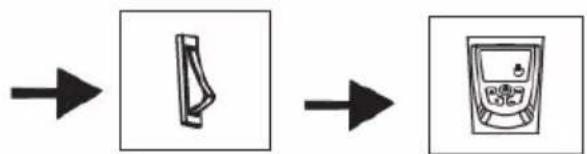
flowchart
graph LR
    A["Start"] --> B["Device Icon"]
    B --> C["Display Unit"]
flowchart
graph LR
    A["Temp"] --> B["!c"]
natural_image
Cartoon illustration of a surprised character with a head covering, surrounded by expressive eyes and motion lines (no text or symbols)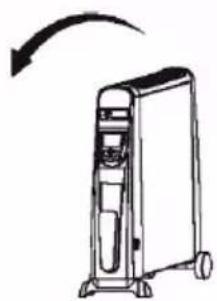
natural_image
Line drawing of a portable electronic device with a curved arrow indicating rotation (no text or symbols)Odpakowywanie
Instalacja kół
Operation
flowchart
graph LR
    A["Temp"] --> B["!c"]
natural_image
Cartoon illustration of a surprised character with a head covering, surrounded by expressive eyes and motion lines (no text or symbols)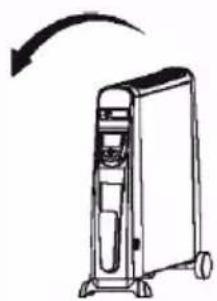
natural_image
Line drawing of a portable electronic device with a curved arrow indicating rotation (no text or symbols)natural_image
Simple line drawing of a smiling refrigerator with steam rising, next to an electrical socket connected to a plug (no text or symbols)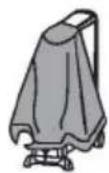

- Mica Heater - HV052 / HV102
- Contents
- Features & Specifications
- Oil-Free Column Heater
- Special Features
- Specification
- Introduction
- Unit Layout
- Removing Packaging
- Installation of Wheels and Wheels Mountings
- Operation
- Important Safeguards
- Cleaning
- Storage
- Warning
- Troubleshooting
- Heater Not Warm
- Heater is not Operating
- Warranty
- Emballage
- Utilisation
- Mesures de sécurité
- Dépannage
- Auspacken
- Montage der Räder
- Betrieb
- Fehlerbehebung
- Embalaje
- Rimuovere l'imballo
- Odpakowywanie
- Instalacja kół
Brand : Duronic
Model : HV052
Category : Heating