
V3900 - Humidifier Vicks - Free user manual and instructions
Find the device manual for free V3900 Vicks in PDF.
| Brand | Vicks |
| Model | V3900 |
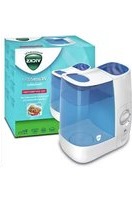
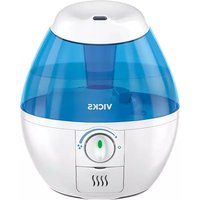
| Product Type | Cool Mist Humidifier |
| Purification Technology | UV Lamp (lifespan 2000-3000 hours) |
| Tank Capacity | Approximately 3.75 L |
| Power Supply | 120 V ~ 60 Hz |
| Filter Type | Wick Filter (replacement WF2) |
| Filter Replacement Frequency | Every 1 to 3 months depending on water quality |
| Aroma Diffuser | Yes, compatible with Vicks VapoPad (VSP-19 / VSP19VPC, VBR-5 / VBR-5FPC) |
| Flow Settings | High, Medium, Low |
| Maintenance and Cleaning | Descaling with white vinegar, disinfecting with bleach |
| Safety Instructions | Polarized plug, do not use extension cord, waterproof surface, minimum 15 cm from walls |
| Warranty | Limited 3-year warranty |
| Customer Service | 1-800-VAPOR-1-2 (1-800-877-6712) or www.VicksHumidifiers.ca |
| Available Spare Parts | Tank V3900-TANK, filter WF2, UV bulb V3900-UV |
| Repairability | Do not open the motor housing, contact customer service |
| Recommended Use | Closed room, at least 1.2 m from the bed |
Frequently Asked Questions - V3900 Vicks
User questions about V3900 Vicks
0 question about this device. Answer the ones you know or ask your own.
Ask a new question about this device
Download the instructions for your Humidifier in PDF format for free! Find your manual V3900 - Vicks and take your electronic device back in hand. On this page are published all the documents necessary for the use of your device. V3900 by Vicks.
USER MANUAL V3900 Vicks
natural_image
Exterior view of a Vicks brand blender with a clear lid and control knob (no text or symbols on the device itself)If you have any questions about the operation of your Vicks Cool Moisture Humidifier, call our toll-free Consumer Relations line at 1-800-VAPOR-1-2 (1-800-877-6712) or visit us at www.VicksHumidifiers.com/contact-us. In Canada: www.VicksHumidifiers.ca
IMPORTANT!
READ AND SAVE THESE INSTRUCTIONS
V3900
Series

Important Safety Instructions
READ AND SAVE THESE IMPORTANT SAFETY INSTRUCTIONS BEFORE USING THIS APPLIANCE
WHEN USING ELECTRICAL APPLIANCES, BASIC PRECAUTIONS SHOULD ALWAYS BE FOLLOWED TO REDUCE THE RISK OF FIRE, ELECTRICAL SHOCK AND INJURY TO PERSONS, INCLUDING THE FOLLOWING:
- The appliance should always be placed on a firm, flat, waterproof surface at least four feet away from bedside, six inches from the wall and out of reach of children and pets. Be sure the appliance is in a stable position and the power cord is away from heated surfaces and out of the way to prevent the humidifier from being tipped over.
- The humidifier should not be left unattended in a closed room. Doing so may result in personal injury or property damage. Leave room door partly open.
- DO NOT aim mist nozzle directly at children, walls or furniture.
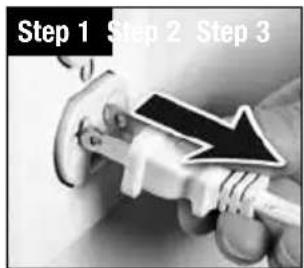
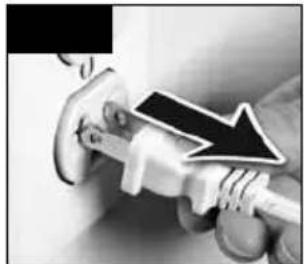
- Before using the appliance, extend the cord and inspect for any signs of damage. DO NOT use the unit if the cord has been damaged.
- The appliance has a polarized plug (one blade is wider than the other) as a safety feature. This plug will fit into a polarized outlet only one way. If the plug does not fit fully into the outlet, reverse the plug. If it still does not fit, contact a qualified electrician. DO NOT attempt to defeat this safety feature.
- To avoid fire or shock hazard, plug the appliance directly into a 120V AC electrical outlet.
-
The appliance should always be unplugged and emptied when not in operation or while being cleaned. Shut off and unplug humidifier before moving. DO NOT move or tilt humidifier while it is in operation. Plug and unplug unit with dry hands. NEVER pull by cord.
-
DO NOT operate the appliance without water. Turn off and unplug unit when tank is empty.
- ⚠️ CAUTION: To avoid the risk of fire, shock or personal injury, Do not use an extension cord or power strip.
- Appliance requires regular cleaning. Refer to and follow cleaning instructions.
- DO NOT operate outdoors; this appliance is intended for indoor use.
- DO NOT cover or insert objects into any openings on the unit.
- DO NOT attempt to repair or adjust any electrical or mechanical functions on this appliance. Doing so will void your warranty.
- DO NOT add any medications (e.g. Kaz Inhalant or Vicks VapoSteam) into Base, reservoir or Water Tank.
- DO NOT touch skin with exposed Vicks VapoPads or place on furniture, fabrics, bedding or plastics.
- When moving or lifting the Tank, use one hand on the Tank Handle and the other on the bottom of the tank.
- For residential use only. The sealed UV bulbs contain a small amount of mercury. Dispose of these items at household hazardous waste collection sites only. If the UV bulb breaks, do not vacuum or handle with bare hands.
SAVE THESE INSTRUCTIONS
Vicks Cool Moisture Humidifier (V3900 Series)

Setting Up Your Humidifier
natural_image
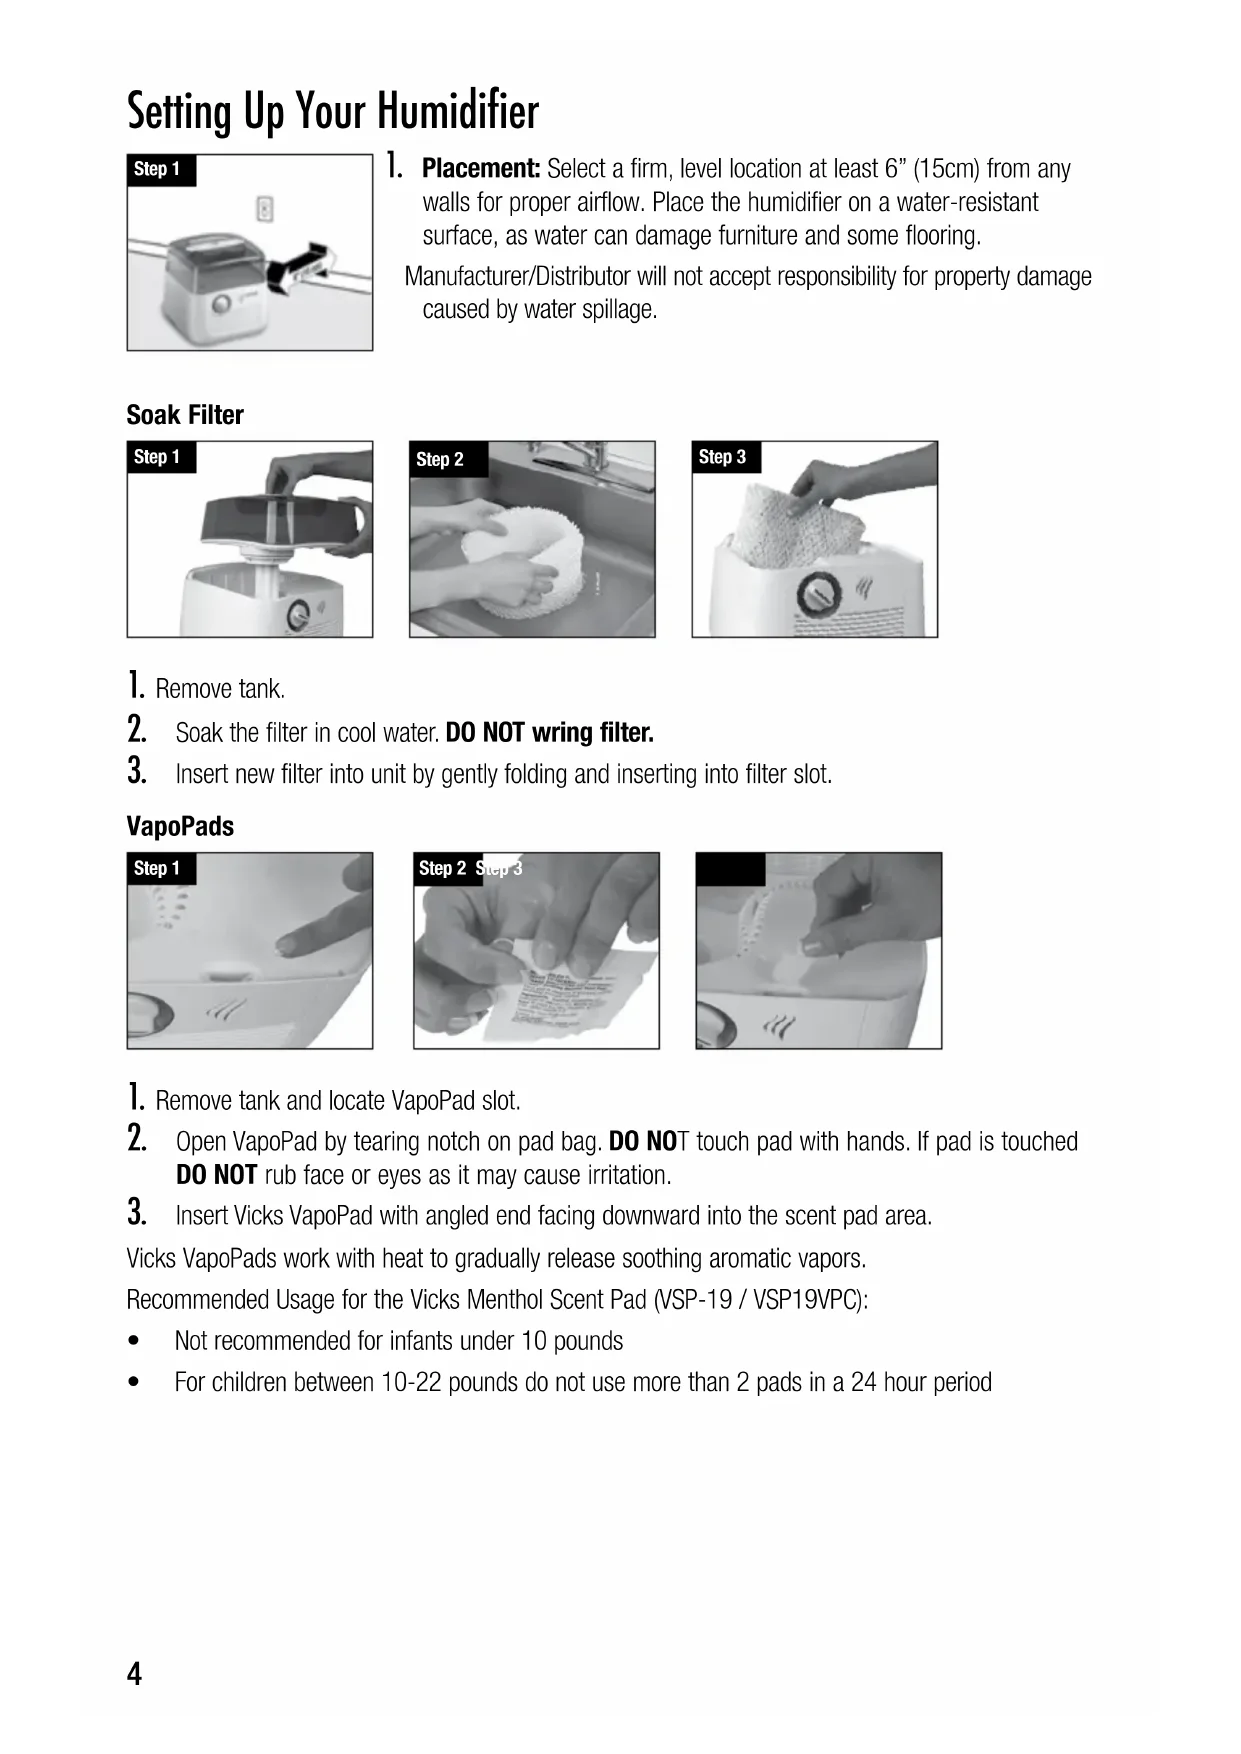
Exterior view of a portable kitchen appliance on a surface (no text or symbols visible)- Placement: Select a firm, level location at least 6" (15cm) from any walls for proper airflow. Place the humidifier on a water-resistant surface, as water can damage furniture and some flooring. Manufacturer/Distributor will not accept responsibility for property damage caused by water spillage.
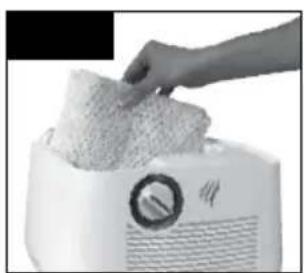
Soak Filter
natural_image
Close-up of a hand pressing down on a white appliance in a kitchen (no text or symbols visible)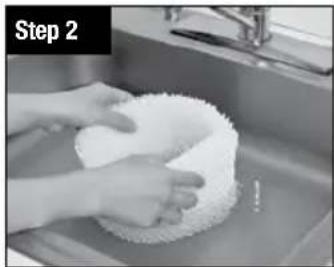
natural_image
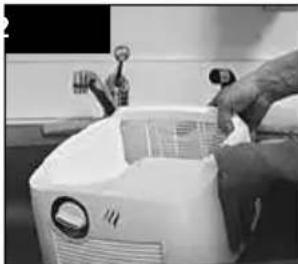
Person washing a white cloth on a kitchen sink (no text or symbols visible)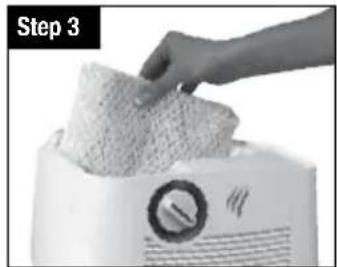
natural_image
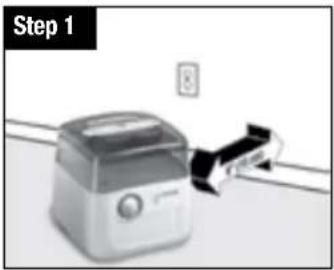
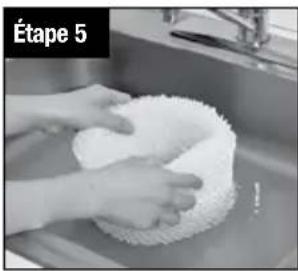
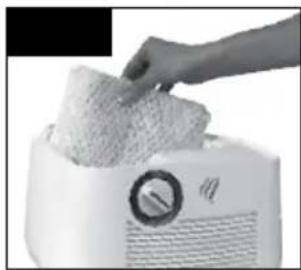
Hand cleaning a textured surface from a white microwave oven (no text or symbols visible)- Remove tank.
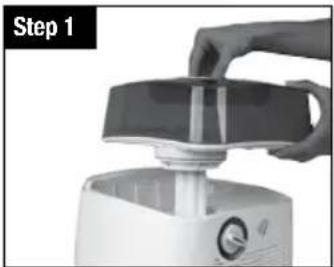
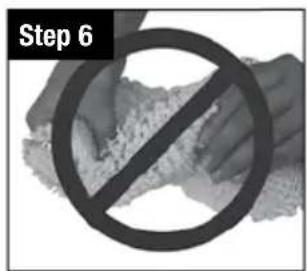
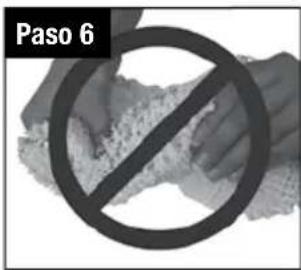
- Soak the filter in cool water. DO NOT wring filter.
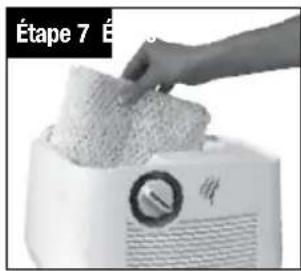
- Insert new filter into unit by gently folding and inserting into filter slot.
VapoPads
natural_image
Close-up of a finger pointing at a small white object on a surface, with no visible text or symbols.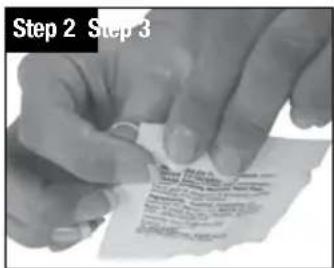
natural_image
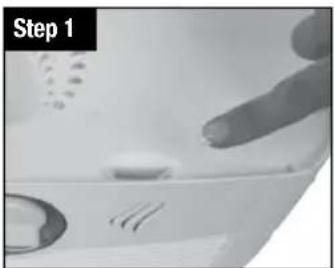
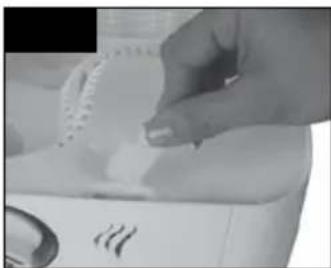
Close-up of a hand holding a small object over a white appliance (no visible text or symbols)- Remove tank and locate VapoPad slot.
- Open VapoPad by tearing notch on pad bag. DO NOT touch pad with hands. If pad is touched DO NOT rub face or eyes as it may cause irritation.
- Insert Vicks VapoPad with angled end facing downward into the scent pad area.
Vicks VapoPads work with heat to gradually release soothing aromatic vapors.
Recommended Usage for the Vicks Menthol Scent Pad (VSP-19 / VSP19VPC):
• Not recommended for infants under 10 pounds
- For children between 10-22 pounds do not use more than 2 pads in a 24 hour period
Setting Up Your Humidifier (Continued)
INGREDIENTS: Eucalyptus Oil, Menthol, Glycol, Cedar Leaf Oil & Others
⚠ WARNING: As long as your humidifier is on, the VapoPad heater will also be activated. This area can be warm to the touch.
NOTE: One complimentary scent pad is included with your unit. Replace with Vicks Vapo Pads, models VSP-19 / VSP19VPC or Vicks Sleepy Time VapoPad VBR-5 /VBR-5FPC, available at most retailers or through Consumer Relations or www.VicksHumidifiers.com. Unit may also be used without VapoPads.
Fill Tank
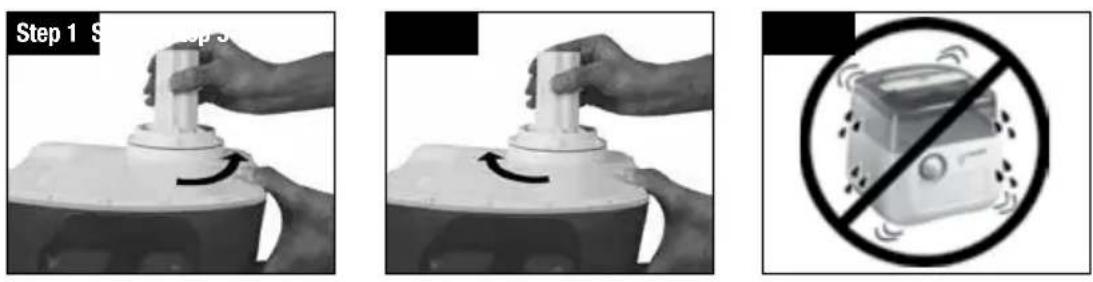
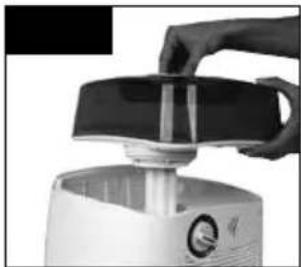
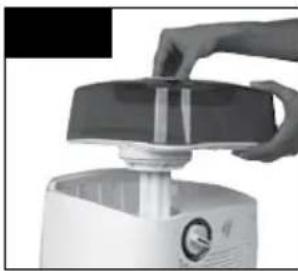
- Turn tank upside-down. Remove tank cap by turning counter-clockwise
- Fill tank with cool tap water. Replace tank cap. Tighten by turning clockwise ↗. Place tank back on humidifier.
- Once the filled water tank has been placed on the unit do not move humidifier. Doing so could cause leakage and spills.
Operating Your Humidifier
Power
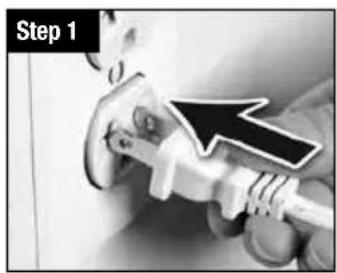
- With the power switch in the OFF position, plug the filled humidifier into a polarized 120V outlet. DO NOT FORCE THE POLARIZED PLUG INTO THE OUTLET; it will only fit one way.
⚠️ DO NOT plug in humidifier with wet hands to avoid electric shock.
Output

- Set fan speed to desired output:
High () Max Moisture Medium () Everyday Moisture Low () Night time sleep mode
Changing Your Filter
NOTE: It is recommended that all maintenance be done in the kitchen or bathroom on a water resistant surface. Remove water tank from unit before moving.
The filter should be changed every 1-3 months depending on your water quality. Keep in mind, depending on your water quality, mineral deposits can still clog or discolor the filter, affecting its life and that of the humidifier.
This product does not protect users or others from bacteria, virus, or other disease causing organisms.
To change the filter:
natural_image
Close-up of a white textured cylindrical object with no visible text or symbols, labeled 'Step 1' in the top-left corner.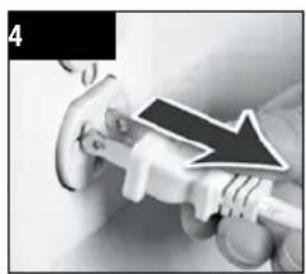
natural_image
Close-up of a hand gripping a wrench with a black arrow overlay (no text or symbols)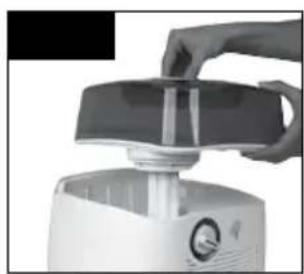
natural_image
Close-up of a hand pressing down on a white appliance with a lid (no visible text or symbols)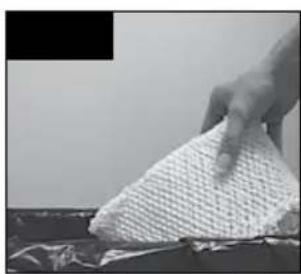
natural_image
Hand holding a textured white object over a dark surface, possibly fabric or material (no visible text or symbols)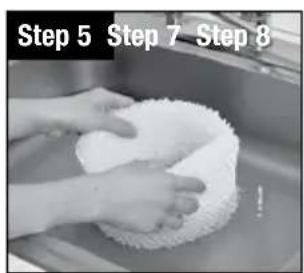
natural_image
Hand placing a textured cloth onto a white appliance (no visible text or symbols)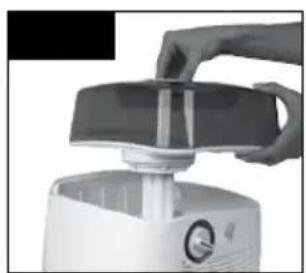
natural_image
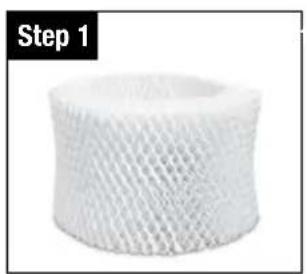
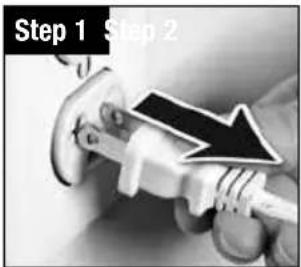
Close-up of a hand pressing down on a white appliance with a lid (no visible text or symbols)- Uses Replacement Filter WF2.
- Turn off and unplug your humidifier.
- Remove the water tank.
- Remove and discard old filter.
- Soak new filter in cool water.
- DO NOT wring filter.
- Insert new filter into unit by gently folding and inserting into filter slot.
- Replace the water tank.
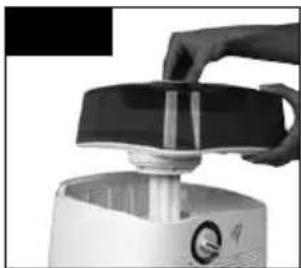
Changing the UV Bulb
The UV bulb will operate for an average output of 2,000 - 3,000 hours. When the change UV bulb indicator light illuminates on the control ring on front of the unit it is time to change your UV bulb. To purchase a replacement UV bulb contact 1-800-477-0457 or www.VicksHumidifiers.com/contact-us.
natural_image
Close-up of a hand pressing down on a black lid of a white appliance (no visible text or symbols)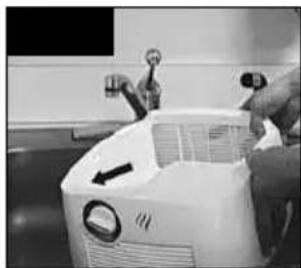
natural_image
Person cleaning a white appliance with a hand holding a tool, no visible text or symbols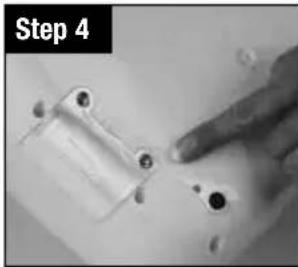
natural_image
Close-up of a hand pointing at a small transparent mechanical component (no text or symbols visible)

natural_image
Close-up of a hand holding a small object with dark markings, possibly a medical or laboratory device (no visible text or symbols)- Turn off and unplug your humidifier.
- Remove and empty the water tank.
- Remove the filter, empty the base of water and dry.*
- Turn base over, locate door, and remove screws with Philips screwdriver.
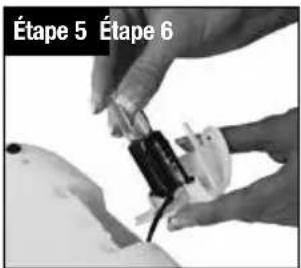
- Unscrew old bulb and replace with new one.
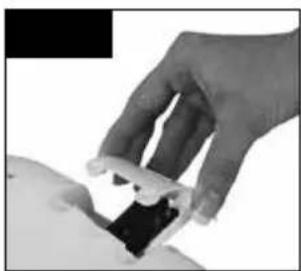
- Replace door and screws and reassemble unit.
* Warning: carefully empty water from base using the directional arrows imprinted on the unit to be certain no water enters it. Completely dry base before changing UV Bulb.
NOTE: Discard the old UV bulb cartridge at a household hazardous waste collection site. Bulb and bulb housing are not intended for use with any other product or purpose.

Lamp contains mercury. Manage in accordance with disposal laws. See www.lamprecycle.org or call 1-800-895-8842.
Cleaning
Cleaning involves two steps, SCALE REMOVAL and DISINFECTING. Be sure to perform these in the proper order to avoid harmful chemical interactions.
NOTE: REMOVE FILTER BEFORE CLEANING. Failure to remove filter during cleaning will destroy the filter
SCALE REMOVAL
natural_image
Close-up of a hand holding a wrench with a black arrow pointing downward (no text or symbols visible)
natural_image
Close-up of a hand pressing down on a white appliance with a black lid (no visible text or symbols)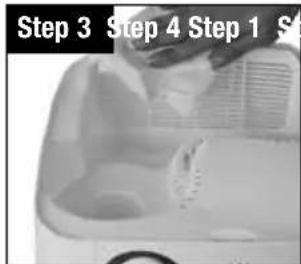
natural_image
Person washing a white appliance with water bottles, no visible text or symbols- Turn off and unplug your humidifier.
- Remove and empty water tank.
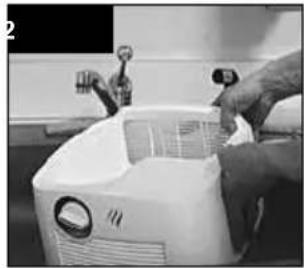
- Remove filter and using undiluted vinegar, wipe base and tank thoroughly.
- Rinse thoroughly with water to remove scale.*
DISINFECTING
natural_image
Close-up of a hand pressing down on a kitchen appliance (no visible text or symbols)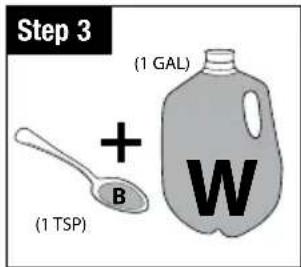
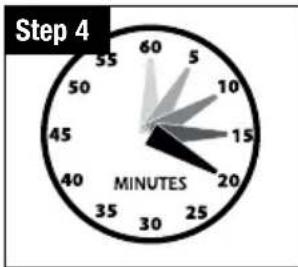
pie
Step 4 | Time (minutes) | |---| | 60 | | 5 | | 10 | | 15 | | 20 | | 30 | | 35 |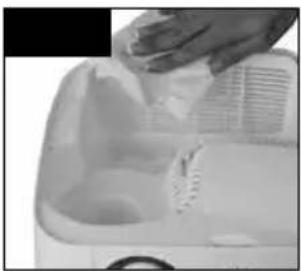
natural_image
Close-up of a hand cleaning a white plastic container with filter and lid (no visible text or symbols)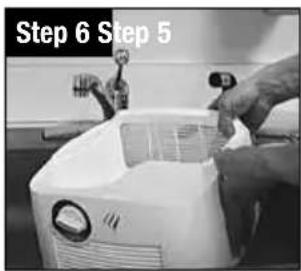
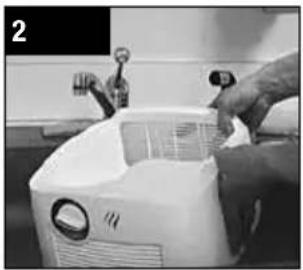
- Turn off and unplug your humidifier.
- Remove and empty water tank.
- Remove filter and fill water tank with 1 tsp of bleach and 1 gallon of cool water. Do not overfill water tank.
- Let stand for 20 minutes.
- Wipe base with the same solution.
- Rinse with water until the smell of bleach is gone.*
NOTE: The use of other water treatment products and chemicals may cause deterioration of the filter or damage the humidifier, thereby hindering the humidifier's effectiveness.
End-of-Season Care And Storage
Follow the CLEANING instructions when the humidifier will not be used for at least one week or more, or at the end of the season.
At the end of the season, remove and throw away the filter; do not store with a used filter.
Dry the humidifier completely before storing. DO NOT store with water inside the Base or Water Tank.
Pack the unit in its original carton and store in a cool, dry location.
Before next use, remember to clean your humidifier and install a new filter.
Consumer Relations
Call us toll-free at: 1-800-VAPOR-1-2 (1-800-827-6712)
In US contact us at: www.VicksHumidifiers.com/contact-us or visit our website at:
www.VicksHumidifiers.com
In Canada email: ConsumerRelations@HelenofTroy.com or visit our website at: www.VicksHumidifiers.ca
Please be sure to specify the model number.
To Order Replacement Parts
Replacement tank Part number V3900-TANK
Replacement filter part number WF2
Replacement UV bulb part number V3900-UV
Electrical Ratings
The Vicks models are rated at 120V, 60 Hz.
NOTE: IF YOU EXPERIENCE A PROBLEM, PLEASE CONTACT CONSUMER RELATIONS FIRST OR SEE YOUR WARRANTY. DO NOT RETURN THE PRODUCT TO THE ORIGINAL PLACE OF PURCHASE. DO NOT ATTEMPT TO OPEN THE MOTOR HOUSING YOURSELF, DOING SO MAY VOID YOUR WARRANTY AND CAUSE DAMAGE TO THE PRODUCT OR PERSONAL INJURY.
Troubleshooting
Q: I hear the fan turning, but I don't see any mist. Is my humidifier operating properly?
A: Dry air is pulled through the system and a fan disperses invisible, moisture balanced air. There is no “mist” emitted. When operating normally you will feel only cool air coming from the unit. Monitor the water level in your Tank/ Base. If you notice a decrease in the Water Tank over 24 hours then the unit is operating normally.
Q: My unit has been running for several hours. I hear the fan spinning, but I do not notice the water level in the tank decreasing.
A: First, check the filter to ensure it is wet. If the filter appears dry, remove it from the Base and gently rinse under cool water. Reposition wet filter in the Base. You may also want to note the current moisture level in your home. If the humidity level is over 60% the unit will not put out much moisture as your air is already saturated.
Troubleshooting (Continued)
Q: My filter has turned light brown and rust colored. Do I need a new filter?
A: Probably not. A brown or rust color indicates mineral deposits. Soak filter in a sink full of cool water to help break up deposits. The discoloration may remain but will not affect the humidifier's performance.
Q: My humidifier doesn't appear to be as clean as when I first purchased and/or I'm smelling an unpleasant odor. What should I do?
A: Follow the cleaning instructions.
Q: How do I know when to change the UV light?
A: When it's time to change to UV bulb the change UV bulb light will be activated on the control panel.
Q: How do I know the UV technology is working properly?
A: The UV light is located in a protective chamber inside the unit and can only be accessed when the unit is turned off. Unless the Change UV Light is activated on the control panel you can be assured that the unit is working.
3 Year Limited Warranty
YOU SHOULD FIRST READ ALL INSTRUCTIONS BEFORE ATTEMPTING TO USE THIS PRODUCT.
A. This 3 year limited warranty applies to repair or replacement of product found to be defective in material or workmanship. This warranty does not apply to damage resulting from commercial, abusive, unreasonable use or supplemental damage. Defects that are the result of normal wear and tear will not be considered manufacturing defects under this warranty. KAZ IS NOT LIABLE FOR INCIDENTAL OR CONSEQUENTIAL DAMAGES OF ANY NATURE, ANY IMPLIED WARRANTY OF MERCHANTABILITY OR FITNESS FOR A PARTICULAR PURPOSE ON THIS PRODUCT IS LIMITED IN DURATION TO THE DURATION OF THIS WARRANTY. Some jurisdictions do not allow the exclusion or limitation of incidental or consequential damages or limitations on how long an implied warranty lasts, so the above limitations or exclusions may not apply to you. This warranty gives you specific legal rights, and you also may have other rights which vary from jurisdiction to jurisdiction. This warranty applies only to the original purchaser of this product from the original date of purchase.
B. At its option, Kaz will repair or replace this product if it is found to be defective in material or workmanship.
C. This warranty does not cover damage resulting from any unauthorized attempts to repair or from any use not in accordance with the instruction manual.
D. This warranty does not cover the filters, pre-filters, UV bulbs or other accessories (if included) except for material or workmanship defects.
Call us toll-free at 1-800-VAPOR-1-2 (1-800-827-6712) or contact us at www.VicksHumidifiers.com/contact-us
Please be sure to specify a model number.
NOTE: IF YOU EXPERIENCE A PROBLEM, PLEASE CONTACT CONSUMER RELATIONS FIRST OR SEE YOUR WARRANTY. DO NOT RETURN THE PRODUCT TO THE ORIGINAL PLACE OF PURCHASE. DO NOT ATTEMPT TO OPEN THE MOTOR HOUSING YOURSELF, DOING SO MAY VOID YOUR WARRANTY AND CAUSE DAMAGE TO THE PRODUCT OR PERSONAL INJURY.

CoolMoisture
natural_image
Exterior view of a Vicks brand blender with control knob (no text or symbols on body)natural_image
Exterior view of a kitchen appliance labeled 'Étape 1' (no other text or symbols visible)natural_image
Close-up of a hand pressing down on a white appliance, labeled 'Étape 1' in the corner (no other text or symbols visible)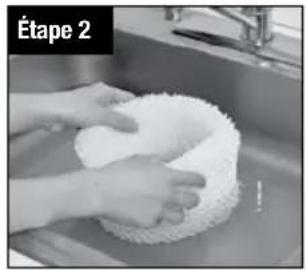
natural_image
Person washing a white cloth on a stainless steel sink (no text or symbols visible)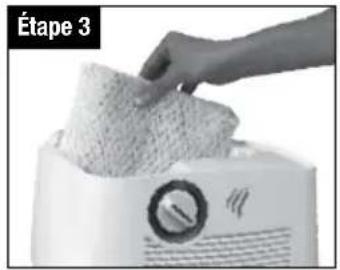
natural_image
Close-up of a hand holding a small object over a white appliance (no visible text or symbols)natural_image
Close-up of hands operating a white cylindrical device with a rotating arrow (no text or symbols visible)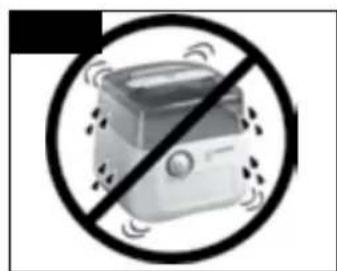
natural_image
Prohibition symbol of a toaster with no text or labels, featuring a crossed-out circle and no readable text.natural_image
Close-up of a white foam roller with visible mesh texture, labeled 'Étape 1' in the top-left corner (no other text or symbols)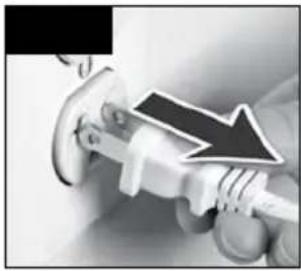
natural_image
Close-up of a hand holding a wrench with a black arrow pointing downward (no text or symbols visible)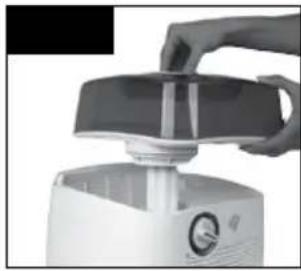
natural_image
Close-up of a hand pressing down on a white appliance with a lid (no visible text or symbols)
natural_image
Person washing a white cloth on a stainless steel sink (no text or symbols visible)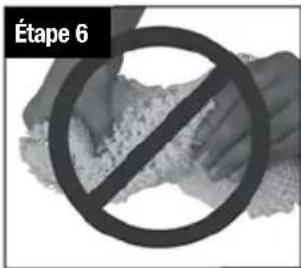
natural_image
Close-up of a hand pressing down on a white appliance with a lid (no visible text or symbols)natural_image
Close-up of a hand pressing down on a kitchen appliance (no visible text or symbols)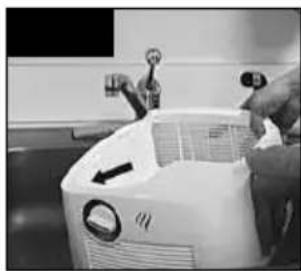
natural_image
Person using a water purifier with faucet and control panel (no visible text or symbols)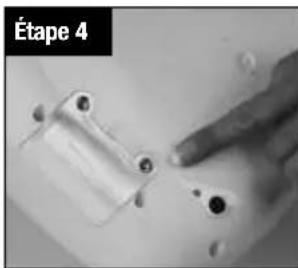
natural_image
Close-up of a hand holding a small object, possibly a device or tool, with no visible text or symbols.natural_image
Close-up of hands holding a white tool with a black arrow pointing downward (no text or symbols visible)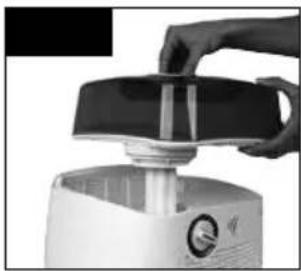
natural_image
Close-up of a hand pressing down on a black lid on a white appliance (no visible text or symbols)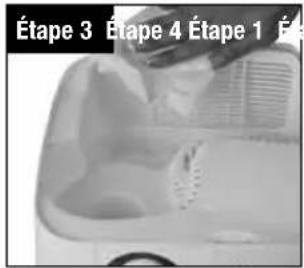
natural_image
Person washing a white appliance with water filter, no visible text or symbolsnatural_image
Close-up of a hand pressing down on a white appliance with a black lid (no visible text or symbols)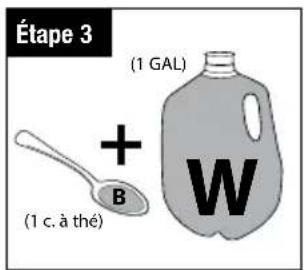
natural_image
Close-up of a hand cleaning a small container with a lid and filter (no visible text or symbols)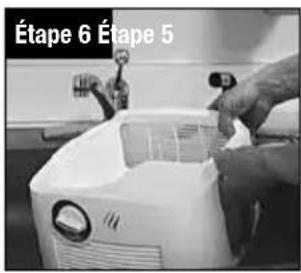
natural_image
Exterior view of a Vicks brand blender with control knob (no text or symbols on body)natural_image
Exterior view of a portable kitchen appliance with a paper airplane (no visible text or symbols)natural_image
Person washing a white cloth on a stainless steel kitchen sink (no text or symbols visible)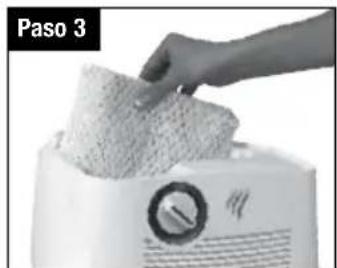
natural_image
Close-up of a hand holding a small object near a white appliance (no visible text or symbols)natural_image
Close-up of a white mesh filter component labeled 'Paso 1' (no other text or symbols visible)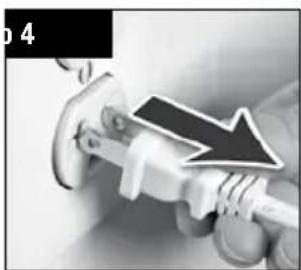
natural_image
Close-up of a hand gripping a wrench with a black arrow pointing downward (no text or symbols)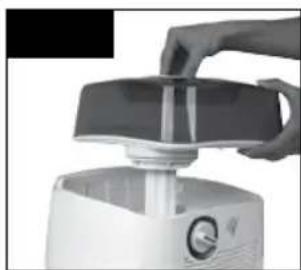
natural_image
Close-up of a hand pressing down on a white appliance with a lid (no visible text or symbols)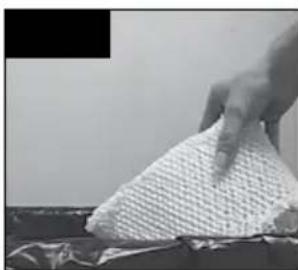
natural_image
Hand pressing down on a textured white object on a dark surface (no visible text or symbols)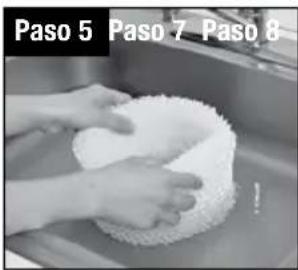
natural_image
Close-up of a hand placing a textured white object onto a white kitchen appliance (no visible text or symbols)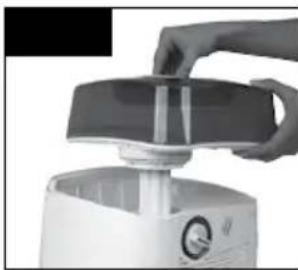
natural_image
Close-up of a hand pressing down on a white electric food blender (no visible text or symbols)natural_image
Close-up of a hand pressing down on a kitchen appliance (no visible text or symbols)
natural_image
Person using a water purifier in a kitchen setting (no visible text or symbols)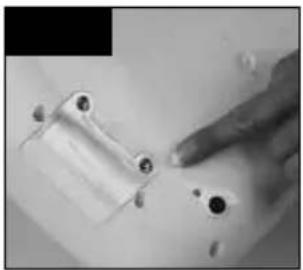
natural_image
Close-up of a hand pointing at small circular objects on a surface (no text or symbols visible)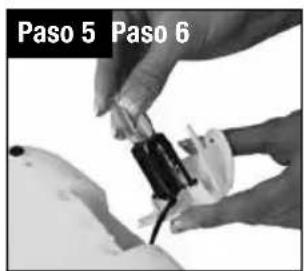
natural_image
Close-up of a hand holding a small object, possibly a device or tool, with no visible text or symbols.natural_image
Close-up of a hand holding an adjustable wrench with a black arrow pointing downward (no text or symbols visible)
natural_image
Close-up of a hand pressing down on a white appliance with a black lid (no visible text or symbols)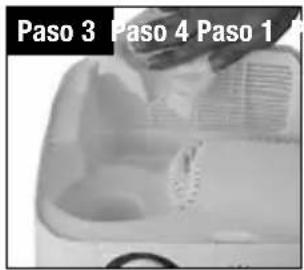
natural_image
Person cleaning a white appliance with water filter and faucet (no visible text or symbols)natural_image
Close-up of a hand pressing down on a white appliance with a black lid (no visible text or symbols)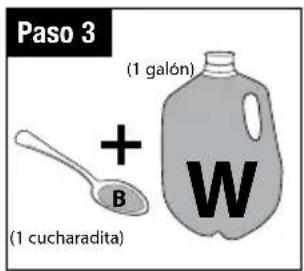
pie
Paso 4 | Segment | Value | |---|---| | Top Left | 60 | | Top Right | 5 | | Bottom Left | 10 | | Bottom Right | 15 | | Bottom Left | 20 | | Bottom Right | 30 | | Bottom Left | 45 | | Bottom Right | 55 |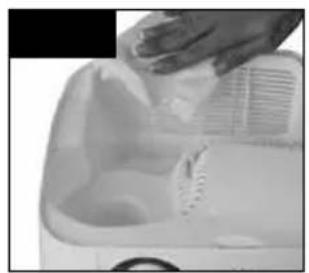
natural_image
Close-up of a hand cleaning a white plastic container with a filter (no text or symbols visible)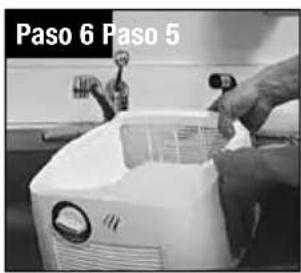
For Responsible recycling, please visit:
Para reciclar responsablemente, por favor visite:
RECYCLE NATION
www.RecycleNation.com
© 2023 All rights reserved • Tous droits réservés • Todos los derechos reservados.
Kaz USA, Inc., a Helen of Troy Company • une société de Helen of Troy • una Empresa de Helen of Troy
400 Donald Lynch Blvd., Suite 300, Marlborough, MA 01752
Distributed by Kaz Canada, Inc., a Helen of Troy Company • Distribué par Kaz Canada, Inc.,
Certain trademarks used under license from The Procter & Gamble Company or its affiliates.


- Important Safety Instructions
- READ AND SAVE THESE IMPORTANT SAFETY INSTRUCTIONS BEFORE USING THIS APPLIANCE
- WHEN USING ELECTRICAL APPLIANCES, BASIC PRECAUTIONS SHOULD ALWAYS BE FOLLOWED TO REDUCE THE RISK OF FIRE, ELECTRICAL SHOCK AND INJURY TO PERSONS, INCLUDING THE FOLLOWING:
- SAVE THESE INSTRUCTIONS
- Vicks Cool Moisture Humidifier (V3900 Series)
- Setting Up Your Humidifier
- Soak Filter
- VapoPads
- Setting Up Your Humidifier (Continued)
- Operating Your Humidifier
- Changing Your Filter
- To change the filter:
- Changing the UV Bulb
- Cleaning
- SCALE REMOVAL
- DISINFECTING
- End-of-Season Care And Storage
- Consumer Relations
- Please be sure to specify the model number.
- To Order Replacement Parts
- Electrical Ratings
- Troubleshooting
- Troubleshooting (Continued)
- Year Limited Warranty
- CoolMoisture
- RECYCLE NATION
Brand : Vicks
Model : V3900
Category : Humidifier