KA5110 - Heating TRISTAR - Free user manual and instructions
Find the device manual for free KA5110 TRISTAR in PDF.
| Product type | Oil-filled radiator |
| Brand | TriStar |
| Model | KA5110 |
| Heating power | 800 W (I), 1200 W (II), 2000 W (III) |
| Supply voltage | 220-240 V ~ 50/60 Hz (standard estimate) |
| Thermostat | Yes, adjustable |
| Indicator light | Yes, operation indicator |
| Number of fins | Not specified (estimated 7-9 fins) |
| Swivel castors | Yes, 4 castors (mounting included) |
| Carrying handle | Yes, plastic handle |
| Cord storage | Yes, integrated cord wrap |
| Recommended safety distance | At least 10 cm from flammable materials |
| Outdoor use | Not recommended, except level I (800 W) mentioned |
| Bathroom use | No, risk of humidity |
| Material | Steel (fins) and plastic (handle) |
| Maintenance | Clean with a soft damp cloth, without chemicals |
| Oil refill | Not by user; sealed special oil |
| Environmental protection | Recyclable via WEEE collection points |
| Country of origin | Not specified |
| Dimensions (W x D x H) | Approximately 62 x 24 x 64 cm (estimate) |
| Weight | Approximately 9-12 kg (estimate) |
Frequently Asked Questions - KA5110 TRISTAR
User questions about KA5110 TRISTAR
0 question about this device. Answer the ones you know or ask your own.
Ask a new question about this device
Download the instructions for your Heating in PDF format for free! Find your manual KA5110 - TRISTAR and take your electronic device back in hand. On this page are published all the documents necessary for the use of your device. KA5110 by TRISTAR.
USER MANUAL KA5110 TRISTAR
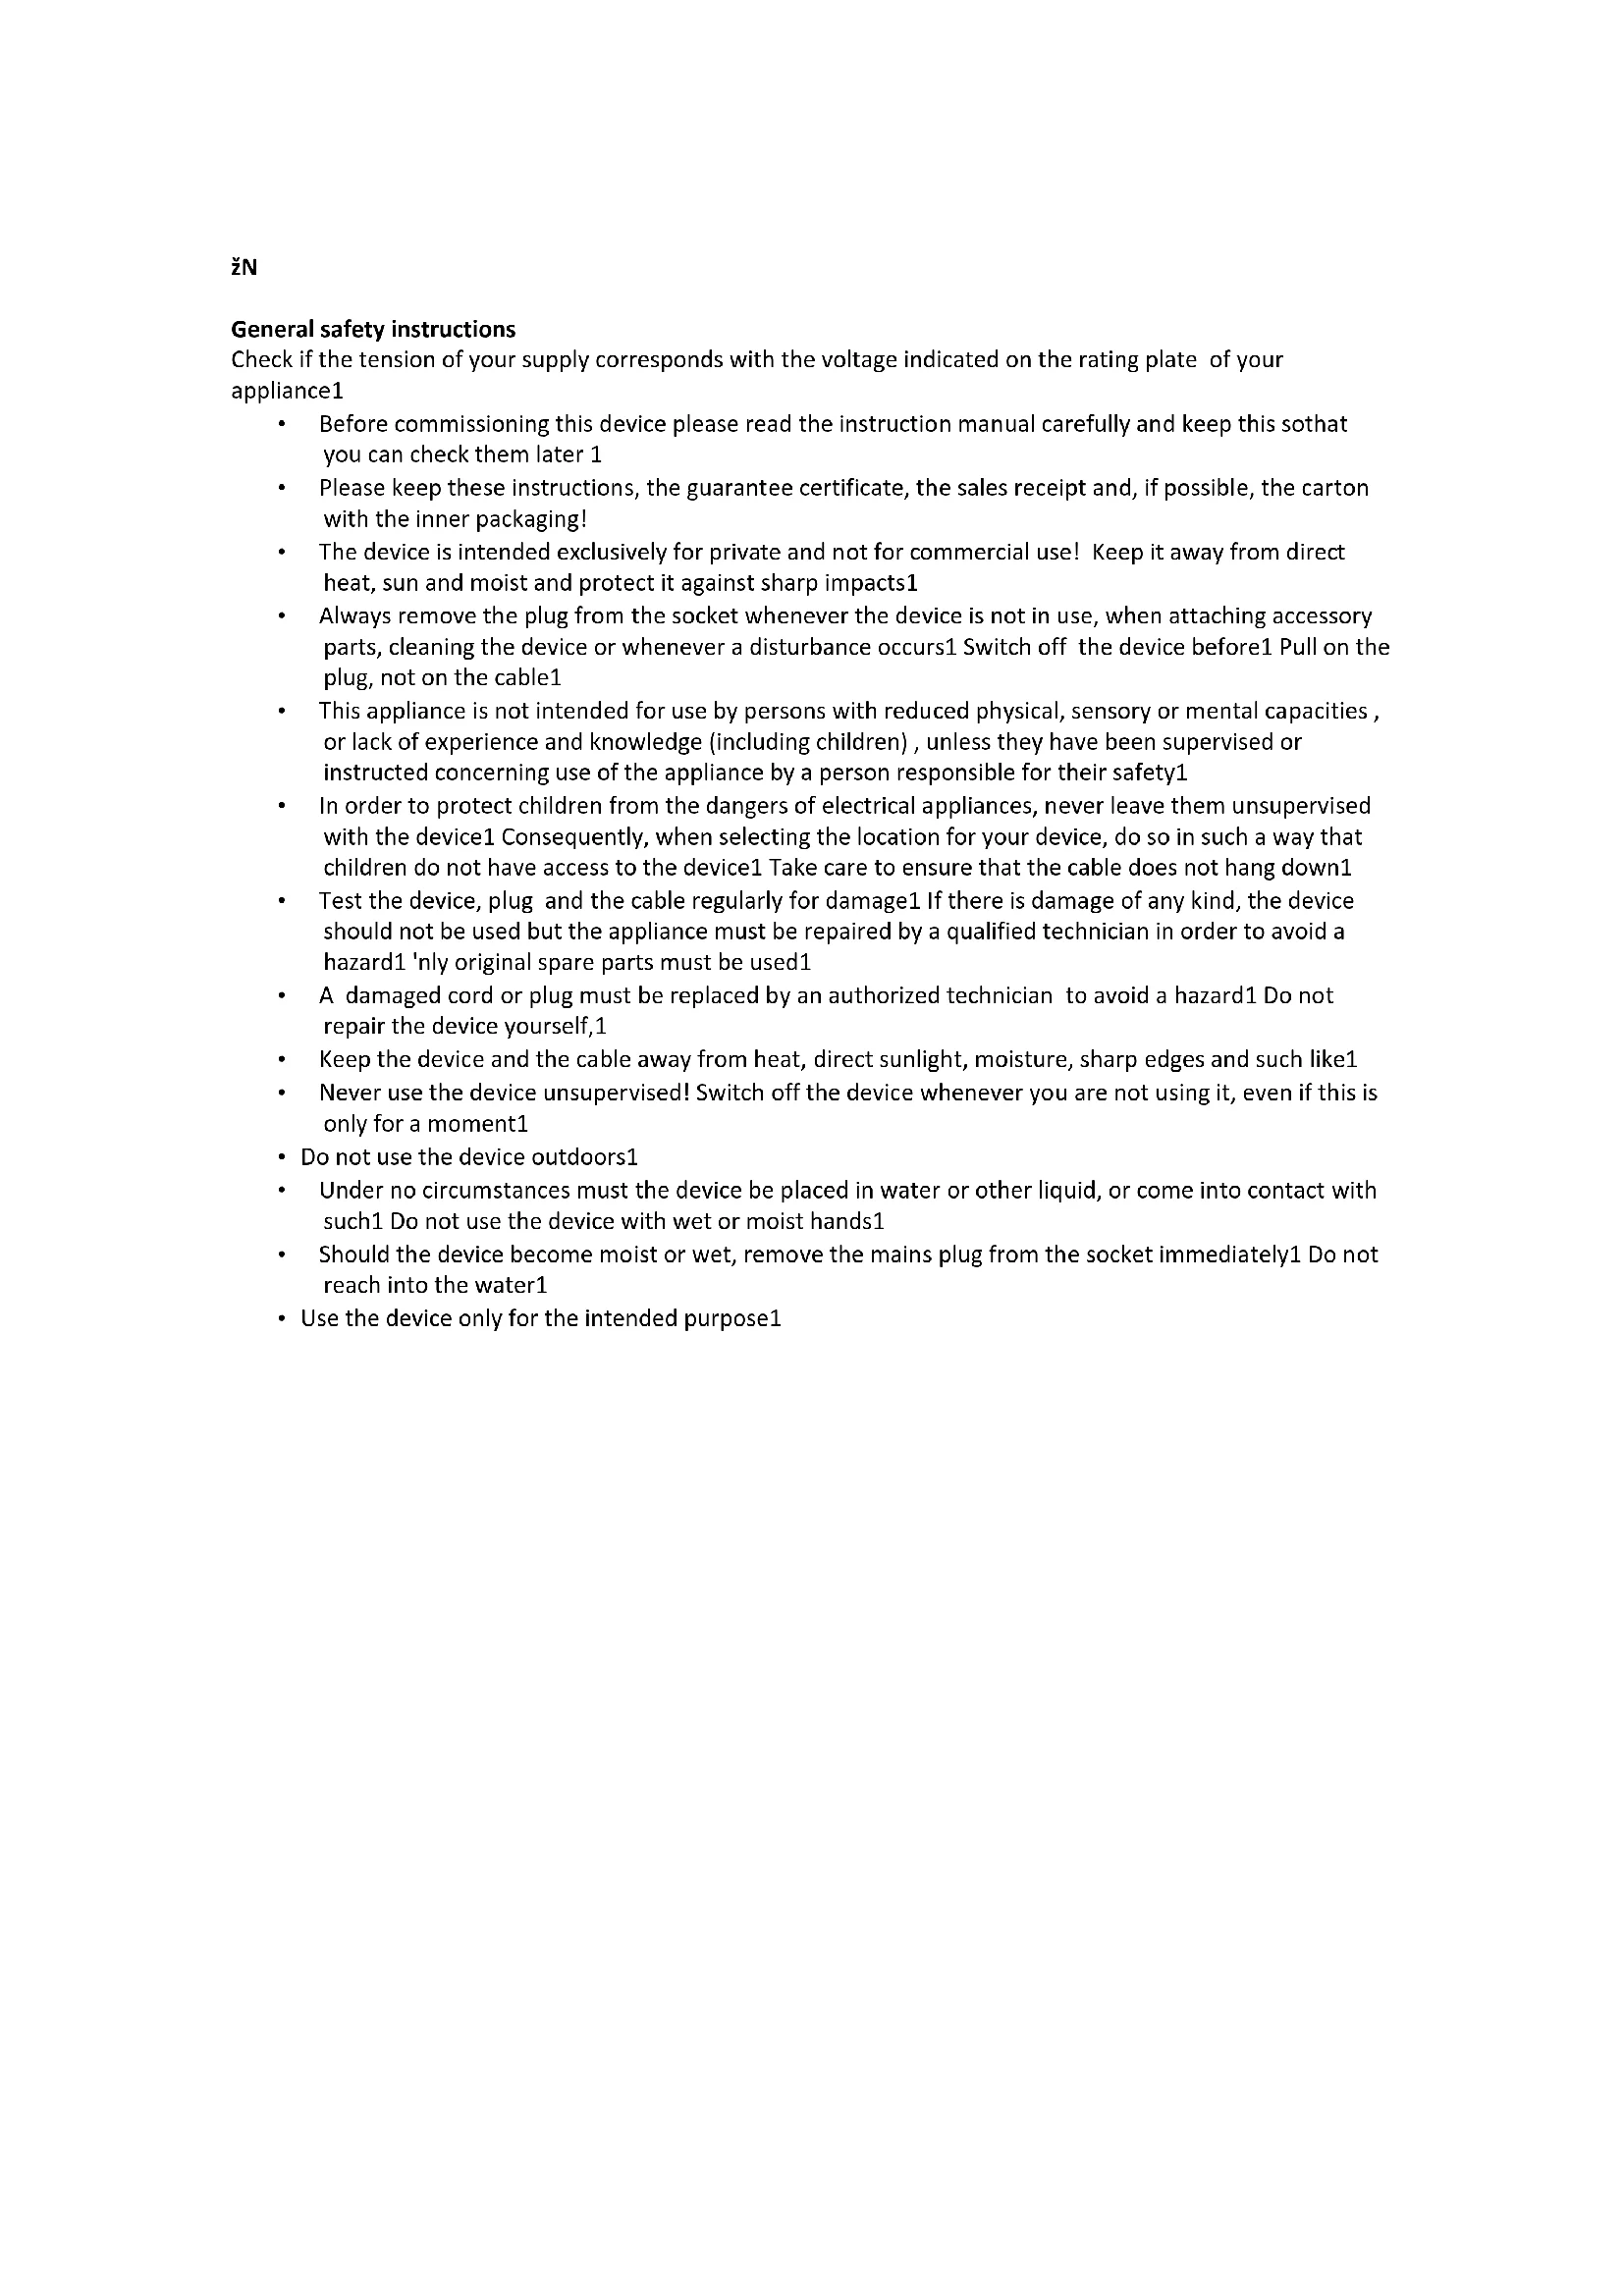
General safety instructions
Check if the tension of your supply corresponds with the voltage indicated on the rating plate of your appliance1
- Before commissioning this device please read the instruction manual carefully and keep this sothat you can check them later 1
- Please keep these instructions, the guarantee certificate, the sales receipt and, if possible, the carton with the inner packaging!
- The device is intended exclusively for private and not for commercial use! Keep it away from direct heat, sun and moist and protect it against sharp impacts1
- Always remove the plug from the socket whenever the device is not in use, when attaching accessory parts, cleaning the device or whenever a disturbance occurs. Switch off the device before Pull on the plug, not on the cable.
This appliance is not intended for use by persons with reduced physical, sensory or mental capacities, or lack of experience and knowledge (including children), unless they have been supervised or instructed concerning use of the appliance by a person responsible for their safety1 - In order to protect children from the dangers of electrical appliances, never leave them unsupervised with the device1 Consequently, when selecting the location for your device, do so in such a way that children do not have access to the device1 Take care to ensure that the cable does not hang down 1
- Test the device, plug and the cable regularly for damage1 If there is damage of any kind, the device should not be used but the appliance must be repaired by a qualified technician in order to avoid a hazard1 'nly original spare parts must be used1
- A damaged cord or plug must be replaced by an authorized technician to avoid a hazard1 Do not repair the device yourself,1
- Keep the device and the cable away from heat, direct sunlight, moisture, sharp edges and such like1
- Never use the device unsupervised! Switch off the device whenever you are not using it, even if this is only for a moment1
- Do not use the device outdoors1
- Under no circumstances must the device be placed in water or other liquid, or come into contact with such1 Do not use the device with wet or moist hands1
- Should the device become moist or wet, remove the mains plug from the socket immediately.1 Do not reach into the water1
- Use the device only for the intended purpose1
Parts list
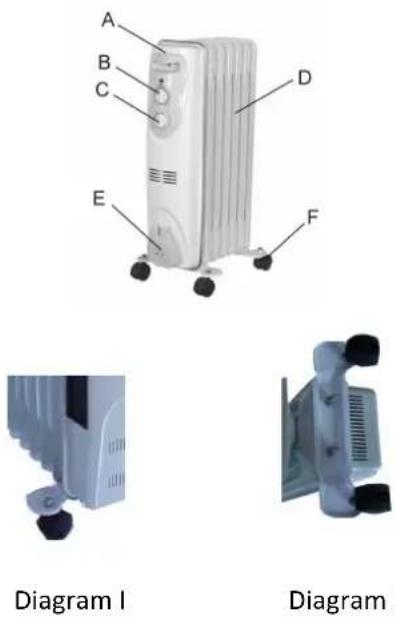
A. Plastic handle
B. Thermostat
C. Power switch
D. Fins
E. Cord storage
F. Castor wheels
Important points before using the oil filled heater.
Some odour and fumes could occur resulting from the first use of your heater.
It's normal for the radiator to make a noise when it is being used for the first time.
Do not transfer your heater just after using it. Wait for a while so it can cool off.
- When the power cable is damaged, it must be replaced by the manufacturer, an authorised service of the manufacturer or a qualified person in terms of life and property securities.
- When you use your heater never operate it nearby an flammable materials such as curtains, tables etc. Allow a distance of 10cm between
- Do not place the radiator just below a power socked.
The radiator must not be used in a bathroom or near a source of water.
- Never refill yourself the oil; it needs special oil. Only approved agents are obliged to open up the oil container section to carry out repairs. Any oil leak must be reported to an repaired by qualified service personnel.
How to attach the wheels (see figure I & II)
- Turn the radiator upside down and rest on a soft surface to prevent scratching of the radiator housing.
- Screw the wheel plates on to the radiator, using the wire loops and wing nuts provided.
- Push the castor wheels on to the wheel pins on the plate until they "click" into place.
- Turn the radiator back to its correct upright position.
Operation
- Switch on the power switch (C). I: 800W, II: 1200W and III is 2000W and turn the thermostat (B) to the highest setting. When the desired temperature has been reached, turn back the thermostat until the indicator lamp goes out. If you want to use it for outdoor you can only use level I.
- Simply adjust the thermostat to retain the desired temperature.
The indicator lamp indicates whether or not the radiator is working.
qeaningv
V
Before cleaning your heater, cut the connection between the plug and socket so it can cool off for a couple of minutes1
Make sure that the heater is cold before
- Clean your heater with a soft damp cloth1
- Do not use chemical materials for the cleaning of your heater1
- Do not use dry and powder cleanersO detergents when cleaning your heater1
- Never clean your heater by pouring water on it, make sure that the heater is dry before using it1
Guidelines for protection of the environment
This appliance should not be put into the domestic garbage at the end of its useful life, but must be disposed of at a central point for recycling of electric and electronic domestic appliances. This symbol on appliance, instruction manual and packaging puts your attention to this important issue! The materials used in this appliance can be recycled! By recycling used domestic appliances you contribute an important push to the protection of our environment! Ask your local authorities for information regarding the point of recollection!