NVA4G43BT - Browser Bluetech - Free user manual and instructions
Find the device manual for free NVA4G43BT Bluetech in PDF.
| Product type | GPS Navigator |
| Brand | Bluetech |
| Model | NVA4G43BT |
| Dimensions | 131 mm x 84 mm x 13.5 mm |
| Weight | 205 g |
| Power supply | Rechargeable Li-ion battery, 12 V cigarette lighter adapter, 5 V mains adapter |
| Processor | Mstar 400 MHz |
| Memory | 64 MB DDR2 RAM, 128-256 MB / 2 GB Nandflash ROM |
| Operating system | Microsoft WinCE.NET 5.0 Core |
| Screen | Touchscreen |
| Map storage | Micro SD card up to 8 GB (optional) |
| GPS receiver | Internal ceramic antenna (25 mm x 25 mm) |
| Speaker | 2.0 W integrated mono |
| Connectivity | USB, 5 V adapter socket |
| Box contents | GPS navigator, car mount, car adapter, USB cable, manuals |
| Maintenance and cleaning | Clean with a soft, dry cloth; avoid moisture and extreme temperatures |
| Battery safety | Do not expose to +60 °C, do not puncture, recycle the Li-ion battery |
| Use in car | Do not obstruct the driver's vision or airbags; use the cigarette lighter adapter |
| Warranty and compliance | Directive R&TTE 1999/5/EC, standards EN60950-1, EN301489, EN300487 |
Frequently Asked Questions - NVA4G43BT Bluetech
User questions about NVA4G43BT Bluetech
0 question about this device. Answer the ones you know or ask your own.
Ask a new question about this device
Download the instructions for your Browser in PDF format for free! Find your manual NVA4G43BT - Bluetech and take your electronic device back in hand. On this page are published all the documents necessary for the use of your device. NVA4G43BT by Bluetech.
USER MANUAL NVA4G43BT Bluetech
MANUEL D'INSTRUCTION
NVA4G43BT001


IMPORTANT
Poccofuly the cnoe 2nct target.

A propos de
Satellite signals are required for this product to function in Navigation Mode. There may be occasions within your home or building when the signal strength is limited and Navigation Mode may not be possible. This is quite normal for products of this type. If you experience difficulty in receiving a signal in your car you may need to use the external antenna (optional). You can check the number of satellite signals that the unit is receiving and the strength of those signals by viewing the GPS Receiver page, see "GPS Receiver" on page 8.
Safety
The Global Positioning System
The Global Positioning System (GPS) is a satellite based system that provides location and timing information around the globe. GPS is operated and controlled under the sole responsibility of the Government of the United States of America, who are responsible for its availability and accuracy.
Using Your navigation in the Car
When using while driving it is essential that you drive with due care and attention. Never modify the settings or program your navigation while driving. Only look at the map when it is safe to do so. Only follow the instructions when the road regulations allow you to do so.
When mounting the device in your car make sure that it does not obscure your view or impede the operation of any driving controls.
Battery
Your navigation uses a Li-ion battery. Do not use it in humid, wet or corrosive environments. Do not operate or store your device in high temperatures (>60C) or in direct sun light. Do not store in a microwave or pressurised container. Do not pierce or break the battery casing.
Failure to follow these cautions will invalidate the warranty and may cause
the battery to leak acid, become hot, explode or ignite and cause injury or damage.
If you come into contact with leaked battery acid wash thoroughly and seek medical attention.
The Li-ion battery contained in this unit must be recycled or disposed of properly. Do not dispose of in household waste or burn.
Getting Started
Please make sure that you read all of the information contained within this user guide before contacting the customer helpline. If you experience any problems, please check the Troubleshooting guide at the back of this user guide before contacting the customer helpline.
In the Box
In the box you will find
- Satellite Navigation System
- Built in Nand Flash for preloaded maps (Optional)
- SD memory card for map data (Optional)
- USB DC power lead with 5V car adapter
- Car Mounting Cradle
- USB cable to connect to your PC
- User Manuals


logo size : 8 mm 's high
"At full volume, prolonged listening to the portable audio device may damage the user's hearing"
According to USB agreement, max .value of current is 500mA.If you operate Main unit vader the condition of bettery recharge,it will reduce the life of the mainunit.
2

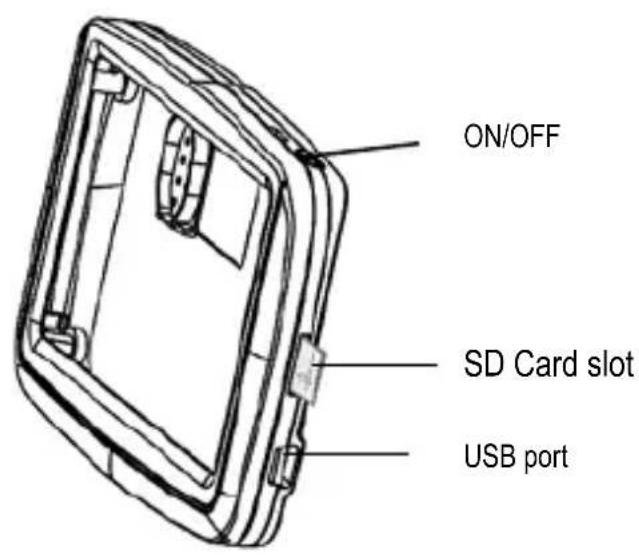
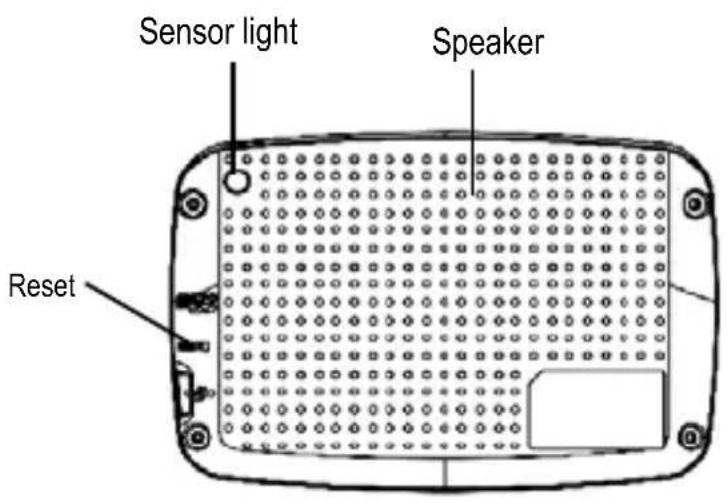
Control's Position
3
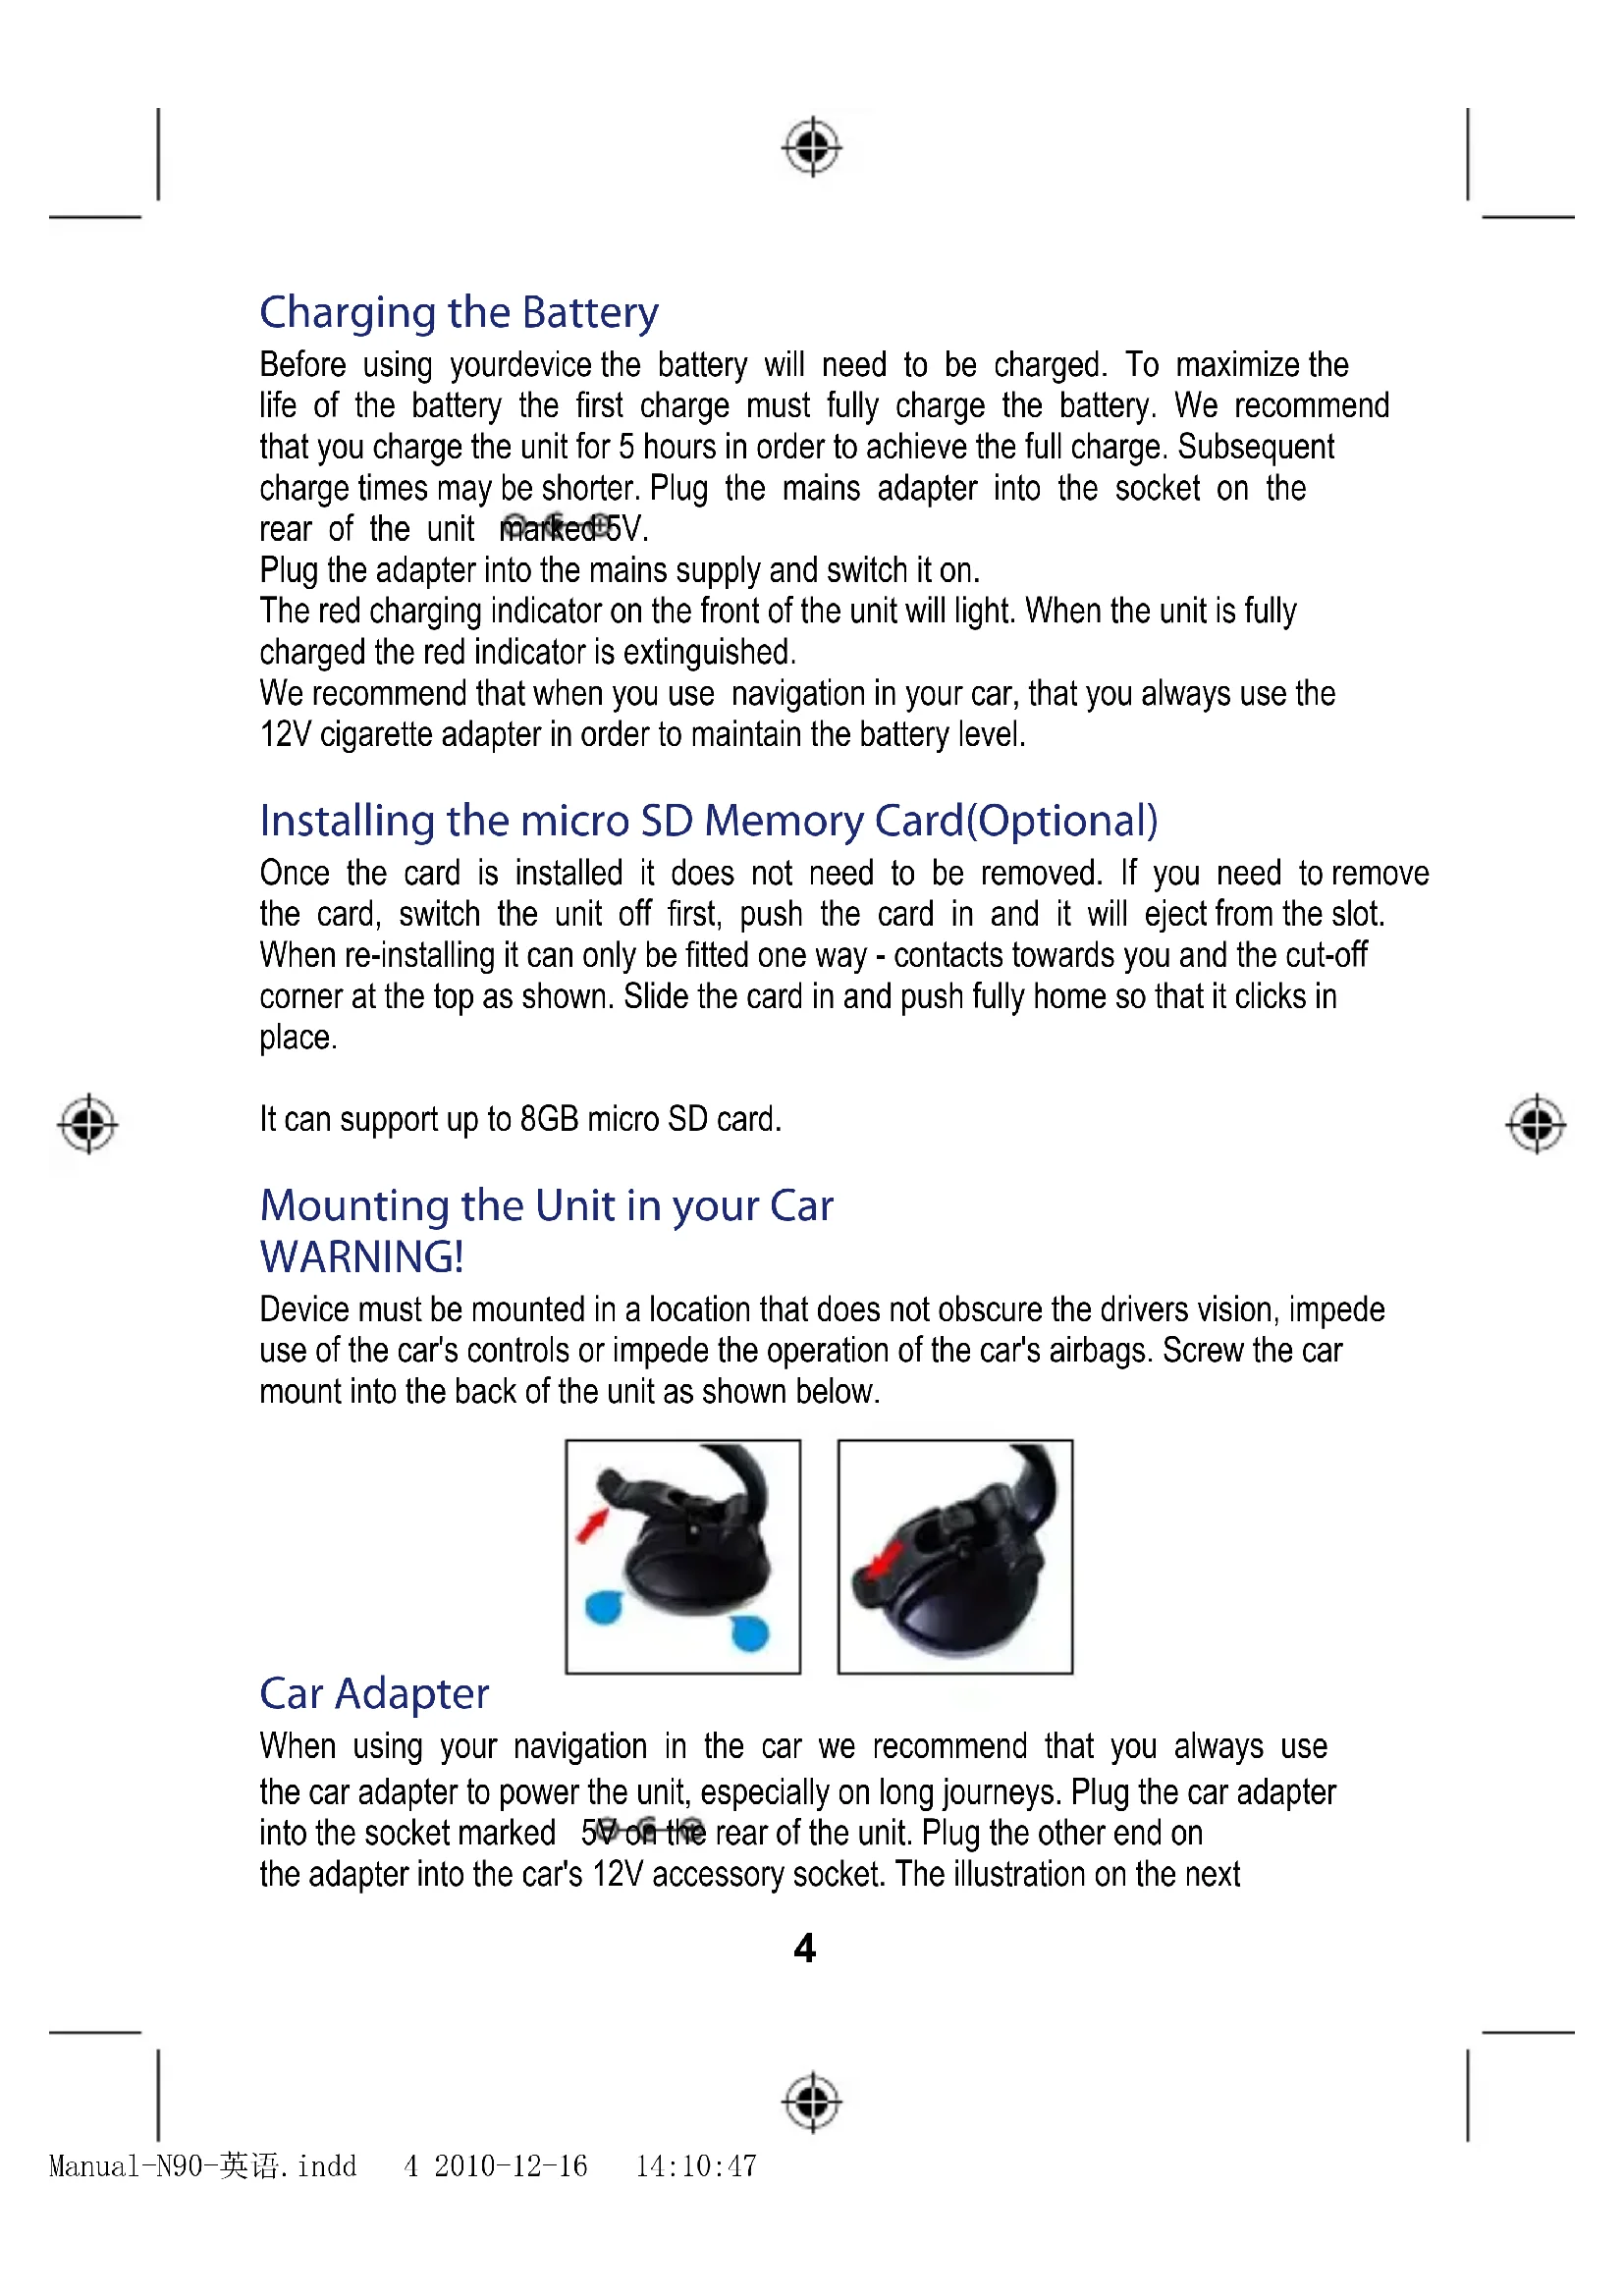
Charging the Battery
Before using yourdevice the battery will need to be charged. To maximize the life of the battery the first charge must fully charge the battery. We recommend that you charge the unit for 5 hours in order to achieve the full charge. Subsequent charge times may be shorter. Plug the mains adapter into the socket on the rear of the unit marked 5V.
Plug the adapter into the mains supply and switch it on.
The red charging indicator on the front of the unit will light. When the unit is fully charged the red indicator is extinguished.
We recommend that when you use navigation in your car, that you always use the 12V cigarette adapter in order to maintain the battery level.
Installing the micro SD Memory Card(Optional)
Once the card is installed it does not need to be removed. If you need to remove the card, switch the unit off first, push the card in and it will eject from the slot.
When re-installing it can only be fitted one way - contacts towards you and the cut-off corner at the top as shown. Slide the card in and push fully home so that it clicks in place.
It can support up to 8GB micro SD card.
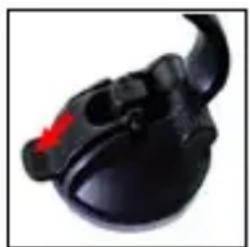
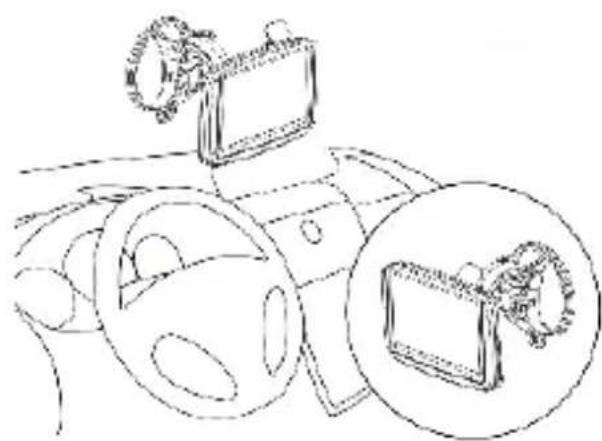
Mounting the Unit in your Car WARNING!
Device must be mounted in a location that does not obscure the drivers vision, impede use of the car's controls or impede the operation of the car's airbags. Screw the car mount into the back of the unit as shown below.
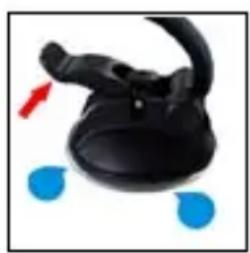
Car Adapter
When using your navigation in the car we recommend that you always use the car adapter to power the unit, especially on long journeys. Plug the car adapter into the socket marked 5V on the rear of the unit. Plug the other end on the adapter into the car's 12V accessory socket. The illustration on the next
page shows a typical installation. If possible fix the power cable so that it does not obscure instruments or controls and does not cause a tripping hazard.

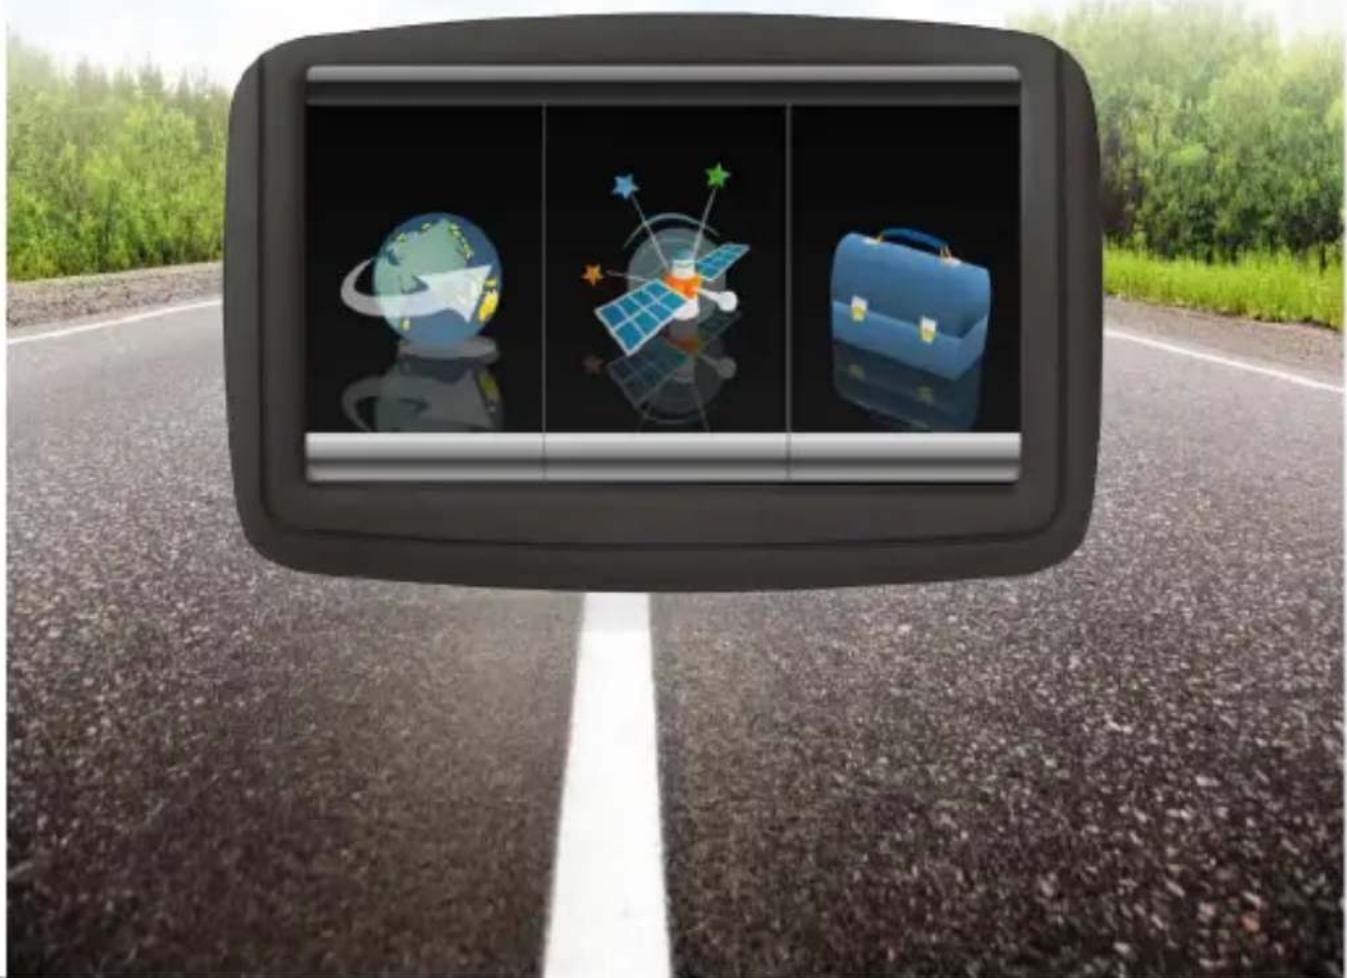
Switching On
Firstly The System logo is displayed.
Then following page will be displayed. After a couple of seconds this page will be replaced with the open page as shown below.

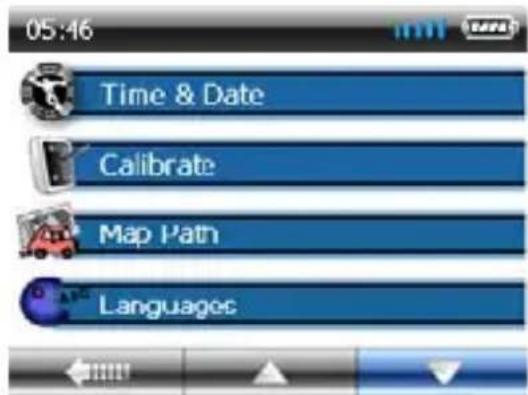
Settings
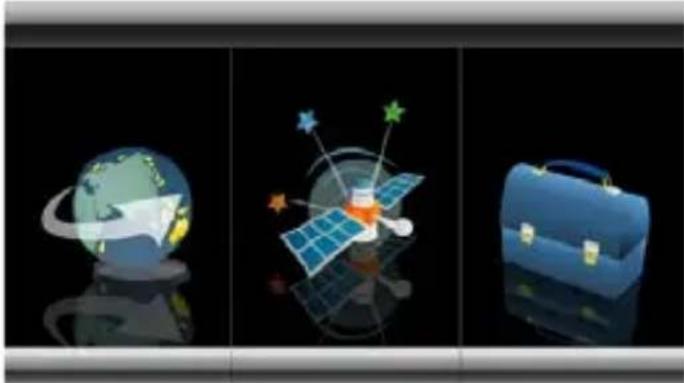
NOTE: You do not need to enter the SETTINGS menu before you start to navigate. If you touch the Travel Kit icon the following page is displayed.
To exit this page, touch the arrow in the bottom left of the screen.
Calibration
This function calibrates the unit to respond to your screen taps. You will only need to use this function if the unit begins to respond inconsistently to your screen taps.
Poccouly the toner oftctarget.

About
The About page is for information only. It will give the serial number, versionEN numbers and the helpline number for the product.


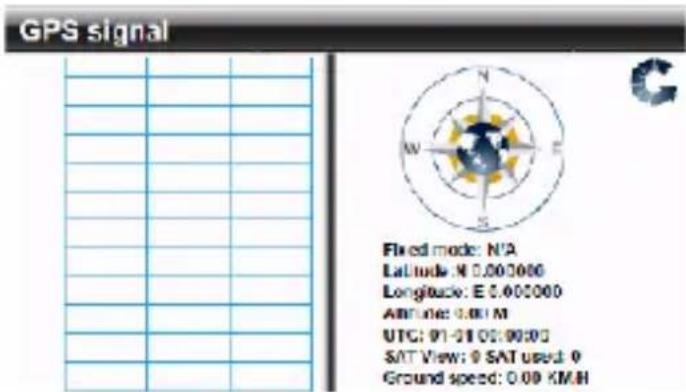
GPS Receiver
NOTE: This page is for information only. You can view the number of satellite signals the unit is receiving and also the strength of these signals. When the Open page is displayed touch on the GPS RECEIVER icon. A page similar to that shown below will be displayed.
7

This page gives your current position in degrees longitude and latitude, your current speed and the status of your position, i.e. Fixed 3D or Fixed Invalid etc. The compass circle shows the satellites that the unit is receiving and the bar chart below shows the strength of the signal from each of these satellites.
NOTE:
At least three GPS signals are required for the device to function. There may be occasions within your home or building when the signal strength is limited and GPS Receiver Mode may not be possible. This is quite normal of products of this type. Your car may have an athermic heat reflecting windscreen or windscreen heating that prevents the GPS receiver acquiring a valid signal.
| Function Hardware Specification | |
| CPU MStar 400 MHz | |
| Input Method | Software Keyboard |
| Operating System | Microsoft WinCE.NET.5.0 Core Version |
| Expansion Slot | Micro SD card ( Support up to 8GB) |
| Antenna Ceramic Antenna ( 25mm x 25 mm ) Internal | |
| Speaker Built-in | 2.0W Mono (Internal) |
| USB USB | Client / ActiveSync |
| Memory | 64MB DDR2 Ram – 128MB256MB/ 2G Nandflash Rom |
| Dimension | 131mmx 84mmx 13.5mm |
| Weight | 205g |
DECLARATION DE CONFORMITE
IDCOM - 79, Route Nationale 7 - 69570 Dardilly - France
IDENTIFICATION DU PRODUIT
DECLARATION OF CONFORMITY
IDCOM - 79, Route Nationale 7 - 69570 Dardilly - France
Product identity :
- Type: GPS
Trade reference : NVA4G43BT001
declare under our sole responsibility that the product described upper to which this declaration relates is in conformity with the essential requirements and other relevant requirements of the R&TTE Directive (1999/5/EC) and safety toy directive (2009/48/ EC).
The product is in conformity with the following standards and/or other normative documents:
HEALTH & SAFETY :EN60950-1
EMC: EN301489-1 EN301489-19
SPECTRUM:EN300487
And declare that all RTTE tests required were made.
Laboratory identity :
Poccoaly the cnoe oftctagot.