SGPD430 - Browser SYLVANIA - Free user manual and instructions
Find the device manual for free SGPD430 SYLVANIA in PDF.


| Product type | GPS Navigator (PND) |
| Brand | Sylvania |
| Model | SGPD430 |
| Power supply | 12V cigarette lighter charger, internal rechargeable battery |
| Main functions | GPS navigation, music player, video player, photo viewer, e-book reader, system settings |
| Display | Touchscreen |
| Storage | Supports micro SD card up to 2 GB (not included) |
| Connectivity | USB (for PC sync), charger port |
| Included accessories | USB cable, car charger, mounting bracket, base |
| Safety | Do not leave exposed to sun; do not obstruct driver's view; obey traffic laws |
| Maintenance and cleaning | Clean with a soft cloth; avoid abrasive products |
| Spare parts and repairability | Screen calibration possible via system menu |
| General information | Requires at least 4 satellite signals to operate; do not use without satellite reception |
Frequently Asked Questions - SGPD430 SYLVANIA
User questions about SGPD430 SYLVANIA
0 question about this device. Answer the ones you know or ask your own.
Ask a new question about this device
Download the instructions for your Browser in PDF format for free! Find your manual SGPD430 - SYLVANIA and take your electronic device back in hand. On this page are published all the documents necessary for the use of your device. SGPD430 by SYLVANIA.
USER MANUAL SGPD430 SYLVANIA
SYLVANIA is a registered trademark of OSRAM SYLVANIA INC. used under license

APPENDIX
1. Caution of battery operation and use
RISK OF EXPLOSION IF BATTERY IS REPLACED BY AN INCORRECT TYPE.
DISPOSE OF USED BATTERIES ACCORDING TO THE INSTRUCTIONS.
2. FCC Compliance
This device complies with part 15 of the FCC rules. Operation is subject to the following two conditions: (1) This device may not cause harmful interference, and (2) this device must accept any interference received, including interference that may cause undesired operation.
Caution: changes or modifications not expressly approved by the party responsible for compliance could void the user's authority to operate the equipment.
NOTE: This equipment has been tested and found to comply with the limits for a Class B digital device, pursuant to Part 15 of the FCC Rules. These limits are designed to provide reasonable protection against harmful interference in a residential installation. This equipment generates, uses and can radiate radio frequency energy and, if not installed and used in accordance with the instructions, may cause harmful interference to radio communications. However, there is no guarantee that interference will not occur in a particular installation. If this equipment does cause harmful interference to radio or television reception, which can be determined by turning the equipment off and on, the user is encouraged to try to correct the interference by one or more of the following measures:
Reorient or relocate the receiving antenna.
Increase the separation between the equipment and receiver.
Connect the equipment into an outlet on a circuit different from that to which the receiver is connected.
Consult the dealer or experienced radio/TV technician for help.
Curtis International Ltd
315 Attwell Drive, Toronto, Ontario, Canada, M9W 5C1
Tel: 1-800-968-9853
FAX: 1-800-968-9854
www.curtisint.com
Made in China
A. Basic Operation 3
- Understanding of the Product Components 3
1.1 Front components 3
1.2 Back components 3
1.3 Top components 3
1.4 Left-side components 4
1.5 Right-side components 4
1.6 Bottom components 5
- Accessory Operations 5
2.1 Charging by Car Charger 5
2.2 Install the Cradle and Car Mount 5
2.3 USB Cable usage 6
2.4 GPS Initial Cold Start Up.. 6
B. Functions Operation 7
1 Powering & Main Menu 7
2 Main Interface. 7
2.1 Navigation 7
2.2 Music 7
2.3 Photo 8
2.4 Ebook 9
2.5 Video 10
2.6 System 11
Precaution and Notice
The PND is used only as a navigation aid. It is not for precise measurement of direction, distance, location or topography. The user must follow all traffic signs and local regulations along the roads.
GPS satellite signals cannot pass through solid materials (except glass). When you are in a tunnel or building, GPS position is not available.
At least 4 GPS satellite signals are needed to determine the current location. Signal reception can be affected by situations, such as bad weather or dense overhead obstacles (e.g. tall buildings).
Other wireless devices in the vehicle might interfere with the reception of satellite signals and cause the unstable signal reception.
If system haltes, please press the power button to restart the device.
When you get out of the car, please do not leave your PND on the dashboard or subject to direct sunlight. The overheating of the battery may cause malfunctions or danger.
Please do not fix the device where the driver's field of vision is blocked.
A. Basic Operation
1. Understanding of the Product Components
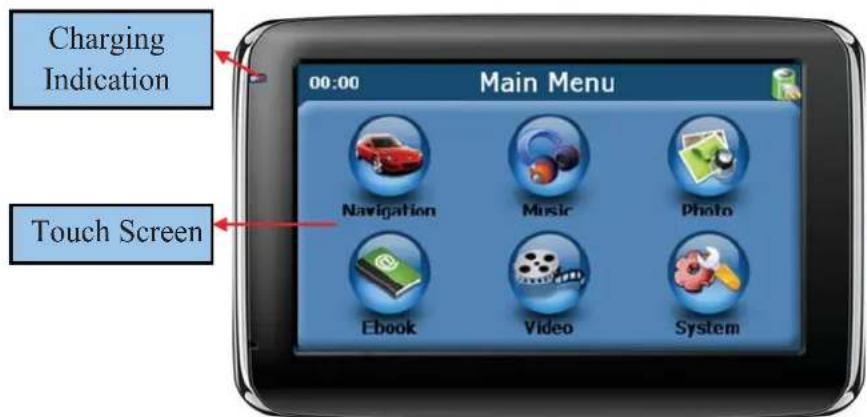
1.1 Front components
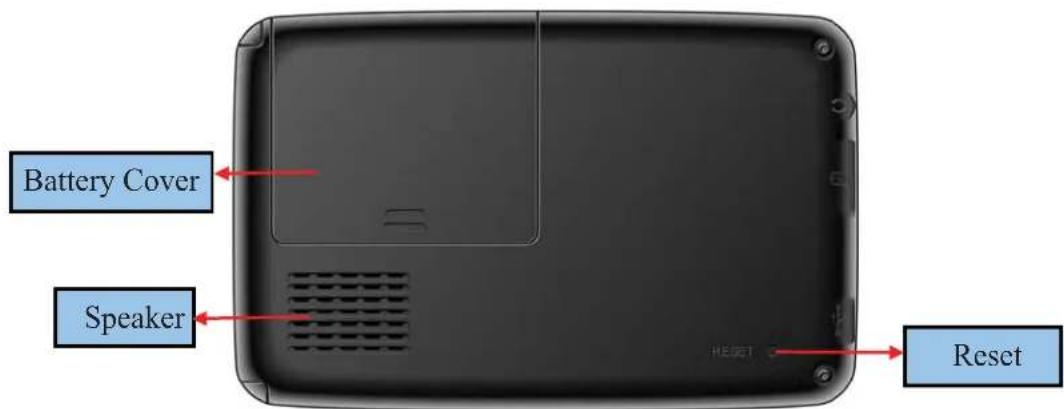
1.2 Back components
1.3 Top components

1.4 Left-side components
1.5 Right-side components
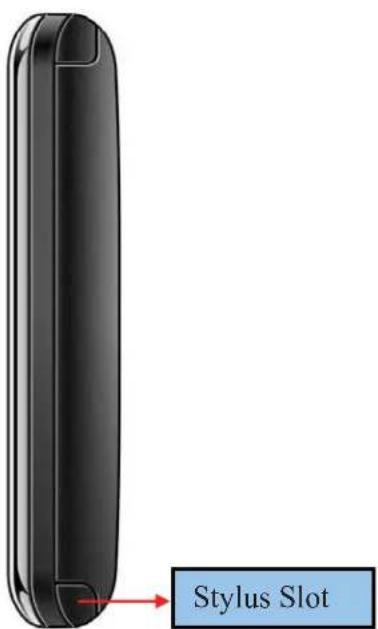
1.6 Bottom components

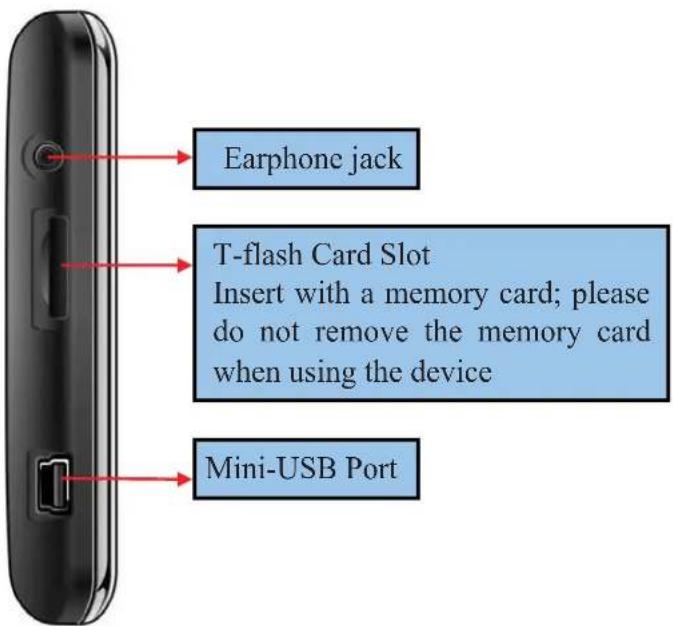
Installing the T-flash Memory Card
To use the product as a media player or navigate in a country outside North America, install T-flash memory card (2GB micro SD card), blank or loaded with map, into the slot on the right. NOTE: The card is not included in the standard accessory kit.
Once the card is inserted, it can not be removed during the process of the device operation.
If you need to remove the card, please switch off the unit first. And then push the card in and it will eject from the slot.
2. Accessory Operations
2.1 Charging by Car Charger
When use your PND in the car, it is better to use the car charger to power the unit, especially on long journey.
Please plug the car charger into the device's USB port on its right-side panel.
Please plug the another side of the car charger to cigarette lighter to charge the device.
It is better to fix the power cable so that it will not cause some unnecessary troubles.
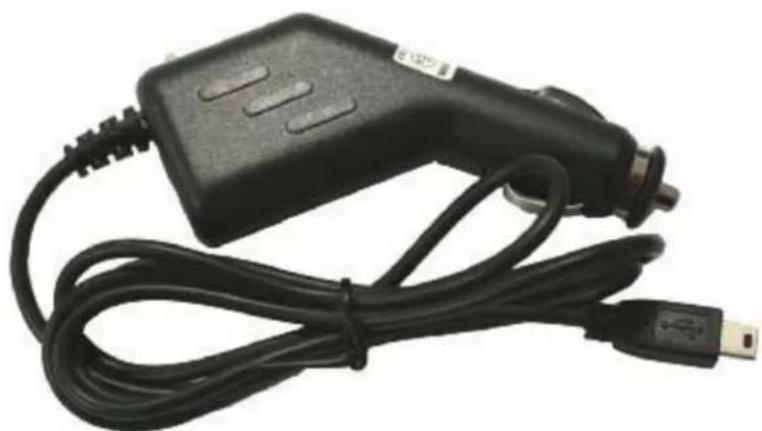
2.2 Install the Cradle and Car Mount
Install car Mount System
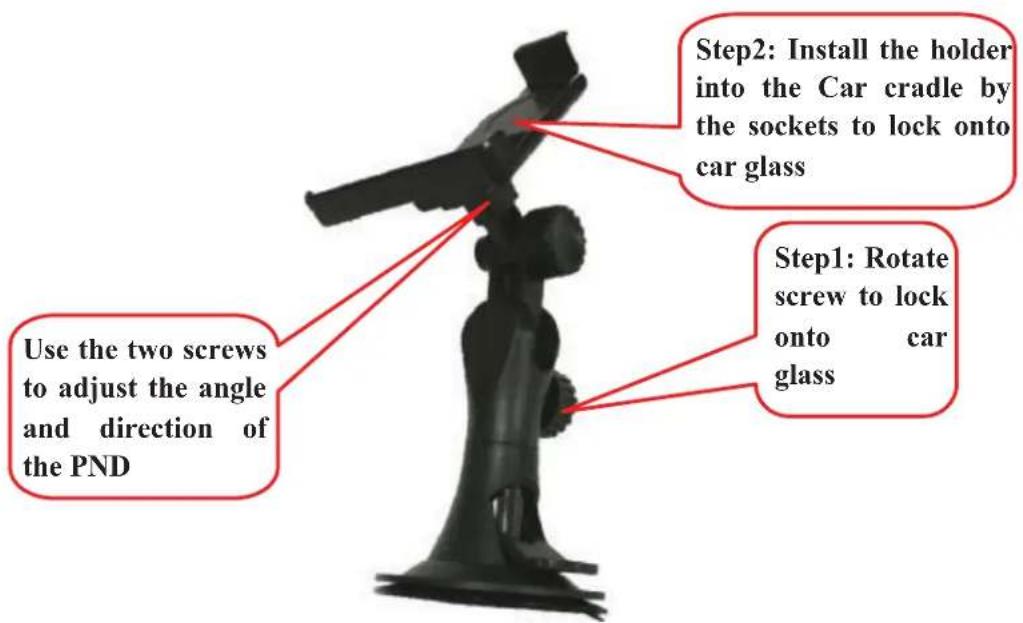
Install PND into the holder
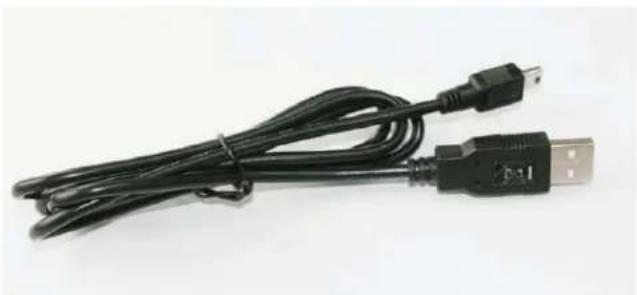
2.3 USB Cable usage
The USB cable is provided for system upgrading. It can connect the navigator to the computer and make these two synchronize.
For upgrading and more information about Microsoft Active Sync, please visit Microsoft web.
2.4 GPS Initial Cold Start Up
The first starting up should be in an open area without obstructions.
Hold until the device receives 4 GPS satellite signals, then you can program your trip.
Note:
There are various ways for searching a location on the map or planning your routing. Please follow Navigation User Manual which will guide you when driving.
B. Functions Operation
1 Powering & Main Menu
Long time press the "Power" button to power the equipment on and you will see the power-on interface. Long time press the "Power" button again to turn the unit off.
2 Main Interface
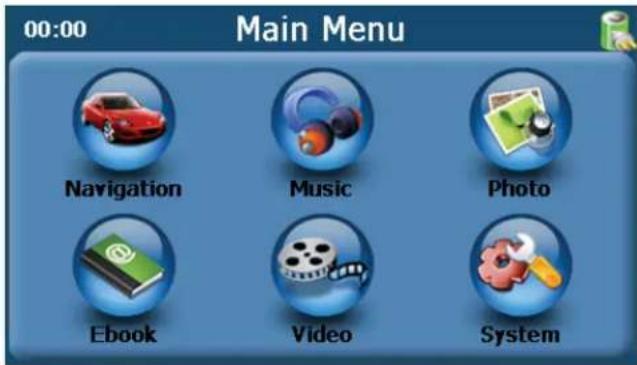
2.1 Navigation
Tap the "Navigation" icon to enter into the navigation interface.
2.2 Music
- Tap "Music" icon on the main menu interface to enter into the music interface as follows:

- Tap the song name you want to choose to enter into the following interface:

Tap the REPEAT icon to repeat the selected file.
Tap the RANDOM icon to randomly play the files loaded on the card.
Tap "Next" to play the next file and Tap "Previous" to play the previous piece of music.
Tap the "X" to return to the file list interface.
2.3 Photo
- Tap the "photo" icon on the main interface to enter into the picture browse interface:
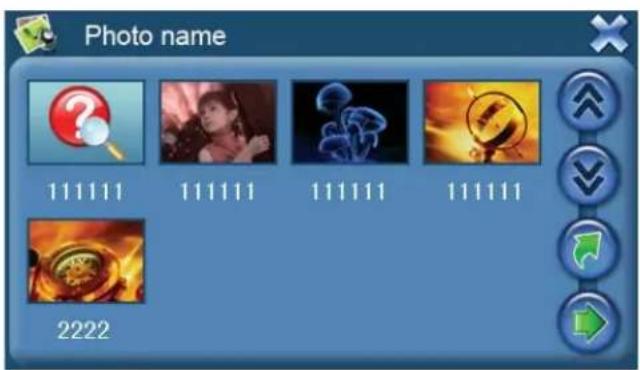
Double tap on the file name to enter into the following interface:
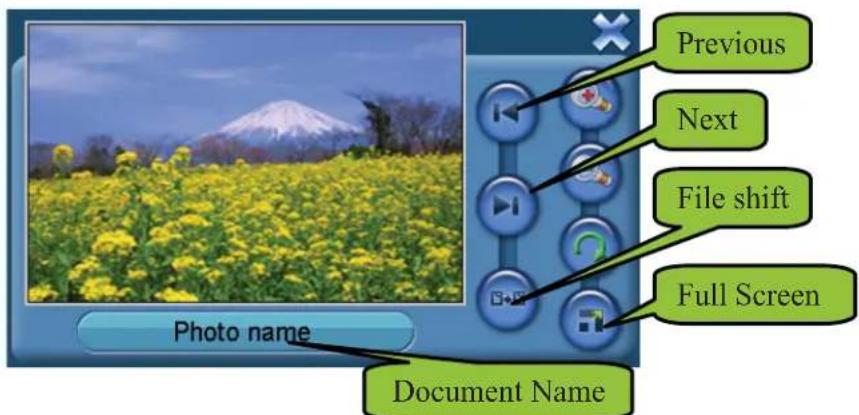
- Tap "Previous" button to display the previous picture, tap "Next" button to display the next picture.
- Tap "Full Screen" button to display the picture in full screen.
- The picture will be displayed automatically at full screen mode, and tap the screen to return to the above interface:
- Tap the "X" to return to the picture list interface.
2.4 Ebook
- Tap the "E-book" icon on the main interface to enter into the Ebook interface:
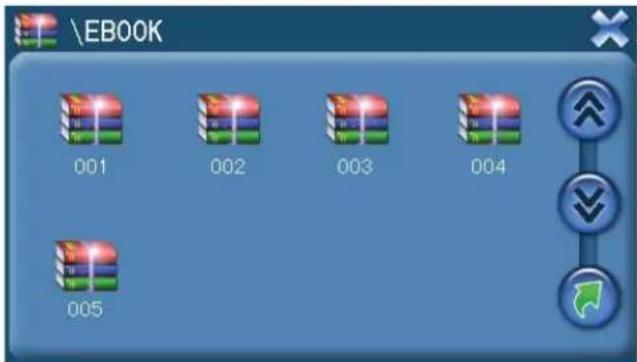
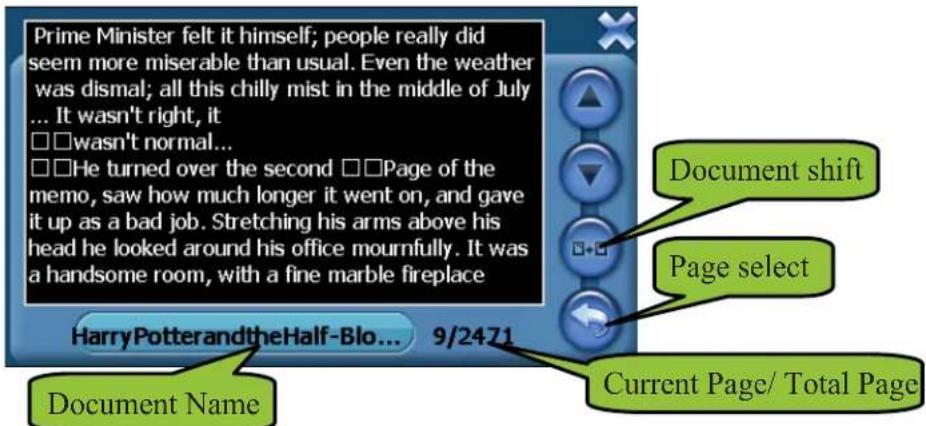
- Tap "Previous Page" button to turn to the previous page and tap "Next Page" to turn to the next page.
- Tap "Page select" button to choose the page which you want.
- Tap the "X" to return to the E-Book list interface.
2.5 Video
- Tap "Video" icon on the main interface to enter into the Video interface:
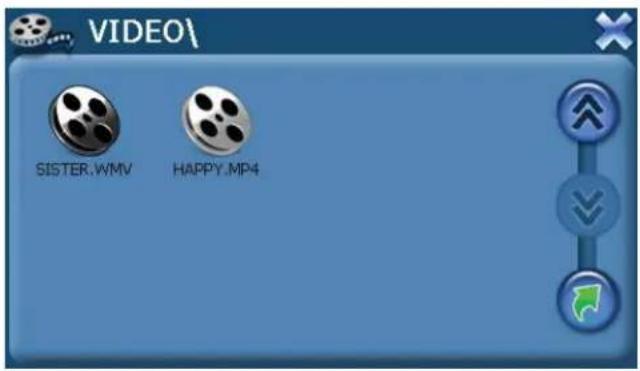
- Tap the movie file you want to choose with the touch panel to start play the movie.
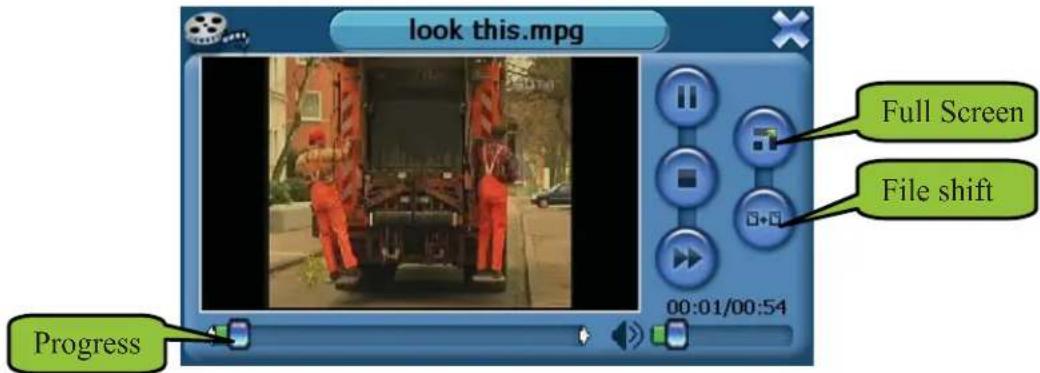
- Tap "Full Screen" button to play the movie in full screen.

- During play in full screen, double tap the screen to return to the interface above.
2.6 System
- Tap the system icon to enter into the interface as follows:
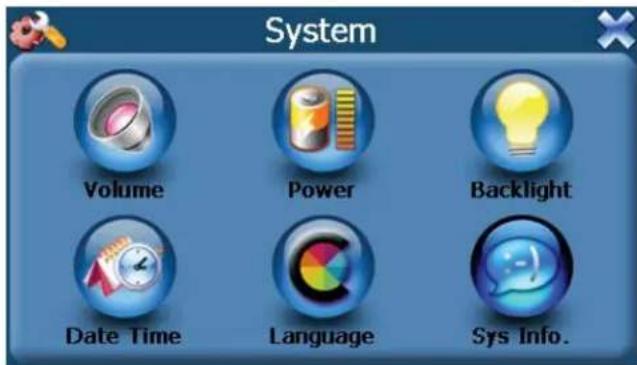
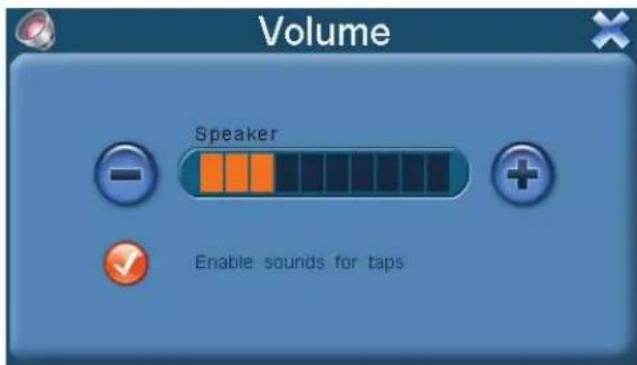
- Tap the "Volume" button to enter into sound setting interface as follows:
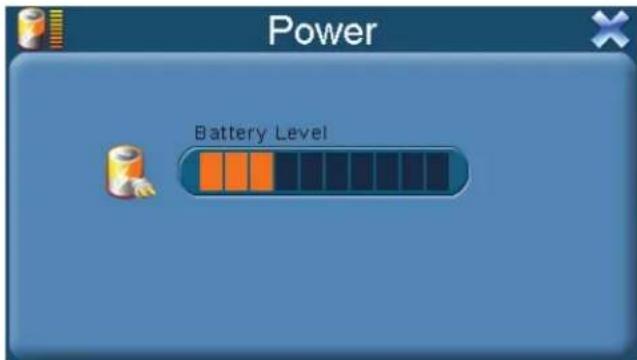
- Tap the "Power" button to enter power setting interface as follows:
- Tap the "Backlight" button to enter into the backlight setting interface as follows:

Tap the left button or right button of the Backlight bar to reduce or increase the lightness. For battery power mode, tap the left button or right button of the Battery bar to select a backlight duration. For AC power mode, tap the left button or right button of the AC Power to select a backlight duration.
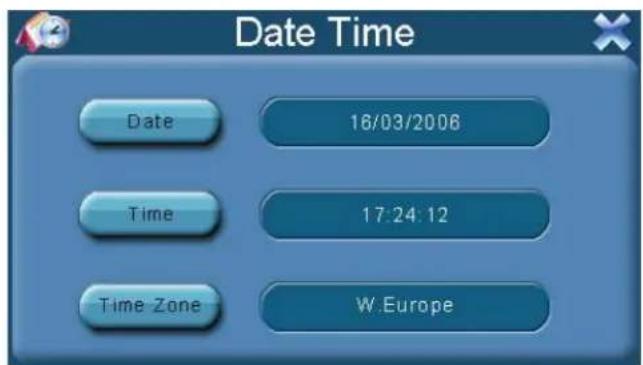
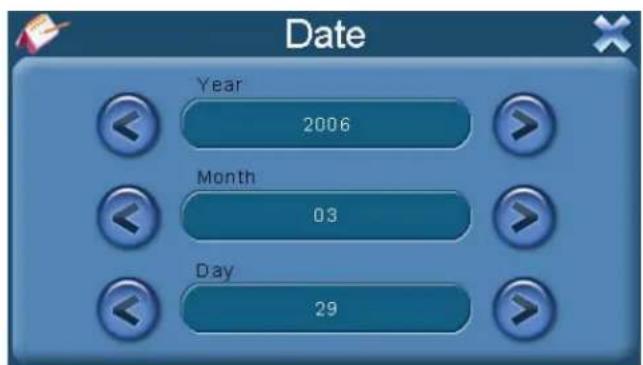
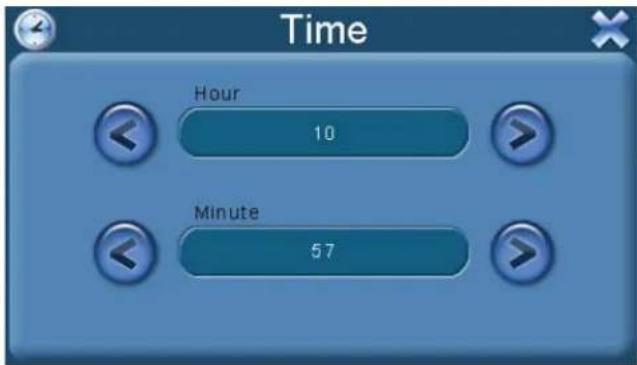
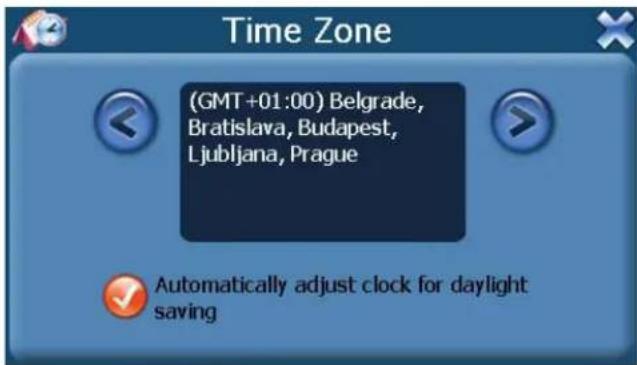
- Tap the "Date Time" button to enter into the Date Time setting interface to adjust the date & time as follows:
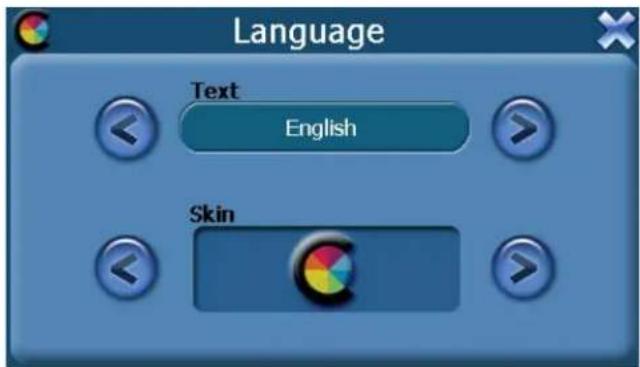
- Tap the "Language" button to enter into the language and skin setting interface as follows:
- Tap the "System" button to enter into the System Info settings as follows:
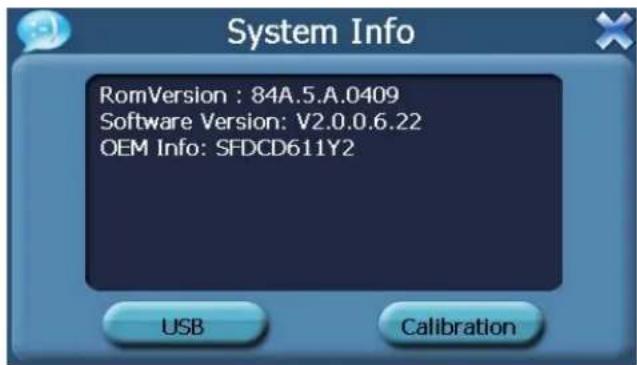
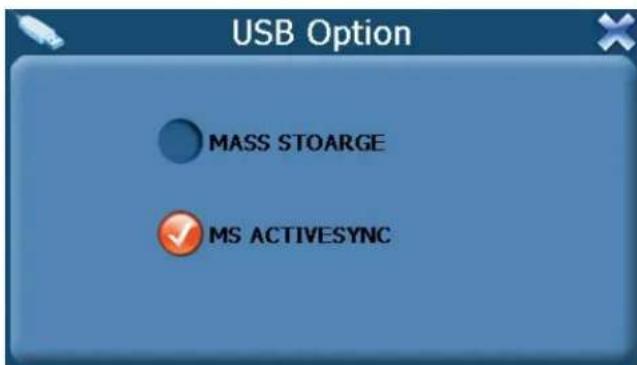
Tap the "USB" to set the USB working mode.
You can calibrate the touch screen if it does not respond accurately to your stylus taps.
a) Tap the Calibration button on the System info. Screen.
b) Tap to the calibration indicated on the screen as shown below.
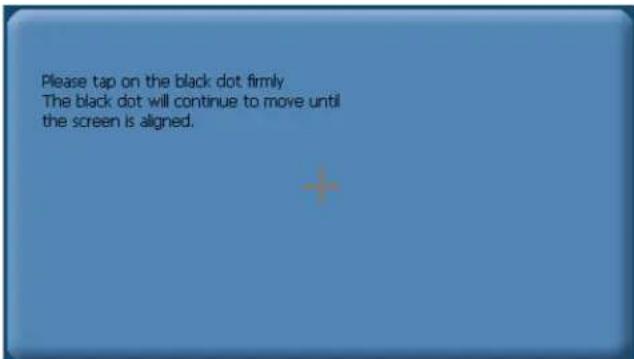
c) Tap and hold at the center of the target.
d) When the target moves to another position, tap and hold at the center of the new target.
e) Repeat each time to complete the calibration process. When completed, tap screen to return to the Settings screen.

SYLVANIA
SGPD430
Guide utilisateur
SYLVANIA is a registered trademark of OSRAM SYLVANIA INC. used under license

- APPENDIX
- Caution of battery operation and use
- FCC Compliance
- Precaution and Notice
- Basic Operation
- Understanding of the Product Components
- Front components
- Back components
- Top components
- Left-side components
- Right-side components
- Bottom components
- Installing the T-flash Memory Card
- Accessory Operations
- Charging by Car Charger
- Install the Cradle and Car Mount
- USB Cable usage
- GPS Initial Cold Start Up
- Note:
- Functions Operation
- Powering & Main Menu
- Main Interface
- Navigation
- Music
- Photo
- Ebook
- Video
- System
- SYLVANIA
- Guide utilisateur
Brand : SYLVANIA
Model : SGPD430
Category : Browser