
BS 900 - Vacuum Cleaner CLATRONIC - Free user manual and instructions
Find the device manual for free BS 900 CLATRONIC in PDF.
Pick your language and provide your email: we'll send you a specifically translated version.
| Product type | Canister vacuum cleaner |
| Brand | Clatronic |
| Model | BS 900 |
| Maximum power | 900 W |
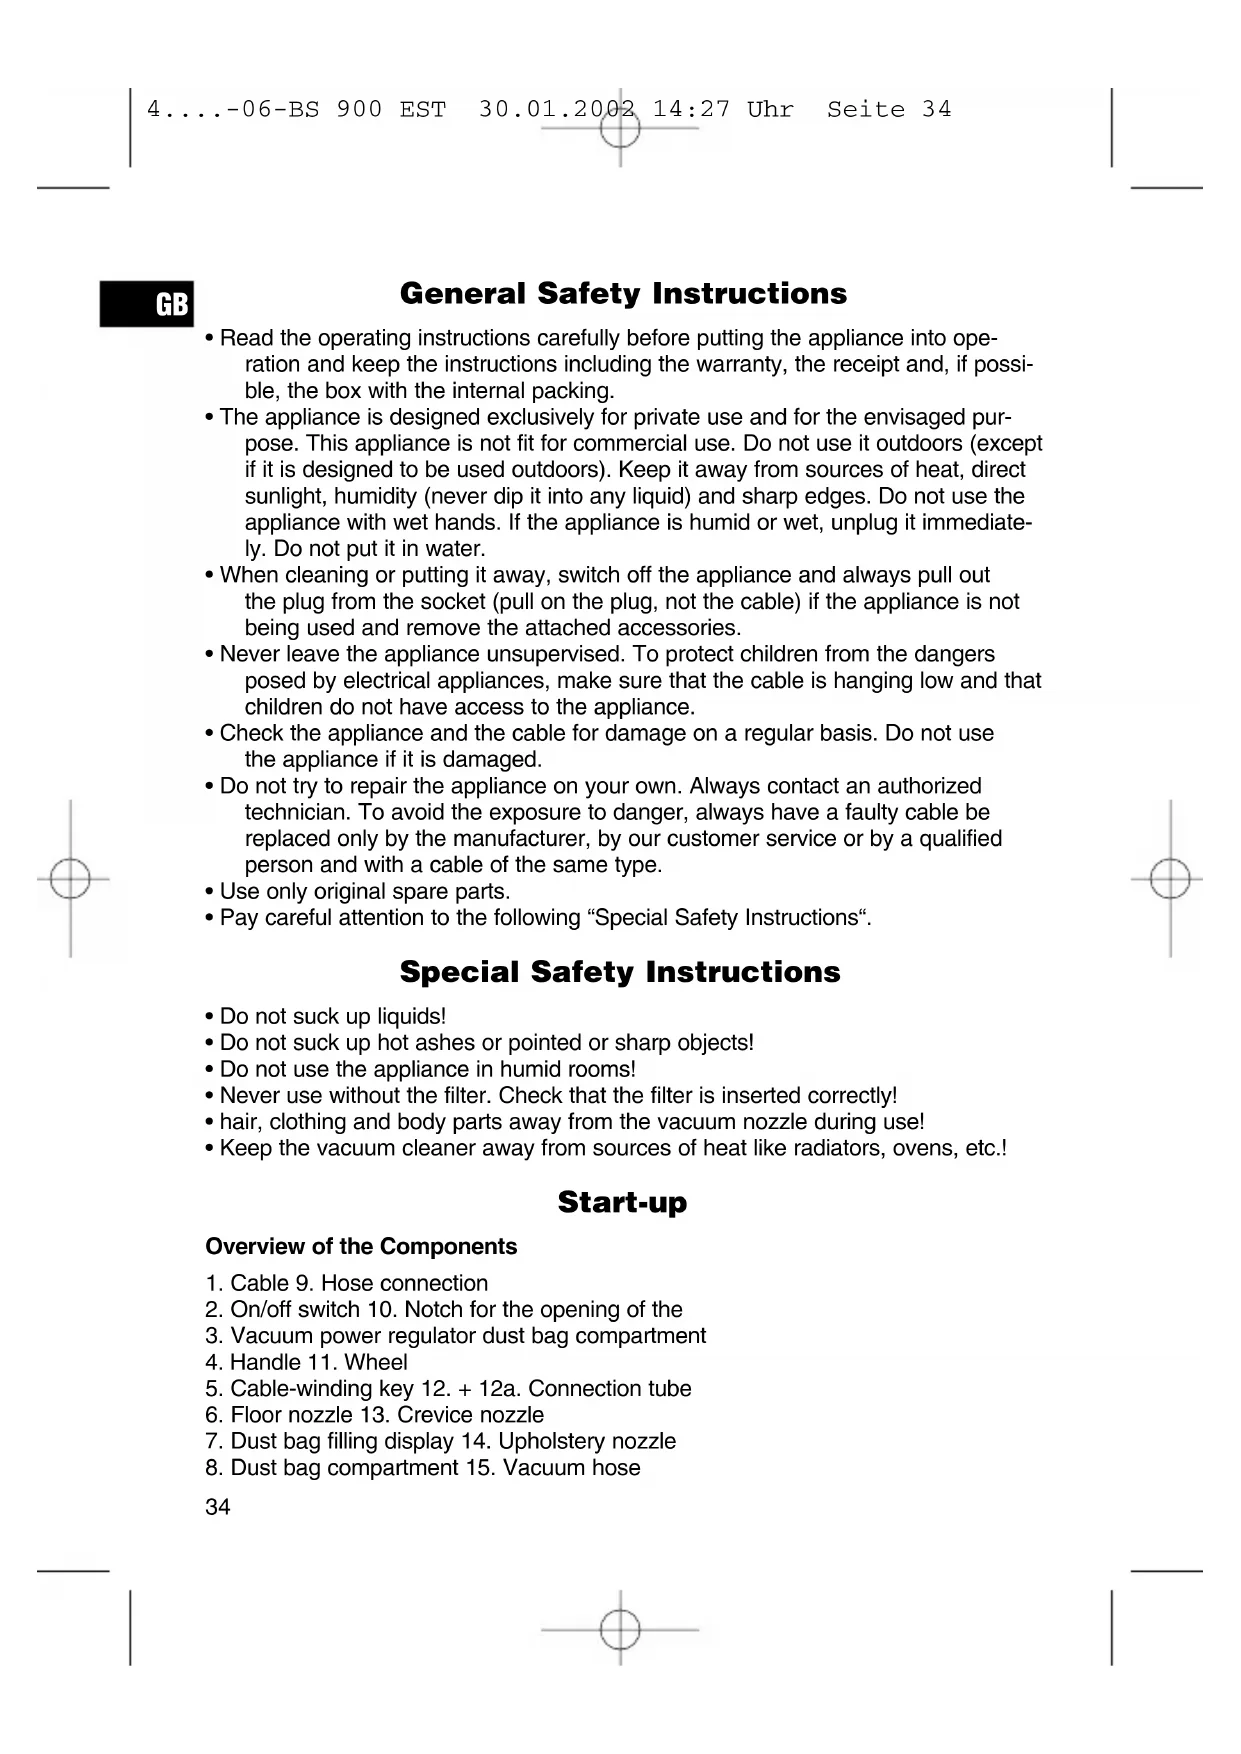
| Dust collection type | With bag |
| Tank capacity | 2 L |
| Weight | 4.5 kg |
| Dimensions (L x W x H) | 35 x 25 x 28 cm |
| Power cord length | 5 m |
| Filter | Activated carbon filter and HEPA filter |
| Noise level | 75 dB |
| Included accessories | Crevice nozzle, upholstery brush, carpet nozzle |
| Blower function | Yes |
| Operating radius | 8 m |
| Energy class | C |
| Power supply | Mains 220-240 V, 50 Hz |
| Care and cleaning | Empty and wash the tank regularly. Clean the filters every month. |
| Safety | Automatic shut-off in case of overheating |
| Spare parts and repairability | Available on the manufacturer's website. Replacement bags ref. BS 900-SAC. |
Frequently Asked Questions - BS 900 CLATRONIC
How to change the bag of the Clatronic BS 900 vacuum cleaner?
Open the dust compartment cover, remove the full bag, insert a new bag (ref. BS 900-SAC) ensuring it is clipped in properly, then close the cover.
What to do if the vacuum cleaner does not turn on?
Check that the outlet works and that the cord is not damaged. Also check the appliance's fuse. If nothing works, contact customer service.
How often should the filters be cleaned?
It is recommended to clean the HEPA filter and the activated carbon filter every month. A dirty filter reduces the vacuum cleaner's efficiency.
The vacuum cleaner heats up during use, is this normal?
Slight heat is normal, but if the appliance overheats, it automatically shuts off. Let it cool down for 30 minutes. Check that the filters are not clogged and the bag is not full.
What accessories are provided with the BS 900?
The vacuum cleaner comes with a crevice nozzle, upholstery brush, carpet nozzle, and telescopic tube.
How to use the blower function?
Connect the hose to the blower outlet (marked with a symbol) and use it to dust hard-to-reach areas or to inflate a mattress.
The power cord is too short, can I use an extension cord?
Yes, use an extension cord of adequate gauge (at least 1.5 mm²) and fully unwound to avoid overheating.
How to replace the HEPA filter?
Open the filter compartment, remove the old filter, insert the new one respecting the mounting direction. We recommend replacing it every 6 months.
The vacuum cleaner makes an abnormal noise, what to do?
Stop the appliance and check if an object is stuck in the hose or brush. Clean the filters. If the noise persists, contact customer service.
Where to find spare parts for the Clatronic BS 900?
Spare parts (bags, filters, brushes) are available on the official Clatronic website or from authorized retailers. Use the reference BS 900 to identify the parts.
User questions about BS 900 CLATRONIC
0 question about this device. Answer the ones you know or ask your own.
Ask a new question about this device
No questions yet. Be the first to ask one.
Download the instructions for your Vacuum Cleaner in PDF format for free! Find your manual BS 900 - CLATRONIC and take your electronic device back in hand. On this page are published all the documents necessary for the use of your device. BS 900 by CLATRONIC.