AS 500 - Slicer Efbe-Schott - Free user manual and instructions
Find the device manual for free AS 500 Efbe-Schott in PDF.
| Product Type | Electric Slicer |
| Brand | Efbe-Schott |
| Model | AS 500 |
| Power Supply | 230 V ~ 50 Hz |
| Dimensions (L x W x H) | Approx. 42 x 28 x 28 cm |
| Weight | Approx. 4.5 kg |
| Cutting Thickness | 0 to 21 mm (continuously adjustable) |
| Rotation Speed | Variable (speed controller) |
| Max. Continuous Operating Time | 5 minutes |
| Recommended Break | At least 10 minutes |
| Knife Type | Removable circular knife |
| Safety | Safety switch, thumb guard, carriage with lock |
| Housing Material | Plastic and stainless steel |
| Supplied Accessories | Guide, carriage, tray, thumb guard |
| Maintenance and Cleaning | Unplug before cleaning; do not immerse; removable knife; clean with a damp cloth |
| Spare Parts | Knife, tray, carriage available |
| Repairability | Repair by authorized service; legal warranty |
| Use | Household only (boneless meat, cheese, bread, sausages) |
Frequently Asked Questions - AS 500 Efbe-Schott
User questions about AS 500 Efbe-Schott
0 question about this device. Answer the ones you know or ask your own.
Ask a new question about this device
Download the instructions for your Slicer in PDF format for free! Find your manual AS 500 - Efbe-Schott and take your electronic device back in hand. On this page are published all the documents necessary for the use of your device. AS 500 by Efbe-Schott.
USER MANUAL AS 500 Efbe-Schott
- Slice thickness regulation knob
- Fixing screw of the electric unit
- On and off switch
- Speed regulator
- Remain holder
- Platform
- Platform locking disc
- Blade
- Blade locking knob
- Table
- Thickness regulating moving part
- Thumb guard
- Safety switch
F
natural_image
Close-up of a circular mechanical component with directional arrows, labeled 'Bild 1' (no other text or symbols)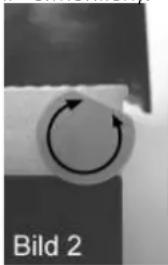
natural_image
Circular arrow symbol on a textured surface, labeled 'Bild 2' at bottom (no other text or symbols)natural_image
Close-up of a black cylindrical mechanical component with two curved arrows indicating rotation or direction (no text or symbols visible)text_image
ZU ← → AUFUMWELTSCHUTZ - RICHTLINIE 2002/96/EG
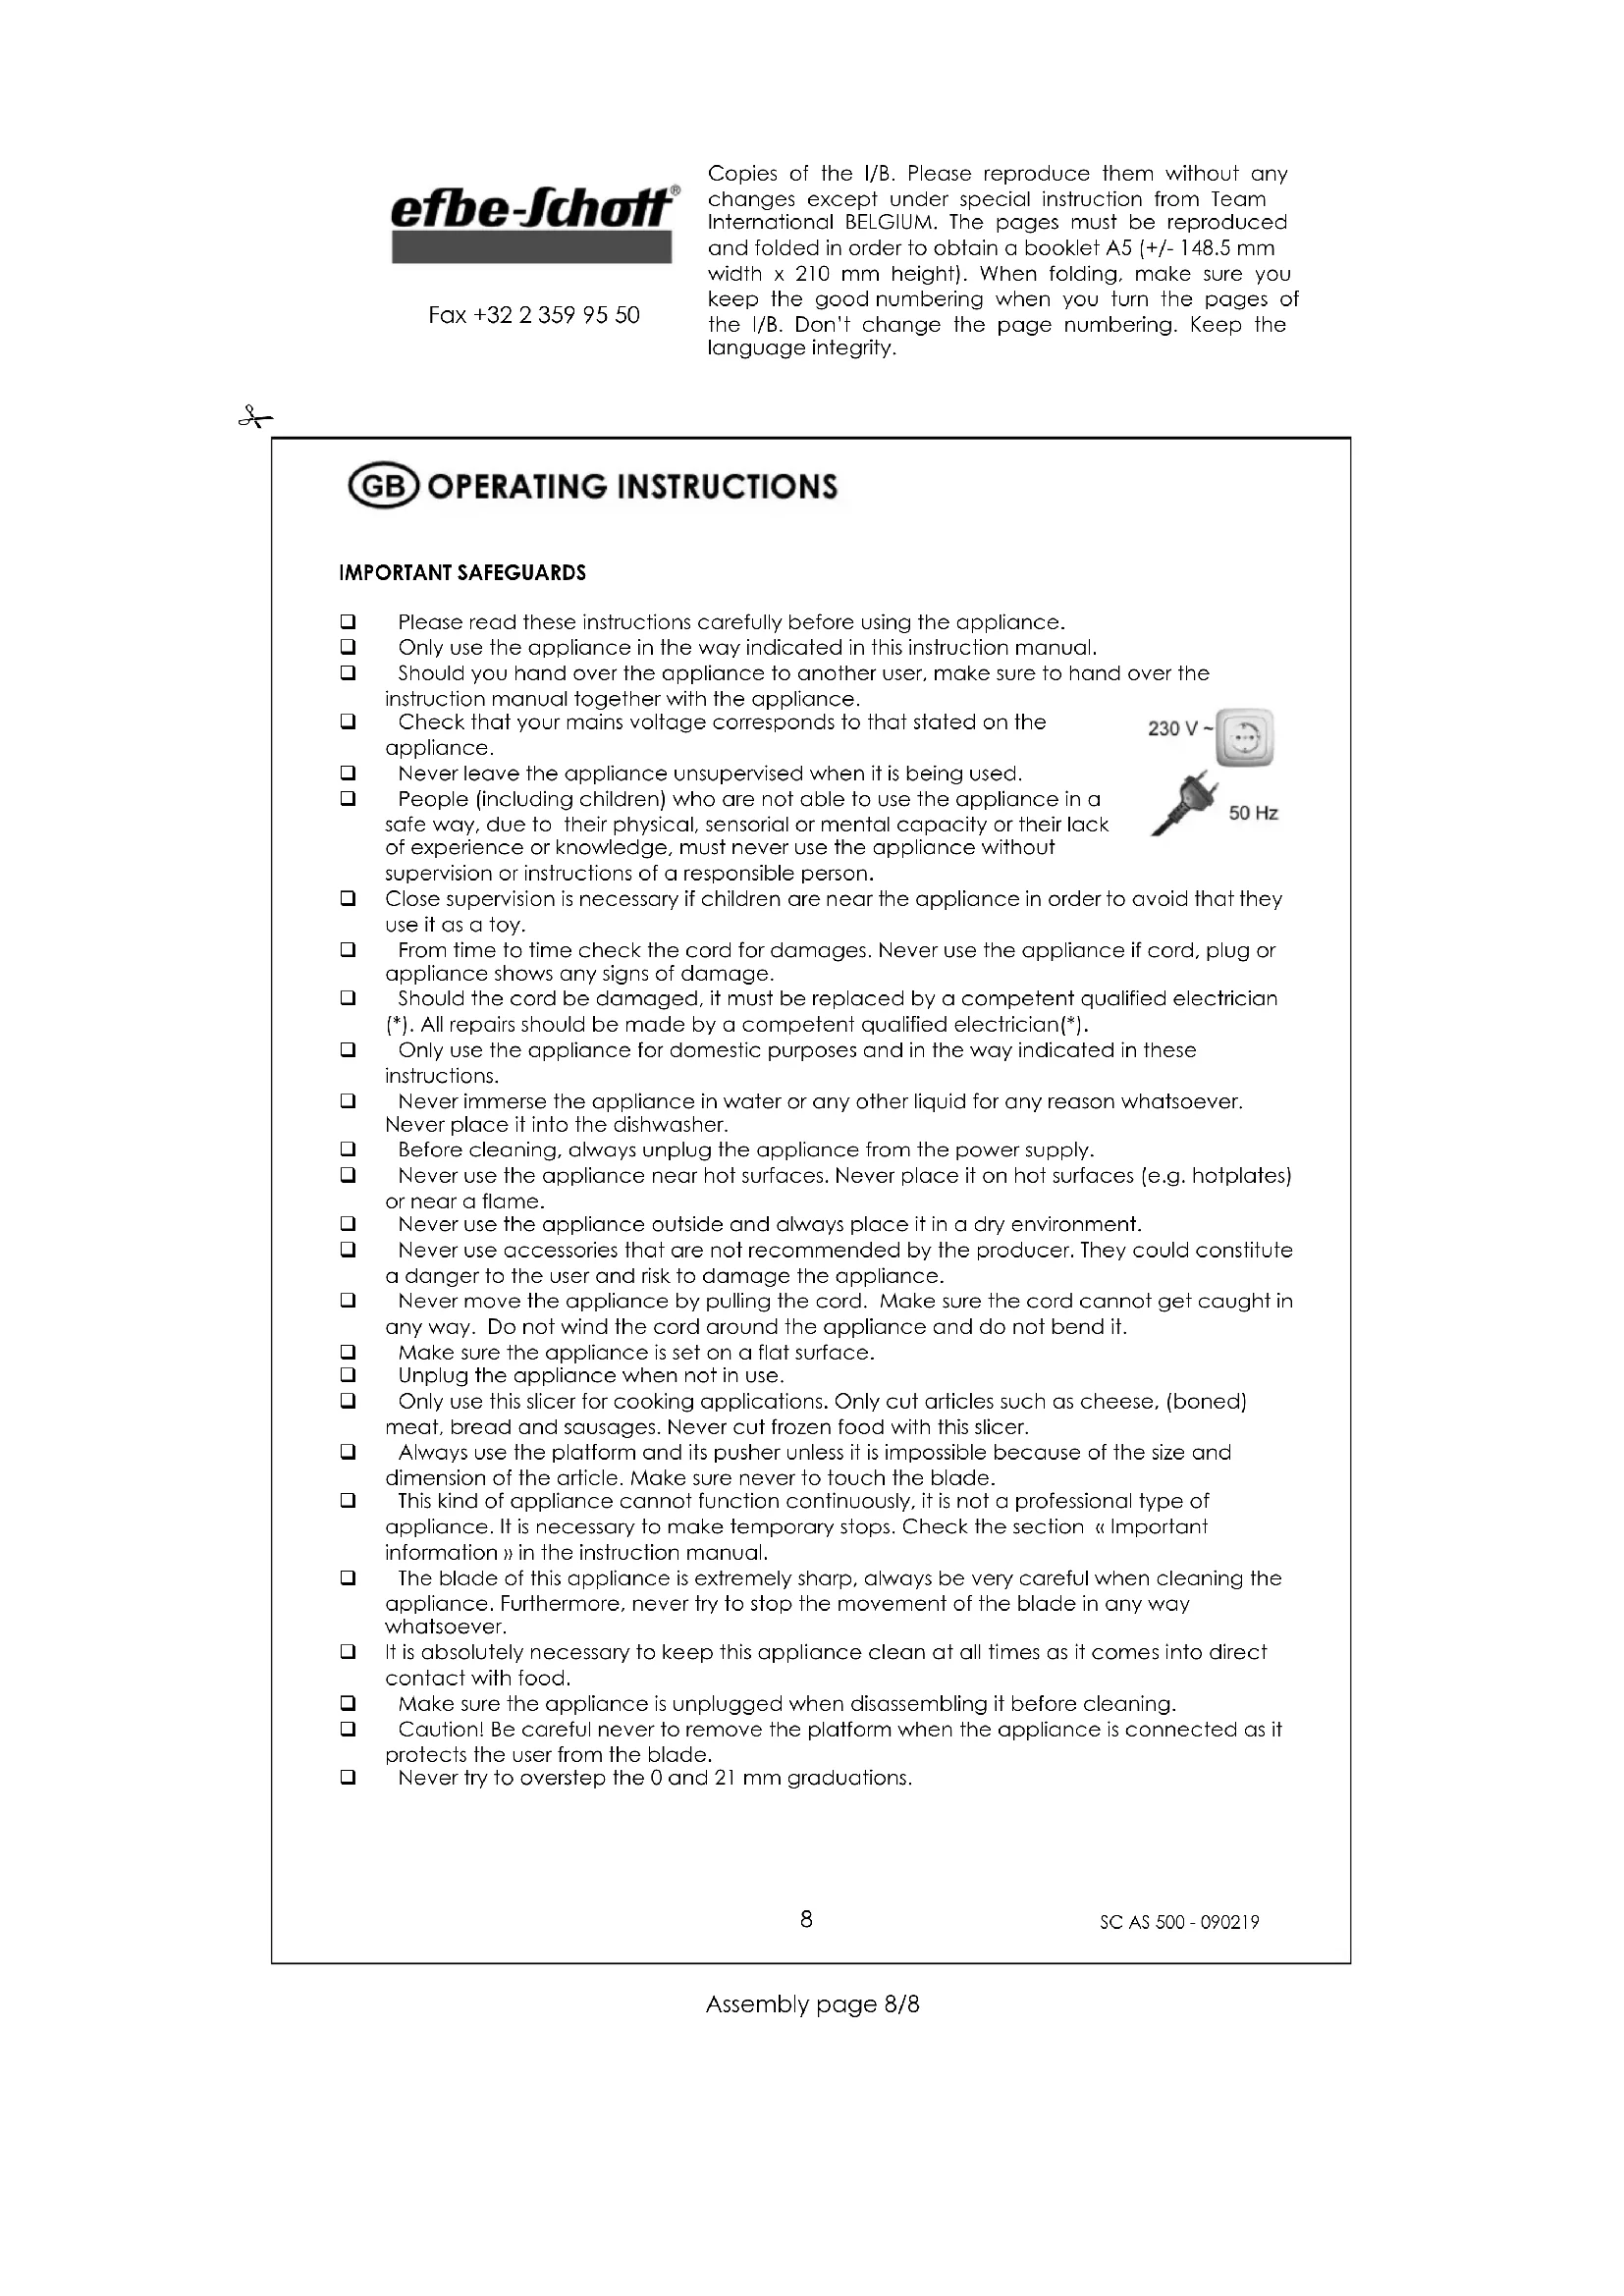
☐ Please read these instructions carefully before using the appliance.
☐ Only use the appliance in the way indicated in this instruction manual.
☐ Should you hand over the appliance to another user, make sure to hand over the instruction manual together with the appliance.
☐ Check that your mains voltage corresponds to that stated on the appliance.
☐ Never leave the appliance unsupervised when it is being used.
☐ People (including children) who are not able to use the appliance in a safe way, due to their physical, sensorial or mental capacity or their lack of experience or knowledge, must never use the appliance without supervision or instructions of a responsible person.
☐ Close supervision is necessary if children are near the appliance in order to avoid that they use it as a toy.
From time to time check the cord for damages. Never use the appliance if cord, plug or appliance shows any signs of damage.
Should the cord be damaged, it must be replaced by a competent qualified electrician (*). All repairs should be made by a competent qualified electrician(*).
☐ Only use the appliance for domestic purposes and in the way indicated in these instructions.
☐ Never immerse the appliance in water or any other liquid for any reason whatsoever. Never place it into the dishwasher.
Before cleaning, always unplug the appliance from the power supply.
☐ Never use the appliance near hot surfaces. Never place it on hot surfaces (e.g. hotplates) or near a flame.
☐ Never use the appliance outside and always place it in a dry environment.
☐ Never use accessories that are not recommended by the producer. They could constitute a danger to the user and risk to damage the appliance.
☐ Never move the appliance by pulling the cord. Make sure the cord cannot get caught in any way. Do not wind the cord around the appliance and do not bend it.
☐ Make sure the appliance is set on a flat surface.
☐ Unplug the appliance when not in use.
☐ Only use this slicer for cooking applications. Only cut articles such as cheese, (boned) meat, bread and sausages. Never cut frozen food with this slicer.
□ Always use the platform and its pusher unless it is impossible because of the size and dimension of the article. Make sure never to touch the blade.
This kind of appliance cannot function continuously, it is not a professional type of appliance. It is necessary to make temporary stops. Check the section « Important information » in the instruction manual.
☐ The blade of this appliance is extremely sharp, always be very careful when cleaning the appliance. Furthermore, never try to stop the movement of the blade in any way whatsoever.
☐ It is absolutely necessary to keep this appliance clean at all times as it comes into direct contact with food.
☐ Make sure the appliance is unplugged when disassembling it before cleaning.
☐ Caution! Be careful never to remove the platform when the appliance is connected as it protects the user from the blade.
☐ Never try to overstep the 0 and 21 mm graduations.
(*) Competent qualified electrician : after sales department of the producer or importer or any person who is qualified, approved and competent to perform this kind of repairs in order to avoid all danger. In any case you should return the appliance to this electrician.
IMPORTANT INFORMATION
This appliance is not suitable for a prolonged use. This food slicer is suitable for a use of maximum 10 minutes. Never exceed this period of time. Failure to follow this instruction carefully may result in damage to the motor. Please insert breaks of at least 10 minutes.
USING THE SLICER
- Clean all exterior parts of the appliance before the first use.
• Make sure the appliance is on a steady surface.
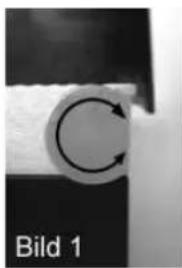
- Put the platform (6) on top of the table (10) (if not installed beforehand). Turn the platform locking disc (7) so that the straight side runs parallel to the table (see picture 1). Now let the platform slide from the front of the table to the back. The platform should be secured in the table groove. Now turn the platform locking disc as you wish (see picture 2), but do not bring it back to the previous position: the straight side parallel to the table. If you pull back the platform, you will not be able to take it out because of the stop.
• To take the platform out in order to clean it, proceed inversely.
- Put the remain holder (5) on the handle of the platform.
- Select the slicing thickness by turning the adjusting knob (1). You can control millimetres on the side of the appliance.
- By using the speed regulator (4), you can adjust the turning speed of the blade continuously.
- Plug in the appliance. The slicer is now ready for use.
- Lay the food to be sliced between the moving part (11) and the remain holder.
- First press the safety switch (13), then the on/off switch (3). The blade (8) will start rotating. You can release the safety switch, but you must keep the on/ off switch pressed for as long as you want to slice. If you release the on/off switch, the blade will stop rotating.
- Please note that for safety reasons the appliance will only operate if the safety switch (13) is switched on (child safety).
- Push the platform with the other hand to bring the food to the blade. As a safety measure, the platform cannot be moved easily. This means that the pressure has to be sufficiently strong in order to obtain regular slices.
- To avoid food sticking to the appliance, you can moisten the round blade with a wet towel beforehand. This also allows you to slice more easily.
- Caution: Always use the remain holder (5) when slicing small parts and leftovers.
- Do not slice meat with bones, food with large seeds, rolled roast without removing the string, wrappers (i.e. aluminium foil), frozen food or any hard, inedible food parts.
natural_image
Close-up of a circular mechanical component with two curved arrows, labeled 'Bild 1' (no other text or symbols)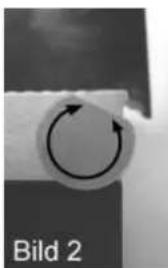
natural_image
Circular diagram with two arrows pointing inward, labeled 'Bild 2' at bottom (no other text or symbols)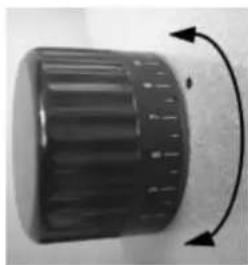
natural_image
Close-up of a black cylindrical mechanical component with directional arrows indicating rotation (no text or symbols visible)CLEANING
- Before cleaning, always unplug the appliance.
- Wipe the inside and outside of the appliance with a paper towel or a soft and damp cloth. It should not be washed in a dishwasher.
- Do not clean the inside or outside with any abrasive scouring pad or steel wool as this will damage the finish.
- Do not immerse in water or any other liquid.
- The blade (8) can be taken off by turning the blade-locking knob (9) clockwise for a quarter (e.g. with a coin of the suitable size). Caution: the blade is very sharp. Clean the blade with soapy water and give it a rinse. Then turn the knob anticlockwise to fasten it.
- The platform (6) can be taken out as well (see part "Using the slicer").
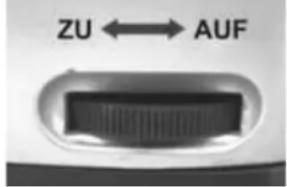
- To take out the electric unit, turn the fixing screw (2) to the "AUF" position. Hold the notch nut located at the bottom of the electric unit. Once the connection is completely loosened, you can lift up the entire unit. To reassemble it, proceed inversely.
• Dry all parts well before storage.
text_image
ZU ← AUFPROTECTION OF THE ENVIRONMENT- DIRECTIVE 2002/96/EC
In order to preserve our environment and protect human health, the waste electrical and electronic equipment should be disposed of in accordance with specific rules with the
implication of both suppliers and users. For this reason, as indicated by the symbol , the rating label or on the packaging, your appliance should not be disposed of as unsorted municipal waste. The user has the right to bring it free of charge to a municipal collection point performing waste recovery by means of reuse, recycling or use for other applications in accordance with the directive.
TERMS OF GUARANTEE
For our products, the legal terms concerning claims under guarantee are valid. During the legal period, all material and manufacturing defects are covered. No claims will be accepted for broken accessories, defects resulting from inappropriate use or care, excessive wear due to intensive use, wrong use due to the non-observance of the instruction manual, or normal wear and tear. No guarantee claims will be accepted if the appliance has been modified or if attempts have been made to repair the appliance. In such case, the vendor cannot be held responsible in case of accidents.
If you detect a defect, please contact your vendor or shop and return your complete appliance in its original packaging together with the receipt. Claims under guarantee will only be valid if the receipt or a copy of a repair bill is handed over with the appliance that needs repair.
Or send the appliance cleaned, well packed and with a short, easily readable description of the default as well as the receipt freight prepaid to our customer service in our firm in Bad Blankenburg.
In case of a defective accessory, the complete appliance will not be exchanged, but only the accessory will be sent free of charge. In such case, do not return the complete appliance but only order the accessory! In case of glass damages, glass spare parts will be charged.
Pieces undergoing wear and tear as well as cleaning and maintenance or the exchange of worn out pieces are not covered by the guarantee and will thus be charged!
AFTER THE LEGAL PERIOD OF GUARANTEE
Repairs after the guarantee period can be performed at a charge by a competent qualified technician or a repair service.

MODE D'EMPLOI
POUR VOTRE SECURITE
natural_image
Close-up of a circular mechanical component with directional arrows, labeled 'Bild 1' (no other text or symbols)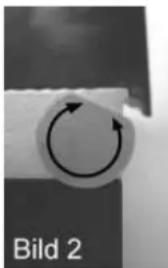
natural_image
Circular arrow symbol on a textured surface, labeled 'Bild 2' (no other text or symbols)natural_image
Close-up of a black cylindrical mechanical component with directional arrows indicating rotation (no text or symbols visible)CONDITIONS DE GARANTIE
natural_image
Close-up of a circular mechanical component with two curved arrows, labeled 'Bild 1' (no other text or symbols)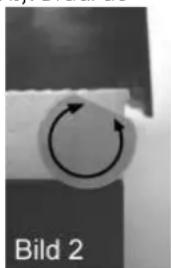
natural_image
Circular diagram with two arrows pointing inward, labeled 'Bild 2' at bottom (no other text or symbols)natural_image
Close-up of a black cylindrical mechanical knob with directional arrows indicating rotation (no text or symbols visible)Copies of the I/B. Please reproduce them without any changes except under special instruction from Team International BELGIUM. The pages must be reproduced and folded in order to obtain a booklet A5 (+/- 148.5 mm width x 210 mm height). When folding, make sure you keep the good numbering when you turn the pages of the I/B. Don't change the page numbering. Keep the language integrity.

Back cover page (last page)
Assembly page 20/20