SBDT 520 - Fridge AMANA - Free user manual and instructions
Find the device manual for free SBDT 520 AMANA in PDF.
Download the instructions for your Fridge in PDF format for free! Find your manual SBDT 520 - AMANA and take your electronic device back in hand. On this page are published all the documents necessary for the use of your device. SBDT 520 by AMANA.
USER MANUAL SBDT 520 AMANA
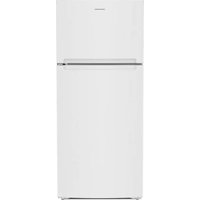
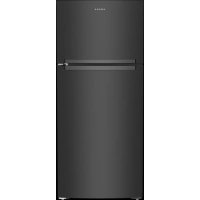
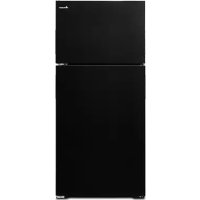
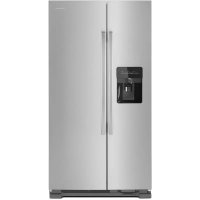
International Side-by-Side Refrigerator Use and Care Manual Contents Electrical Requirements 2 Model Identification 2 Features 3 Setting Controls Fresh Food and Deepfreeze
Dispenser 9 Care and Cleaning 10 Vacation Tips 11 Normal Operating Sounds 11 Before Calling For Service 11 *Fresh Food refers to refrigerator. Deepfreeze
refers to freezer. Electrical Requirements Refrigerator must be earthed and connected to a separate 230 volt, 50 hz., 10A circuit. Model Identification Locate product information on the nameplate, found in upper left corner of Fresh Food section. Record the following information: Model Number: Manufacturing Number: Serial or S/N Number: Date of purchase: Dealer’s name and address: Keep a copy of sales receipt for future reference.3 Features Fresh Food Section (Refrigerator)
5. Garden Fresh Drawers
7. Covered Utility Bucket
Dispenser Features vary from model to model.
Shelves Caution To avoid personal injury or property damage, handle tempered glass shelves carefully. Shelves may break suddenly if nicked, scratched or exposed to sudden temperature change.
1. Remove shelves by lifting front and releasing
hooks from metal track.
2. Replace shelves by inserting hooks into metal
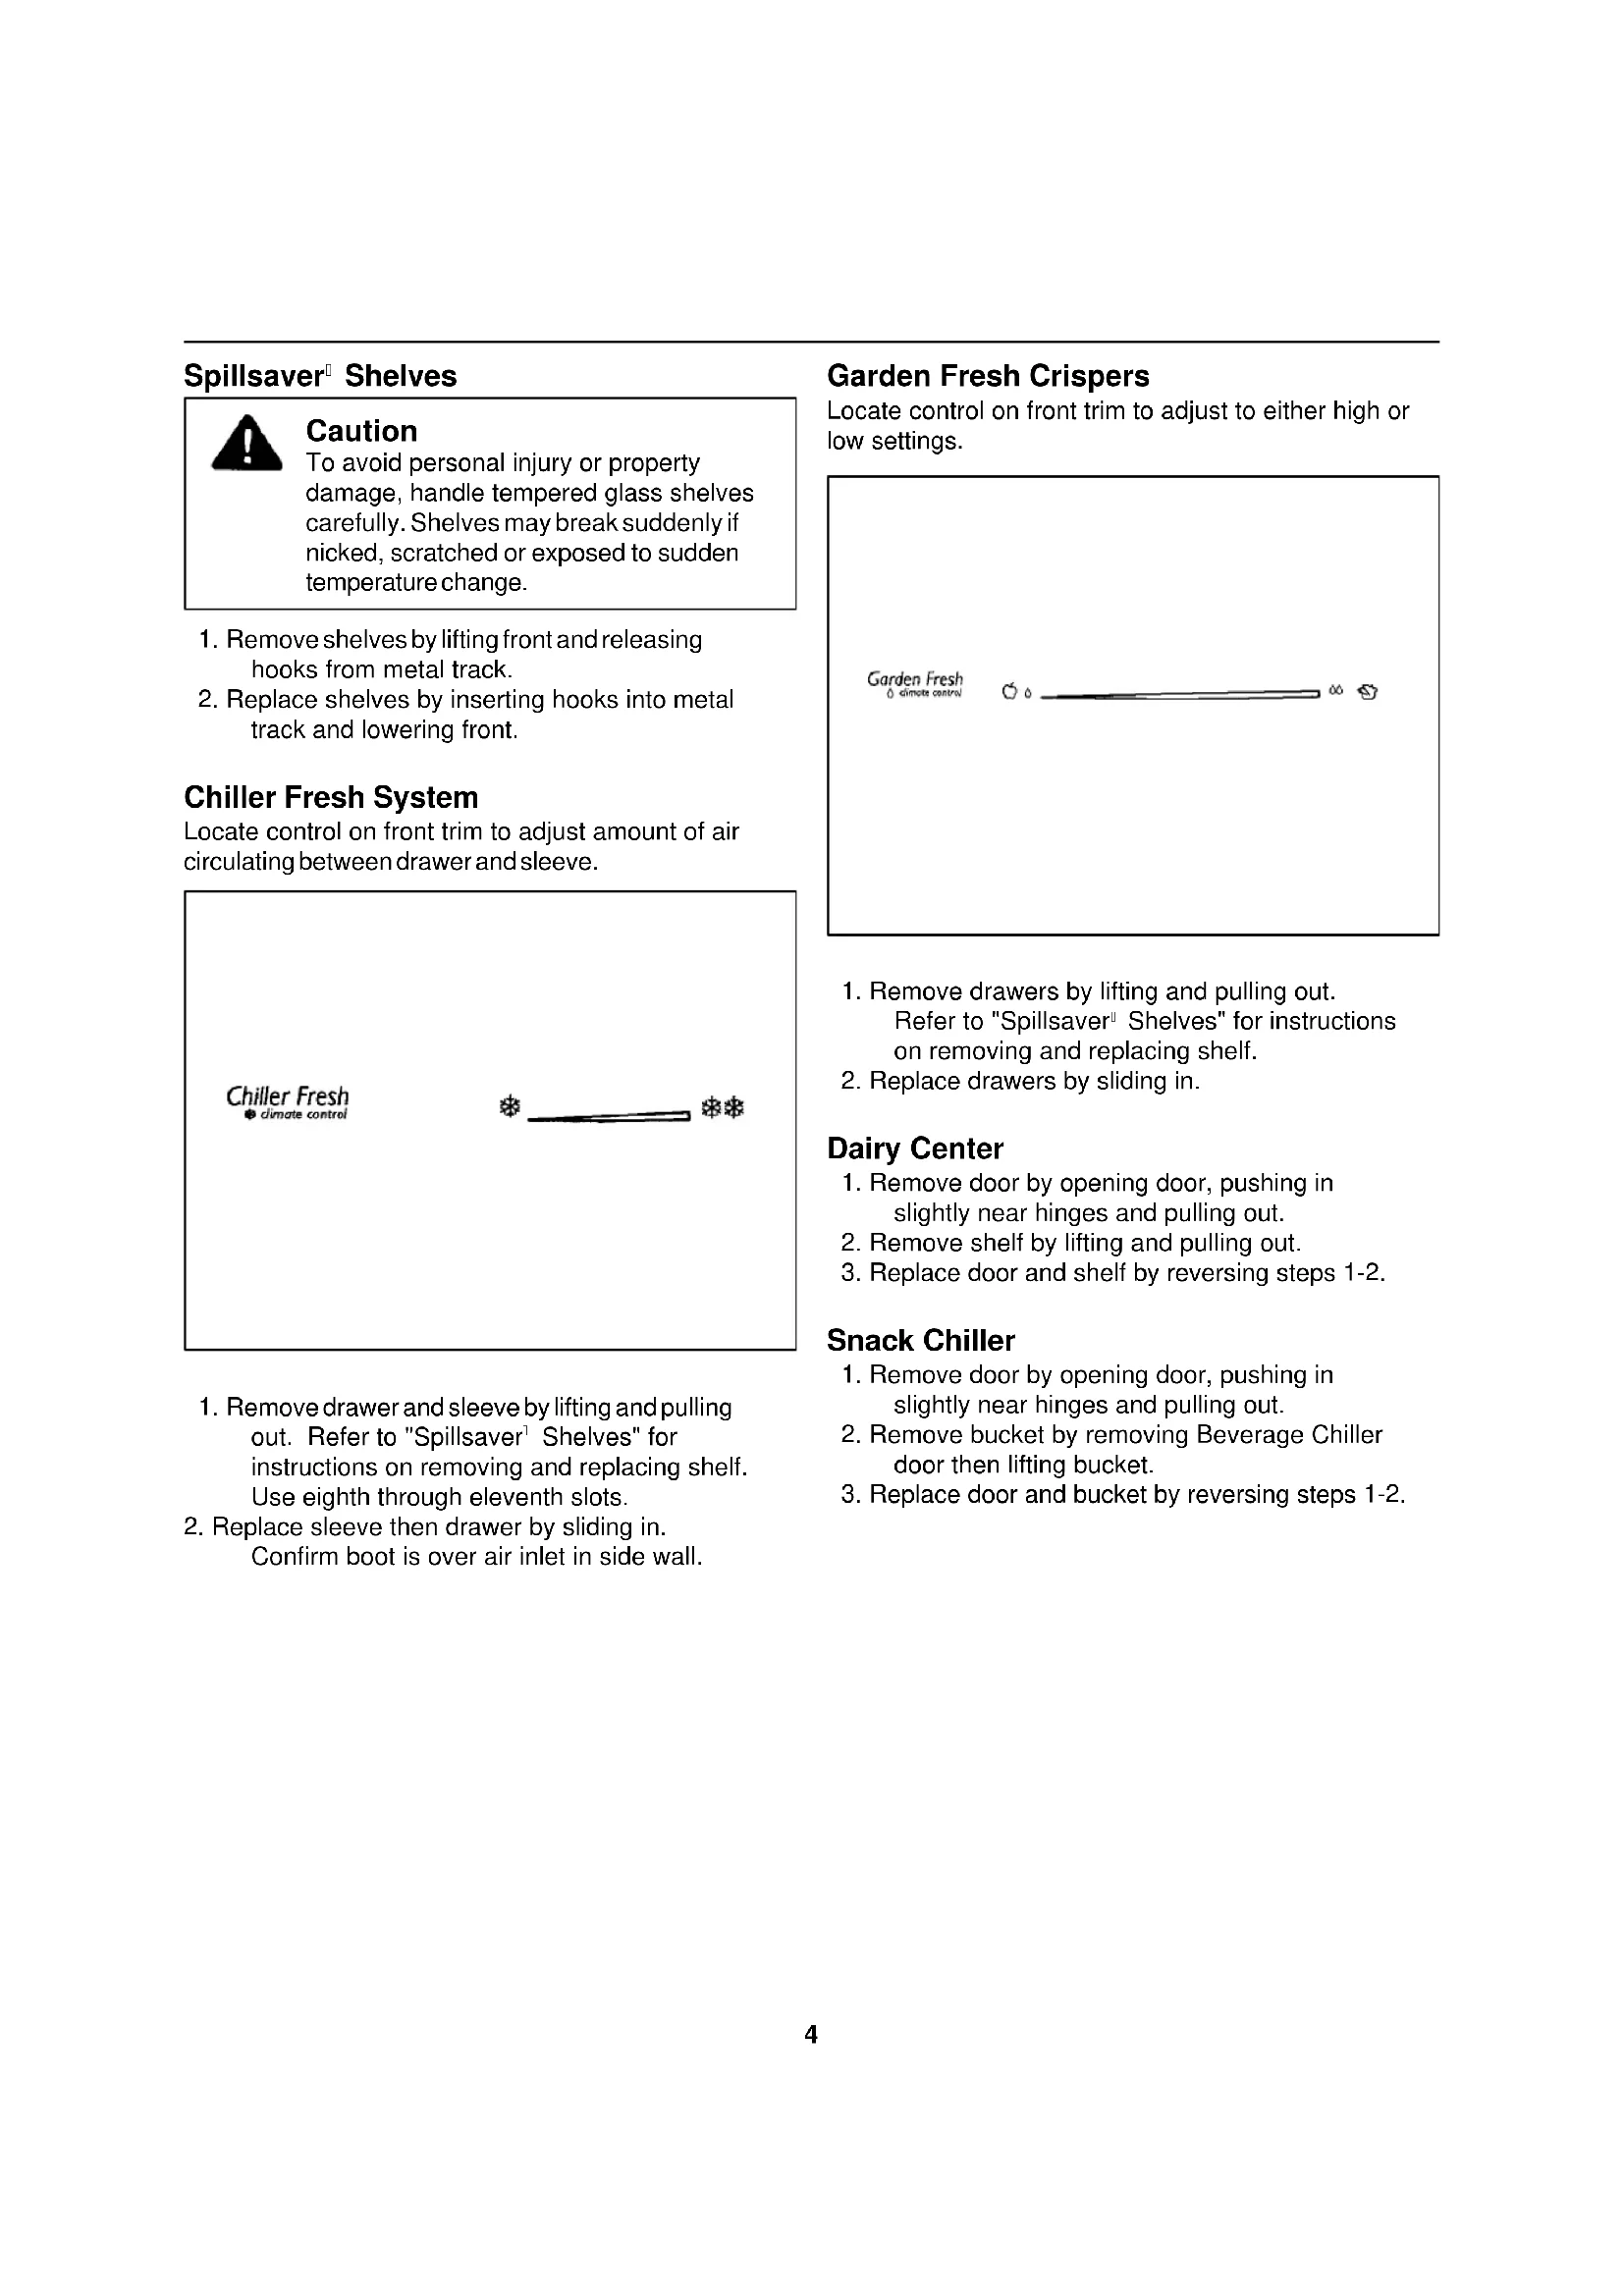
track and lowering front. Chiller Fresh System Locate control on front trim to adjust amount of air circulating between drawer and sleeve. Garden Fresh Crispers Locate control on front trim to adjust to either high or low settings.
1. Remove drawers by lifting and pulling out.
Refer to "Spillsaver
Shelves" for instructions on removing and replacing shelf.
2. Replace drawers by sliding in.
1. Remove door by opening door, pushing in
slightly near hinges and pulling out.
2. Remove shelf by lifting and pulling out.
3. Replace door and shelf by reversing steps 1-2.
1. Remove door by opening door, pushing in
slightly near hinges and pulling out.
2. Remove bucket by removing Beverage Chiller
door then lifting bucket.
3. Replace door and bucket by reversing steps 1-2.
1. Remove drawer and sleeve by lifting and pulling
out. Refer to "Spillsaver
Shelves" for instructions on removing and replacing shelf. Use eighth through eleventh slots.
2. Replace sleeve then drawer by sliding in.
Confirm boot is over air inlet in side wall.5 Beverage Chiller Locate control dial on left front wall of Fresh Food section to adjust amount of air. Stor-Mor
1. Remove shelves and baskets by lifting and
2. Replace shelves and baskets by reversing
1. Remove door dike by pulling forward and
2. Replace door dike by aligning clips with holes on
door. Push until dike locks in place.
1. Remove beverage chiller door by removing
lower door buckets. Slide chiller door down and out through bottom of door track.
2. Replace beverage chiller door by reversing
step 1. Retention glides must remain in place to install door. Door Buckets
1. Remove door buckets by pushing tabs toward
center and pulling out.
2. Replace door buckets by sliding in until tabs lock
into place. Door Shelves
1. Remove slide-style door shelves by lifting
2. Replace slide-style door shelves by reversing
1. Remove hook-style door shelves by tapping up
each end. Lift bottom of shelf release hooks.
2. Replace hook-style shelves by inserting hooks
and lowering bottom of shelf. Tap down on ends.6 Setting Controls This refrigerator operates most efficiently in normal household temperatures of 12° to 43°C. Fresh Food and Deepfreeze
Controls (nonelectronic models) Locate Fresh Food and Deepfreeze
controls on upper rear wall of Fresh Food section. When Deepfreeze
control is set to off, neither Fresh Food nor Deepfreeze
sections will cool. Initially, set both controls to 4. Wait 24 hours for Fresh Food and Deepfreeze
sections to reach desired temperatures. After 24 hours, adjust controls as desired. 1 is warmest setting and 7 is coldest. Touchmatic
Electronic Controls (electronic models) Confirm power switch is on before programming. Remove toe grille and locate black box in center of cabinet. Power switch is on right side of box. Set temperatures precisely using a household thermometer that includes temperatures between -20.5° to 10°C. Put thermometer snugly between frozen packages in Deepfreeze
temperature is not -18° to -17°C, adjust control, one number at a time. Check again after 5-8 hours. Put thermometer in a glass of water in middle of Fresh Food section. Wait 5-8 hours. If Fresh Food temperature is not 3° to 4°C, adjust control, one number at a time. Check again after 5-8 hours.7 Deepfreeze
electronic control panel on refrigerator between handles. Press * pad to activate control panel. All other pads, except for Alarm Off pad, remain inactive until * pad is pressed. Once activated, pads remain programmable for at least 10 minutes. Fresh Food and Deepfreeze
controls are preset at 5. Wait 24 hours for Fresh Food and Deepfreeze
sections to reach desired temperatures. After 24 hours, adjust controls as desired. 1 is warmest setting and 9 is coldest. Refer to instructions on page 6 to set temperatures precisely. Adjust Fresh Food or Deepfreeze
temperatures by pressing * pad then Fresh Food Temp pad or Deepfreeze
Temp pad. Press Warmer pad or Colder pad to adjust temperature setting one level at a time. Holding down Warmer pad or Colder pad adjusts temperature more than one level at a time. Vacation Mode Vacation mode defrosts refrigerator less often during extended non-use periods. Activate vacation mode by pressing * pad then Vacation pad. Indicator light will glow. Repeat above to deactivate vacation mode. Opening Fresh Food or Deepfreeze
door will also deactivate vacation mode. Max Cool Mode Max cool mode adjusts Fresh Food temperature to coldest setting. After 10 hours, Fresh Food temperature automatically returns to previous setting. Activate max cool mode by pressing * pad then Max Cool pad. Indicator light will glow. Repeat above to deactivate max cool mode before automatic reset. Fast Freeze Mode Fast freeze mode adjusts Deepfreeze
temperature to coldest setting. After 24 hours, Deepfreeze
temperature automatically returns to previous setting. Activate fast freeze mode by pressing * pad then Fast Frz pad. Indicator light will glow. Repeat above to deactivate fast freeze mode before automatic reset. Entry Tone Entry tone indicates a pad was pressed and command was read and accepted. Deactivate entry tone by pressing and holding * pad for three to five seconds. Three short beeps indicate instructions were accepted. Repeat above to activate entry tone.8 Door Open Alarm Door open alarm sounds and glowing indicator light blinks if either door is open for three minutes. Deactivate door open alarm by pressing Alarm Off pad or by closing either door. Activate door open alarm by pressing * pad then holding Alarm Off pad for three to five seconds. Three short beeps will sound. Repeat above to deactivate door open alarm indefinitely. High Temperature Alarm High temperature alarm sounds and indicator light glows if Fresh Food or Deepfreeze
temperature is high for two hours. A blinking light signals affected compartment. Deactivate high temperature alarm by pressing Alarm Off pad. Alarm discontinues when proper temperature is reached. Thermistor Alarm Thermistor alarm sounds and indicator lights scroll if Fresh Food or Deepfreeze
thermistor is not operating properly. Deactivate display by pressing Alarm Off pad. If thermistor alarm sounds, contact an authorized servicer immediately. If Alarm Off pad is pressed, thermistor control retests to confirm situation has been corrected. Alarm sounds again if thermistor is still not operating properly. Display Lights Deactivate temperature display lights by pressing * pad then pressing Display Off pad. Activate temperature display lights by pressing any of top five pads. Clean Condenser Coil Light Clean condenser coil light glows once every three months as a reminder to clean condenser coil. Light automatically cancels in 72 hours. Deactivate clean condenser coil light before automatic reset by pressing Alarm Off pad. Automatic Ice Maker Refrigerator has an electrical connection in Deepfreeze
section for ice maker installation. Ice maker, model IC54, and water filter, part #R0183114, can be purchased separately.
1. Confirm ice storage bucket is in place and ice
section reaches normal temperature, ice maker fills with water and begins operating. Allow 24-48 hours after installation before first harvest of ice. Ice maker produces seven to nine harvests of ice in a 24-hour period under ideal conditions.
3. After ice is formed, ice maker drops ice cubes
into ice storage bucket. During ice production, ice maker arm raises and lowers. When ice storage bucket is full, ice maker arm turns ice maker off. Important Discard first three harvests of ice so any impurities are not consumed.
4. Stop ice maker by lifting ice maker arm. A
definite click will be heard when proper position is reached. Ice maker arm will remain in that position. Important Do not force ice maker arm down or up past stop position.9 Ice 'N Water
Dispenser Caution To avoid personal injury or property damage, observe following instructions:
1. Do not operate dispenser with
2. Do not put fingers, hands, or any
foreign object into dispenser opening.
3. Do not use sharp objects to break
ice. Water Dispenser Operation
1. Dispense water by pressing container against
water dispenser bar.
2. Shut off water by releasing pressure on bar.
Slight dripping may occur. Spill shelf is not self- draining. Large spills should be wiped dry immediately. Ice Dispenser Operation
1. Select cubed or crushed mode (some models) by
sliding lever on dispenser panel. Dispense ice by pressing wide mouthed container against ice dispenser bar. Hold container close to chute to minimize spraying ice. Caution To avoid property damage, do not dispense ice directly into thinglass, fine china or delicate crystal.
2. Shut off ice by releasing pressure on bar
before container is full. Some ice will continue to fall. Do not remove container until last of ice falls. If dispensing ice continuously, dispenser motor shuts off after approximately two minutes. Motor resets after three minutes and dispensing can continue. A slight delay occurs when switching between cubed and crushed modes. Pieces of crushed ice will vary in size and shape. “Snow” may form on door and ice chute when repeatedly dispensing crushed ice. Allow “snow” to evaporate or wipe dry. Dispenser operates only with cubes of proper size and crescent shape. Do not add purchased ice cubes or other cubes. Dispenser Light A light is activated when dispensing ice or water. Some models feature a night light. Deactivate night light by pushing switch, located underneath dispenser facade and left of ice dispenser bar. Water Taste and Odor Observe the following to minimize taste and odor difficulties:
1. Throw away first 10 to 14 regular glasses of water
after initially connecting refrigerator to household water supply.
2. Flush water system and reservoir as above after
extended periods of non-use.
3. Wrap foods in tightly sealed containers or
moisture proof bags.
4. Install water filter, part #R0183114 on water line.
5. Contact local water treatment company for
specialized help if difficulties persist.10 Care and Cleaning WARNING To avoid electrical shock which can cause severe personal injury or death, disconnect power to refrigerator before cleaning. After cleaning, reconnect power. Caution To avoid personal injury or property damage, read and follow all cleaning product manufacturer's directions. General
1. Wash surfaces with four tablespoons baking
soda diluted in one quart warm water as needed. Rinse and dry surfaces thoroughly.
2. Do not use the following items:
- abrasive cleaners such as ammonia, chlorine bleach, etc.
- metal scouring pads These items can scratch, crack and discolor surfaces. Glass Shelves Caution To avoid personal injury or property damage, handle tempered glass shelves carefully. Shelves may break suddenly if nicked, scratched or exposed to sudden temperature change. Remove glass shelf and place on a towel. Allow shelf to adjust to room temperature before cleaning. Light Bulbs WARNING To avoid electrical shock which can cause severe personal injury or death, disconnect power to refrigerator before replacing light bulb. After replacing light bulb, reconnect power. Caution To avoid personal injury or property damage, observe the following:
1. Allow bulb to cool.
2. Wear gloves when replacing light bulb.
Remove light bulb cover. Replace light bulb with same size and type of appliance bulb. Door Gaskets
1. Clean door gaskets every three months or
according to "General" cleaning instructions.
2. Rinse and dry gaskets thoroughly.
3. Apply a light film of petroleum jelly to keep door
gaskets pliable. Condenser Coil Clean condenser coil every three months. Accumulated dust and lint may cause the following:
- reduced cooling performance
- increased energy usage
- premature part failure
1. Remove toe grille by pulling forward.
2. Clean coil with a vacuum cleaner hose nozzle.
3. Install toe grille by positioning top and snapping in
bottom. Top is indicated on back of toe grille.
4. Pull refrigerator away from wall. Run a vacuum
brush across condenser fan outlet grille on back of refrigerator.11 Vacation Tips For short vacations, remove perishable foods. If an ice maker is installed, move ice maker arm to off position. For long vacations, do the following:
1. Remove food from refrigerator.
5. Prop doors open, so air can circulate inside.
6. Turn off water supply to refrigerator if an ice maker
is installed and move ice maker arm to off position. Caution To avoid property damage, turn off water supply to refrigerator and move ice maker arm to off position before leaving on vacation. Normal Operating Sounds This new refrigerator may be replacing a differently designed, less efficient or smaller refrigerator. Today’s refrigerators have new features and are more energy efficient. As a result, certain sounds may be unfamiliar. These sounds are normal and will soon become familiar. These sounds also indicate refrigerator is operating and performing as designed. Electronic Control Models Evaporator fan does not operate when either Fresh Food or Deepfreeze
door is open. Before Calling For Service Refrigerator does not operate.
- Confirm electrical power cord is plugged in.
- Check fuse or circuit breaker. Plug in another item at that wall outlet.
control is on and lights work but two fans and compressor are not operating, refrigerator may be in defrost cycle. Refrigerator still won’t operate.
- Unplug refrigerator. Transfer food to another unit or place dry ice in Deepfreeze
section to preserve food until refrigerator can be serviced. Food temperature appears too warm.
- Allow adequate time for food to reach Fresh Food or Deepfreeze
temperature if a large supply of food was recently added.
- Clean condenser coil.
- Adjust Fresh Food and/or Deepfreeze
- Confirm rear air grille is not blocked. Rear air grille is located behind left crisper. Chiller fresh system is too warm.
- Slide control to a colder setting.
control to a colder setting. Food temperature is too cold.
- Clean condenser coil.
- Adjust Fresh Food control.
- Allow several hours for temperature to adjust. Refrigerator runs too frequently.
- It may be normal to maintain an even temperature.
- Doors may have been opened frequently or for an extended period of time.
- Clean condenser coil.
- Check gasket for proper seal. Water droplets form on inside of refrigerator.
- This is normal during periods of high humidity or if doors have been opened frequently. Water droplets form on outside of refrigerator.
- Check gasket for proper seal.12 Crisper drawers or chiller fresh system do not close freely.
- Check for a package which may prevent drawers from closing properly.
- Confirm drawers are in proper position.
- Clean drawer channels with warm, soapy water. Rinse and dry thoroughly.
- Apply a thin layer of petroleum jelly to drawer channels.
- Confirm refrigerator is level. Refrigerator has an odor.
- Clean inside of Fresh Food and Deepfreeze
- Cover all foods tightly and use freezer wrap. Ice cubes have an odor.
- Discard ice and clean ice bucket or trays more frequently. Ice cubes are very porous and absorb odors very easily. Refrigerator or ice maker make unfamiliar sounds or seems too loud.
- See "Normal Operating Sounds" section. These may be normal. Ice cubes stick together or ‘shrink’.
- Empty ice cube bucket or trays more frequently. If used infrequently, ice cubes may stick together or shrink. Ice forms in inlet tube to ice maker.
2. Etter at Deepfreeze
- Kontroller at Deepfreeze
- Kontrollér at Deepfreeze
Tmhvma Katayuvkth Deepfreeze
13. Ravfi katayuvkth Deepfreeze
- meivwsh th" apovdosh" th" yuvxh"
1. Remova as prateleiras e as cestas levantando-as
e puxando-as para fora.