
Pop Mini - Radio PURE - Free user manual and instructions
Find the device manual for free Pop Mini PURE in PDF.
Pick your language and provide your email: we'll send you a specifically translated version.
| Product type | DAB+ / FM digital radio |
| Brand | Pure |
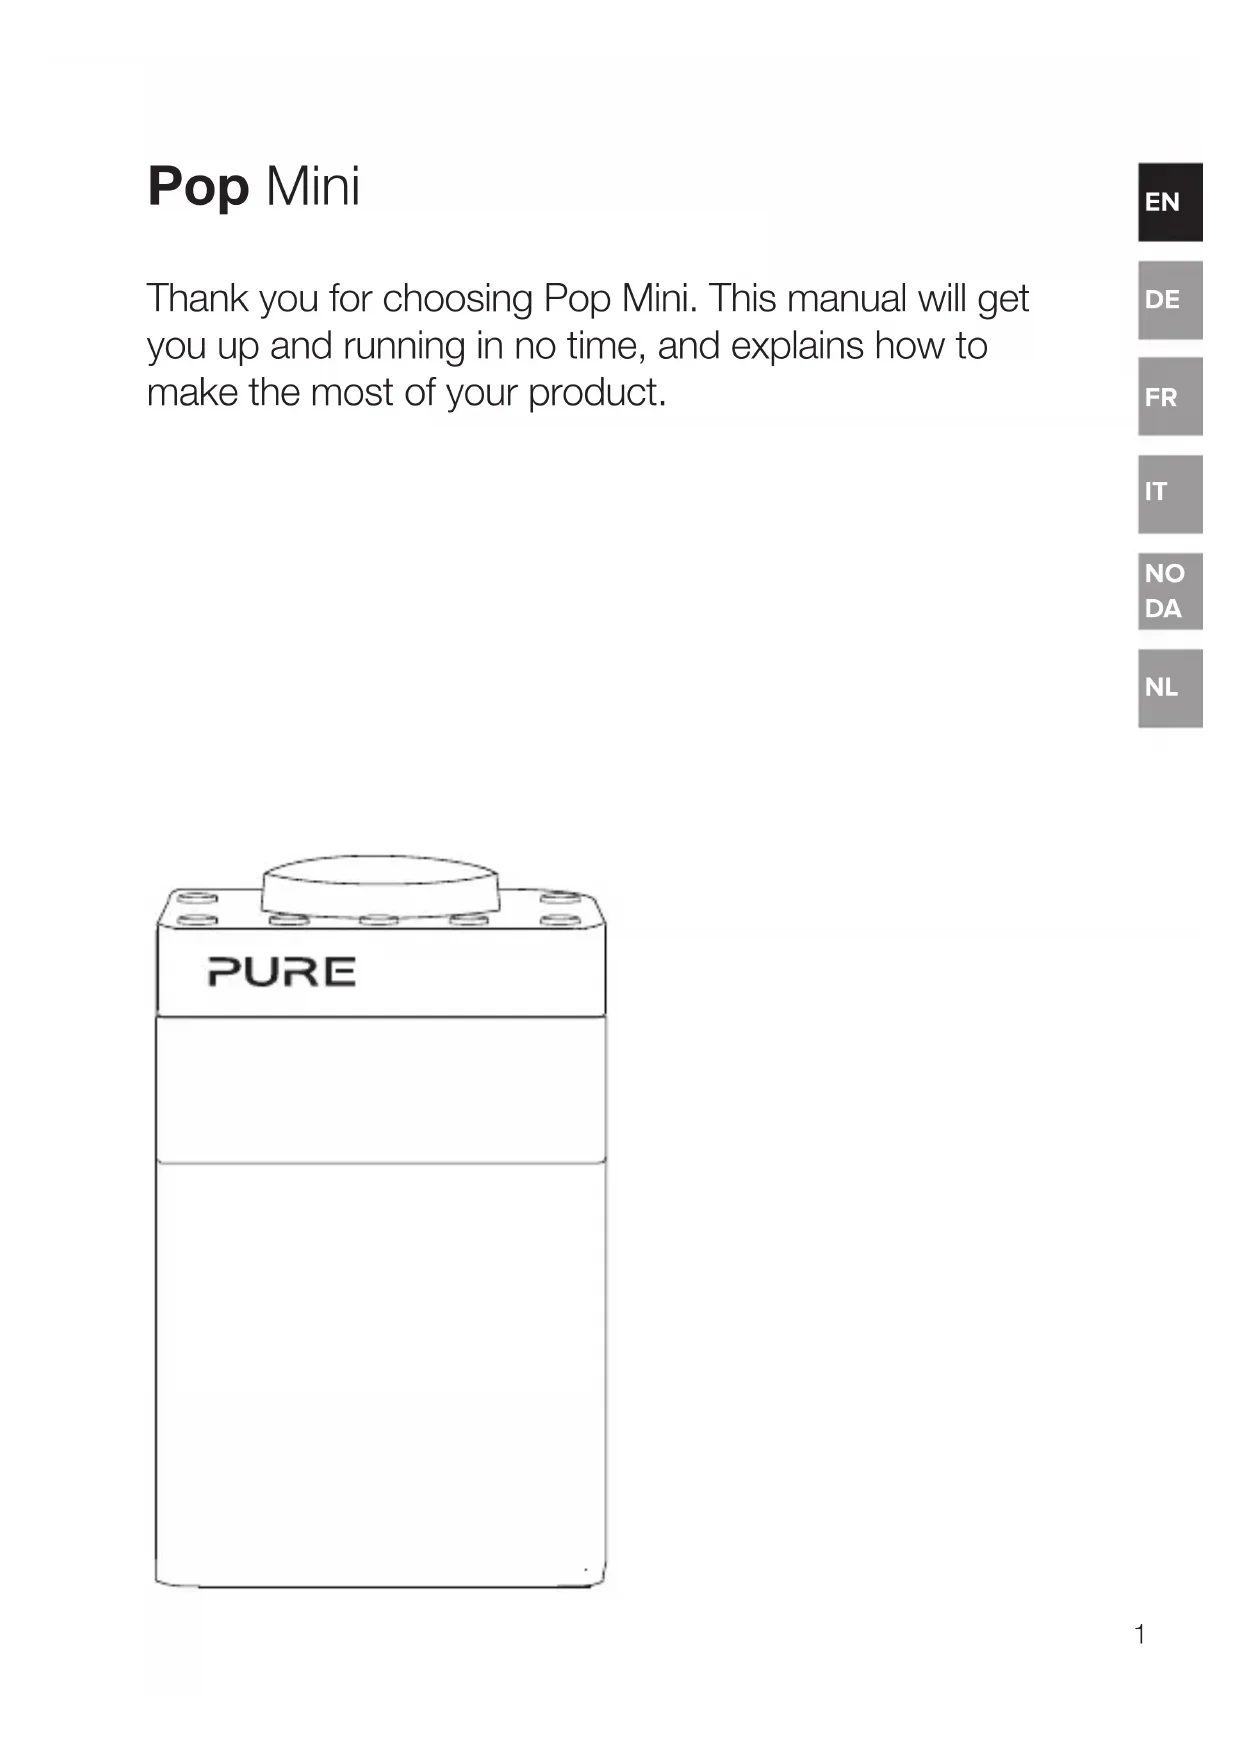
| Model | Pop Mini |
| Dimensions (approx.) | 12 x 6 x 10 cm |
| Weight | Approximately 200 g |
| Power supply | Built-in rechargeable battery (USB-C) or mains |
| Battery life | Up to 10 hours in DAB+ |
| Main functions | DAB+ (Band III), FM RDS, 30 presets, alarm, sleep, timer, LCD display |
| Additional functions | Automatic scan, manual tuning, mono speaker, headphone jack |
| Connectivity | External antenna socket (optional), USB-C port for charging |
| Care and cleaning | Wipe with a soft, dry cloth. Do not use abrasive products. |
| Safety | Do not expose to moisture, do not open the casing, use only the supplied charger. |
| Spare parts and repairability | No user-serviceable parts. Contact Pure after-sales service. |
| General information | Compact portable radio, ideal for the kitchen or office. Available in several colors. |
| Warranty | 2 years (parts and labor) |
Frequently Asked Questions - Pop Mini PURE
How to turn on and off the Pure Pop Mini radio?
Press the Power button located on the side or top of the device. Hold down for 2 seconds to turn off.
How to search for DAB+ stations?
Press the Scan or Search button. The radio automatically searches for all available stations and stores them.
How to set the alarm?
Access the Alarm menu via the Menu button. Select an alarm, set the time, days, and source (DAB, FM, buzzer). Confirm.
The radio does not turn on, what to do?
Check that the battery is charged or connect the mains adapter. If the problem persists, reset the device by removing the battery (if removable) or pressing the Reset button.
How to use the radio on battery?
Make sure the battery is fully charged via the USB-C port. Typical battery life is 10 hours in DAB+. To save power, lower the volume.
How to switch between DAB+ and FM?
Press the Source or Mode button to toggle between DAB+ and FM. The display shows the selected band.
How to store a station as a preset?
Tune to the desired station, then press and hold a preset button (1-5) until a beep confirms the storage.
Sound is low or distorted, what to do?
Increase the volume. Check that the headphone jack is not obstructed. Place the radio on a stable surface. Move away from sources of interference.
How to clean the screen and casing?
Use a soft, dry cloth. For stubborn stains, lightly dampen the cloth. Never use solvents or abrasive cleaners.
Where to find the full manual?
The PDF manual is available for free download at notice-facile.com. You can also request a translation by email.
User questions about Pop Mini PURE
0 question about this device. Answer the ones you know or ask your own.
Ask a new question about this device
No questions yet. Be the first to ask one.
Download the instructions for your Radio in PDF format for free! Find your manual Pop Mini - PURE and take your electronic device back in hand. On this page are published all the documents necessary for the use of your device. Pop Mini by PURE.
USER MANUAL Pop Mini PURE

Manual assistant
Powered by Anthropic
Waiting for your message
Product information
Brand : PURE
Model : Pop Mini
Category : Radio