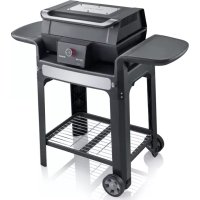
TO 2044 - Mini oven SEVERIN - Free user manual and instructions
Find the device manual for free TO 2044 SEVERIN in PDF.
| Product type | Mini oven with hob |
| Brand | Severin |
| Model | TO 2044 |
| Dimensions (W x D x H) | Approx. 45 x 35 x 30 cm |
| Weight | Approx. 8 kg |
| Total power | Approx. 1500 W |
| Power supply | 220-240 V ~ 50/60 Hz |
| Oven capacity | Approx. 20 liters |
| Number of hobs | 2 electric hobs |
| Oven functions | Convection, grill, fan heat |
| Maximum temperature | 230 °C |
| Timer | Yes, up to 60 minutes with automatic shut-off |
| Interior light | Yes |
| Door material | Tempered glass |
| Care and cleaning | Clean with a damp cloth after cooling. Do not immerse. |
| Safety | Automatic shut-off in case of overheating, cool handle |
| Spare parts | Available on the Severin website or from customer service |
| Repairability | Contact an authorized Severin repairer |
| Included accessories | Drip tray, grid, baking tray |
| Color | White or black (depending on version) |
Frequently Asked Questions - TO 2044 SEVERIN
User questions about TO 2044 SEVERIN
0 question about this device. Answer the ones you know or ask your own.
Ask a new question about this device
Download the instructions for your Mini oven in PDF format for free! Find your manual TO 2044 - SEVERIN and take your electronic device back in hand. On this page are published all the documents necessary for the use of your device. TO 2044 by SEVERIN.
USER MANUAL TO 2044 SEVERIN
GB Instructions for use Mini cooker with oven and hot-plates 9
Mini cooker with oven and hot-plates
Dear Customer,
Before using the appliance, please read the following instructions carefully and keep this manual for future reference. The appliance must only be used by persons familiar with these instructions.
Connection to the mains supply
The appliance should only be connected to an earthed socket installed in accordance with the regulations. Make sure that the supply voltage corresponds to the voltage marked on the rating label of the appliance. This product complies with all binding CE labelling directives.
Familiarisation
- Small hot-plate
- Indicator lamp
- Temperature control knob
- 7-position switch
- Power cord with plug
- Switch for small hot-plate
- Door handle
- Baking rack with handle
- Baking tray with handle
- Crumb tray
- Lower heating element
- Baking tray
- Baking rack
- Large hot-plate
Important safety instructions
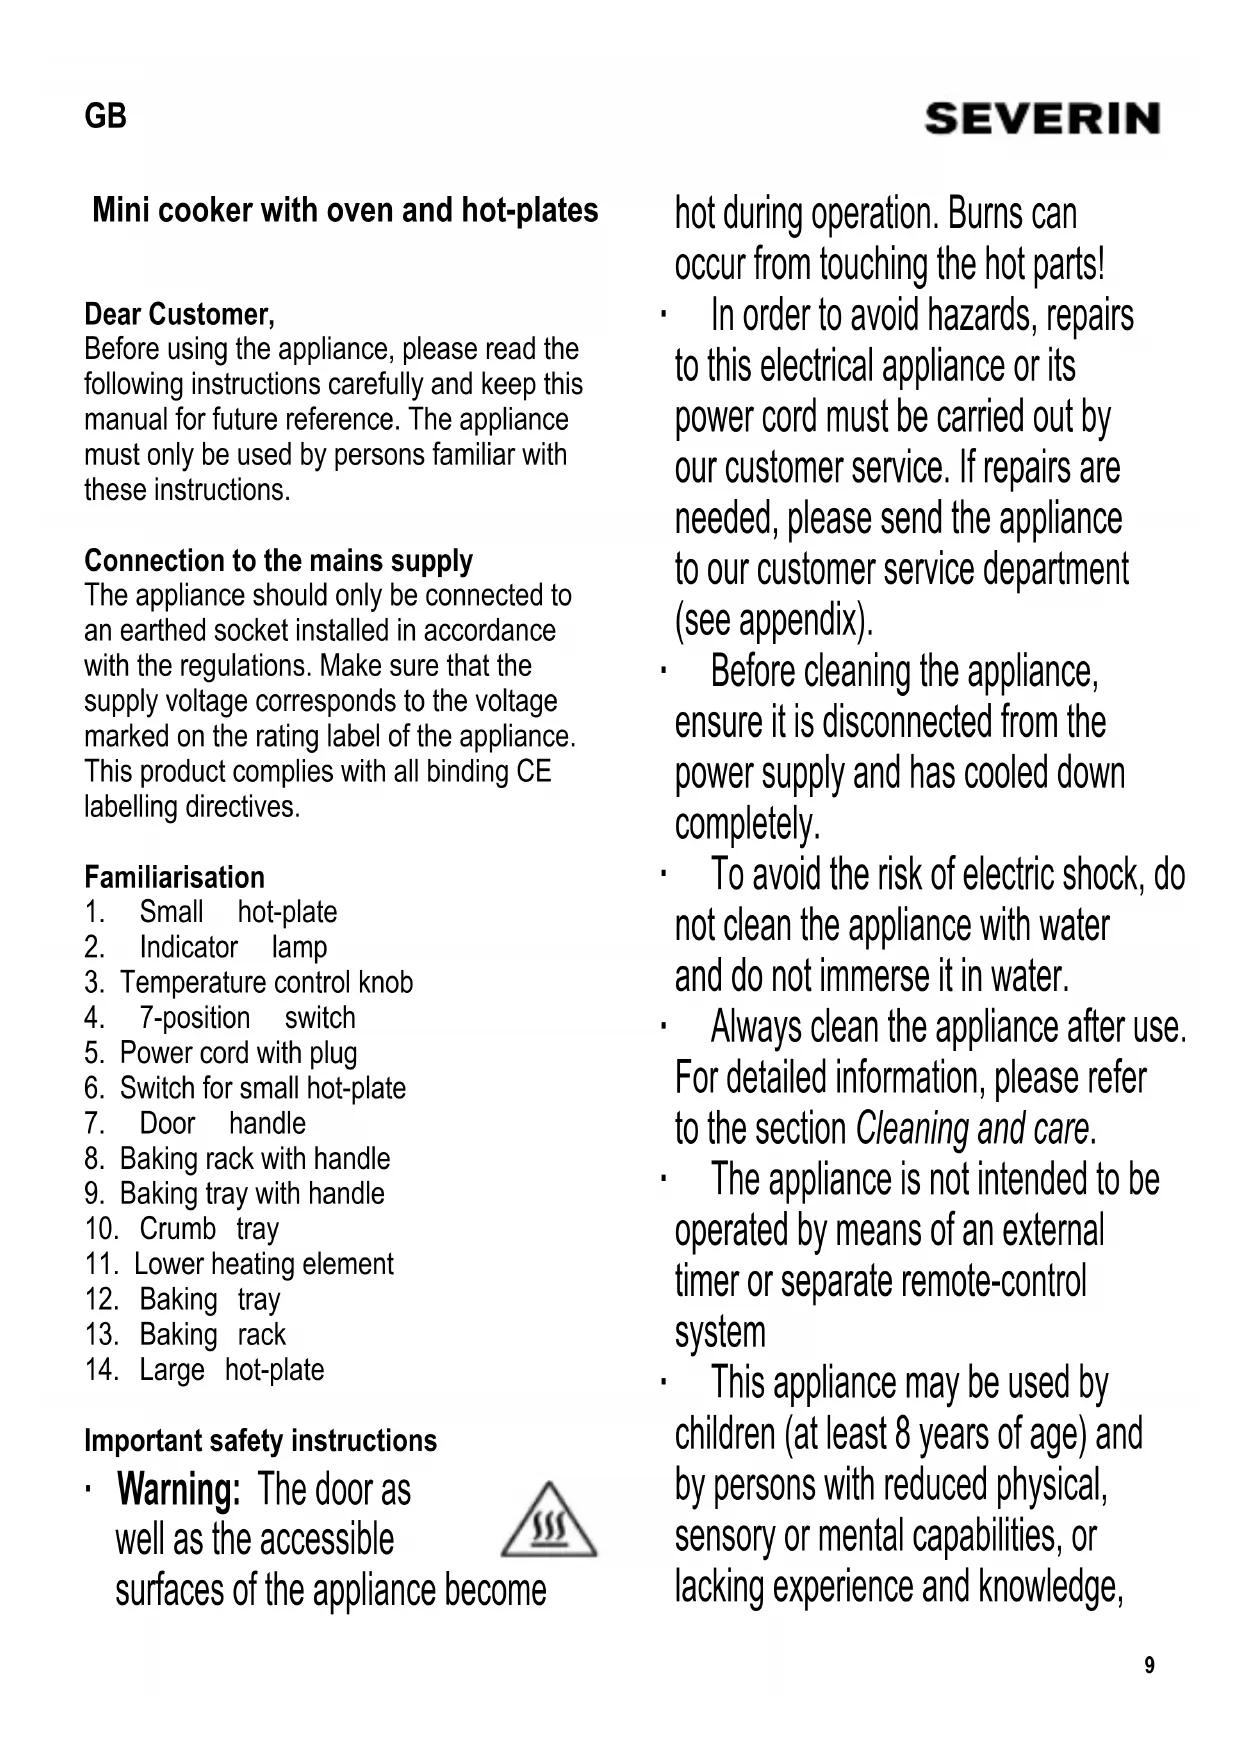
- Warning: The door as well as the accessible
surfaces of the appliance become
hot during operation. Burns can occur from touching the hot parts!
- In order to avoid hazards, repairs to this electrical appliance or its power cord must be carried out by our customer service. If repairs are needed, please send the appliance to our customer service department (see appendix).
- Before cleaning the appliance, ensure it is disconnected from the power supply and has cooled down completely.
- To avoid the risk of electric shock, do not clean the appliance with water and do not immerse it in water.
Always clean the appliance after use. For detailed information, please refer to the section Cleaning and care. - The appliance is not intended to be operated by means of an external timer or separate remote-control system
- This appliance may be used by children (at least 8 years of age) and by persons with reduced physical, sensory or mental capabilities, or lacking experience and knowledge,
provided they have been given supervision or instruction concerning the use of the appliance and fully understand all dangers and safety precautions involved.
Children must not be permitted to play with the appliance.
Children must not be permitted to carry out any cleaning or maintenance work on the appliance unless they are supervised and at least 8 years of age.
- The appliance and its power cord must be kept well away from children under 8 at all times.
Caution: Keep any packaging materials well away from children - such materials are a potential source of danger, e.g. of suffocation.
Every time the appliance is used, the main body including the power cord as well as any attachment if needed should be checked thoroughly for any defects. Should the appliance, for instance, have been dropped onto a hard surface, or if excessive force has been used to pull the power cord, it must no longer be used: even Invisible damage may have adverse effects on the operational safety of the appliance.
Do not touch the exposed heating elements or hot-glasses. Before the appliance is used, the crumble tray must be fitted in its proper position under the lover heating elements.
Overheated oil or fat may ignite.
Therefore do not overill the baking tray; this will prevent fat from dripping onto the heating elements below.
Do not leave the appliance unattended while in use.
- Do not use the appliance outdoors.
- Sufficient ventilation must be ensured at all times.
- Do not place any objects on the unit, and make sure that the following minimum distances from any wall or other object are maintained:
Side: 12
Rear: 12 cm
T: 30
- The unit must not be installed inside a cupboard; when positioning the unit, also ensure that it is not placed directly underneath a shelf or any other similar object.
The feet on the base of the unit must not be removed. - Do not position or operate the appliance close to or underneath any wall-coustods or hanging objects such as ovens, or any other applicable device.
During operation, the appliance must be placed on a heat-resistant surface, incipient to splashes and stains. Do not position the appliance on or near hot surfaces, open flames or inflammable vapours. - Do not allow the power cord to touch any hot parts of the appliance.
- Do not let the power cord hang free.
- Always switch off and remove the plug from the plug.
- after use, as well as
- in cases of malfunction, and
-during cleaning. - When removing the plug from the wall
SEVERIN
socket; never pull on the power cord; always grip the plug itself.
No responsibility is accepted if damage results from improper use, or if these instructions are not complied with.
This appliance is intended for domestic or similar applications, such as
- in shops, off-cas and other similar working environments.
- in agricultural working environments,
- by customers in hotels, motels etc. and similar establishments.
- in bed-and breakfast type environments
Temperature control
With the temperature control, the temperature in the oven compartment can be set to the desired level.
7-position switch
Oven compartment and large hot-plate switched off
Upper heating element switched on
Lower heating element switched on
Both upper and lower heating elements switched on
Lanq hct-plate .850W
Large hot plate 1100W
Large hot-plate 1500 W
Temperature control for small hot-plate
For the small Hot-plate, levels 1-4 can be selected.
Operational settings
The small hole-plate can be operated together
with either the oven compartment or the large hot-plate. However, it is not possible to operate both the large hot-plate and oven compartment at the same time.
Before using for the first time
Clean the appliance (see Cleaning and care) and remove any packing materials completely.
Before using the appliance for the first time, let the interior heat up for 10 minutes with both heating elements on. A slight colour may be noticed; this is quite normal and will only last for a very short time, but ensure sufficient ventilation by opening windows or heavy doors.
Before using the hot plates for the first time, let them heat up for approximately 3 minutes at maximum power, while ensuring sufficient client ventilation. During this process, a slight smell and a little smoke may be emitted. This is normal and will only last for a very short time.
Using the oven compartment
Pre-heat the oven compartment for several minutes with the door closed, using both heating elements. Set the temperature control knob to the required
1
switched on, the indicator lamp lights up and the interior lamp comes on.
-
Place the food to be cooked on the baking rack. When cooking food containing fat or moisture, use the baking tray to stop any dripping into the interior of the appliance.
-
For overhead baking or grilling, either the upper or the upper and lower elements may be selected.
The switch settings (taper heat/lower heat) may be changed during the cooking process.
To interrupt the cooking process temporarily, set the 7-position switch to the 8-position.
Always use the door handle to open the hot door after use. When removing the taking tray or rack, use the handle provided. Always place the tray and rack down on a heat-resistant surface.
After use, set the 7-position switch to the position and remove the plug from the wall socket.
Using the hot-plates
Always place a pot / saucepan on thehot plate first .
Largehot-plate: Set the 7-position switch to the required temperature.
- Smallhot-plate: Set the temperature set to this
Set the temperature control to the required temperature.
With one or both hot-plates switched on, the indicator jams is nil.
Ensure that the pot is clean and dry on the outside. Do not use stain covered or sooty pots / saucepots.
To prevent damage to the hot-plate, only use pots / saucepars with flat bottoms. Most suitable are pots specifically designed for use on electric plates (see picture 1).
Always make sure that the pot/sauce used is of at least the same diameter as the plate; this minimises the loss of heat and prevents the plate from being damaged as a result of uneven heat distribution.
After use, sel the 7-position switch to the
position (or the temperature control to ) and remove the plug from the wall socket.
Cleaning and care
Before cleaning the appliance, ensure it is disconnected from the power supply and has completely cooled down.
To avoid the risk of electric shock, do not clean the appliance with water and do not immerse it in water.
Do not use abrasives, harsh cleaning
solutions or spray type oven cleaners. The exterior housing and the door may be cleaned with a damp, Int-free cloth. The heating fan and cool air may be cleaned
The baking may also lack may be cleaned using hot water and a mild detergent.
After use, a wet cloth may be used to remove any spills from the plates.
Following a longer period of use, a special commercially available cleaning agent should be used to treat the planes.
Changing the bulb inside the oven
compartment
The bulb is located in the right-hand side panel behind a glass plate.
Allow the appliance to cool down
- Remove the glass plate by turning it anticlockwise.
- Remove the defective bulb from its socket.
by tuming it anti-clockwise. Fit a new15V sub (socket-type E14) into the socket by tuming it clockwise.
- Replace the glass plate and secure it by turning clockwise.
Disposal
Devices marked with this symbol must be disposed of separately from your household waste, as they contain valuable materials
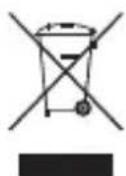
which can be recycled. Proper disposal protects the environment and human health. Your local authority or retailer can provide
information on the matter.
Guarantee
This product is guaranteed against defects in materials and workmanship for a period of two years from the date of purchase. Under this guarantee the manufacturer undertakes to repair or replace any parts found to be defective, providing the product is returned to one of our authorised service centres. This guarantee is only valid if the appliance has been used in accordance with the instructions, and provided that it has not been modified, repaired or interfered with by any unauthorised person, or damaged through misuse.
This guarantee naturally does not cover wear and tear, nor breakables such as glass and ceramic items, bulbs etc. This guarantee does not affect your statutory rights, nor any legal rights you may have as a consumer under applicable national legislation governing the purchase of goods. If the product fails to operate and needs to be returned, pack it carefully, enclosing your name and address and the reason for return. If within the guarantee period, please also provide the guarantee card and proof of purchase.