SE64A560 - Dishwasher SIEMENS - Free user manual and instructions
Find the device manual for free SE64A560 SIEMENS in PDF.
Download the instructions for your Dishwasher in PDF format for free! Find your manual SE64A560 - SIEMENS and take your electronic device back in hand. On this page are published all the documents necessary for the use of your device. SE64A560 by SIEMENS.
USER MANUAL SE64A560 SIEMENS
Instructions for Use
Getting to know your dishwasher 26
Filling the special salt container 28
Filling the rinse-aid container 29
Not suitable for the dishwasher 30
Arranging crockery, glasses,
etc. in the dishwasher 31. . . . . .
Check packaging and dishwasher
immediately for signs of transport
damage. If the appliance is damaged,
do not put it into use but contact your
supplier without delay.
Please dispose of packaging materials
Site the dishwasher and connect it up in
accordance with the installation
The dishwasher must not be connected
to the electricity supply while installation
is being carried out.
Ensure that the domestic wiring is
The mains electricity supply must
conform to the details shown on the
dishwasher nameplate.
Do not connect the dishwasher to the
electricity supply via an extension
Built-under and built-in appliances
should always be installed under a
continuous work surface which is
attached to the adjacent cupboards, in
order to ensure that the appliance is
After the appliance has been installed,
the mains plug should still be easily
The plastic housing on the water input
contains an electrically operated valve.
The connecting wires are inside the
inlet hose. Do not cut through this hose
and do not immerse the plastic housing
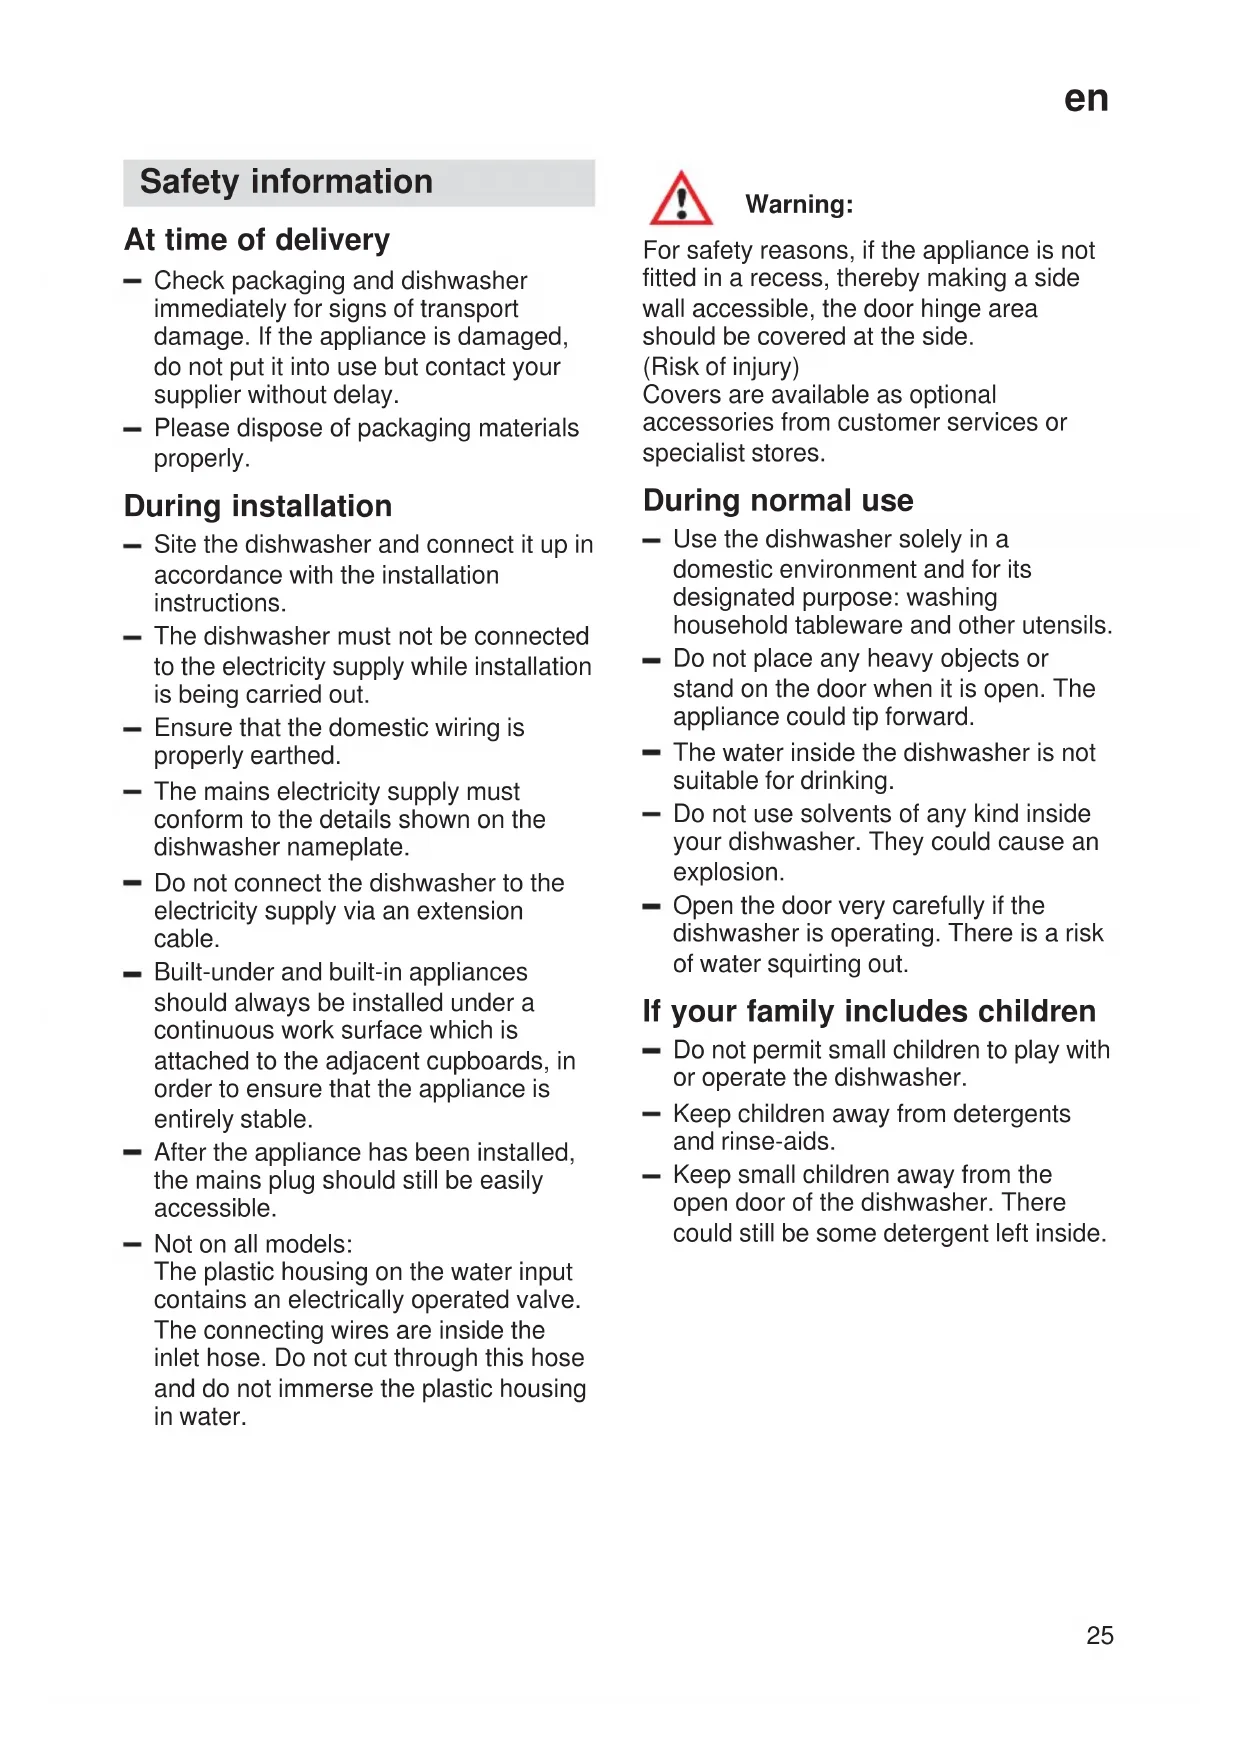
For safety reasons, if the appliance is not
fitted in a recess, thereby making a side
wall accessible, the door hinge area
should be covered at the side.
Covers are available as optional
accessories from customer services or
Use the dishwasher solely in a
domestic environment and for its
designated purpose: washing
household tableware and other utensils.
Do not place any heavy objects or
stand on the door when it is open. The
appliance could tip forward.
The water inside the dishwasher is not
suitable for drinking.
Do not use solvents of any kind inside
your dishwasher. They could cause an
Open the door very carefully if the
dishwasher is operating. There is a risk
of water squirting out.
If your family includes children
Do not permit small children to play with
or operate the dishwasher.
Keep children away from detergents
Keep small children away from the
open door of the dishwasher. There
could still be some detergent left inside.en
Repairs or other work on the
dishwasher should only be carried out
by a qualified specialist.
The dishwasher must be disconnected
from the electricity supply before any
repairs or other work are started. Pull
the mains plug out of the wall socket or
switch off at the fuse box. Grasp the
plug to remove it from the socket; do
not tug on the cable. Turn the water off
When disposing of old
Appliances that have reached the end
of their service life should be rendered
inoperable in order to exclude the
possibility of subsequent accidents. Pull
the mains plug out of the wall socket,
cut through the connecting cable and
disable the door lock.
Take the appliance to a designated
waste disposal centre.
Children could get locked in the
appliance (risk of suffocation) or
get stuck in other positions.
Therefore: Remove the mains
plug, cut the mains wire and set
aside. Damage the door lock so
that the door can no longer be
Getting to know your
Illustrations of the control panel and the
interior of the dishwasher are shown on
the rear fold-out cover of this manual. Fold
this page out before you read the manual.
Upper basket with 2-tiered cup rack
Additional cutlery basket for the top
Container for special salt with level
Container for rinse-aid, with level
Detergent compartment
You will need to purchase the
following before using the
dishwasher for the first time:
– special salt for use in dishwashers
Only use products, which are suitable for
In order to rinse dishes and glasses
satisfactorily, the dishwasher requires soft
water, i.e. containing little or no lime,
otherwise water stains will be left behind
on crockery and glasses, etc.
If the tap water exceeds a certain level of
hardness, it must be softened, i.e.
decalcified, so that it can be used in the
This is achieved by adding a special salt
to the water softener inside the
The water softener, that is the required
amount of salt, is set up according to how
hard the tap water is.
Setting up the water softener
(see introduction)en
Filling the special salt
While washing is taking place, salt is
automatically rinsed out of the salt
container into the water softener where it
dissolves the lime in the water.
The dissolved lime is pumped out of the
dishwasher. The water softening system is
then ready for the next load.
This process of regeneration can only
function when the salt is dissolved in
Unscrew the lid on the salt container 24 .
Before you use the dishwasher for the first
time, pour approx. 1 litre of water into the
Place the funnel supplied with the
dishwasher in the filler hole.
Tip in enough salt to fill the container to the
top (maximum of 1.5 kg). As you tip in salt,
some of the water is displaced and drains
away. When you have done this, clean off
any remnants of salt from the area round
the neck of the container. Screw the lid
back onto the container, ensuring that it is
The LOW SALT indicator 5 on the front
panel will light up initially but will extinguish
again after a short period when the salt
solution has become sufficiently
When the control is set to , it is
not necessary to fill up with salt
as none will be consumed while
the dishwasher is operating. The
LOW SALT indicator is switched
off. If the control is set between
and , then salt must be
added to the dispenser.
Do not pour detergent into the
would destroy the water
Add more salt as soon as the LOW SALT
indicator 5 on the front panel lights up.en
Filling the rinse-aid
The purpose of a rinse-aid is to prevent
the formation of water marks on tableware
and utensils, and to ensure that glasses
are clean and sparkling. The rinse-aid is
consumed during the washing process.
Fold back the lid on the rinse-aid
the rinse-aid lid and simultaneously lift
Pour the rinse-aid into the filler hole
until the level indicator turns dark.
Close the lid, ensuring that you hear it
Adjusting the amount of
The amount of rinse-aid added to the
water can be varied by adjusting the
stepless control. The rinse-aid control has
been set to ”4” in the factory.
Do not alter the setting of the rinse-aid
control unless streaks (turn knob towards
”–”) or water marks (turn knob towards ”+”)
are left on the dishes.
Low rinse-aid indicator
As long as the rinse-aid refill indicator on
the panel 6 (on applicable models) or
dispenser 29 has not illuminated, there is
sufficient rinse-aid in the dishwasher.
LOW RINSE-AID indicatoren
Not suitable for the
What you should not put into
Cutlery and tableware manufactured in
whole or part from wood. They become
faded and unsightly in appearance.
Furthermore, the adhesives that are used
are not suitable for the temperatures that
occur inside the dishwasher. Delicate
decorative glassware and vases, special
antique or irreplaceable china. The
decorative patterns on such items will not
be dishwasher-proof.
Plastic objects that are not resistant to hot
water, copper and pewter utensils are also
not suitable. Decorative patterns printed or
painted onto the surface of crockery,
glasses, etc., aluminium and silver items
tend to become discoloured or faded if
washed in the dishwasher. Some types of
glass can become opaque in appearance
after they have been washed many times
in a dishwasher. Highly absorbent
materials, such as sponges and towels,
should never be placed in the dishwater.
In future, only purchase table or
kitchenware that has been confirmed as
being dishwasher-proof.
Dishes or cutlery that have
been soiled by tobacco ash,
wax, lubricating grease or
paint, should not be put in the
Damage to glassware and other
type of glass or manufacturing process
chemical composition of detergent
water temperature and duration of
dishwasher programme.
Use glassware or porcelain dishes that
have been marked ’dishwasher–proof’
by the manufacturer.
Use a mild detergent that is described
as ’kind to dishes’. If necessary, seek
further information from detergent
Select a programme with as low a
temperature and as short a duration as
To prevent damage, take glass and
cutlery out of the dishwasher as soon
as possible after the programme has
Arranging crockery, glasses,
etc. in the dishwasher
Loading the dishwasher
Scrape off any large amounts of left-over
food. It is not necessary to rinse the dishes
under running water.
Place objects in the dishwasher in such a
items such as cups, glasses, pots/pans,
etc. are stood upside down,
curved items, or those with recesses,
should be at a slant so that water can
they are stacked securely and cannot
they do not prevent the spray arms from
rotating while washing takes place.
Very small items should not be washed in
the dishwasher as they could easily fall out
To prevent water dripping from the top
basket onto the dishes in the lower basket,
we recommend that you empty the lower
basket first and then the top basket.
* on applicable models
Cutlery should always be inserted in
random order with the handles pointing
downwards (take care with knife blades!).
This enables the jet of water to reach the
individual items more easily.
To prevent the risk of injury, place long and
pointed implements and knives on the
shelf (some models) or knife shelf
(available as an accessory).
* on applicable models
To improve stacking of pots and pans, the
spikes can be folded down.en
Spray head for baking sheets *
* on applicable models
Please refer to the drawings enclosed in
Large baking sheets or grids can be
cleaned with the aid of the special spray
head. Remove the top basket and attach
the spray head as shown in the drawing.
Arrange the baking sheets as illustrated,
so that the jet of water can reach all parts
of them (max. 4 baking sheets and
* on applicable models
Lean tall glasses and those with long
stems against the shelf – not against other
Long items, serving cutlery, salad servers
or knives should be placed on the shelf so
that they do not obstruct the rotation of the
spray arms. The shelf can be folded back
when not required for use.
Adjusting position of basket *
The top basket can be inserted on either
its upper or lower rollers, according to
requirement. This enables more height to
be gained for bigger dishes in either the
If required, the height of the top basket can
be adjusted in order to create more space
for large utensils either in the top or bottom
Pull out the top basket.
To lower the basket, press in
succession the two levers on the left
and right sides of the basket. Always
take hold of the side of the basket on
the upper edge, otherwise the basket
will not drop smoothly (and may
damage the utensils).
To raise the basket, take hold of the
basket on the upper edge and pull
Before you re-insert the basket, ensure
that it is at the same height on both
sides. Otherwise, the appliance door
cannot be closed and the upper spray
arm will not connect to the water circuit.en
Information about detergents You can use any brand of liquid or powderdetergent, as well as tablets, that havebeen specifically designed for use indomestic dishwashers. (Do not use normalwashing-up liquid!)Nowadays there are three types ofdishwasher detergent available:1. those containing phosphates and chlorine,2. those containing phosphates but no chlorine,3. those containing neither phosphates nor chlorine.When a phosphate-free detergent is usedin conjunction with hard water, there is agreater possibility that white marks will beleft behind on crockery and glasses, etc.These can be avoided by pouring anincreased amount of detergent into thedispenser.Chlorine-free detergents have a reducedbleaching effect. This can mean that teastains are not completely removed orplastic items become discoloured.This can be resolved by:– selecting a higher temperature programme, or– increasing the amount of detergent, or– using a detergent that contains chlorine.Check the label on the detergentpackaging to determine whether aparticular product is suitable for use withsilverware.If you have any further questions, werecommend that you contact the customeradvice departments of the variousdetergent manufacturers. Detergent compartment with
measuring marks The side of the detergent compartment ismarked with lines to help you determinehow much powder to add.The capacity of the detergent container is15 ml up to the bottom line and 25 ml up tothe middle line. When the compartment isfull it contains 40 ml. 40 ml
15 ml ImportantIf the lid on the detergent com-partment is closed, press therelease lever to open the flap. Adding detergent Tip detergent powder into thecorresponding compartment 30 .Please observe the manufacturer’sinstructions printed on the detergentpackaging when determining thecorrect dosage.When you select the INTENSIVEprogramme, tip an extra 10–15 ml ofdetergent onto the inside surface of thedoor.en
If you are using the upper rack
only, or if your dishes are only
moderately dirty, it will normally
suffice to employ a reduced
amount of detergent than
otherwise recommended.
Close the lid on the detergent
Press down the lid (1) until it clicks
If you are using detergent in tablet form,
read the manufacturer’s
recommendations on the packaging in
determine where the tablets should be
placed inside the dishwasher (e.g. in
cutlery basket, detergent compartment,
Make sure that the lid on the detergent
compartment is closed, even if you are
CAUTION IMPORTANT NOTE ON THE USE OF COMBINED CLEANING PRODUCTS Please note the following when using
”combined cleaning products” which
eliminate the need for a rinsing agent or
Some products with a built-in rinsing agent
are only used to their full effect in certain
This type of product does not generally
produce the desired effect with automatic
Products which eliminate the need for
regeneration salt can only be used within a
certain water hardness range.
If you wish to use these combined
products, please read the instructions
carefully and heed any notes on the
Contact the manufacturer of the cleaning
agent if you have any questions,
the crockery is very wet once the
programme has finished.
limescale deposits are formed.
Any problems which arise as a direct
result of the use of these products are not
covered by our warranty.en
Programme overview This overview lists the max. possible number of programmes. The programmes supplied with yourappliance are indicated on the fascia.Type of crockerye.g.china,pots/pans,cutlery,glasses, etc. Type of foodremainsAmount offood remainsCondition offood remainsWash programmeProgramme sequenceNondelicateSoups, casseroles,sauces, potatoes,pasta, rice, eggs,roast or fried foodSoups, potatoes,pasta, rice, eggs,roast or fried foodCoffee, cakes,milk, sausage,cold drinks, saladsa lotvery littlestuckon hard Auto
Pre-rinse Rinse-aid70°DryingDryingDrying Main rinse Main rinseRinse-aid55° Wash 35°Rinse-aid65° Wash 50°Rinse off ifthe disheshave beenstacked forseveraldays in thedishwasherprior towashing.Pre-rinseMixed Delicate Mixed Gentle
40° Pre-rinse Wash 40° Main rinseRinse-aid55°Dryinga littleloosely attachedThirdrinsePre-rinse50° Wash 70°First rinseSecondrinsemediumThe programme sequence isoptimized and adapted with howthe appliance is loaded and howdirty the dishes are.Pre-rinse Programme selection
The most appropriate programme can be
identified by comparing the type of
crockery, cutlery, etc., as well as the
amount and condition of food remains,
with the details contained in the
You will find the appropriate programme
information in the introduction.en
If only a small number of
dishes have been loaded into
the dishwasher, selecting a
programme that operates at
the next lowest temperature
will usually suffice.
The stated programme data are based on
standard operating conditions. The values
can vary considerably according to:
different amounts of dishes
temperature of mains water supply
pressure of mains water supply
fluctuations in mains voltage
machine-related factors (e.g.
temperature, water volume, ...).
Energy and water consumption is reduced
by up to 1/4 when dishes are washed in
the upper basket only.
Water consumption values are based on a
water hardness setting of 4.
The Aquasensor is an optical measuring
device with which the cloudiness of the
water in the dishwasher is measured. A
photoelectric sensor is used to detect the
degree of soiling in the water, caused by
dissolved food particles such as egg, fat
and rolled oats, etc.
The Aquasensor functions during all
programmes that include a pre-rinse cycle.
If the water is still “clean” at the end of the
pre-rinse cycle, then the same water is
used for the following wash cycle. If the
water is dirty, it is pumped out of the
dishwasher and replaced by fresh water.
The effect is to reduce water consumption
by approx. 4 litres when the dishes are
only “slightly” dirty.
Switching the dishwasher ON Turn on the tap.
Set main switch 1 to ON.
Indicators light up according to the last
programme that was selected.
This same programme will run again if
no other programme button 7 is
The numerical display 4 shows the
expected duration of the programme.
The programme starts automatically.
The end of programme is indicated by
This function can be changed as follows:
Hold down the Time delay programme
button 3 and switch on the Main
switch 1 , then release the buttons.
The Time delay button 3 flashes and
the digital display indicates the value
(loud) which was set at the factory.
To change the setting:
Press the Time delay programme
Each depression of the button
increases the set value by one; when
is reached, the display jumps back
Switch off the Main switch 1 . The set
value is stored in the appliance.en
Switching the dishwasher OFF Several minutes after the programme has
Open the door when the programme
Set main switch 1 to OFF.
Turn the water tap off.
(Does not apply when Aqua-Stop unit
Remove dishes, etc. when they have
Interrupting the programme
Open the door. Caution! There is a risk
of water squirting out from inside the
appliance. Do not open the door fully
until the spray arm has stopped
Set main switch 1 to OFF.
Indicator lights extinguish. The
programme is retained in the dish-
If the hot water was switched ON or the
appliance has already heated up and
then the appliance door opened, leave
the door ajar for several minutes and
Otherwise, the appliance door may fly
open due to expansion.
In order to continue with the stored
programme, set the main switch to ON
again and close the door.
Programming the timer
You can delay the start of a programme in
increments of one hour for up to 19 hours.
Switch dishwasher ON.
Press the TIMER button as many times
as necessary until the numerical display
shows the required delay.
To erase the time delay setting, keep
pressing the TIMER button until
appears in the numerical display.
You can change your programme
selection as often as you like during the
intervening period before the dish-
Time-remaining indicator
The time-remaining indicator is
self-learning. When the programme
begins, it displays the estimated duration
of that programme. This figure is based
upon the duration of the previous
programme, or if the dishwasher is being
used for the first time, the duration of the
programme used for testing the appliance
in the factory. While the programme is
running, the indicator shows the amount of
time before the programme ends. The time
remaining is also adjusted to account for
the temperature of the water supply and
the number of dishes.
Intensive drying function
Activating the intensive drying function
increases the temperature during the
rinse-aid stage which gives better drying
Press and hold the A programme
button, and set the main switch 1 to
Release both buttons.
Either (ON) or (OFF) flashes in
the numerical display 4 .
Press the A programme button to
Set the main switch 1 to OFF. The
new setting is stored in the dishwasher
Cancel programme (Reset)
Only when the master switch is ON.
Press the A and C buttons
simultaneously, and hold them pressed
for approx. 3 seconds.
The numerical display shows .
The programme continues for approx.
When it has ended, set the main switch 1 to OFF. Close the detergent compartment 30 .
To restart the dishwasher, set main switch 1 to ON again and select desired programme.
Changing the programme
It is possible to change the programme
within 2 minutes after you have switched
Should it be necessary to change the
programme after this period, the
programme cycle that has already been
begun (e.g. washing) will be completed
The new remaining time displayed is the
sum of the remaining time from the
preceding programme cycle and the
remaining time attributable to the new
programme that has been selected.
Additional functions *
* on applicable models
The Pre-Soak programme option serves to
perform a pre-soak cycle before the main
programme. This cycle enables cookware,
e.g. pans, bowls, etc. to be pre-soaked
and pre-rinsed in the lower rack. If you
wish to pre-soak the dishes, this
programme option must be selected by
pressing the “Pre-Soak” button before the
programme starts. The recommended
detergent amount is approx. 5 g poured
onto the inside of the door.
Pressing the “Quick” button provides a
short wash cycle by curtailing the drying
phase and the washing time. The washing
and drying performance will be reduced
with the Quick programme option.
Washing contents of UPPER RACK only *
If you have a small number of dishes to
wash in the upper rack (e.g. glasses, cups,
plates), switch on the UPPER RACK
function. If you select the UPPER RACK
function, the lower rack must be empty.
Add a reduced amount of detergent
compared to that which is recommended
If you have a small number of dishes to
wash in the lower rack (e.g. plates, pans,
bowls), switch on the LOWER RACK
function. If you select the LOWER RACK
function, the upper rack must be empty.
Add a reduced amount of detergent
compared to that which is recommended
Care and maintenance
Regular inspection and maintenance of
your appliance helps to prevent problems
from occurring. This saves time and
aggravation. You should therefore
carefully inspect the inside of your
dishwasher from time to time.
Overall condition of appliance
Check that no grease or scale has
accumulated on the inside of the
If you discover any deposits:
Clean the interior of the dishwasher
thoroughly with a detergent solution.
Special dishwasher salt
Check the LOW SALT indicator 5 . Top
up with salt, if required.
Check the LOW RINSE-AID indicator 6
on the front panel or the level indicator on
the rinse-aid container 29 . Top up with
rinse-aid, if required.
The filters 25 prevent larger remnants of
food or other objects from getting inside
the pump. This residue can occasionally
clog up the filters.
The filter system consists of a filter
cylinder, a flat fine filter and, depending on
the model, a microfilter (*).
Inspect the filters for obstructions every
time the dishwasher has been used.
By unscrewing the filter cylinder, you
can remove the filter system. Remove
any food remnants and clean the filters
under running water.
Insert the filter system and screw down
with the filter cylinder.en
Lime and remnants of food in the washing
water can block the nozzles in the spray
arms 22 and 23 and the arm
Inspect the nozzles in the spray arms
for blocked holes due to remnants of
If necessary, pull the lower arm 23
upwards and lift it off.
Unscrew the upper spray arm 22 .
Clean both spray arms under running
Refit the spray arms. Ensure that the
lower arm has locked into place and the
upper one is screwed tight. 0123 Spray arms
Resolving minor problems
Experience has shown that you can
resolve most problems that arise during
normal daily usage yourself, without
having to call out a service engineer. Not
only does this save costs, but it also
means that the appliance is available for
use again that much sooner. The following
list of common occurrences and their
remedies should help you identify the
causes of most problems.
... when the appliance is
Appliance does not start up
Fault with fuse in mains electricity
Plug not inserted in wall socket.
Appliance door not closed
Water tap not turned on.
Blocked strainer in water intake
The strainer is situated in the
Aquastop or supply-hose
Do not forget that repairs
should only be carried out by a
qualified specialist. Improper
considerable equipment
damage as well as danger to
... with the appliance itself
Lower spray arm rotates with
Spray arm is blocked by small
items or food remains.
Lid in detergent compartment
Detergent compartment has been
Mechanism is clogged with
remnants of detergent.
Indicator lamps do not extinguish
after washing has finished.
Indicator lamps do not extinguish
after washing has finished
Main switch is still set to ON.
Remnants of detergent stuck inside
Compartment was damp when it
was filled up with detergent.
Compartment must be dry before
Water remains inside appliance
after programme has ended
Blockage or kink in drainage hose.
Filters are blocked.
The programme is still running.
Wait for the programme to end
(numerical display will indicate 0).
Perform “Reset” function.
Unusual amount of foam is created
Normal washing up liquid has
been poured into the rinse-aid
Remove any spilled rinse aid with
a cloth as it could otherwise lead
to excessive foaming during the
Appliance stops suddenly while
washing is taking place
Cut in electricity supply to
Water supply has been
Knocking sound can be heard
while washing is taking place
A spray arm is knocking against
the dishes inside the appliance.
Rattling sound can be heard while
washing is taking place
Crockery has not been stacked
properly inside the appliance.
Knocking sound coming from inlet
This is caused by the way the
water pipes have been laid and it
has no effect upon the way the
appliance functions. There is no
... with the dishes, cutlery, etc.
Remnants of food are stuck to the
dishes, cutlery, etc.
Dishwasher was not loaded
properly. Jets of water could not
reach all parts of the dishes, etc.
Too many items in the rack.
Items in the rack were touching
Not enough detergent was added
Selected wash programme was
not intensive enough.
Rotation of spray arm was
obstructed by dish, etc.
Nozzles in spray arm are blocked
by remnants of food.
Filters are blocked.
Filters have been incorrectly fitted.
Waste-water pump is jammed.
Plastic items are discoloured
Not enough detergent was added
Detergent has insufficient
bleaching properties. Use a
detergent containing a chemical
White stains are left on crockery,
glasses have a milky appearance
Not enough detergent was added
to input compartment.
Amount of rinse-aid was set too
Although water is quite hard, no
salt has been put in appliance.
Water softener was set too low.
Lid on salt container is not
If you used a phosphate-free
detergent, try a detergent
containing phosphates and
Dishes, cutlery, etc. have not been
Selected programme did not
include drying function.
Amount of rinse-aid was set too
Items were removed from
dishwasher too soon.
Glasses have a dull appearance
Amount of rinse-aid was set too
Tea stains or traces of lipstick have
not been completely removed
Detergent does not have a
sufficient bleaching effect.
Washing temperature was set too
Traces of rust on cutlery
Cutlery is not sufficiently rustproof.
Salt content in washing water is
Lid on salt container is not
Too much salt was spilt while
Glasses become clouded and
discoloured; coating cannot be
Unsuitable detergent was used.
Glasses are not dishwasher-proof.
Smears left behind on glasses and
cutlery; glasses have acquired a
Amount of rinse-aid set too high.en
Customer Service Please call your local service agent, if youare not able to resolve any problemyourself. The name of your nearest serviceagent is shown in the Customer Serviceaddress list. When you call, please providedetails of the model number (1) and theproduction (FD) number (2) which areshown on the nameplate on the appliancedoor. FD
1 WarningPlease note that a visit by thecustomer service technician inthe event of a fault or one ofthe problems previouslydiscussed is not free of chargeeven during the warrantyperiod. Other information
Notes on waste disposal Old appliances still have some residualvalue. An environment-friendly method ofdisposal will ensure that valuable rawmaterials can be recovered and usedagain.When an appliance has reached the endof its working life, unplug it from the mains.Cut through the mains cable and disposeof it together with the plug.Destroy the door locking mechanism. Thiswill ensure that children at play cannotbecome locked inside and are notexposed to the risk of suffocation.Your new appliance was protected bysuitable packaging while it was on its wayto you. All materials used for this purposeare environment-friendly and can berecycled. Please make a contribution toprotecting the environment by disposing ofthe packaging appropriately.Do not allow children to play with any partsof the packaging. There is a risk ofsuffocation by the cardboard boxes andthe plastic wrapping.Up-to-date information concerning optionsfor disposal can be obtained from yourretailer or local municipal administration. Notes on comparison tests You will find details of the conditions forthe comparison tests on the additional”Notes on comparison tests” sheet. Theconsumption values for the relevantprogrammes are given in the introduction.en
Measures must be taken to ensure that
built-under and built-in units that are
subsequently re-sited as free-standing
appliances cannot topple over. This can
be achieved by bolting the dishwasher
to the wall or fitting it under a
continuous work surface which is
screwed to the adjacent cupboards.
For Switzerland only:
There are no restrictions on installing
the appliance between wooden or
plastic walls as part of a fitted kitchen. If
the appliance is not plugged into a wall
socket, it must be connected to the
mains via a separator for all poles
within the domestic wiring system. This
device must have a gap of at least
3 mm between open contacts, in order
to conform with relevant safety
In order to function correctly the
dishwasher must be properly installed.
Specifications for the water intake and
waste-water drainage, as well as electrical
connections, must fulfil the criteria that are
set out in the following paragraphs and the
installation instructions.
When installing the dishwasher, carry out
tasks in the following order:
– check contents of delivery upon receipt,
– connect drainage hose,
– connect inlet hose to water supply,
– connect dishwasher to electricity supply.
Checking contents of delivery
All functions of your dishwasher have
been thoroughly tested in the factory. A
small number of water marks have been
left on the dishwasher as a result. They
disappear as soon as the appliance is
used for the first time.
Siting the dishwasher
Dimensions associated with siting the
dishwasher are contained in the
installation instructions. Ensure that the
appliance is completely level by adjusting
the feet. Make sure that it is standing on a
See the installation instructions for details
of procedure to be followed.
If necessary, fit a siphon trap (U-bend) with
a connecting piece for the drainage hose.
Connect the drainage hose to the trap
using the enclosed parts.en
Fresh-water connection
Connect the inlet hose to a water tap using
the enclosed parts and in accordance with
the installation instructions.
Minimum 0,5 bar – maximum 10 bar.
If the water pressure is higher, install a
pressure reducing valve.
Minimum of 10 litres per minute.
We recommend that you use cold water.
If you do use hot water, the temperature
should not exceed 60 °C.
Electrical connection
This appliance should only be connected
to a 230/240 V AC source via a properly
installed earthed socket. See nameplate
31 for size of required fuse.
The socket must be installed close to the
If you need to extend the mains
connecting lead, do not cut off the plug.
Replace the whole cable, which can be
disconnected at the junction box on the
rear of the appliance.
If the domestic wiring includes a residual-
current-operated (FI) circuit-breaker, make
sure that it bears the mark, as only
this type conforms to the latest regulations
Disconnecting the dishwasher
Here too, it is important that tasks are
carried out in the correct sequence:
always unplug the appliance from the
mains electricity first of all.
Pull plug out of wall socket.
Turn off water supply.
Disconnect drain and water input hoses.
Remove screws in underside of work
surface. Detach base board, if fitted.
Pull out appliance and carefully withdraw
Transporting the dishwasher
Drain water from the dishwasher. Secure
all loose parts. The appliance should only
be transported in an upright position.
If the appliance is not kept upright
during transport, any water left inside
may seep into the control module and
cause subsequent errors with
programme functions.
The appliance must be drained in the
Set main switch to ON.
Select the B programme. The
programme duration in minutes is
shown in the numerical display.
Wait for approximately 4 minutes.
Terminate the programme by
The time display changes to .
Wait a further minute and then
switch the appliance off.
Protection from freezing
If the appliance is installed in a location
where there is a risk of freezing
temperatures (e.g. in a holiday home), all
water must be completely drained out of
the interior (see “Transporting the
Turn OFF the tap, disconnect the supply
hose and allow to drain.fr
De servieskorf was te vol.
(not applicable to appliances without Aqua-Stop)
In addition to warranty claims against the seller based on the sales agreement and in
addition to our appliance warranty we shall replace the appliance under the following
1. If damage is caused by water due to a malfunction of our Aqua-Stop system, we shall
make good the damage in the case of private consumers.
2. This liability warranty is valid for the service life of the appliance.
3. The warranty claim is subject to correct installation and connection of the appliance in
accordance with our instructions. “This also includes correct installation of the
Aqua-Stop extension (original accessory).” Our warranty does not cover defective
supply lines or fittings up to the Aqua-Stop connection on the tap.
4. In principle, it is not necessary to monitor an appliance fitted with Aqua-Stop during
operation or to secure it afterwards by turning off the tap. You should only turn off the
tap if you are absent from home for a prolonged period, e.g. on holiday for several