Dryer Kit D5219 - Hair dryer REMINGTON - Free user manual and instructions
Find the device manual for free Dryer Kit D5219 REMINGTON in PDF.
User questions about Dryer Kit D5219 REMINGTON
0 question about this device. Answer the ones you know or ask your own.
Ask a new question about this device
Download the instructions for your Hair dryer in PDF format for free! Find your manual Dryer Kit D5219 - REMINGTON and take your electronic device back in hand. On this page are published all the documents necessary for the use of your device. Dryer Kit D5219 by REMINGTON.
USER MANUAL Dryer Kit D5219 REMINGTON
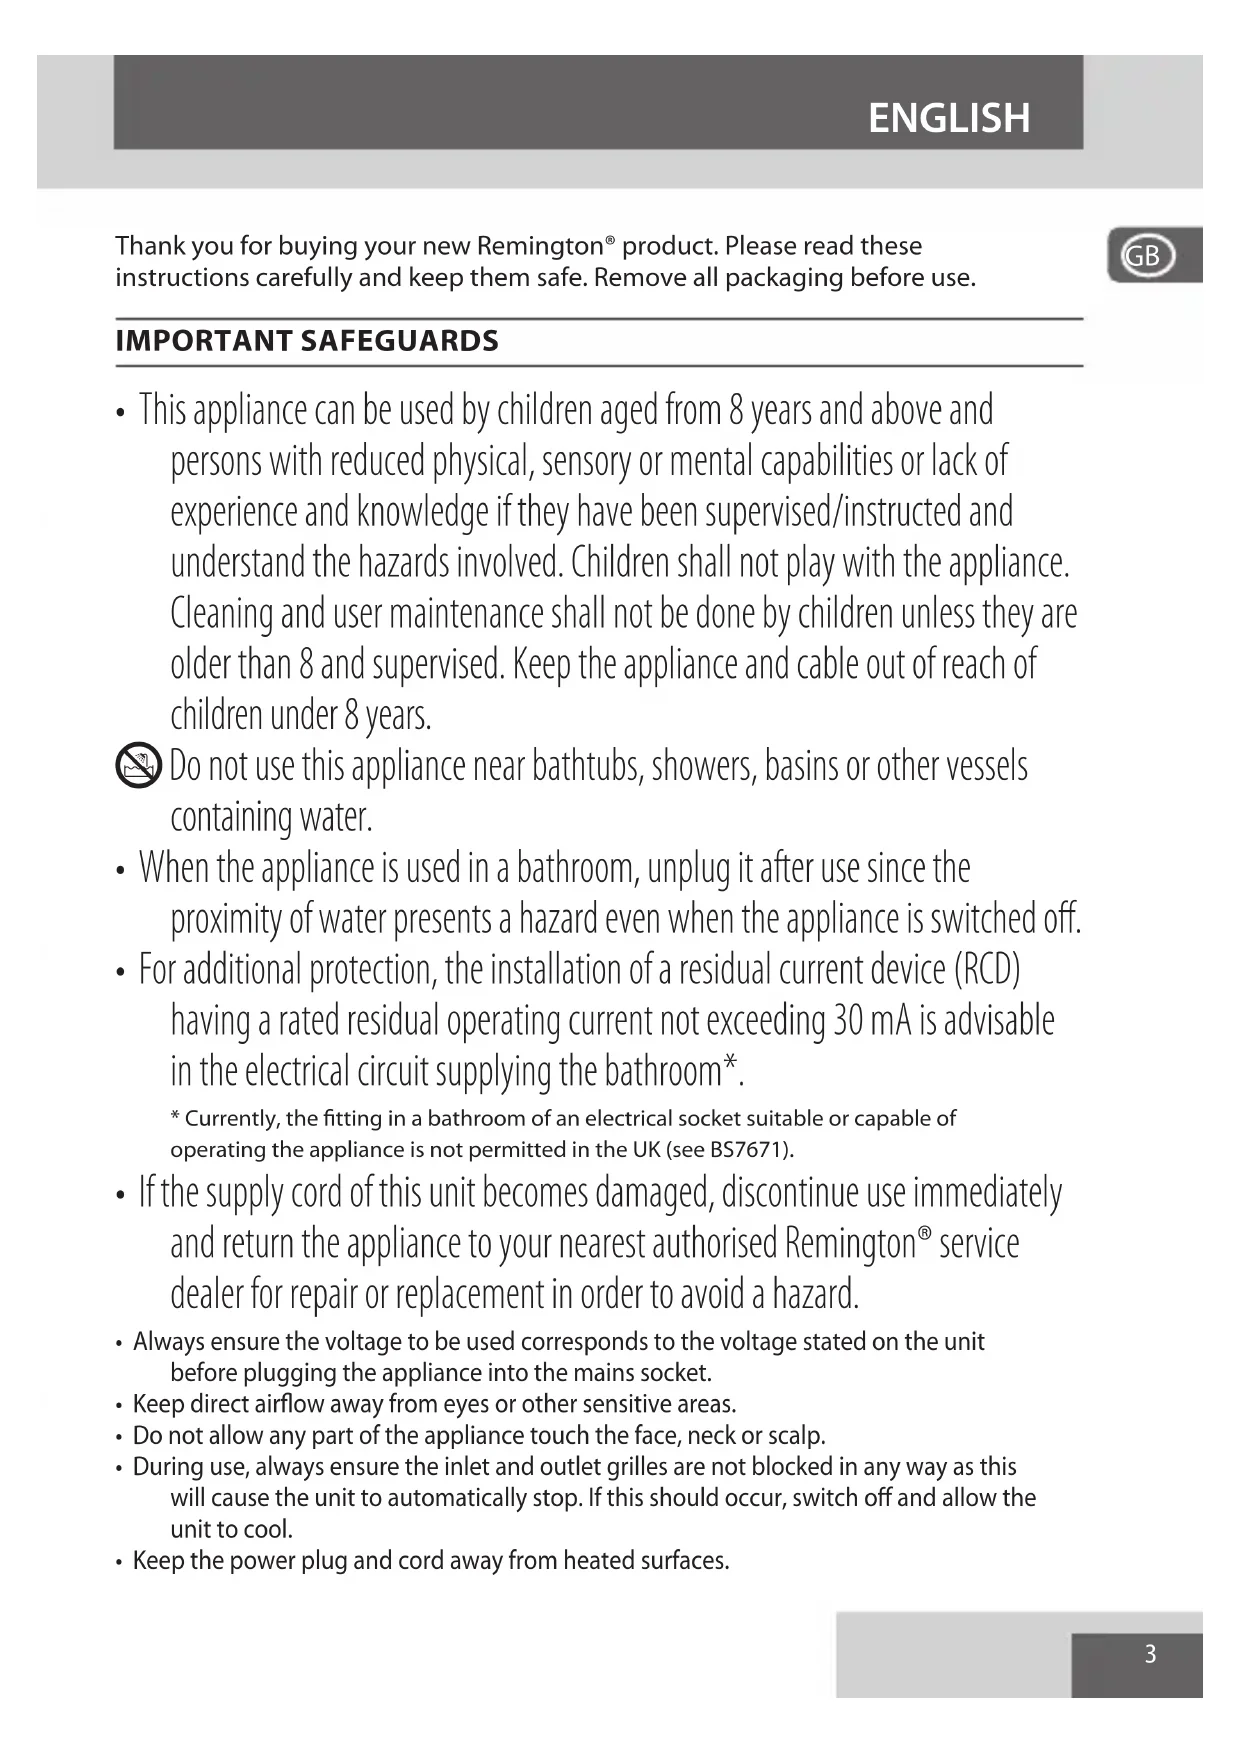
Thank you for buying your new Remington® product. Please read these instructions carefully and keep them safe. Remove all packaging before use.

IMPORTANT SAFEGUARDS
- This appliance can be used by children aged from 8 years and above and persons with reduced physical, sensory or mental capabilities or lack of experience and knowledge if they have been supervised/instructed and understand the hazards involved. Children shall not play with the appliance. Cleaning and user maintenance shall not be done by children unless they are older than 8 and supervised. Keep the appliance and cable out of reach of children under 8 years.

Do not use this appliance near bathtubs, showers, basins or other vessels containing water.
- When the appliance is used in a bathroom, unplug it after use since the proximity of water presents a hazard even when the appliance is switched off.
-
For additional protection, the installation of a residual current device (RCD) having a rated residual operating current not exceeding 30mA is advisable in the electrical circuit supplying the bathroom*.
-
Currently, the fitting in a bathroom of an electrical socket suitable or capable of operating the appliance is not permitted in the UK (see BS7671).
-
If the supply cord of this unit becomes damaged, discontinue use immediately and return the appliance to your nearest authorised Remington® service dealer for repair or replacement in order to avoid a hazard.
- Always ensure the voltage to be used corresponds to the voltage stated on the unit before plugging the appliance into the mains socket.
- Keep direct airflow away from eyes or other sensitive areas.
- Do not allow any part of the appliance touch the face, neck or scalp.
- During use, always ensure the inlet and outlet grilles are not blocked in any way as this will cause the unit to automatically stop. If this should occur, switch off and allow the unit to cool.
-
Keep the power plug and cord away from heated surfaces.
-
Do not leave the appliance unattended while plugged in.
- Do not place the appliance on any soft furnishings.
- Do not use attachments other than those we supply.
- Do not set the appliance down while still on.
- Do not twist or kink the cable, or wrap it round the appliance.
- Do not use the appliance if it is damaged or malfunctions.
- Check the cord regularly for any sign damage.
- This appliance is not intended for commercial or salon use.
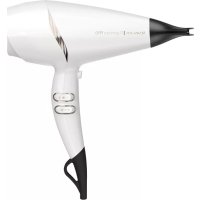
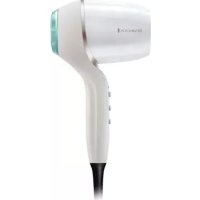
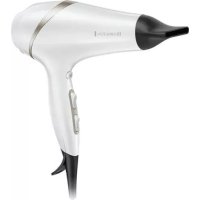
PARTS
1.Grille
6. Diffuser
2. Heat selector switch ( , , ,)
7. Inlet grille
3. Speed selector switch (0, x, y)
8. Hang up loop
4. Cool shot
9. Root boost attachment
5. Concentrator
INSTRUCTIONS FOR USE
- Wash and condition your hair as normal.
- Squeeze out excess moisture with a towel and comb through.
- Hairsprays contain flammable material - do not use while using this product.
- Attach the concentrators or diffuser by fitting it to the front of the hairdryer and twisting clockwise to lock it.
- Plug the product into the mains power supply.
- Switch your hairdryer on and select the desired speed setting (low or high) using the speed selector switch.
- Select the desired heat setting (low, medium or high) using the heat selector switch.
- After use, turn the appliance off and unplug it.
- Let the appliance cool down before cleaning or storing away.
Volumised Styling Using the Roost Boost Attachment
- Push the root boost slowly into your roots towards the centre of your head whilst drying.
- Allow the hair to push against the root boost and hold the root boost there for up to 10 seconds
- Repeat until you have dry, voluminous hair.
- If you hold the root boost at an angle to your head it will push the roothigher and therefore create the volume you want.
- To set your style, press the cool shot button whilst styling then release it to reactivate the heat.
- Let the attachments cool before removing.
TIPS
- For fast drying use the high heat / high speed function.
- To create smooth styles use the concentrator and a round hair brush (not included) whilst drying.
- To enhance natural curls and waves, attach the diffuser to the dryer. Turn your head upside down and gently place your hair into the diffuser bowl slightly rotating the dryer as you style.
- To create extra volume at the roots of the hair, keep your head upright and place the diffuser against the top of the head. Gently rotate the hairdryer allowing the diffuser fingers to gently massage the scalp being careful not to burn the scalp. Dry gently on a medium heat / low speed setting.
Caution: Do not use the diffuser on the highest heat setting (1).
- To set your style, press the cool shot button whilst styling.
CLEANING AND MAINTENANCE
- Unplug the appliance and allow to cool.
- To maintain peak product performance and to prolong motor life, it is important to regularly remove any dust and dirt from the inlet grille.
- To remove the rear grille for cleaning - hold the dryer handle in one hand, then with the other, place your thumb and index finger on the centre piece of the rear grille. Twist anti-clockwise and pull the grille away from the dryer.
- To replace the rear grille, insert the rear grille piece into the back of the dryer and turn clockwise to click into place.
RECYCLING
To avoid environmental and health problems due to hazardous substances, appliances and rechargeable and non-rechargeable batteries marked with one of these symbols must not be disposed of with unsorted municipal waste. Always dispose of electrical and electronic products and, where applicable, rechargeable and non-rechargeable batteries, at an appropriate official recycling/ collection point.
b_2 = 12
a1b1 = 1
jg jy gao yao yao
1
g10 1 Jaa aal aln jagaa gaoa
4 5
.6 7
i
ailll / ailll 1
aill (aiio 8) yjssr jg aicll piai lill g iill
a a 1
iAiaia 1e jw/iaiaia oJrJzIc!
.
aJl buiuie 45 jil p aiaill cllj d Jll gall jpiaill buai
aillg a
a1 = 4,a2 = 6
c( g + 1) = d ≤ s + 1
yI yI yI yI yI yI yI yI yI yI yI yI yI yI yI yI yI yI yI yI yI yI yI yI yI yI yI yI yI yI yI yI yI yI yI yI yI yI yI yI yI yI yI yI yI yI yI yI yI yI yI
aclll 1joc o jg lgl g aolll glg aalll aall aal lgl aal lgl y
yds
J 1
y 1
.


Ref. No. D5219
Type No. D5215
Remington® is a Registered Trade Mark of Spectrum Brands, Inc.,
or one of its subsidiaries