
Mobile Eyes HD - Surveillance Camera AIPTEK - Free user manual and instructions
Find the device manual for free Mobile Eyes HD AIPTEK in PDF.
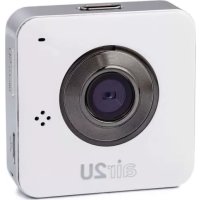



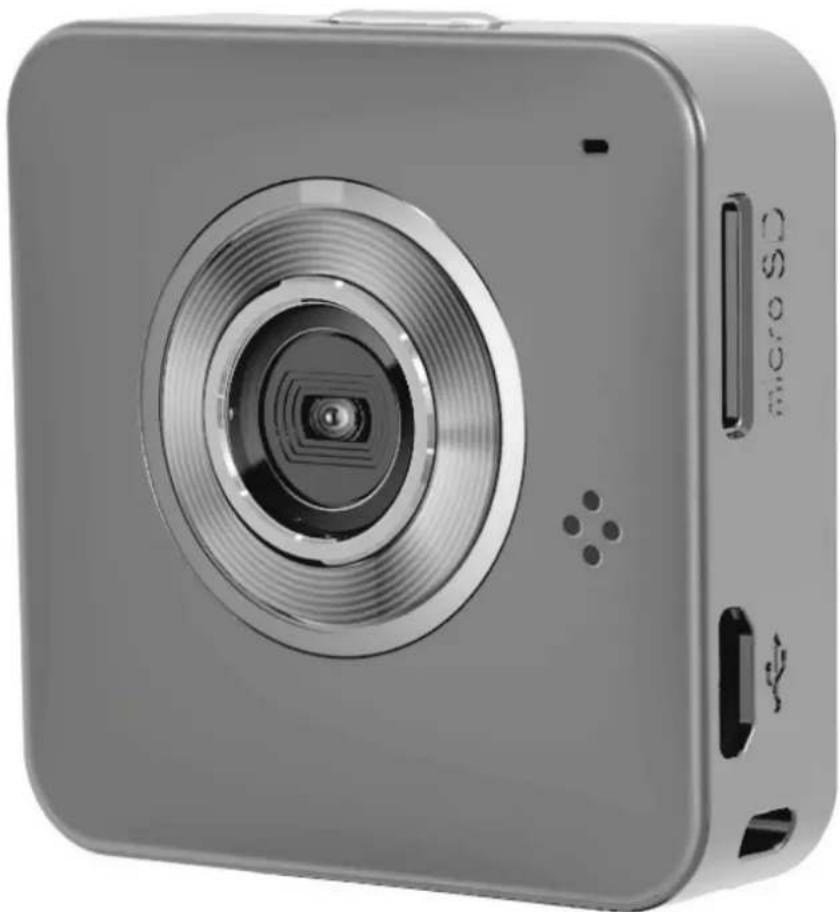
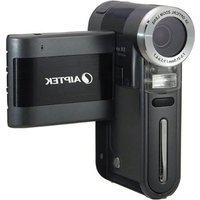
| Brand | Aiptek |
| Model | Mobile Eyes HD |
| Category | Surveillance camera |
| Product type | Multi-function wireless camera |
| Power | Rechargeable battery via USB (charger or computer) |
| Battery life | Not specified, recharge before first use |
| Operating modes | Video, Photo, Local (WLAN), Cloud (Internet) |
| Resolution | HD (not specified) |
| Storage | Micro SD card (not included) |
| Connectivity | Wi-Fi (local and cloud mode), USB (mass storage mode and webcam) |
| Mobile apps | Unieye (Android/iOS), USTREAM for cloud |
| PC application | PC APP (Windows) |
| Main functions | Video and photo recording, two-way audio, multi-view (up to 4 cameras), loop recording, digital zoom, image flip |
| Status indicator | Red/green/orange LED depending on mode and audible alarms |
| Reset | Press Record and Mode buttons for 5 seconds |
| Maintenance | Clean with a soft dry cloth |
| Security | Password for local and cloud access, reset possible |
| Included accessories | Clip mount, magnetic mount, neck strap mount (according to manual) |
Frequently Asked Questions - Mobile Eyes HD AIPTEK
User questions about Mobile Eyes HD AIPTEK
0 question about this device. Answer the ones you know or ask your own.
Ask a new question about this device
Download the instructions for your Surveillance Camera in PDF format for free! Find your manual Mobile Eyes HD - AIPTEK and take your electronic device back in hand. On this page are published all the documents necessary for the use of your device. Mobile Eyes HD by AIPTEK.
USER MANUAL Mobile Eyes HD AIPTEK
air2U MobileEyes™ HD
Life is wireless
User Manual
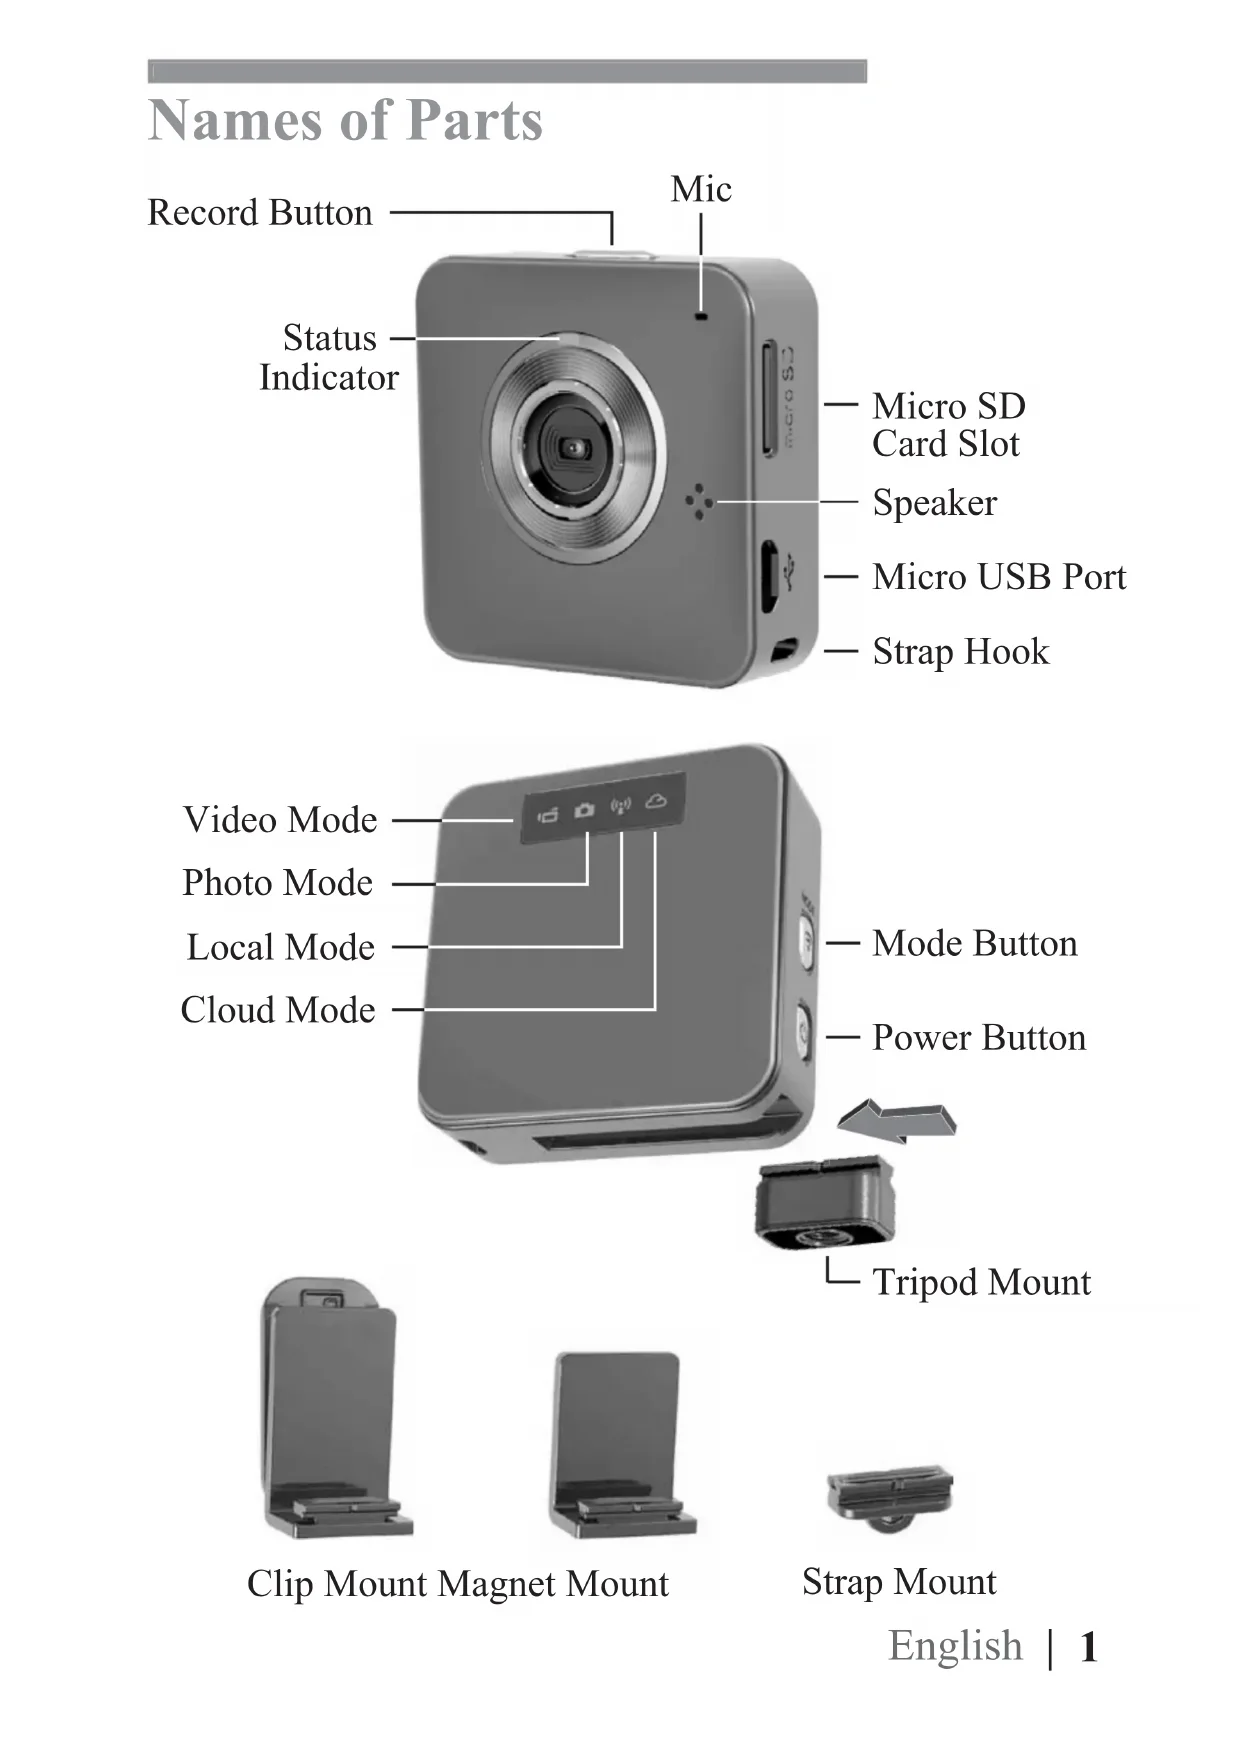
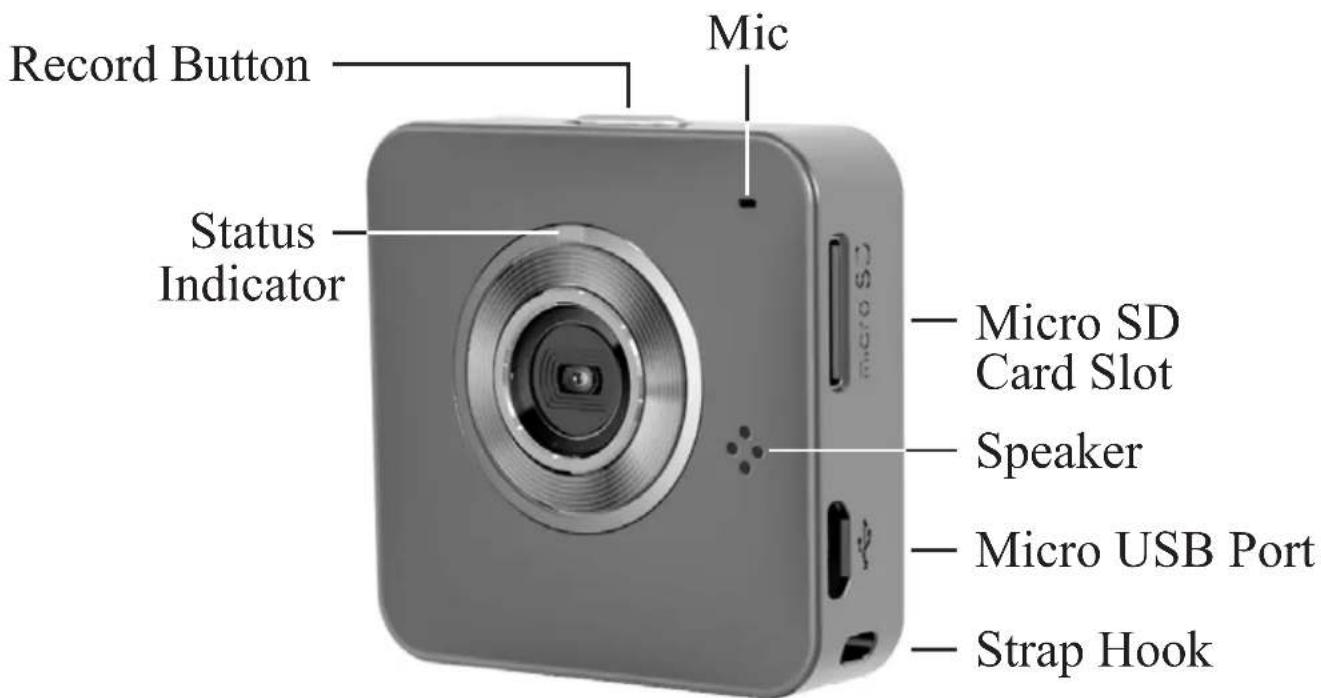
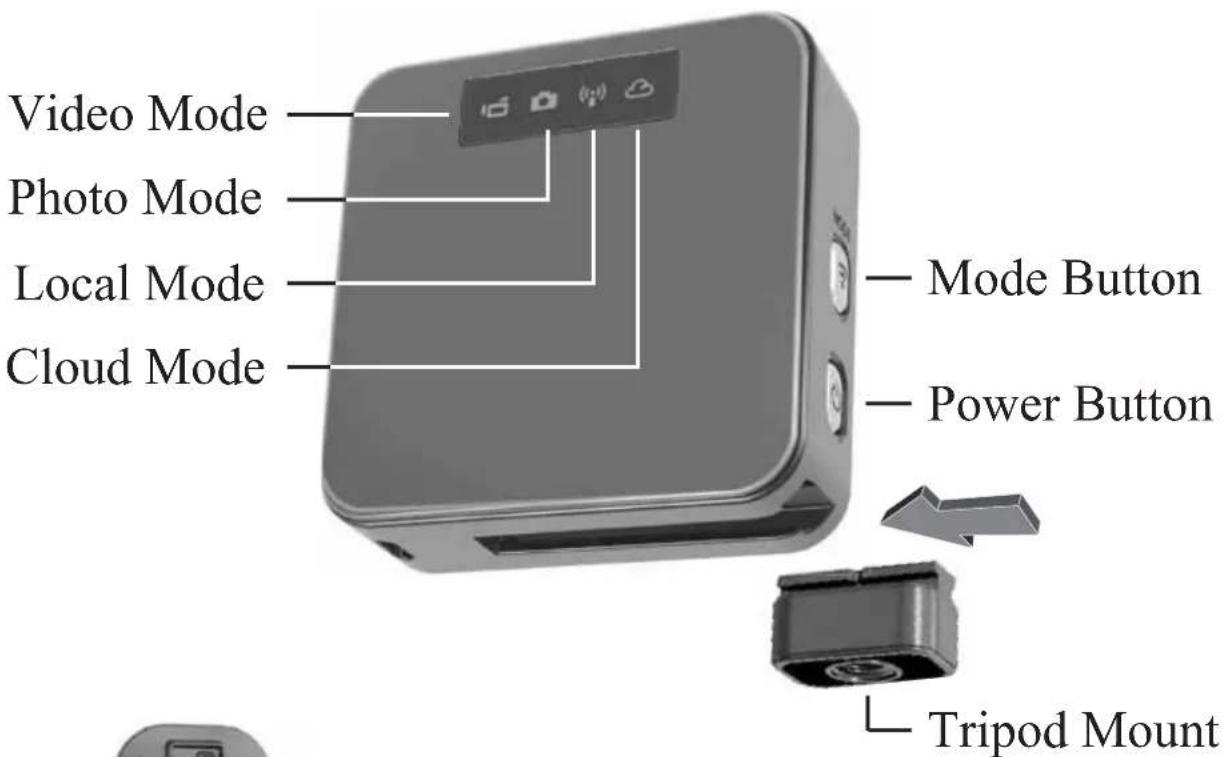
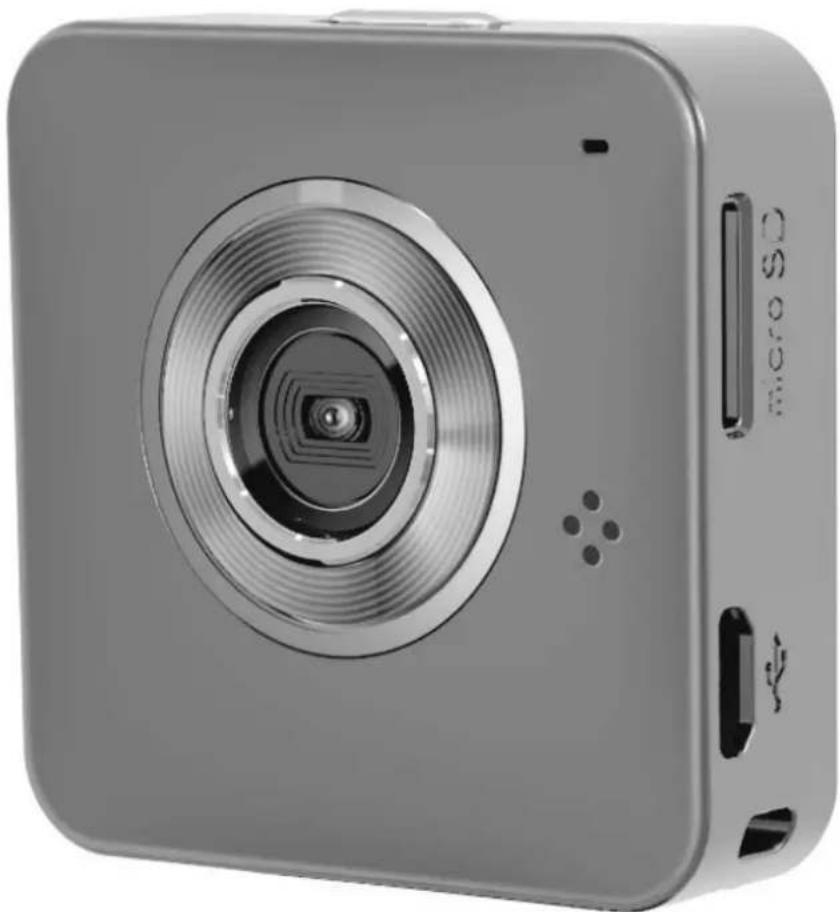
Names of Parts
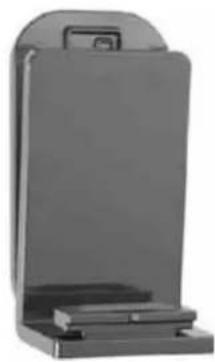
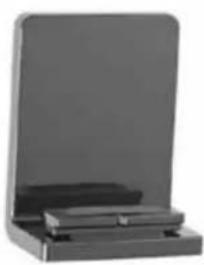
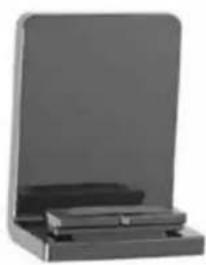
Clip Mount Magnet Mount Strap Mount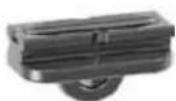
Getting Started
Charging the Unit
- Before initial use, fully charge the camera via power adapter or USB to computer system.
- During charging, the status indicator flashes in red. When the camera is fully charged, the indicator turns off.
Modes Navigation
- Press Power button to turn on camera.
- Press Mode button to switch between modes.
| With micro SD card inserted | Camera Modes | Video Mode |
| Photo Mode | ||
| Wireless Modes | Local Mode | |
| Cloud Mode | ||
| Without micro SD Card | Wireless Modes | Local Mode |
| Cloud Mode |
| Video Mode | Press Record button to shoot and press again to stop. |
| Photo Mode | Press Record button to take pictures. |
| Local Mode | Connecting camera to mobile or PC directly for remote controlling, live viewing, album managing, and camera setup. |
| Cloud Mode | Connecting camera to cloud server via access point (AP) or mobile hotspot for internet video or live monitoring. |
Install [Unieye] or [PC APP]
Before using wireless mode, install below applications to setup for both Local Mode and cloud setup, and also use them to watch live view in Local Mode.
- Mobile app: Download [Unieye] from Google Play or Apple Store. • PC software: Install [PC APP] from camera (Windows)(page 6).
![AIPTEK Mobile Eyes HD - Install [Unieye] or [PC APP] - 1](/content/2026/02/355566/images/548f1336aefe915442882f6ac3a45a5036039e05bb98594e32ff4771f23ec687.jpg)
Local Mode (WLAN)
For initial use, install the [Unieye] app on your mobile device. Each camera has a unique
Camera ID. (U2-xxxxxxxxx)

Mobile / PC
A password is not required for initial use, however, it is advised to go to [Setup] in the app to set up a password after connecting.
Connect to Camera
For iOS users:
- Set the camera to Local Mode (●) and wait until the indicator stops flashing.
- On your mobile device, go to [Settings] → [Wi-Fi] → Choose a camera. The 3G connection will switch to Wi-Fi within 1 minute.
- Run [Unieye].
- Press the camera bar to start.
For Android users:
- Set the camera to Local Mode (①) and wait until the indicator stops flashing.
- On your mobile device, activate Wi-Fi.
- Run [Unieye].
- Press camera bar to start.
iOS:![graph TD A["Wi-Fi Settings"] --> B["Choose a Network..."] B --> C["U2-00000001"] C --> D["Unieye Device Selection"] D --> E["View"] E --> F["Unieye Current AP Available"] F --> G["Android:"]](/content/2026/02/355566/images/808a3eeecc804aa52a3a0f43dd8ad7e38e1187b8db852e2553aa006d74bd4d97.jpg)
 | Zoom In | Zoom out |  | Take Photo(SD card required) |  | Shoot Video(SD card required) |
 | Invert Image |  | Loop Recordin• Record and archive in  interval interval | |||
 | Two Way Voice• Tap to talk to the camera from mobile; tap again to allow the camera to talk back to mobile. |  | Quad View• Press to enable Quad Y  (up to four cameras)• Tap [1] button to return to single view. (up to four cameras)• Tap [1] button to return to single view. | |||
Note: 1. Move the camera further away from mobile when echo occurs. 2. Mobiles with poor CPU performance may affect audio during broadcasting.
![graph TD A["Mobile Hotspot"] -->|Cloud AP| B["AP"] A -->|3G/4G| C["USTREAM"] C --> D["Cloud Server"] D --> E["Mobile / PC"] B -->|3G/4G| C](/content/2026/02/355566/images/5fbde81c75cdcae8e9ab538b87ad7c8550f7b7bacb426ce71981e313d7cc5a4f.jpg)
Recommended Cloud Server for Access:
USTREAM: A live broadcasting social media.
Before using Cloud Mode, it is required to set up cloud AP and cloud server in Local Mode.
Step 1: Setup Cloud AP in Local Mode
On mobile, start [Unieye], go to app [Setup] [Cloud Settings] → [Cloud AP]. Select a WiFi network from [AP List] and enter password. If no preferred AP is found, press [Other...] from [AP List] → Enter network name and password.
Note: Mobile hotspot can act as cloud AP.
Step 2: Setup Cloud Server in Local Mode
- New user, press then enter email/username/password/confirm for auto-registration. Returning user, enter username/password only.
- Press [Save to Camera].

Cloud Mode (Internet)
Step 3: Connect Camera to Cloud Server
Two ways to connect to cloud server:
- On [Unieye], press [Camera to Cloud] in [Setup] page.
- On camera, set to Cloud Mode 📋.
While connecting, the status indicator flashes rapidly in orange. Once connected, the status indicator flashes in green. If connection fails, the status indicator flashes in red and alerts in different beeping frequencies.
| Alert Cause/Solution | |
| One time | Cannot connect to cloud AP or invalid network password. Camera not inside WiFi area or weak signal. Check AP settings or move camera closer to cloud AP. |
| Two times | No internet access or the cloud server is not accessible. Cannot log in cloud server via internet. Cloud service may be blocked by firewall. |
| Three times | Cloud server username or password is incorrect. Refer to i in [Setup] for instructions. Username already taken. Create new account in [Unieye]. |
Or go into [Unieye] to view the error message.
Step 4: View Live Videos on Cloud Server
Options to view live videos:
- Use mobile app USTREAM is available in Google Play or Apple Store.
- Visit website: http://www.ustream.tv
Then search for username and select "username's show" to watch live video through camera.
Note: 1. USTREAM (cloud server) has right to change service policy. 2. When using cloud mode, make sure the mobile is connected to 3G/4G. 3. Experiencing delays while viewing live video may be due to high internet traffic.
Use PC APP
Mass Storage and Webcam Modes
While camera is plugged in to PC, press Mode button on camera to switch between Mass Storage Mode (default) and Webcam Mode. The status indicator shows steady red in Mass Storage Mode and steady green in Webcam Mode (In Skype or QQ, select "UVC_WEBCAM").
To use [Unieye] features on a PC, install the [PC APP] software first. The [PC APP] has similar features and interface to [Unieye] for an easy user experience.
Installing [PC APP] from the Camera
- Connect the camera to the PC via a USB cable. • [PC APP] AutoRun/AutoPlay activates.
- If AutoRun/AutoPlay does not start: Go to [My Computer] and search for [PC APP] to install it.
- Once installed, unplug the camera from the PC, then run [PC APP].
Local Mode - [PC APP]
Use [Unieye] to set up the camera's Local Mode and Cloud Mode. [PC APP] has more features than [Unieye].
- Press [View HD] or double-click the viewing window to maximize it to full screen. Double-click again to return to the [PC APP] interface.
• To save videos or photos to the PC:
Go to [Album] - Select videos or photos - Press [Save to PC].
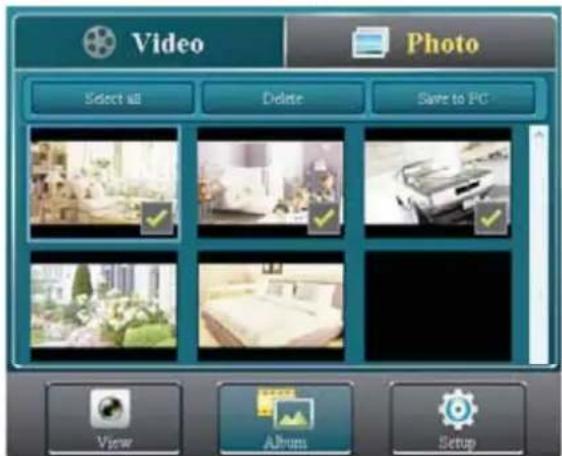
Camera Indication
| Condition Status Indicator Alert | |
| Recording Flashing | green One time |
| Loop Recording Flashing | orange one time |
| Charging Flashing red None | |
| Fully Charged No indication Two times | |
| Low Battery | Flashing red every 5 sec. (Warning) |
| Power Off No indication Two times | |
| Auto Power Off (5 mins idle) | Flashing red Two times |
| Memory Full SD Card Error | Flashing red Three times |
| Camera Hotkey | |
| Forced Shutdown | Press and hold Power button for 5 sec. to turn off camera. |
| Forced Default Settings | Press and hold Mode and Record buttons for 5 sec. to restore default settings. |
| Car Camcorder | Press and hold Record button for 3 sec. to start loop recording and invert image. |
Troubleshooting
| Situation Cause/Solution | |
| Camera cannot turn on | Battery power is low. Recharge the battery. |
| Camera is frozen | Press Power button for 5 sec. to turn off. Press Power button twice to turn on. |
| Camera cannot record | No SD card or SD card is full. SD card cannot be recognized. Format SD card in [Unieye] or replace SD card. |
| Camera not found | Turn on camera, switch to Local Mode. Press "Refresh" on mobile or PC to scan again. |
| Forgot camera password | Press both Mode and Record buttons for 5 sec. to reset. |
| Cannot watch live view | Move camera closer to mobile. |
| Flickering segments on live view | TV system setting (50Hz/60Hz) is incorrect. |
air2U MobileEyes™ HD
Life is wireless
Camera display
air2U MobileEyes™ HD Life is wireless
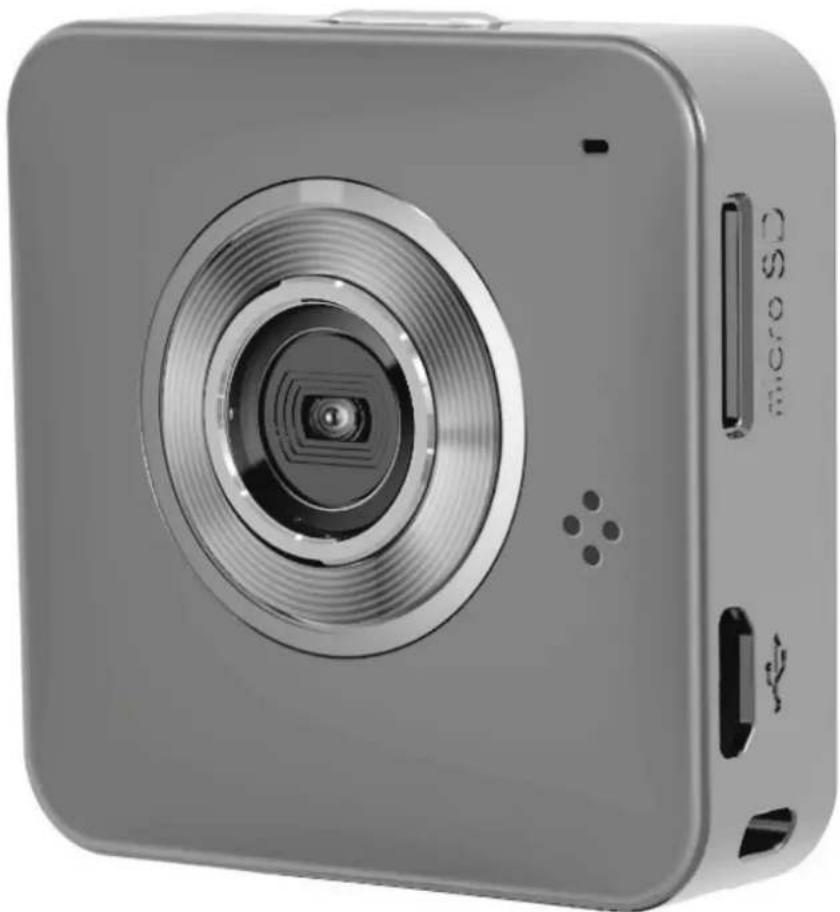
Part names
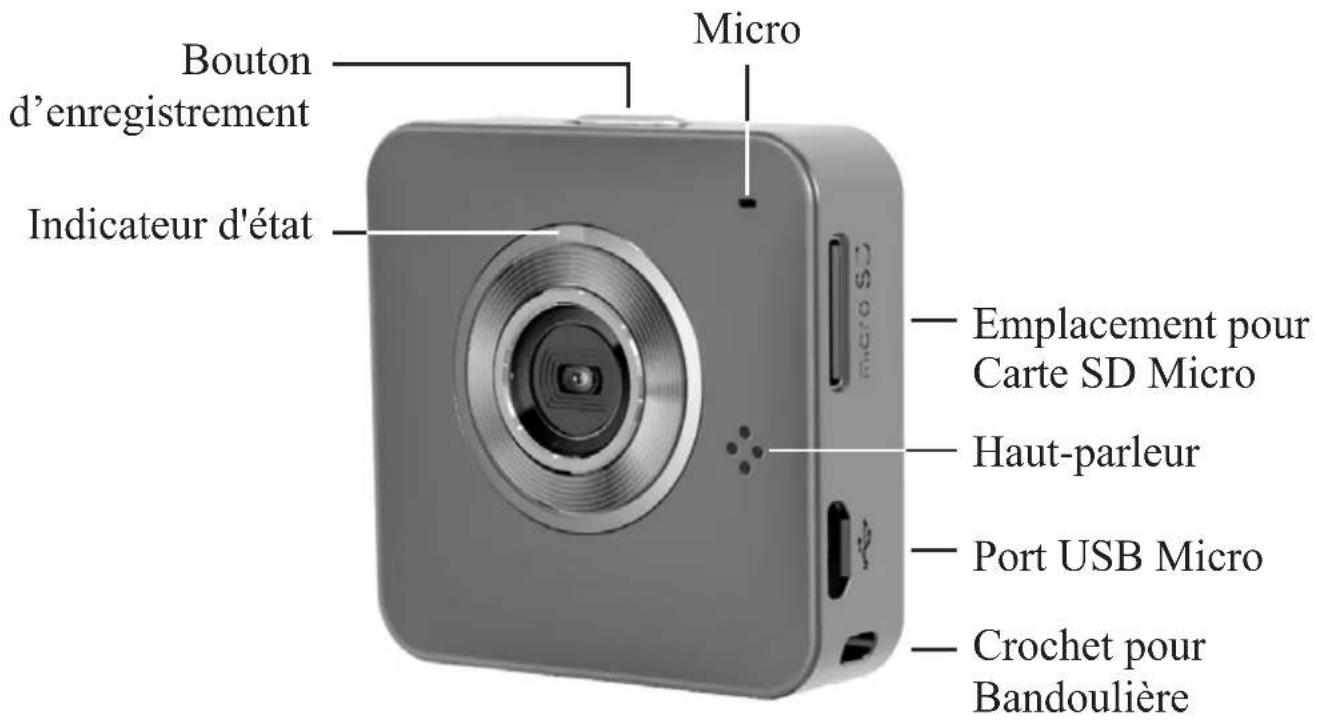
Local Mode - [PC APP] (PC application)
Device components
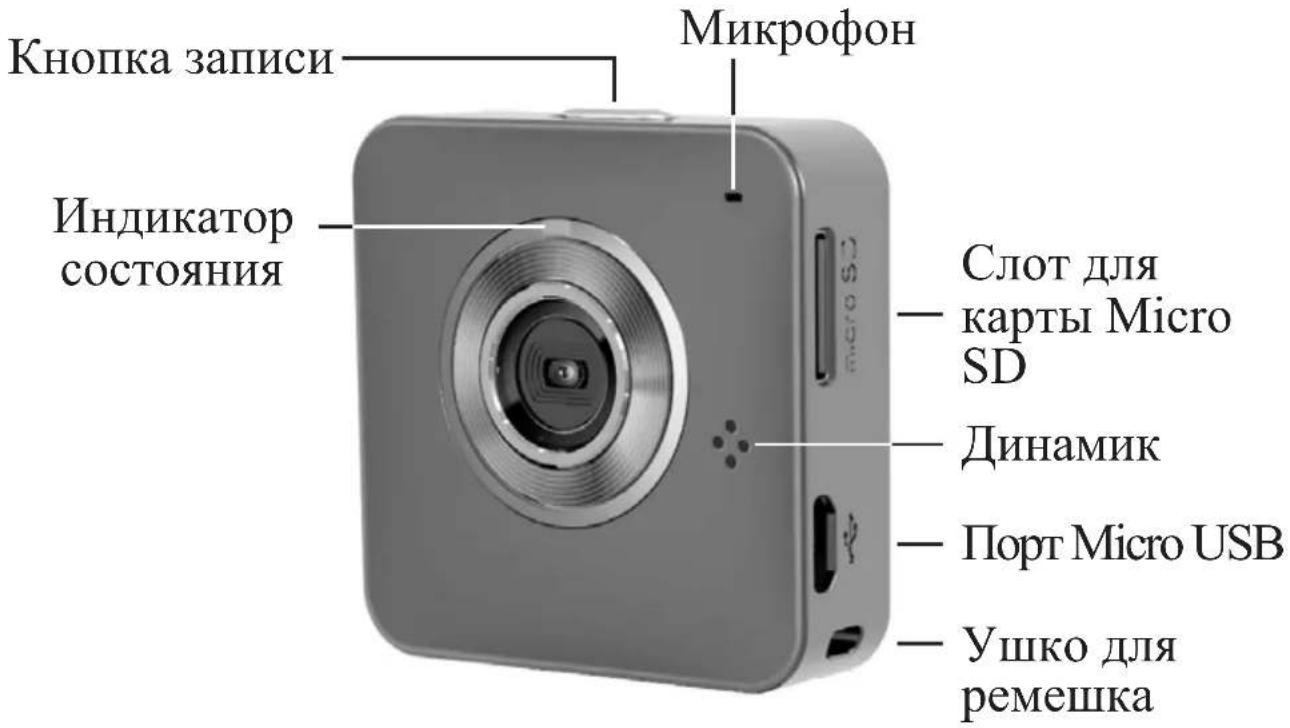
Camera indicators
air2U MobileEyes™ HD Life is wireless
User manual
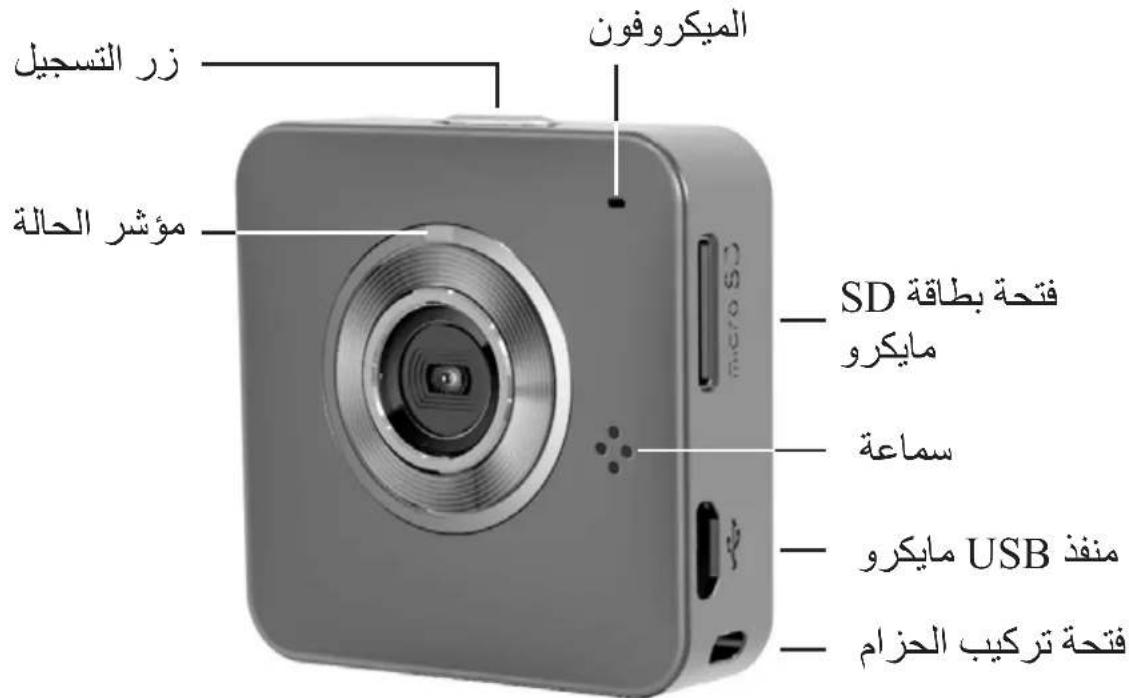
Foreign names
Camera signals



- AIR2U MOBILEEYES™ HD
- USER MANUAL
- NAMES OF PARTS
- GETTING STARTED
- CHARGING THE UNIT
- MODES NAVIGATION
- INSTALL [UNIEYE] OR [PC APP]
- LOCAL MODE (WLAN)
- CONNECT TO CAMERA
- FOR IOS USERS
- FOR ANDROID USERS
- RECOMMENDED CLOUD SERVER FOR ACCESS
- STEP 1: SETUP CLOUD AP IN LOCAL MODE
- STEP 2: SETUP CLOUD SERVER IN LOCAL MODE
- CLOUD MODE (INTERNET)
- STEP 3: CONNECT CAMERA TO CLOUD SERVER
- STEP 4: VIEW LIVE VIDEOS ON CLOUD SERVER
- USE PC APP
- MASS STORAGE AND WEBCAM MODES
- INSTALLING [PC APP] FROM THE CAMERA
- LOCAL MODE - [PC APP]
- CAMERA INDICATION
- TROUBLESHOOTING
- CAMERA DISPLAY
- AIR2U MOBILEEYES™ HD LIFE IS WIRELESS
- PART NAMES
- LOCAL MODE - [PC APP] (PC APPLICATION)
- DEVICE COMPONENTS
- CAMERA INDICATORS
- FOREIGN NAMES
Brand : AIPTEK
Model : Mobile Eyes HD
Category : Surveillance Camera