USER MANUAL DIOCAM-RE02-4G motorisée 2K avec panneau solaire CHACON
Camera 4G / Camera 4G
Cámara 4G / Câmera 4G
Kamera 4G / Telecamera 4G
Camera 4G
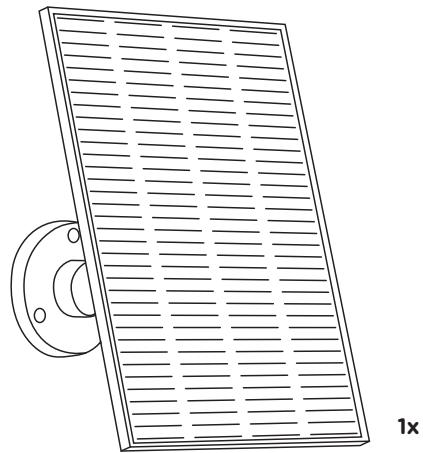
Panneau solaire / Zonnepaneel
Panel solar / Paine Solar
Solarpanel / Pannello solare
Solar Panel
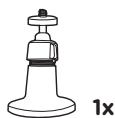
Support / Beugel
Sopporte / Sopporte
Halteklammer / Supporto
Bracket
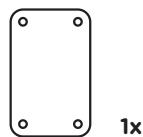
Support de camera
Camera beugel
Soporte de CAMERA
Suporte daamera
Kamerahalterung
Supporto per teletamera
Camera bracket
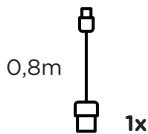
Cable USB-C
USB-C kabel
Cable USB-C
Cabo USB-C
USB-C kabel
Cavo USB-C
USB-C cable
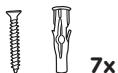
Vis / Schroeven
Tornillos / Parafusos
Schrauben / Viti
Screws

Vis à serrer à la main
Handvastdraiende schroeven
Tornillos para apretar a mano
Parafusos de aperto manual
Handfestschrauben
Viti di serraggio manuale
Hand tighten screws
Manuel d'utilisation
Gebruikershandleiding
Manual del usuario
Manual do usuario
Benutzerhandbuch
Manuale utente
User Manual
1 4G antenna
2 Bracket base
3 Battery
4 USB port + On-Off button
5 Microphone
6 Lens
7 Infrared LED / White light LED
8 Light sensor
9 Status indicator
10 PIR
11 Silicon flap
12 SD Card tray
13 Sim Card tray
14 Reset button
15 5W Solar panel
16 Solar panel bracket
Connecting the device
- Before the first use, charge the camera for 8 hours using the provided USB power cable.
- Download the free DiO One app and create your account. DiO cameras are also compatible with the «my Chacon» app.


- Turn on the camera, position On. The button is located under the cover of the camera base. Make sure to reposition it correctly to maintain the waterproof seal.
- Camera startup voice message «welcome» + red blinking light during the initialization phase.
- Synchronization activated: blue blinking light.
- Go back to the DiO One or my Chacon app.
- Follow the instructions in the app to connect the camera.
Note: A camera can only be added to one account. If the camera has already been added, it cannot be added to another account.
- Add the camera to the app by clicking on the «+» symbol, select tab + security + solar camera + DIOCAM-RE02-4G.
- Scan the QR code on the camera.
- Successful pairing: steady blue light.
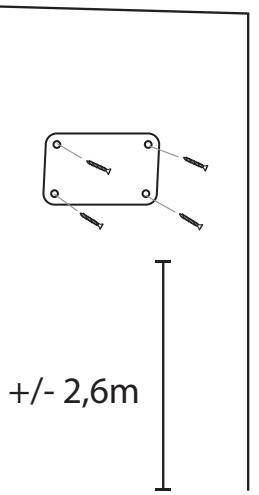
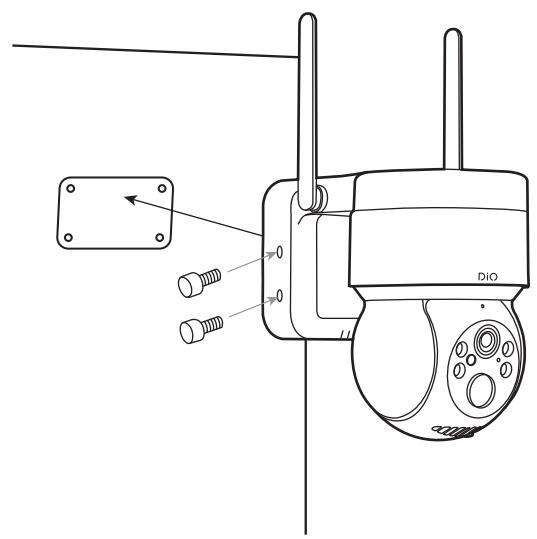
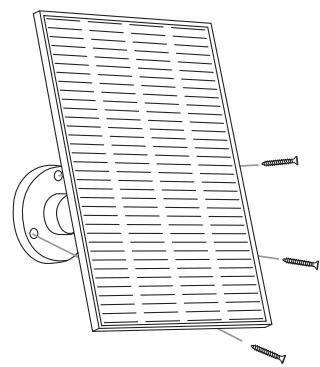
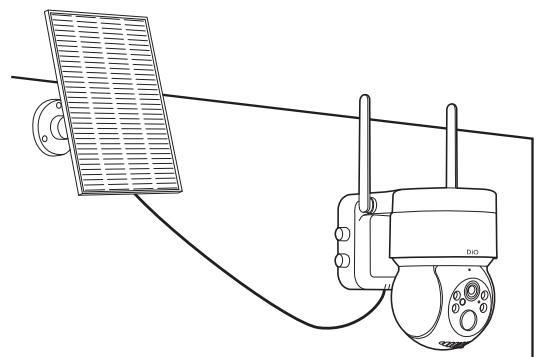
- After configuring the camera, install the panel and the camera outdoors. Ensure that the solar panel is properly oriented towards the sun to maximize product efficiency.
Note: Check for good network reception before permanently positioning the camera. Do not place the camera on metal or near any other material that may interfere with the GSM network.
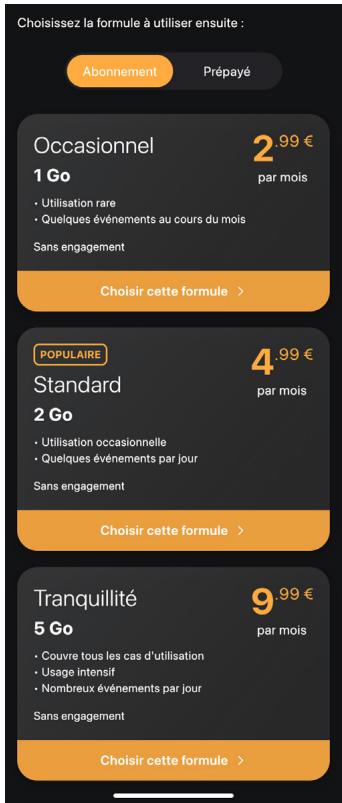
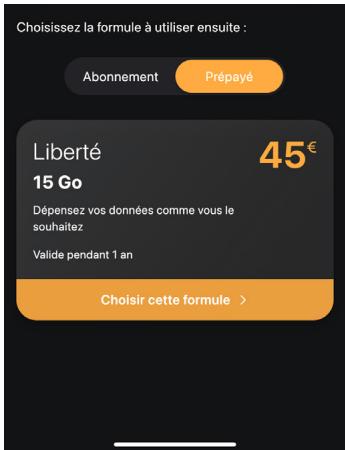
- Choose the subscription or prepaid options. (Includes 2GB free, **Options without commitment).
WARNING: This camera works only on a cellular network. THERE IS NO WI-FI CONNECTION!
Color status indicator
| steady red | No connection to base station, no SIM card inserted or no data traffic. |
| flashing blue | Connected to 4G network but not configured |
| steady blue | Connected to server |
| both red and blue light up (purple) | firmware update in progress |
| all off | off or in standby mode |
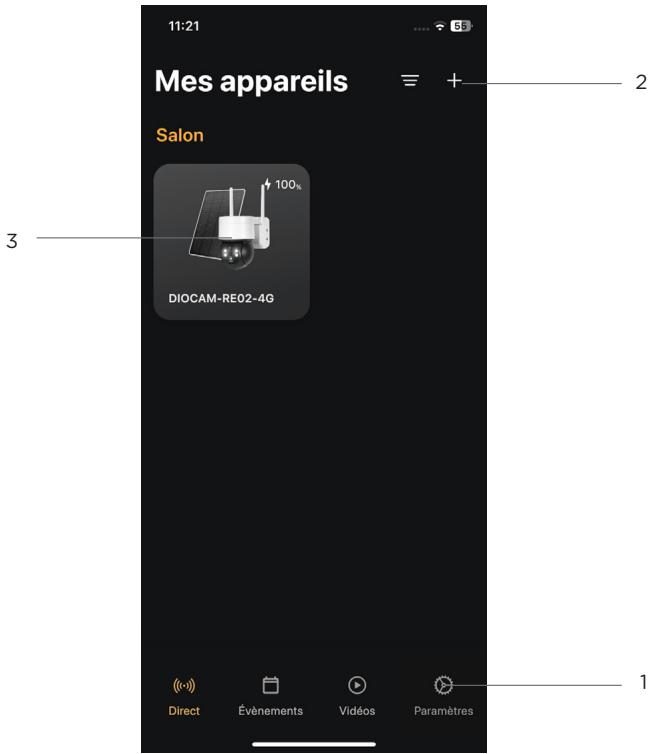
1 Account Setup Menu
2 To add a new appliance
3 Access to the camera user interface
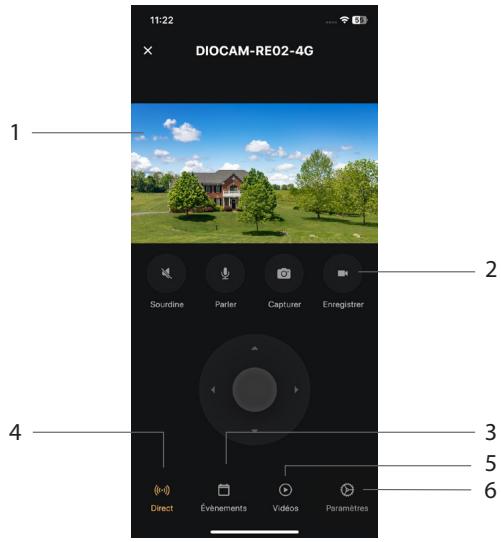
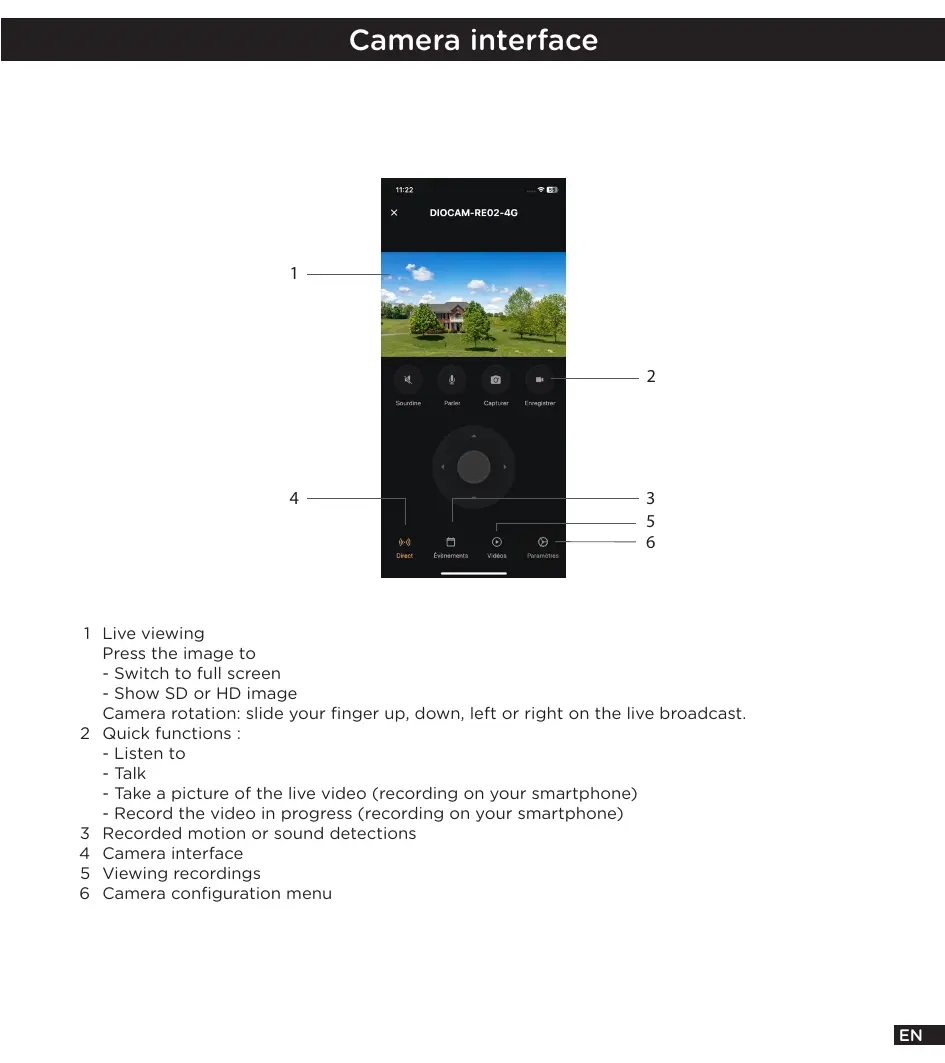
1 Live viewing
Press the image to
- Switch to full screen
- Show SD or HD image
Camera rotation: slide your finger up, down, left or right on the live broadcast.
2 Quick functions :
- Listen to
- Talk
- Take a picture of the live video (recording on your smartphone)
- Record the video in progress (recording on your smartphone)
3 Recorded motion or sound detections
4 Camera interface
5 Viewing recordings
6 Camera configuration menu
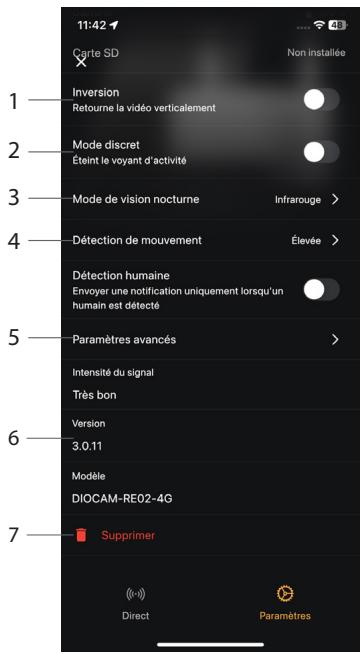
1 Rotate the image of the video 180^ , if the camera is installed upside down.
2 Activate/deactivate the LED of the camera
3 Night vision type
4 Activate/deactivate/adjust the sensitivity (low, medium or high) of the motion detection.
5 Advanced parameters
6 Firmware version
7 Delete camera from account
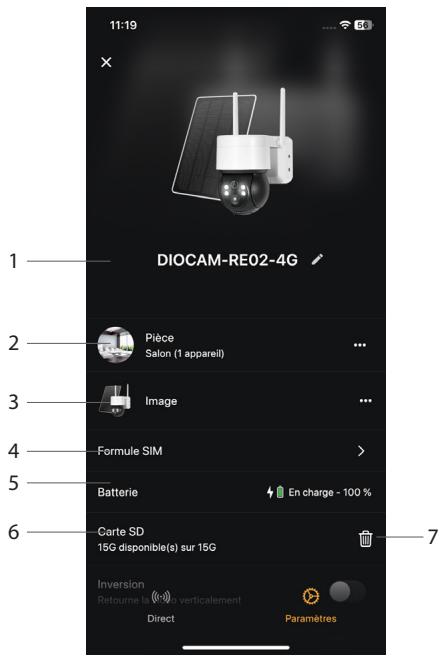
On the DiO One App home page, long press the object you wish to edit.
1 Device name
2 Location of the appliance
3 Image of the device - possible to use your own image
4 Sim card data plan option
5 Battery status
6 SD Card status
7 Format SD Card
Monthly
Pre-paid
Reset
To restore the camera to factory settings, press the camera reset button for 5 seconds.
Caution: If you wish to carry out a complete reset (e.g. to change ownership), please first delete the camera from your account in the application and then perform a reset.
Specifications
| Video | 3MP |
| Rotation | H 82.5° / V 44.9° / D 99.3° |
| Sensor | 1/2.9” 3Megapixel progressive CMOS |
| Adjustable motion detection | (low, medium, high or off) |
| Night vision | 15m |
| Color and black & white mode |
| Number of infrared lamps | 4 |
| Outdoor use | IP65 |
| Audio | Built-in loudspeaker & microphone |
| Frequency | 4G |
| Type of battery | 2x 21700, 3,7V rechargeable Lithium |
| Battery capacity | 9000 mAh batterypack |
| Recharge time | 10h (DC 5V1A) |
| Storage | SD Card (max128Gb) / cloud compatible |
| Dimension solar panel | 183x168x14mm |
| Power solar panel | DC 5V - 5W |
| Cable solar panel | 2m |
Support
www.chacon.com/support


Don't throw batteries or out of order products with the household waste (garbage). The dangerous substances that they are likely to include may harm health or the environment. Make your retailer take back these products or use the selective collect of garbage proposed by your city.
Hereby, Chacon, declares that the radio equipment type 'DiOCAM-RE02-4G' is in compliance with the Directive 2014/53/EU.
The full test of the EU declaration of conformity is available at the following Internet address: http://chacon.com/conformity