Jimuinvc - Educational robot UBTECH - Free user manual and instructions
Find the device manual for free Jimuinvc UBTECH in PDF.
Download the instructions for your Educational robot in PDF format for free! Find your manual Jimuinvc - UBTECH and take your electronic device back in hand. On this page are published all the documents necessary for the use of your device. Jimuinvc by UBTECH.
USER MANUAL Jimuinvc UBTECH
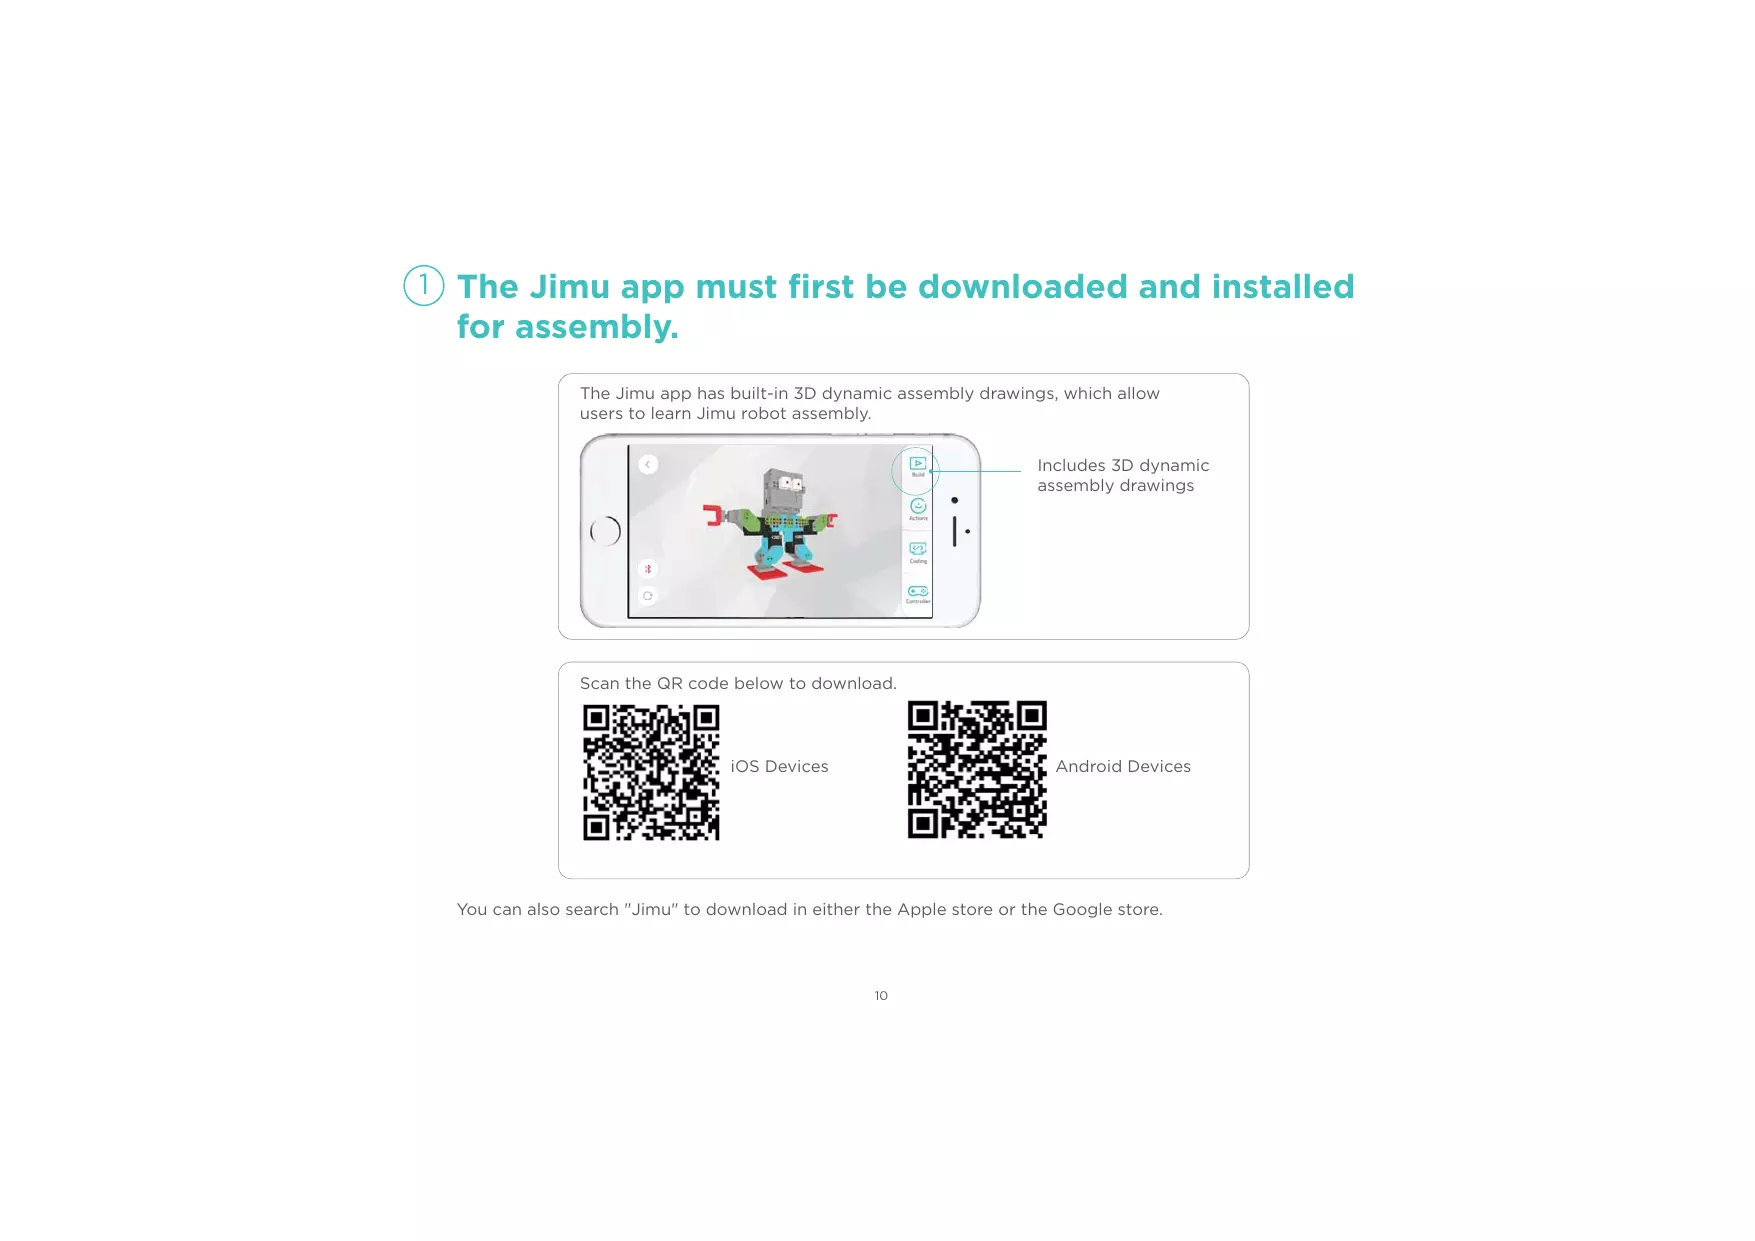
(1) The Jimu app must first be downloaded and installed for assembly.
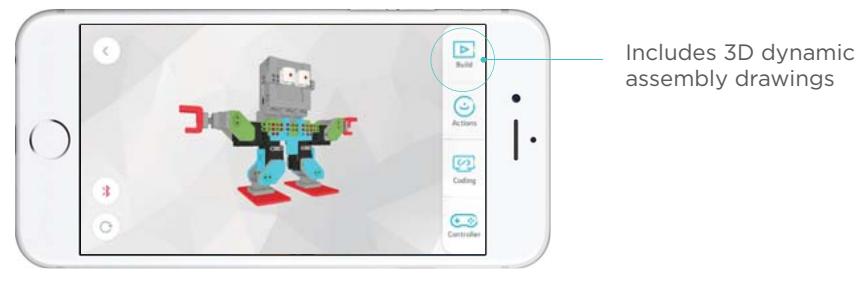
The Jimu app has built-in 3D dynamic assembly drawings, which allow users to learn Jimu robot assembly.
Scan the QR code below to download.
iOS Devices

Android Devices
You can also search "Jimu" to download in either the Apple store or the Google store.

Components
1.Main Control Box
The main control box comes packaged in a small blue box.
The main control box is the Jimu robot's "brain".
The MAC address on the back of the main control box serves as a unique pairing address with your mobile device.
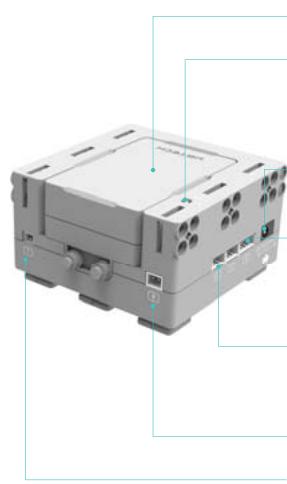
Battery (assembled at factory)
Power Indicator
Red = charging
Green = fully charged
Flashing green = operating
Charging Interface
Used to charge the controller
4 PIN Cable Connector
Used for connecting 4-pin sensors
4 PIN cable port cannot be used to connect servos!
3 PIN Cable Connector
For connecting the 3-pin servos
or sensors
Reserved Expansion Port
Power switch Interface
Used for connecting the power switch
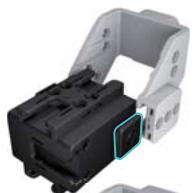
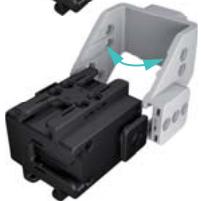
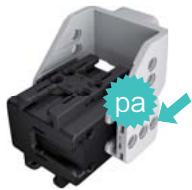
Installation and Removal of the Battery
Disassembling the battery
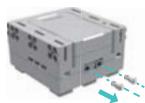
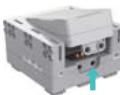

Pull the button
out forcefully.
Gently lift the
battery up.
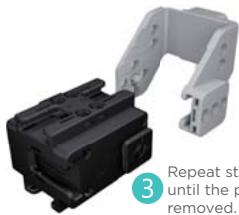
3 Gently remove
the battery.
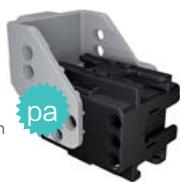
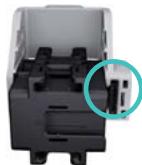
Installing the battery
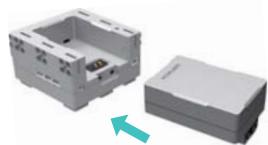
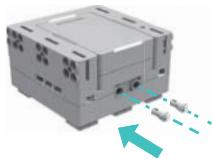
Slide the battery from the side into the slot on the main control box
Push the button into the hole to lock the battery
2. Servo
The servos come packaged in a small green box. The servos are the robot's joints and are used to perform various actions.
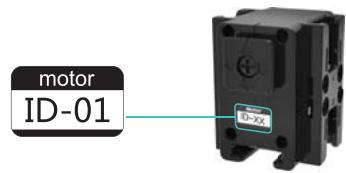
Servo ID
Every servo has a unique servo ID number, which is different from other servos' ID numbers.
Note: When building an official model, the servo ID number must be consistent with the servo ID number on the Jimu app. Otherwise, finished models will not complete official actions.
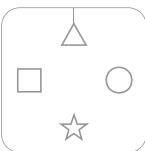
otatable Direction Control
The direction control of the servo can rotate, and it can also be spliced with the slot. "△□☆○" indicates different splicing directions.
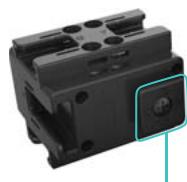
Direction Control

360^ Clockwise Rotation

360^ Counter-clockwise Rotation
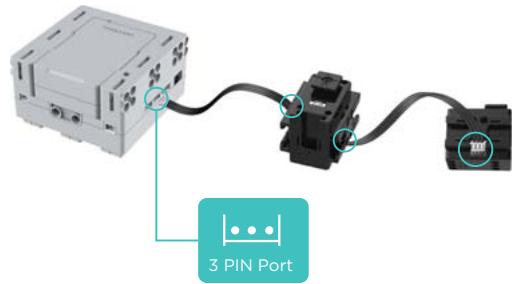
3 PIN Port
Use the 3 PIN cable to connect the main control box to the servo. Energy and information can be transmitted between the main control box and the servo.
When "△" is aligned with the scale, the angle of the direction control is 0^ .
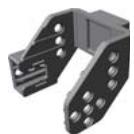
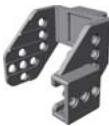
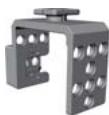
3. CONNECTORS, PARTS, FASTENERS, WIRES
The decoration parts come packaged in a small red box, and they are added to the Jimu robot to give it more character.


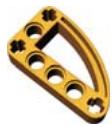
Connectors come packaged in a small orange box. They are used to connect the various parts that contain slots.
Fasteners come packaged in a small purple box. They look like buttons, and are used to connect various parts that contain holes.


Wires come packaged in a small purple box and are used to connect parts needing power, such as the power switch, main control box and servos.

3 PIN Cable, 160mm length

3 PIN Cable, 120mm length

3 PIN Cable, 80mm length

2 PIN Cable, 160mm length, only used to connect the main control box to the power switch box
Note: When building an official model, please use the same length and color cables as shown in the app. Otherwise, finished models may have problems!
4.Power Adapter
The power adapter comes packaged in a small yellow box.

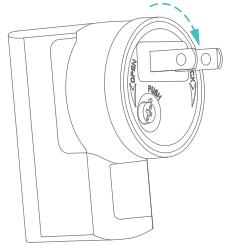
Installing the power adapter
Rotate the adapter head to the right, continuing until you hear a 'clicking' sound.
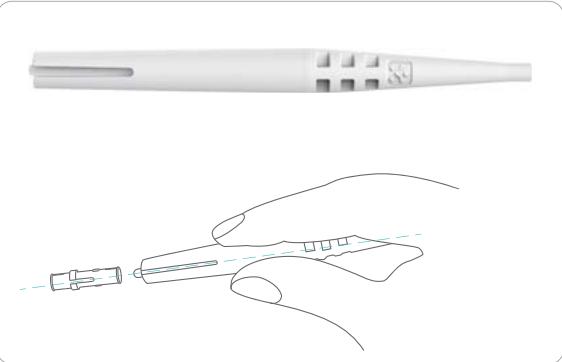
5. Fastener Removal Tools
The fastener removal tools come packaged in a small red box and are used to easily remove fasteners.
Removing the power adapter
Press the left hand against the small round button on the adapter head without releasing, and rotate the adapter head with the right hand until it is loose.
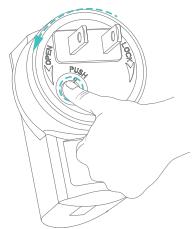
Gently pull the adapter head out.
*Other types of power adapters can be used directly with no assembly or disassembly required.
6. Connector Installation Tips

Place the direction control properly and align the part with it.

Gently pry the 2 sides of the piece apart.

Push the part on the right side in the direction of the arrow until you hear a 'clicking' sound.

Adjust the other side until the sound is heard again, and the installation is complete.
7. Connector Removal Tips

Push the connector on the side of the direction control and stop when the piece is loose.

Then gently pull the left part.
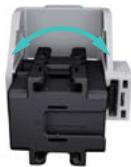
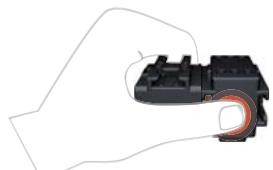
8. Servo Removal
1
Hold the servo using your left hand as shown in the illustration
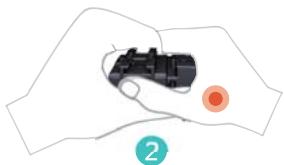
Using your right hand, firmly press the left thumb until the servo is loose
(3) Build Model
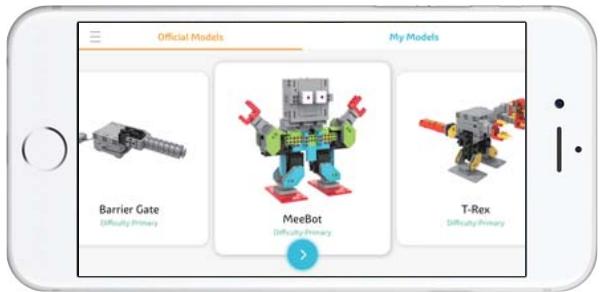
1
2

Display/Hide model partial view

4
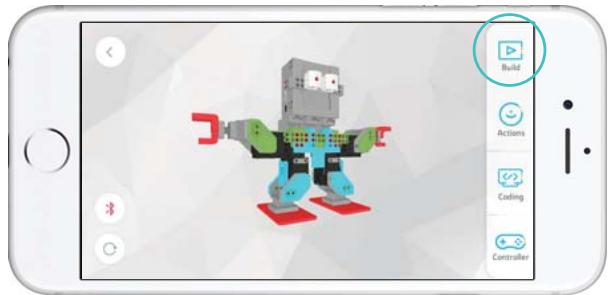
(4) Motion Control
1 Turn on the power switch

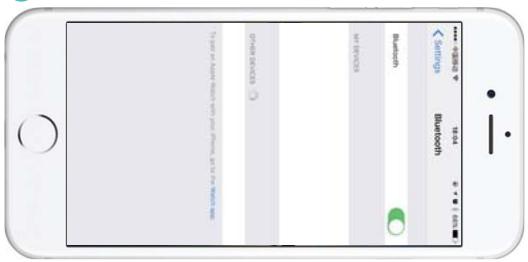
2 Turn on Bluetooth
3 Click the Bluetooth icon in the app:
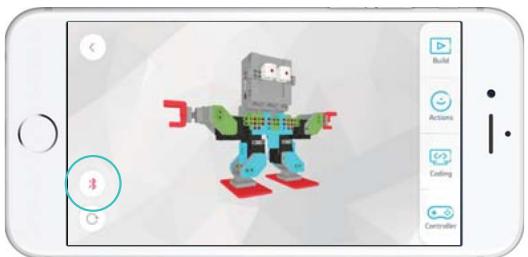
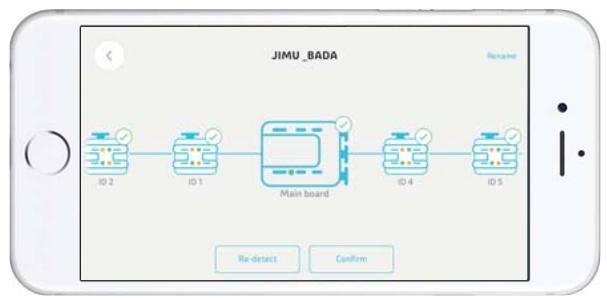
4 Searching and pairing


Connection successful

Motion control
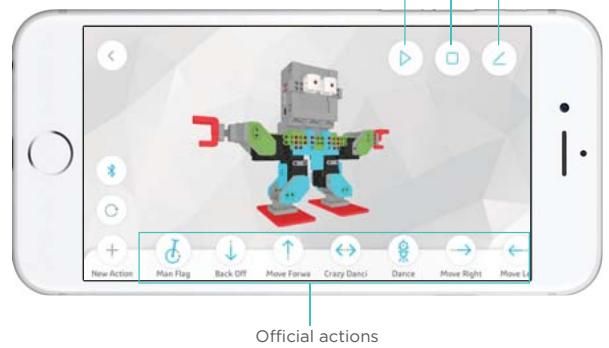

More features
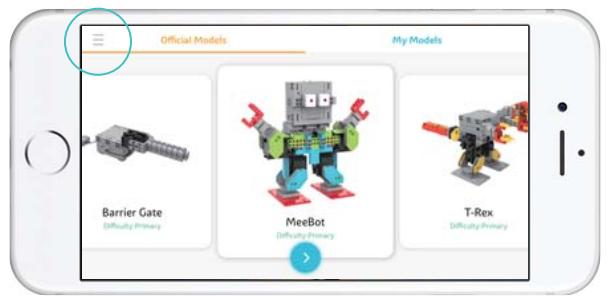
Click the "三" button in the upper left corner of the app's home screen to enter the Jimu app functions interface. All information on the set up and programming operations of Jimu robots can be found in the "instruction" module of the Jimu app.
More features await your discovery.


12个月有限保修
12 Month Limited Warranty
12 Mois Garantie Limitée
Garantía Limitada de 12 Meses
12 Meses de Garantia Limitada
12 Mesi di Garanzia Limitata
12 Monate Beschchränkte Garantie
12月の限定保証
For customer service email us at:
jimu.service@ubtrobot.com
UBTECH ROBOTIC CORP BAOAN BRANCH
5F, C Building, Huilongda Industrial Park, Shilongzai,
Shiyan Town, Baoan District, Shenzhen City, China
Learn more about the exciting innovations from
UBTech Robotics at: www.ubtrobot.com
Jimu Robot & the Jimu Robot logo are trademarks or copyrights of UBTECH ROBOTICS CORP.
© 2016 UBtech Robotics. All Rights Reserved. Apple, the Apple Logo, iPad, iPhone and iPod Touch are trademarks of Apple, Inc., registered in the US and other countries.
App Store is a service mark of Apple, Inc.