
FJ192R2 FREEJET - Cordless vacuum HOOVER - Free user manual and instructions
Find the device manual for free FJ192R2 FREEJET HOOVER in PDF.



| Product Type | Cordless Vacuum Cleaner |
| Brand | HOOVER |
| Model | FJ192R2 FREEJET |
| Power Supply | 230 V~50 Hz via double insulated charger |
| Battery | NiMH rechargeable, initial charge of 24 hours |
| Suction Modes | Turbo (carpet) and standard (hard floor) |
| Detachable Handheld Vacuum | Yes, via Push and Go button |
| Included Accessories | Crevice tool and dusting brush (storage on charger) |
| Charge Indicator | Indicator light on charger |
| Filter Maintenance | Wash with warm water (do not use hot water or detergents) |
| Regular Cleaning | Clean the dust container and filter regularly |
| Safety | Do not vacuum liquids, hot or sharp objects; charger double insulated |
| Spare Parts | Motor protection filter S93 (35600860), agitator Y24 (35600861) |
| After-Sales Service | Repair by an authorized Hoover repairer |
| Warranty | According to the conditions of the country of sale |
| Disposal | Complies with WEEE directive; remove batteries before disposal |
Frequently Asked Questions - FJ192R2 FREEJET HOOVER
User questions about FJ192R2 FREEJET HOOVER
0 question about this device. Answer the ones you know or ask your own.
Ask a new question about this device
Download the instructions for your Cordless vacuum in PDF format for free! Find your manual FJ192R2 FREEJET - HOOVER and take your electronic device back in hand. On this page are published all the documents necessary for the use of your device. FJ192R2 FREEJET by HOOVER.
USER MANUAL FJ192R2 FREEJET HOOVER
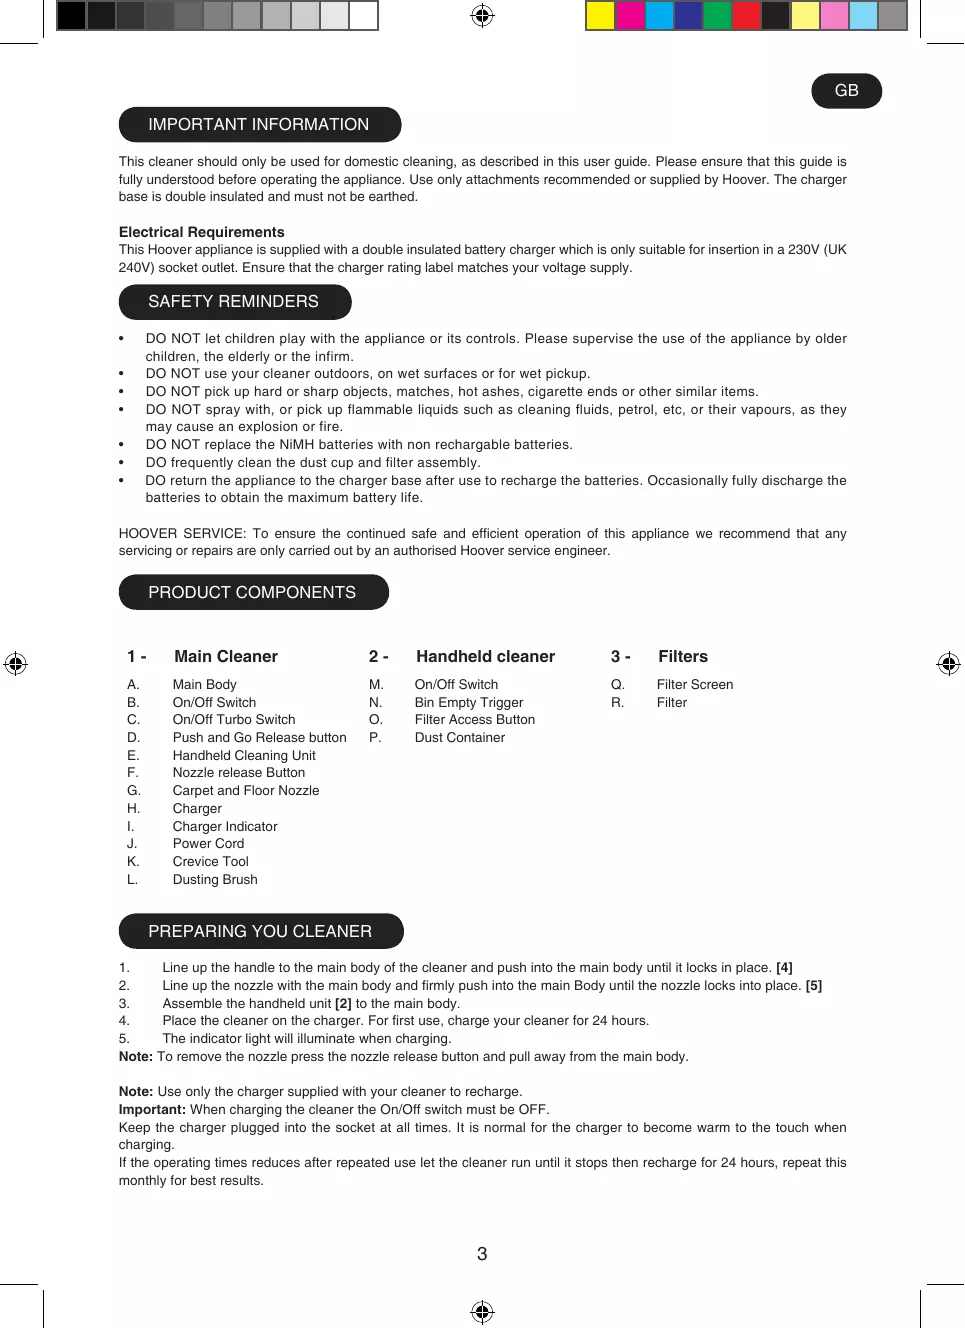
This cleaner should only be used for domestic cleaning, as described in this user guide. Please ensure that this guide is fully understood before operating the appliance. Use only attachments recommended or supplied by Hoover. The charger base is double insulated and must not be earthed.
Electrical Requirements
This Hoover appliance is supplied with a double insulated battery charger which is only suitable for insertion in a 230V (UK 240V) socket outlet. Ensure that the charger rating label matches your voltage supply.
SAFETY REMINDERS
DO NOT let children play with the appliance or its controls. Please supervise the use of the appliance by older children, the elderly or the infirm. DO NOT use your cleaner outdoors, on wet surfaces or for wet pickup. DO NOT pick up hard or sharp objects, matches, hot ashes, cigarette ends or other similar items. DO NOT spray with, or pick up flammable liquids such as cleaning fluids, petrol, etc, or their vapours, as they may cause an explosion or fire. DO NOT replace the NiMH batteries with non recharging batteries. DO frequently clean the dust cup and filter assembly. DO return the appliance to the charger base after use to recharge the batteries. Occasionally fully discharge the batteries to obtain the maximum battery life.
HOOVER SERVICE: To ensure the continued safe and efficient operation of this appliance we recommend that any servicing or repairs are only carried out by an authorised Hoover service engineer.
PRODUCT COMPONENTS
1 - Main Cleaner
A. Main Body B. On/Off Switch C. On/Off Turbo Switch D. Push and Go Release button E. Handheld Cleaning Unit F. Nozzle release Button G. Carpet and Floor Nozzle H. Charger
I. Charger Indicator J. Power Cord K. Crevice Tool L. Dusting Brush
2 - Handheld cleaner
M. On/Off Switch N. Bin Empty Trigger O. Filter Access Button P. Dust Container
3- Filters
Q. Filter Screen R. Filter
PREPARING YOU CLEANER
- Line up the handle with the main body of the cleaner and push it in until it locks into place. [4]
- Align the nozzle with the main body and firmly push it in until the nozzle locks into place. [5]
- Attach the handheld unit [2] to the main body.
- Place the cleaner on the charger. For the first use, charge the cleaner for 24 hours.
- The indicator light will illuminate while charging.
Note: To remove the nozzle, press the nozzle release button and pull it away from the main body.
Note: Use only the charger supplied with your cleaner to recharge.
Important: When charging the cleaner, the On/Off switch must be in the OFF position.
Keep the charger plugged into the socket at all times. It is normal for the charger to become warm to the touch during charging.
If the operating time reduces after repeated use, let the cleaner run until it stops, then recharge for 24 hours. Repeat this monthly for best results.
USING YOUR CLEANER
Main cleaner
- Turn the cleaner on by pressing the On/Off button. [1B]
- Set the On/Off Turbo switch to the desired cleaning mode. [1C]
CARPET: Switch Turbo Nozzle ON (LED will be ON.)
HARD FLOOR: Switch Turbo Nozzle OFF (LED will be OFF.)
Handheld Cleaner
- Press the Push and Go button and lift the handheld unit from the cleaner main body. {6}
- Turn the handheld cleaner on by pressing the On/Off button. [2M]
ACCESSORIES
Crevice Tool and Dusting brush
Both accessories are stored at the rear of the charger. Both fit directly onto the handheld unit.
CLEANER MAINTENANCE
Emptying the Dust Container
Hold the unit over a bin and pull the bin empty trigger [2N] to instantly empty the dust container. [7]
Cleaning the Filters
- Release the handheld unit from the main body of the cleaner.
- Press the filter access button [20] and remove the handle section from the dust container. [8]
- Use the filter handle to remove the filter and filter screen from the dust container. [9]
- Wash the filter and screen in hand warm water. Once thoroughly dry return to the dust container.
- Reassemble the handheld unit and return it to the cleaner main body.
Note: Do not use hot water or detergents when cleaning the filters. In the unlikely event of the filters becoming damaged, fit a genuine Hoover replacement. Do not try to use the product without a filter fitted.
Changing the Agitator
- Using a coin, turn the lock to the open position. [10]
- Remove the agitator retainer.
- Unloop the belt and lift the agitator out of the cleaner. [11]
- Loop the belt around the new agitator and return it to its original position. Replace the agitator retainer and lock it in place.
End of Product Life Battery Disposal
If the cleaner is to be disposed of, the batteries should be removed. Used batteries should be taken to a recycling station and not disposed of with household waste.
IMPORTANT: Always fully discharge the batteries before removal.
- Run the unit until the batteries run flat.
- Release the handheld unit from the main body of the cleaner.
- Press the filter access button and remove the handle section from the dust container.
- Remove 6 screws and open the unit. [12]
- Remove the motor/battery housing and disconnect the cables.
- Remove the batteries from the housing.
Note: Should you experience any difficulties in dismantling the unit or for more detailed information about treatment, recovery and recycling of this product, please contact your local city office, your household waste disposal service.
HOOVER SPARES AND CONSUMABLES
Always replace parts with genuine Hoover spares. These are available from your local Hoover dealer or direct from Hoover. When ordering parts always quote your model number.
- Pre motor Hepa Filter - S93 - 35600860 Agitator - Y24 - 35600861
The Environment:
This appliance is marked according to the European directive 2002/96/EC on Waste Electrical and Electronic Equipment (WEEE). By ensuring this product is disposed of correctly, you will help prevent potential negative consequences for the environment and human health, which could otherwise be caused by inappropriate waste handling of this product. The symbol on the product indicates that this product may not be treated as household waste. Instead it shall be handed over to the applicable collection point for the recycling of electrical and electronic equipment. Disposal must be carried out in accordance with local environmental regulations for waste disposal. For more detailed information about treatment, recovery and recycling of this product, please contact your local city office, your household waste disposal service or the shop where you purchased the product.
YOUR GUARANTEE
The guarantee conditions for this appliance are as defined by our representative in the country in which it is sold. Details regarding these conditions can be obtained from the dealer from whom the appliance was purchased. The bill of sale or receipt must be produced when making any claim under the terms of this guarantee.
Subject to change without notice.
IMPORTANT INFORMATION
USE OF THE VACUUM CLEANER
Kpatntote Tn movaba Etnavw ato eva kado aToppmuatwv kai TpaBnte Tn oKavdaan aEiaagatoC kao, ia va aEiaoe Tg to doxio 0kovns. [7]
Filter cleaning
SAFETY INSTRUCTIONS
Do not allow children to play with the appliance. Supervision is required if the appliance is used near children. Do not use the vacuum cleaner outdoors or on wet surfaces. Do not pick up hard or sharp objects, matches, hot ashes, cigarette butts, etc. Do not vacuum flammable liquids such as cleaning agents, petrol, or their vapors, as this may cause an explosion or fire. Do not replace the battery with a non-rechargeable one. Regularly check the dust bag and filters. After recharging the battery, always return the appliance to the charging base. Periodically fully discharge the battery to maximize its lifespan.
HOOVER SERVICE: To ensure long, safe, and efficient operation of this appliance, Hoover recommends that any servicing or repairs be carried out only by an authorized Hoover service agent.
COMPONENT PARTS
1-Main unit
A. Main body B. On/Off switch C. Turbo mode switch (On/Off) D. Push and Go release button E. Handle for carrying F. Release button for the dust container G. Nozzle for carpet and floor cleaning H. Charging device I. Charging indicator J. Mains cable K. Crevice nozzle L. Brush for removing pet hair
2-Handheld vacuum
M. On/Off switch N. Dust container release latch O. Filter access button P. Container for dust collection
3-Filters
VACUUM CLEANER MAINTENANCE
Emptying the dust container
To instantly remove dust from the dust container, hold the device over a trash bin and press the release latch of the dust container. [7]
Filter cleaning
- The handheld device from the main body of the vacuum cleaner.
- Press the filter access button and connect the dust container section. [8]
- Grasp the filter handle, remove it and the filter mesh from the dust container. [9]
- Clean the filter and mesh in warm water. After complete drying, install the filter in the dust container.
- Assemble the handheld vacuum and install it into the main body of the vacuum cleaner.
Note: Do not use hot air or chemical agents to dry the filter. The probability of filter damage is extremely low, but if this happens, install a new filter. Do not use the vacuum cleaner without a filter installed.
Replacing the brush roller
- Using a coin, turn the lock to the open position. [10]
- Remove the brush roller cover.
- Remove the retaining clip and take out the brush roller from the vacuum cleaner. [11]
- Slide the belt onto the new brush roller and install it in its original position. Install the brush roller holder and secure it in place.
Disposal of the battery at the end of its service life
If the vacuum cleaner is to be disposed of, the battery must be removed from it. The used battery should be sent to a recycling point and not thrown away with regular household waste.
WARNING: Before removal, always fully discharge the battery.
- Turn on the vacuum cleaner and let it run until the battery is completely discharged.
- Disconnect the handheld device from the main body of the vacuum cleaner.
- Press the dust release button and detach the handheld section from the dust container.
- Unscrew the 6 screws and open the device. [12]
- Remove the cover from the motor/battery and disconnect the cables.
- Remove the battery from the housing.
Note: If you encounter difficulties during disassembly, or if you need more detailed information on operation, restoration, and reuse of the product, please contact our office in your city or the household waste disposal service.
Spare parts and consumables of HOOVER company
RU
For replacement, use only genuine spare parts and consumables manufactured by Hoover. They can be purchased from a local Hoover dealer or directly from Hoover. When ordering spare parts, be sure to specify the model number of the vacuum cleaner.
-Filter for motor: S93-35600860; Pre-motor filter: Y24-35600861
Environment:
This device is marked in accordance with European Directive 2002/96/EC on waste electrical and electronic equipment (WEEE). By disposing of this device correctly, you will help prevent potential negative consequences for the environment and human health, which could otherwise be caused by inappropriate disposal of this device. The marking on this device indicates that it cannot be disposed of as household waste. It must be delivered to an appropriate collection point for recycling of electrical and electronic equipment. Disposal must be carried out in accordance with local waste disposal regulations. For more detailed information on the disposal, recovery, and recycling of this device, please contact your local city authorities, the household waste disposal service, or the store where you purchased this device.

WARRANTY
The warranty conditions for this household electrical appliance are determined by our representative in the country where the appliance is sold. You can obtain more detailed information about these conditions from the dealer who sold the appliance. When making claims under these warranty obligations, the purchase receipt or warranty card must be presented.
Changes may be made without notice.
*The characteristics may vary depending on the model
IMPORTANT INFORMATION
PRODUCT COMPONENTS
SAFETY REMINDERS
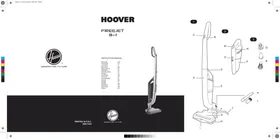
- ELECTRICAL REQUIREMENTS
- SAFETY REMINDERS
- PRODUCT COMPONENTS
- MAIN CLEANER
- HANDHELD CLEANER
- FILTERS
- PREPARING YOU CLEANER
- USING YOUR CLEANER
- ACCESSORIES
- CREVICE TOOL AND DUSTING BRUSH
- CLEANER MAINTENANCE
- EMPTYING THE DUST CONTAINER
- CLEANING THE FILTERS
- CHANGING THE AGITATOR
- END OF PRODUCT LIFE BATTERY DISPOSAL
- HOOVER SPARES AND CONSUMABLES
- THE ENVIRONMENT
- YOUR GUARANTEE
- IMPORTANT INFORMATION
- USE OF THE VACUUM CLEANER
- FILTER CLEANING
- SAFETY INSTRUCTIONS
- COMPONENT PARTS
- MAIN UNIT
- HANDHELD VACUUM
- VACUUM CLEANER MAINTENANCE
- REPLACING THE BRUSH ROLLER
- DISPOSAL OF THE BATTERY AT THE END OF ITS SERVICE LIFE
- SPARE PARTS AND CONSUMABLES OF HOOVER COMPANY
- ENVIRONMENT
- WARRANTY
Brand : HOOVER
Model : FJ192R2 FREEJET
Category : Cordless vacuum