
WIRELESS TRAVEL MOUSE WITH 5-BUTTONS - Wireless Mouse VERBATIM - Free user manual and instructions
Find the device manual for free WIRELESS TRAVEL MOUSE WITH 5-BUTTONS VERBATIM in PDF.
User questions about WIRELESS TRAVEL MOUSE WITH 5-BUTTONS VERBATIM
0 question about this device. Answer the ones you know or ask your own.
Ask a new question about this device
Download the instructions for your Wireless Mouse in PDF format for free! Find your manual WIRELESS TRAVEL MOUSE WITH 5-BUTTONS - VERBATIM and take your electronic device back in hand. On this page are published all the documents necessary for the use of your device. WIRELESS TRAVEL MOUSE WITH 5-BUTTONS by VERBATIM.
USER MANUAL WIRELESS TRAVEL MOUSE WITH 5-BUTTONS VERBATIM
Wireless Travel Mouse with 5- Buttons User Manual
Product Features
- Radio frequency 27MHz wireless transmission
- Use of 256 ID codes to prevent interference between several wireless mice being used simultaneously
- Automatic power sleep function to extend battery life
- Mouse includes 5 Buttons and software for user defined actions to 3 of these buttons
System Compatibility
Win 95/98/Me/2000/XP
Initial Set up
- Turn the computer power on and log in
- Connect wireless mouse receiver to USB port
- Ensure batteries are installed in the mouse and mouse power is turned on (See "Battery Installation" instructions below).
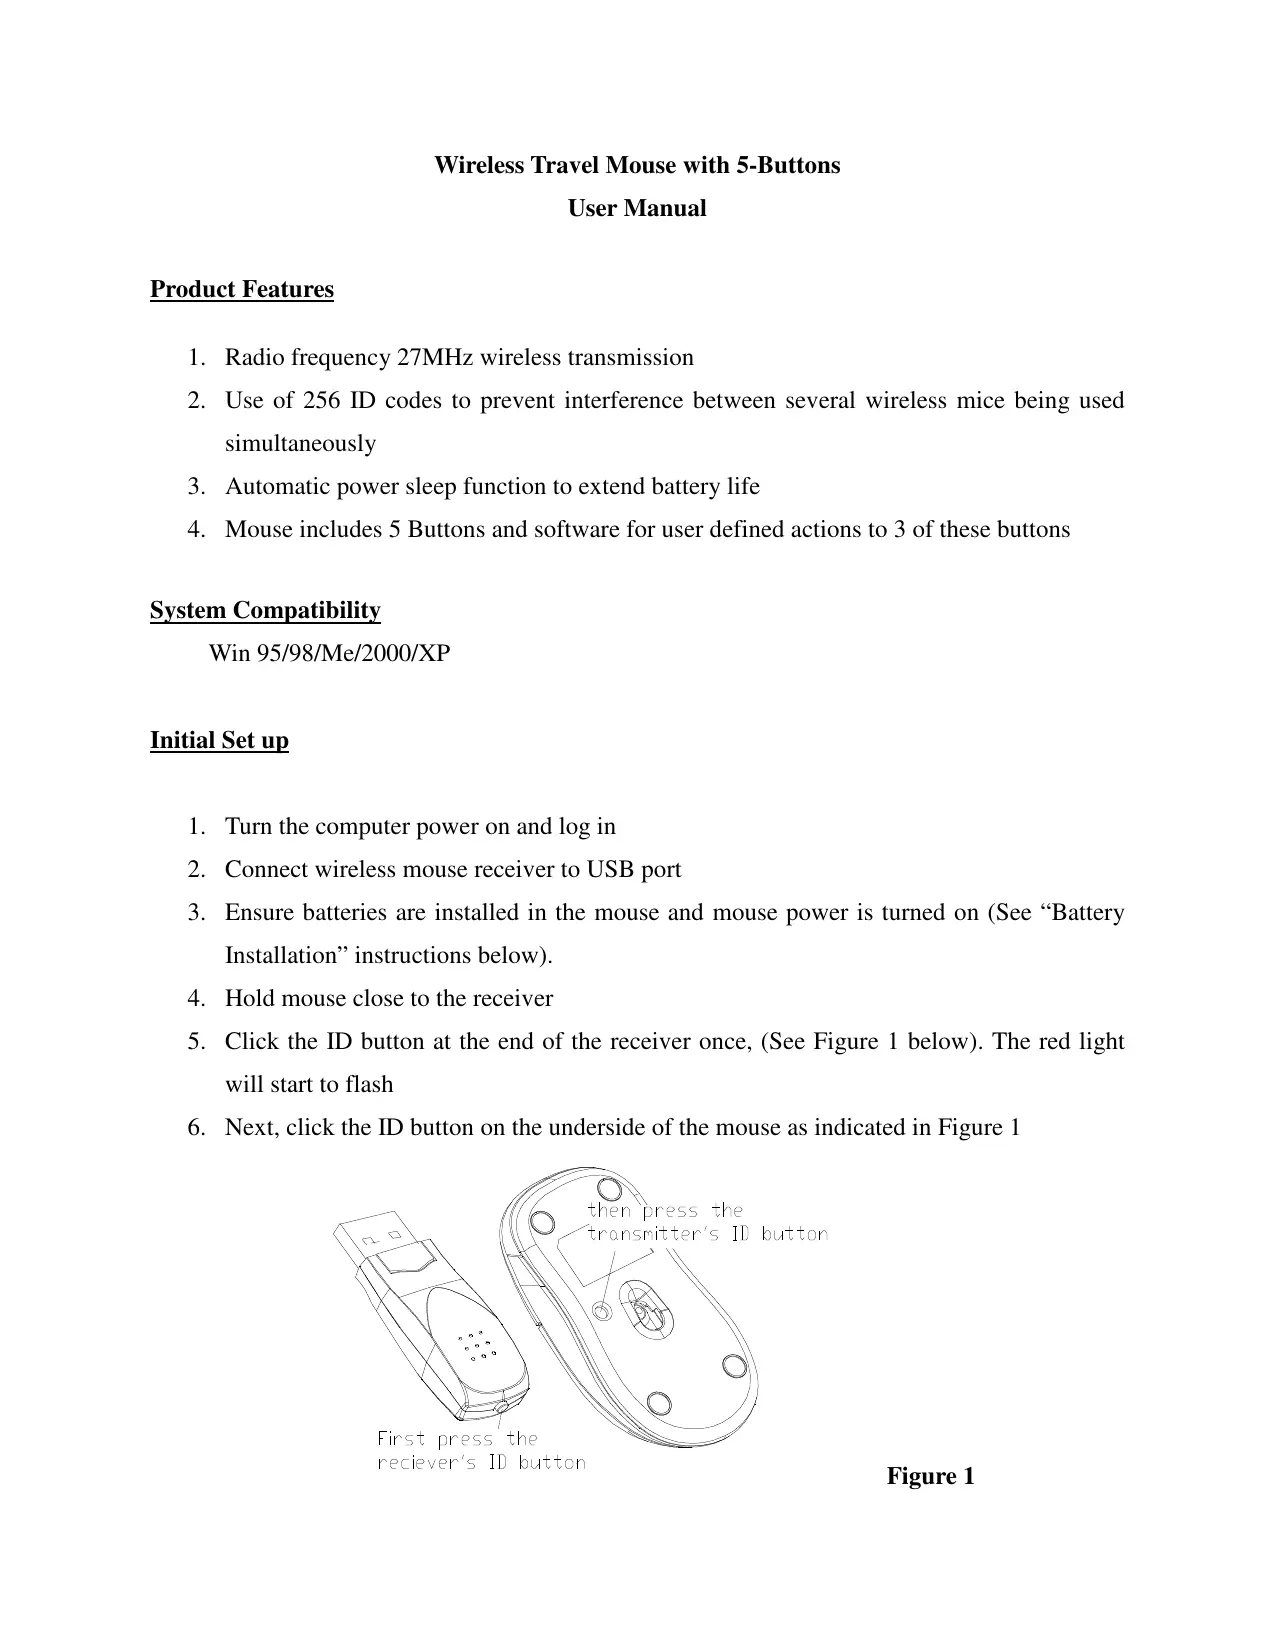
- Hold mouse close to the receiver
- Click the ID button at the end of the receiver once, (See Figure 1 below). The red light will start to flash
- Next, click the ID button on the underside of the mouse as indicated in Figure 1.
First press thereceiver's ID button
Figure 1
- The red light on the receiver will flash rapidly for a few seconds then stop flashing
- Now the mouse is ready for use
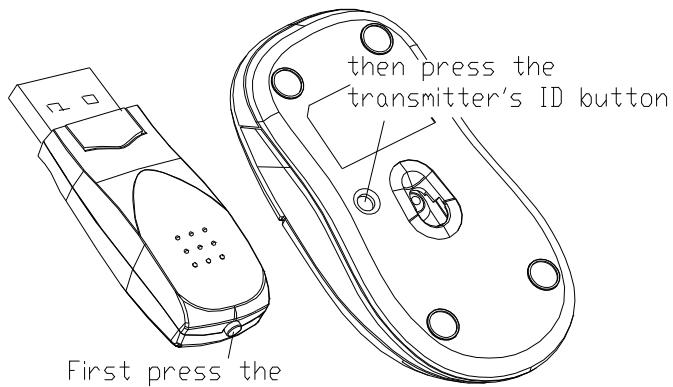
Battery Installation
- See Figure 2 below.
- While pushing down on the area indicated slide the cover off the mouse
Figure 2
- Insert 2 x AAA batteries as indicated
- Replace the mouse cover over the batteries
- To turn the mouse power on push the ID button, as indicated by Figure 3 below, for 3 seconds or more until the light comes on
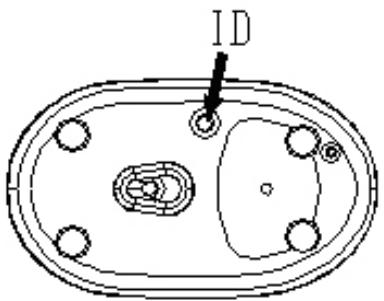
Figure 3
This product includes software to allow the end user to define actions to 3 of the buttons. Figure 4 below describes the buttons which can be defined.
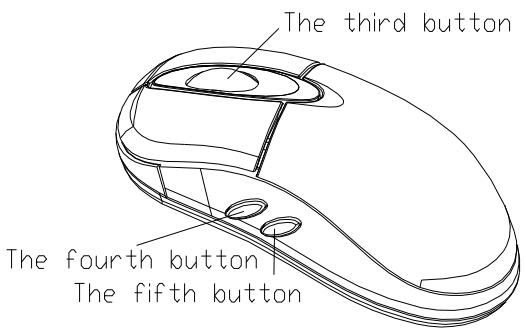
Figure 4
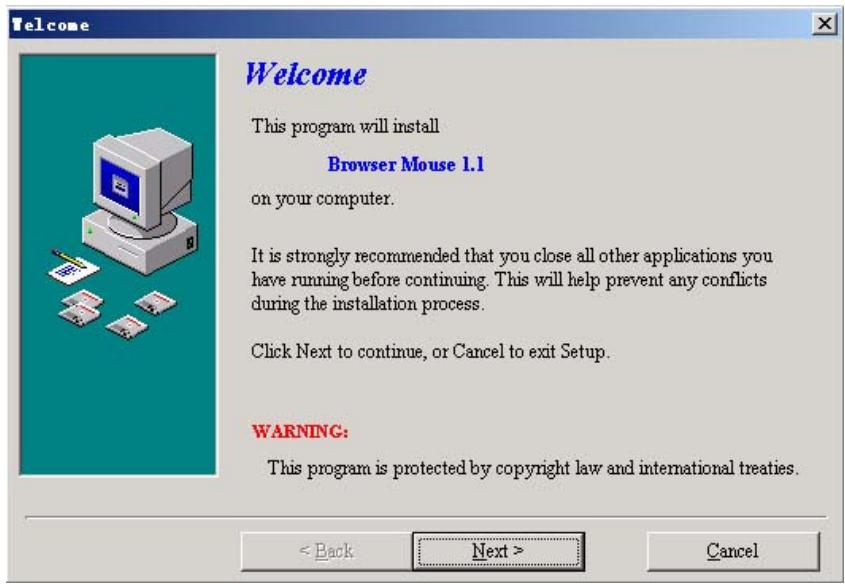
- Insert the program disk into the computer drive.
- If the program does not start automatically, open the folder titled "Mouse" on the disc and run the file called "setup.exe"
- The program will start to run as follows;
- Click "next" button
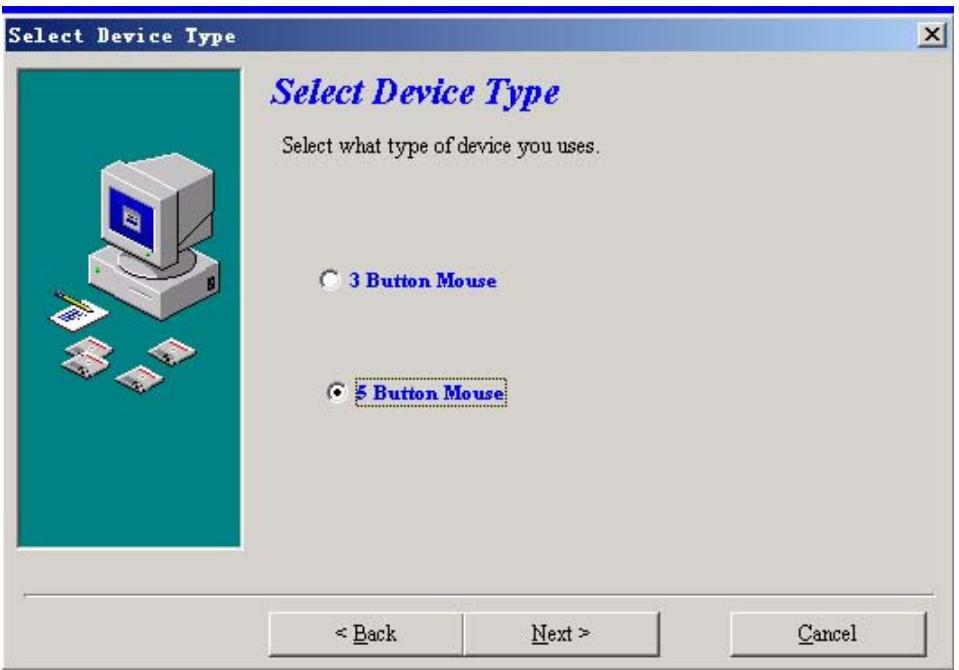
- Select the "5 Button Mouse" option
- Click "Next"
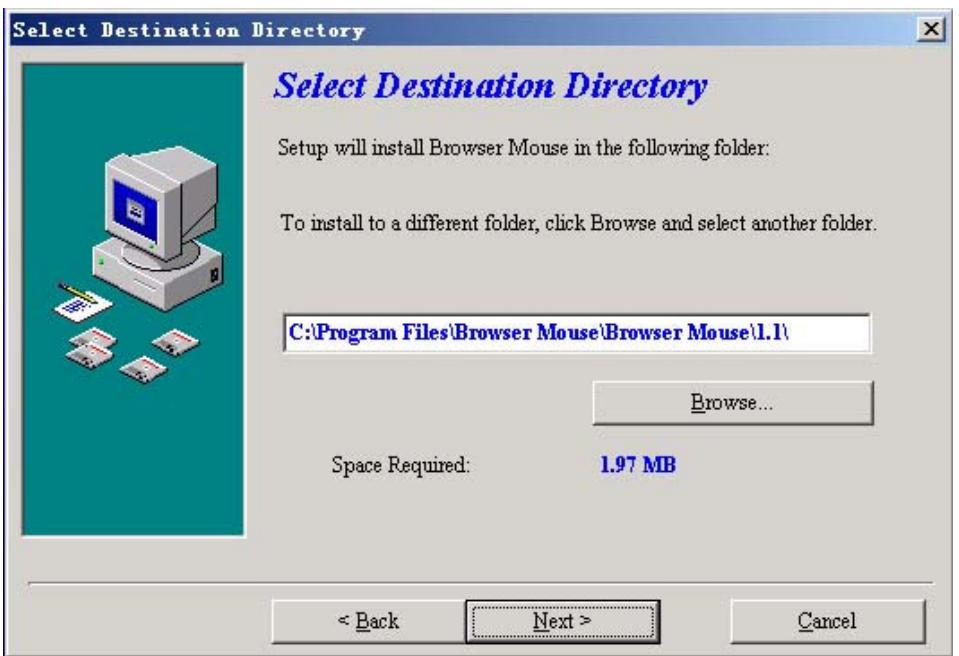
- Accept the default destination directory and click "Next"
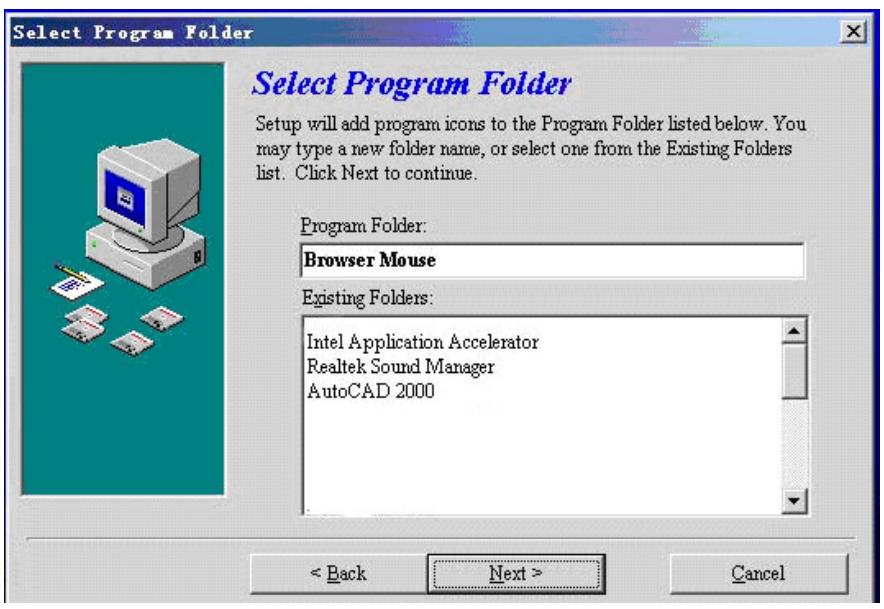
- Accept the "Program Folder" and click "Next"
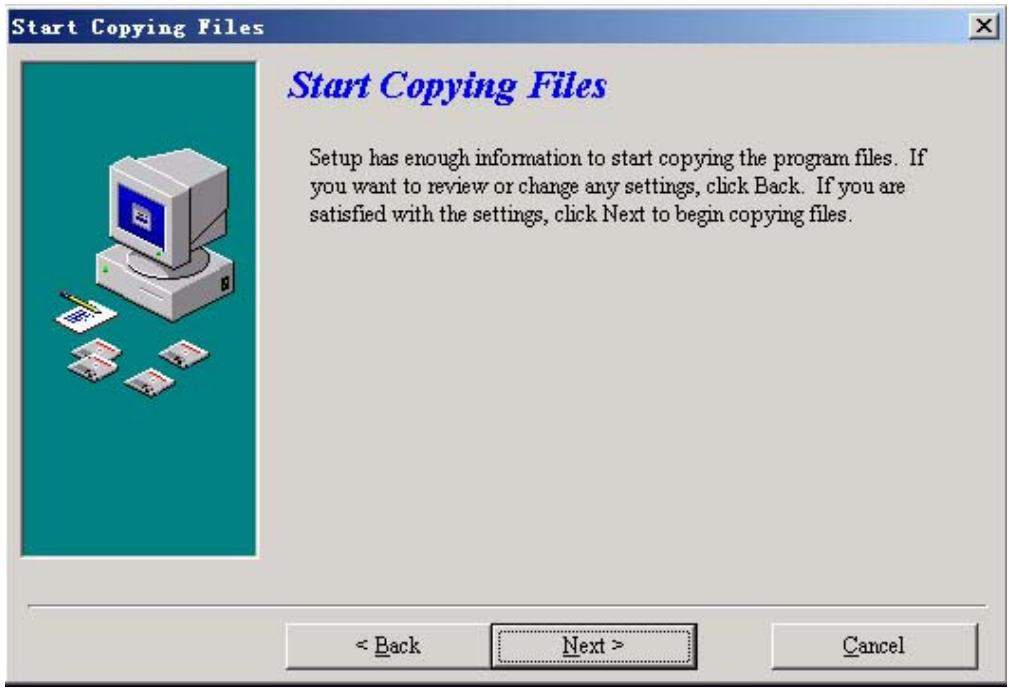
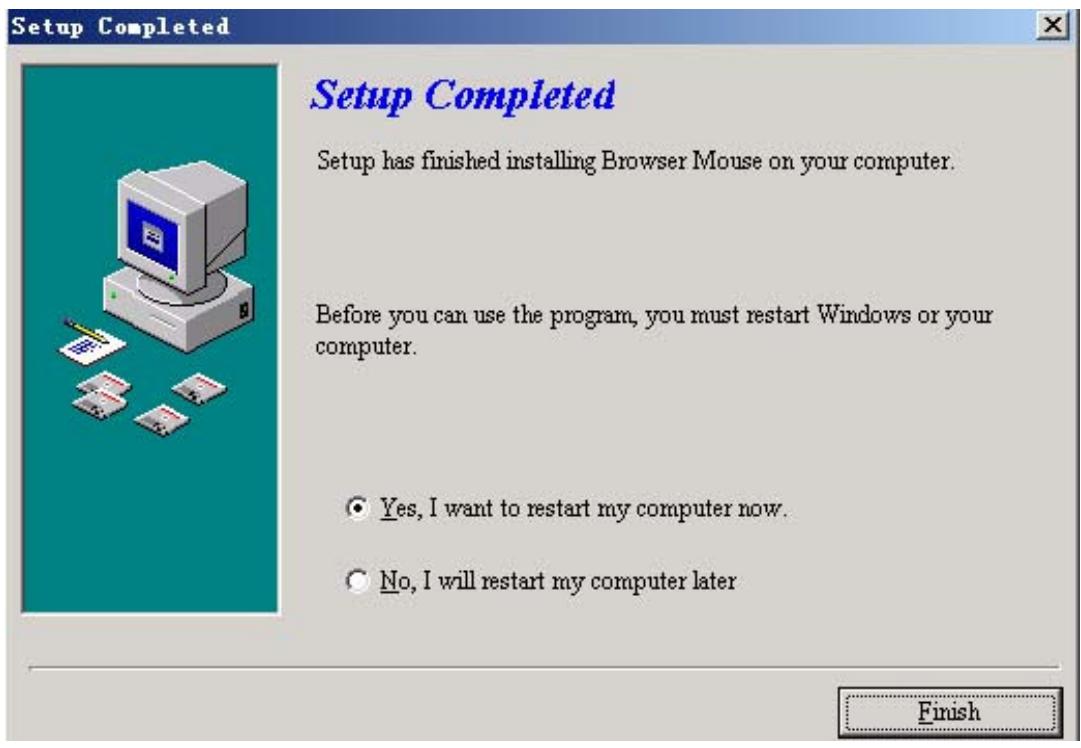
- When setup is completed restart the computer
Defining Buttons
After the computer is reset the following icon appears in the taskbar.
- Double click this icon to edit the button functions
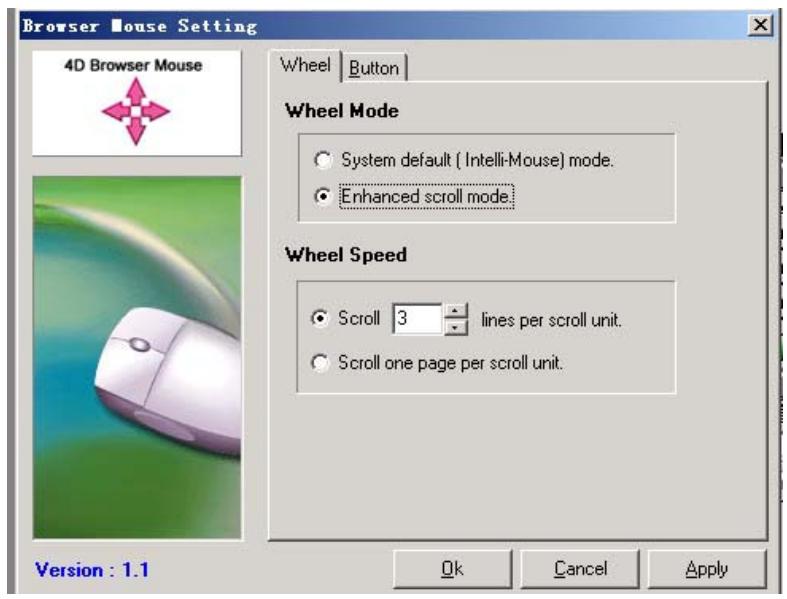
- Select the "Button" setting
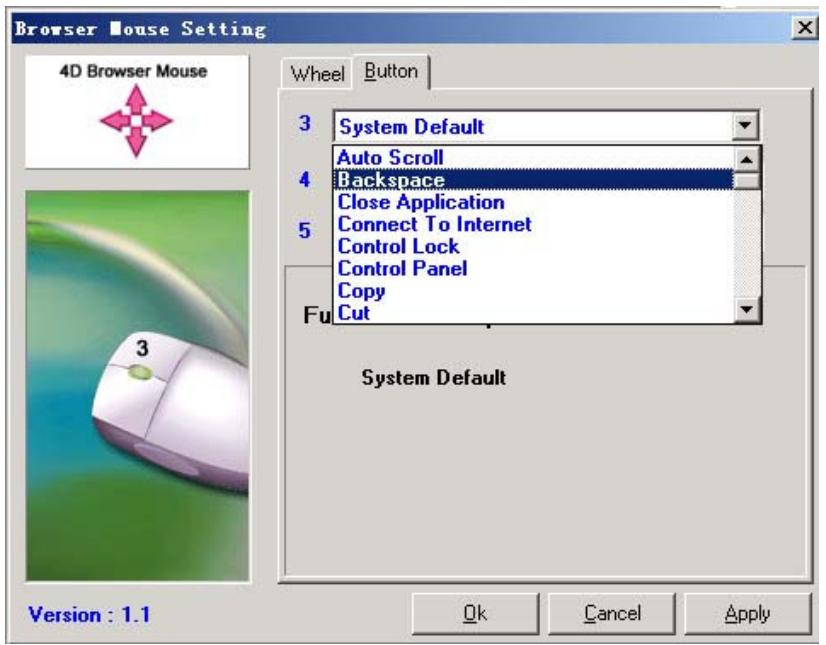
- Select the function you would like to define for each button 3, 4 and 5
Note:
- Please remove the batteries if the mouse will not be used for an extended period of time
- If the mouse has entered power sleep mode please press any mouse button or move the mouse to make it active again
- To turn the mouse power off click on the ID button on the underside of the mouse for over 3 seconds until the light turns off
- Optical mouse will not operate correctly on any reflecting surface such as glass or 3D mouse pads
Caution
Any changes or modifications not expressly approved by the party responsible for compliance could void the user's authority to operate the equipment. Note: This equipment has been tested and found to comply with the limits for a Class B digital device, pursuant to part 15 of the FCC Rules. These limits are designed to provide reasonable protection against harmful
interference in a residential installation. This equipment generates, uses and can radiate radio frequency energy and, if not installed and used in accordance with the instructions, may cause harmful interference to radio communications. However, there is no guarantee that interference will not occur in a particular installation. If this equipment does cause harmful interference to radio or television reception, which can be determined by turning the equipment off and on, the user is encouraged to try to correct the interference by one or more of the following measures:
- Reorient or relocate the receiving antenna.
- Increase the separation between the equipment and receiver.
- Connect the equipment into an outlet on a circuit different from that to which the receiver is connected.
- Consult the dealer or an experienced radio/TV technician for help.