
P3540S - Lawn mower PARTNER - Free user manual and instructions
Find the device manual for free P3540S PARTNER in PDF.


| Product type | Gasoline lawn mower (internal combustion engine) |
| Brand | PARTNER |
| Model | P3540S |
| Cutting width | 40 cm |
| Engine type | 4-stroke gasoline (estimated) |
| Engine power | ~ 3 HP (estimated) |
| Fuel tank capacity | ~ 1 liter (estimated) |
| Cutting height adjustment | Centralized, multiple positions |
| Cutting system | Rotary blade |
| Grass catcher type | Flexible or rigid bag (depending on version) |
| Bag volume | ~ 45 liters (estimated) |
| Weight | ~ 25 kg (estimated) |
| Dimensions (L x W x H) | ~ 80 x 50 x 45 cm (estimated) |
| Handle | Folding, ergonomic |
| Starting | Manual (pull cord) |
| Usage | Medium-sized lawns |
| Safety | Engine stops if handle released; reading manual mandatory |
| Maintenance | Oil change, air filter cleaning, blade sharpening |
| Main spare parts | Blade, spark plug, air filter, belt (if applicable) |
| Repairability | Parts available, routine maintenance possible by user |
| Supplied documentation | User manual and instruction manual (downloadable PDF) |
Frequently Asked Questions - P3540S PARTNER
User questions about P3540S PARTNER
0 question about this device. Answer the ones you know or ask your own.
Ask a new question about this device
Download the instructions for your Lawn mower in PDF format for free! Find your manual P3540S - PARTNER and take your electronic device back in hand. On this page are published all the documents necessary for the use of your device. P3540S by PARTNER.
USER MANUAL P3540S PARTNER
Lawn mower with petrol engine - 40 cm blade
We wish to thank you for choosing our lawn mowers. We are confident that the high quality of our machine will meet with your satisfaction and appreciation and that your lawn mower will give you long-lasting service. Before starting to use your machine, make sure to read with care this manual, which has been purposely drawn up to provide you with all the necessary information for proper use, in compliance with basic safety requirements.
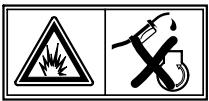
Risk of explosion! Do not top up with fuel with engine running.
Before carrying out any operations on the cutting tool, disconnect the plug
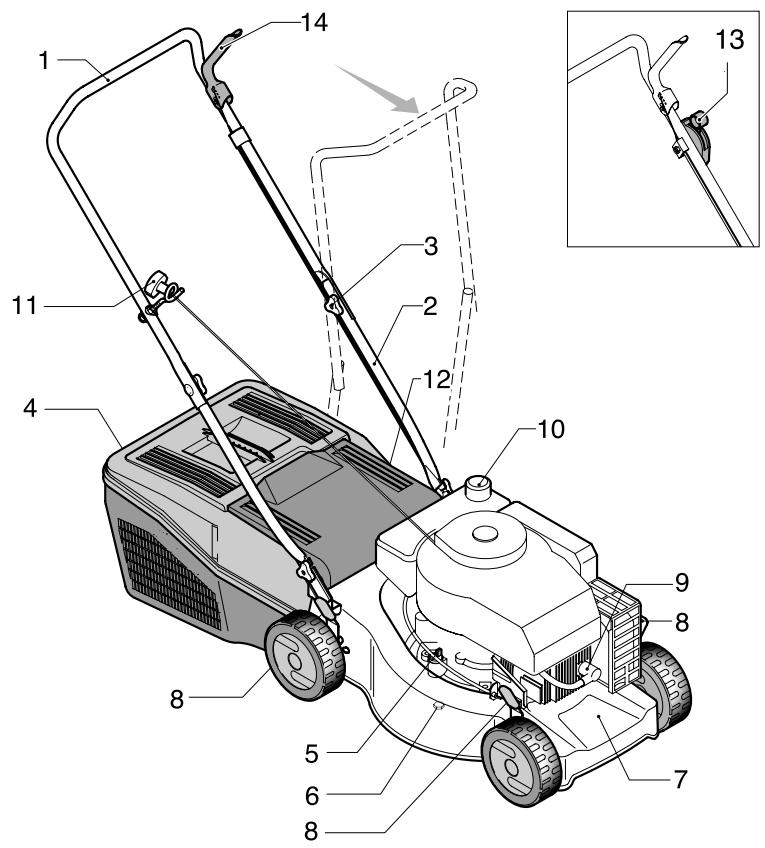
| 1 | Upper handles | 6 | Oil drain plug | 11 | Engine start-grip |
| 2 | Lower handles | 7 | Deck | 12 | Rear deflector |
| 3 | Fastening knobs for upper handles | 8 | Adjusting levers for cutting height | 13 | Throttle lever |
| 4 | Grass catcher | 9 | Spark plug | 14 | Engine stop lever |
| 5 | Oil filler cap | 10 | Fuel cap |


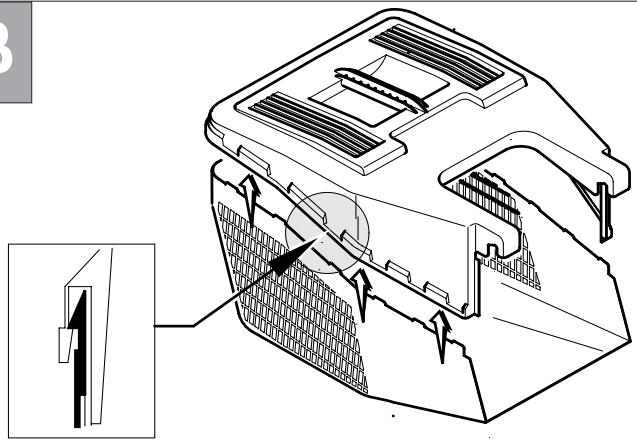
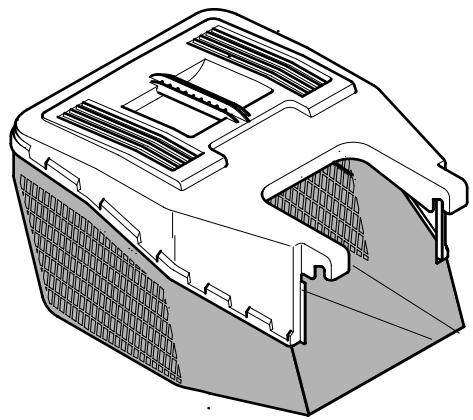
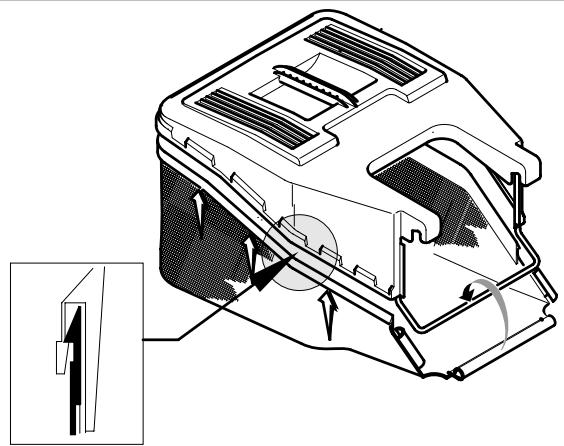
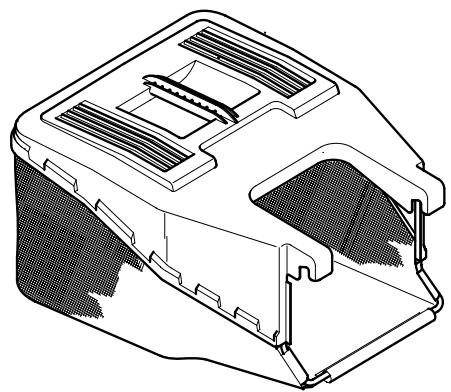
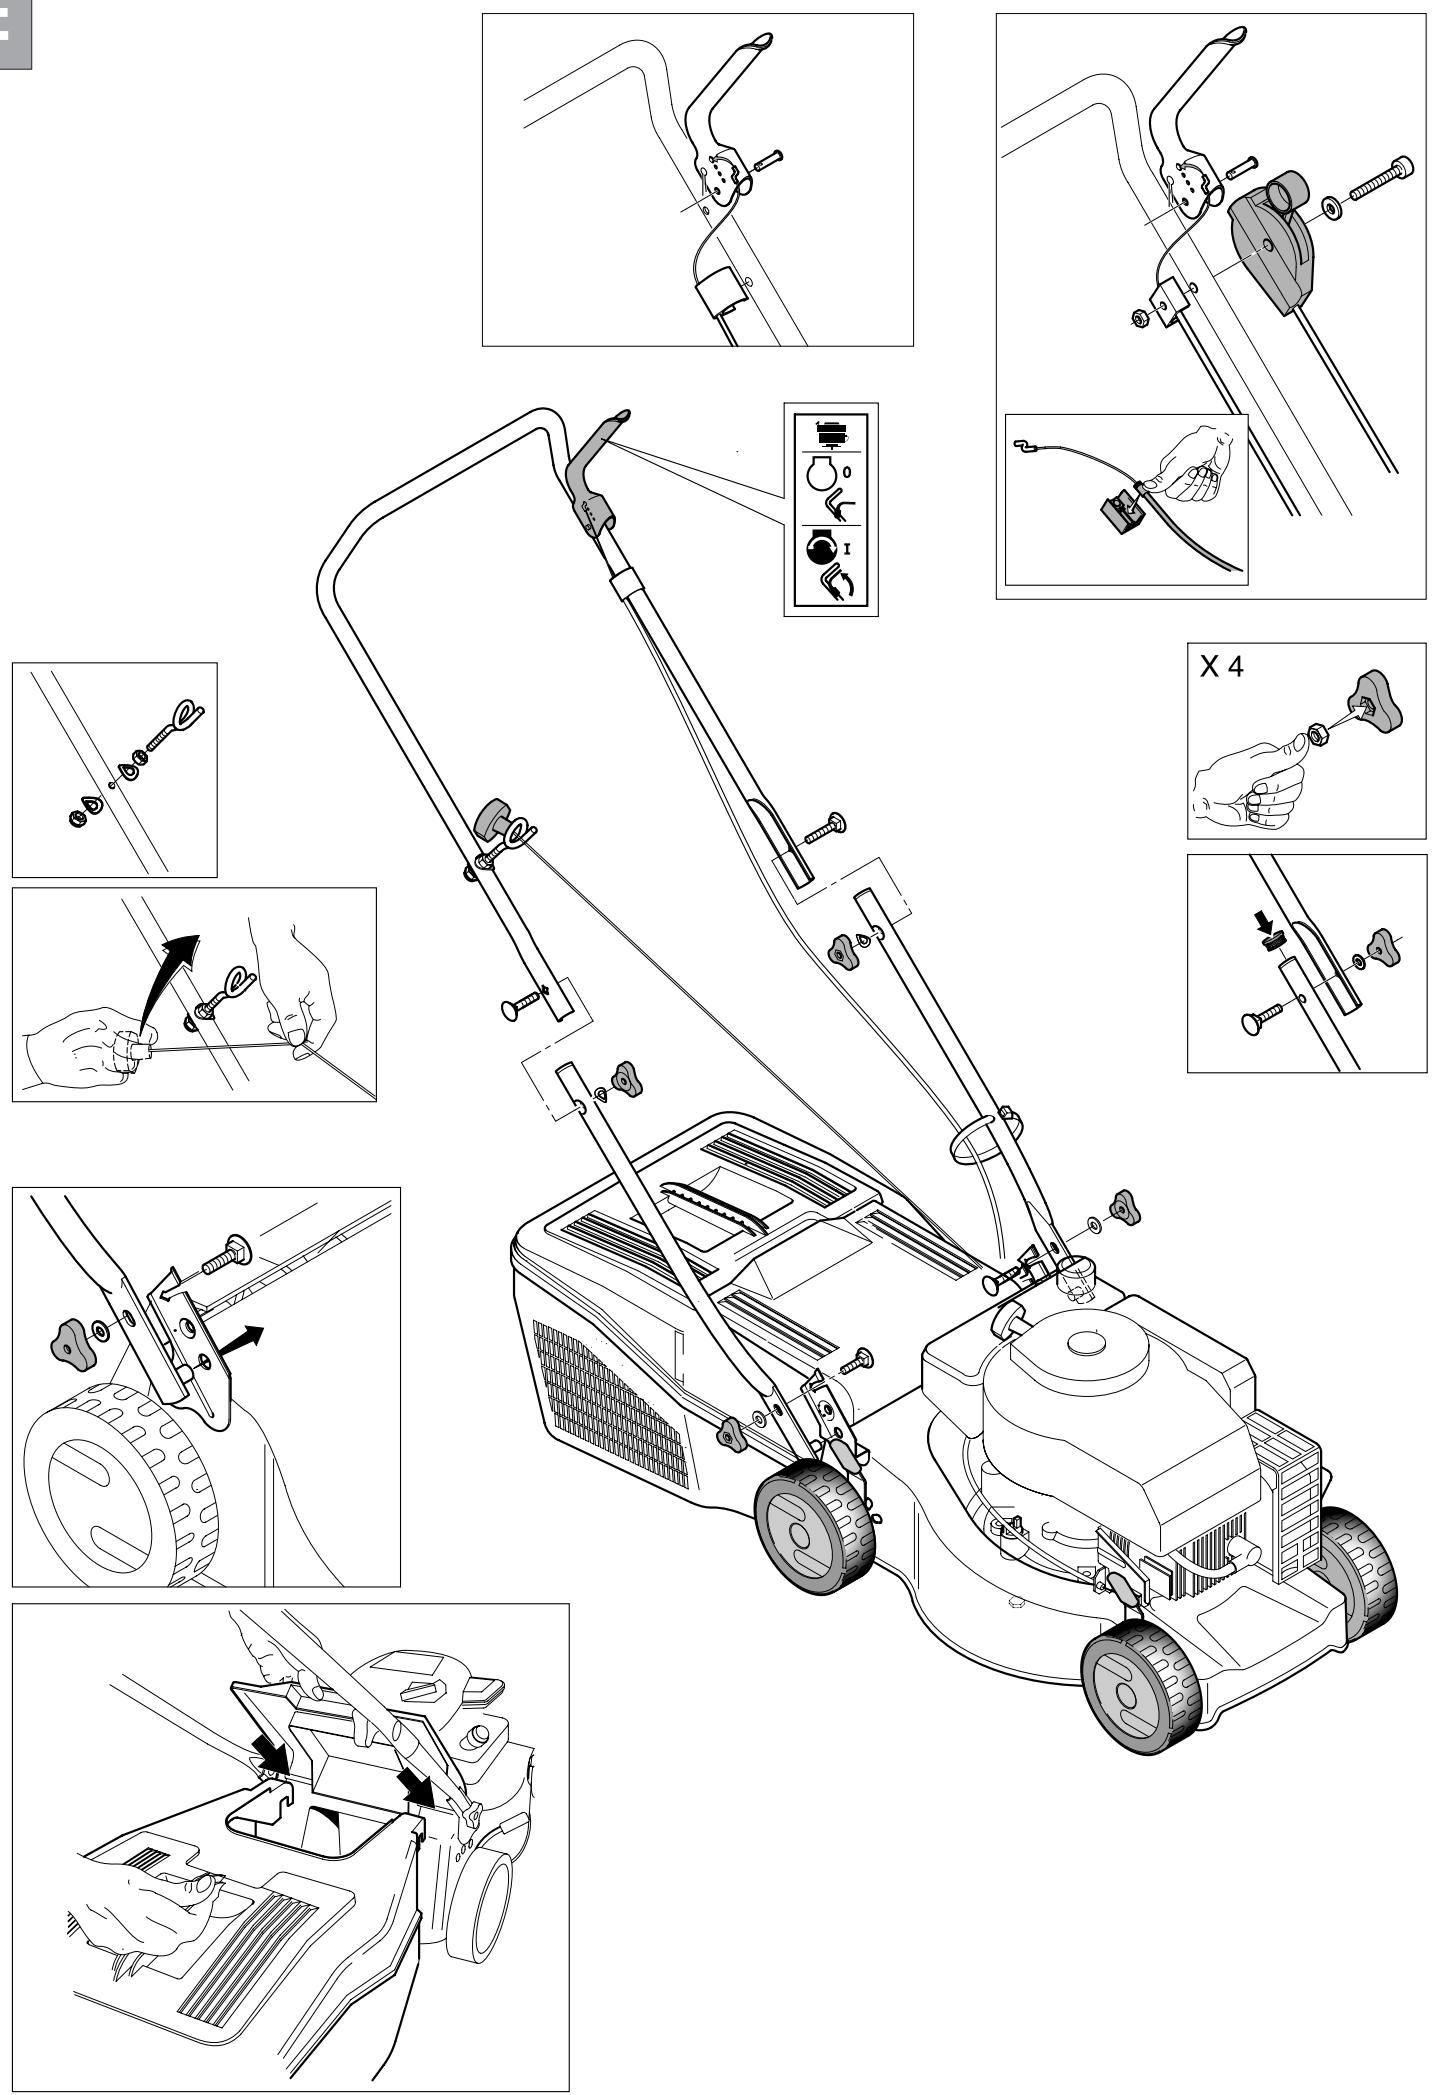
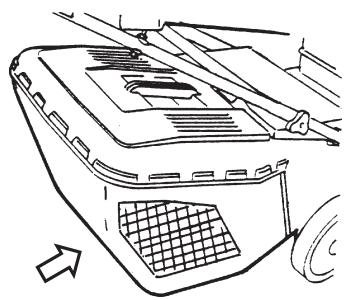
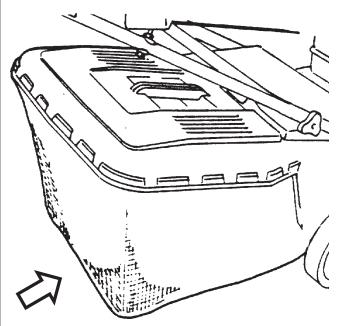
ASSEMBLY OF GRASS CATCHER (starts at page 35)
'If applicable'

ASSEMBLY REAR DEFLECTOR (starts at page 35)
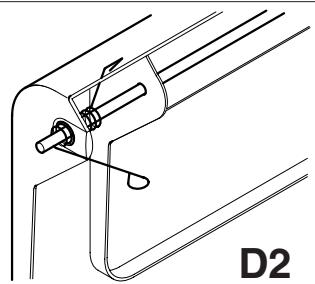
Assemble the spring into the rear deflector as shown in figure D1, insert the rod through the holes on the rear deflector and spring as shown in figure D2.
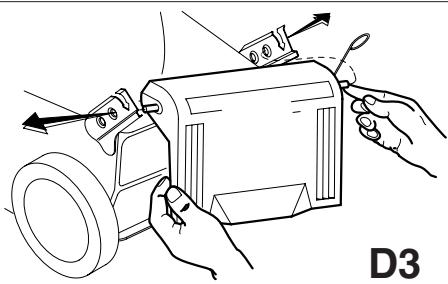
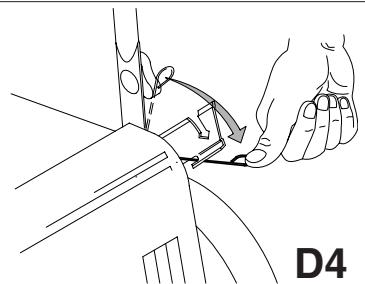
Locate the rod into the mounting bracket as shown in figure D3, push down the sprint as shown in figure D4 to locate it into the slot which tensions the rear deflector.

ASSEMBLY (starts at page 36)

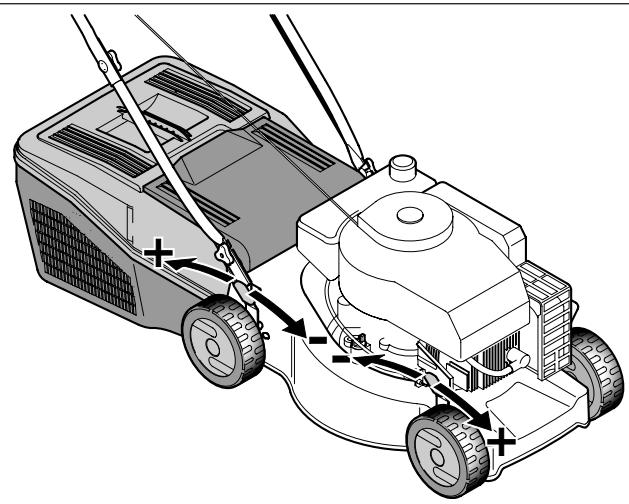
ADJUSTMENT OF CUTTING HEIGHT (starts at page 37)

SAFETY PRECAUTIONS (starts at page 37)


● Always operate with the deflector or grasscatcher in the correct position.
● Always stop the engine before removing the grasscatcher or adjusting the height of cut.
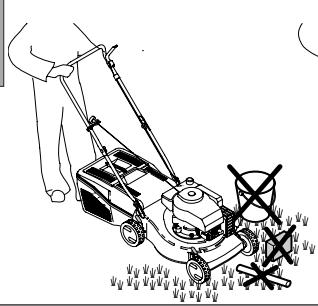
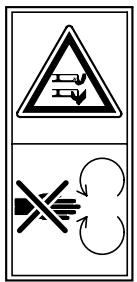
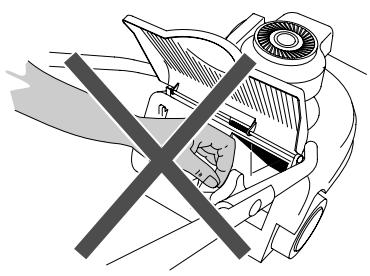
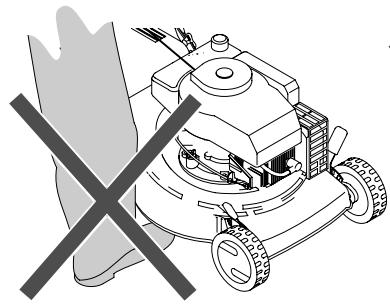
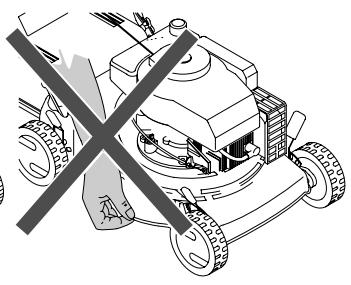
● Never place your hands or feet underneath the deck or into the rear grass discharge chute while the engine is running.

(starts at page 37)
Before mowing, remove all foreign objects from the lawn which may be thrown by the machine. While mowing, stay alert for any foreign objects which may have been missed.
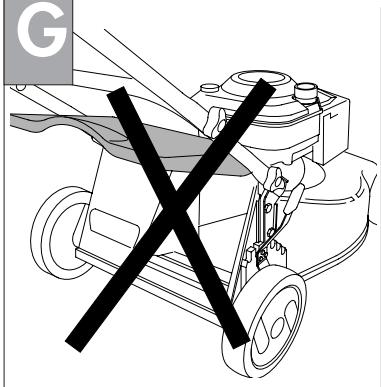
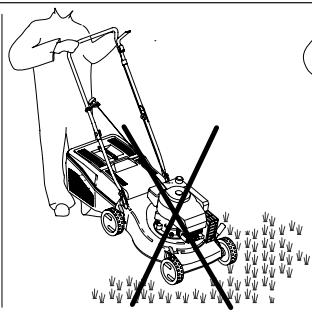
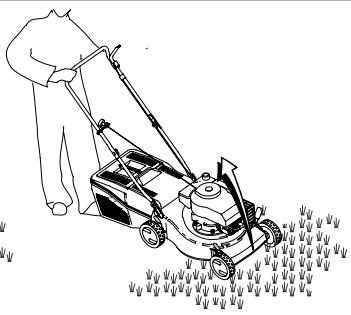
Never lift the rear of the mower while starting the engine or during normal operation.

(starts at page 37)
Never place your hands or feet underneath the deck or into the rear discharge chute while the engine is running.

Refer to the engine manufacturer's maintenance manual.
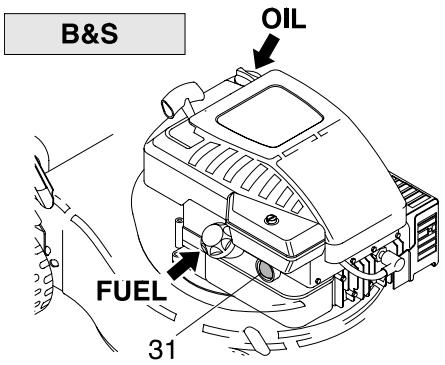
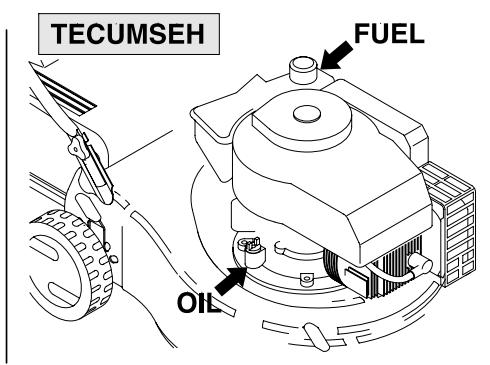
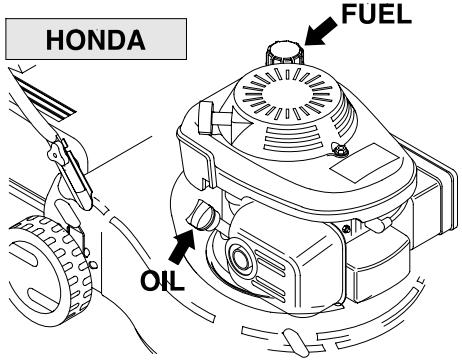
CAUTION:- 0.6l Oil must be added to the engine before use.

(starts at page 38)
STARTING THE ENGINE
Once the machine has been set up properly, start the engine as follows:
a) Engines with choke system:
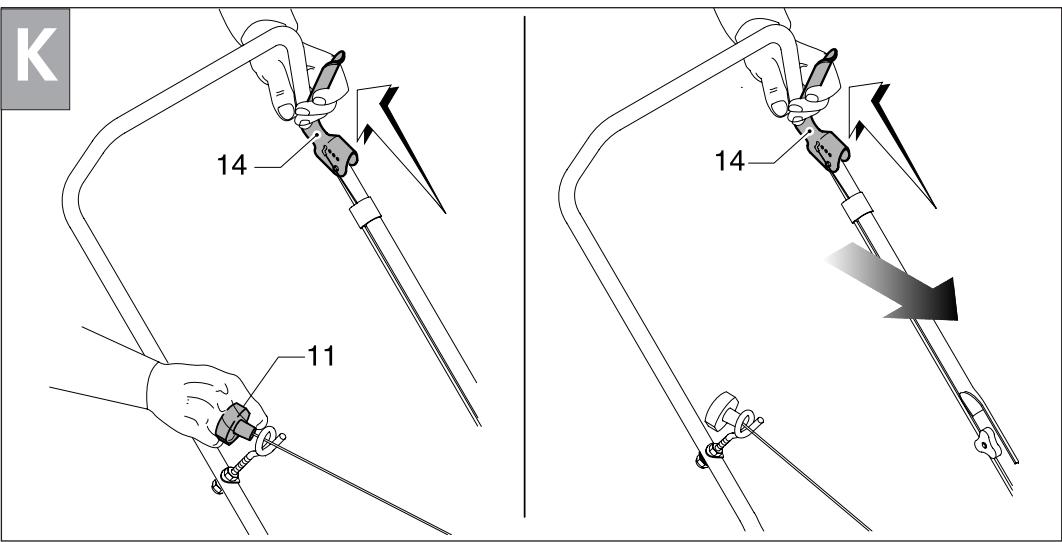
when the engine is cold, position the accelerator lever (13) on START b)Operate the engine stop lever (14) to prepare the engine for start, keep lever pressed against handle while starting and using the machine - it operates the engine brake.
c) Engines with primer system:
Press the fuel-enrichment pump (Picture 'K' item 27) located on the carburettor 3 or 4 times position the accelerator lever (13) on MAX.
For further information and explanations, read carefully the user instruction manual of the engine.
d) Start engine.
MANUAL STARTING: (While holding the engine stop lever (14)).
- Hold the engine start-grip (11) and pull the starter rope gently until you feel the resistance caused by compression. Return the starter rope slowly then pull the handle firmly towards you to its full extent.
CAUTION! The blade starts turning as soon as the motor is started.
Keep the engine stop lever (14) depressed during machine operation. When the lever is released, the engine stops.
MOWING
To cut the grass, push the lawn mower manually
SAFETY RULES
Training
IMPORTANT - Once the product has fuek or oil in the tanks do not tilt the machine at an angle of more than 30° .
a) Persons under 16 years of age and persons who are not familiar with the user instructions must not use the lawn mower.
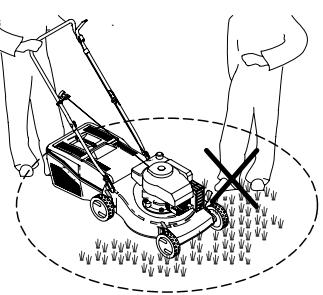
b) The operator is responsible for the safety of other people in the working area. Keep children and domestic animals at a safe distance when the lawn mower is in use.
c) This machine is to be used exclusively for cutting natural grass. Never use the mower for other purposes (e.g., for flattening out bumps in the ground, such as mole-hills or ant- hills).
d) Work only when there is sufficient light.
e) Before mowing, remove all foreign objects from the lawn which may be thrown by the machine. While mowing, stay alert for any foreign objects which may have been missed.
Setting up and operating the lawn mower
a) When mowing, wear strong footwear (boots or heavy shoes) and long trousers.
b) Before you start mowing, make sure that the blade and blade fixing screw are securely fastened.
If the blade is damaged, it must be replaced.
c) Turn off the engine, wait until the blade has stopped and remove the spark plug cap before:
● transporting, lifting or moving the machine away from the working area;
- carrying out maintenance or cleaning, or when carrying out any operation on the blade;
● adjusting the cutting height;
● leaving the machine unattended.
Caution! The blade starts turning as soon as the engine is started
d) Caution! The fuel is highly inflammable:
- Store fuel in containers specifically designed for this purpose.
● Refuel outdoors only and do not smoke while refuelling.
- Fill up the fuel tank before starting the engine. Under no circumstances open the fuel tank cap or add petrol when the engine is running or when it is still hot.
- If the petrol has overflowed, do not under any circumstances start up the engine. Move the mower away from the area where fuel has bean spilt and avoid any source of possible ignition until the petrol fumes have dissipated.
- Replace the fuel tank cap and tighten it down firmly.
e) Do not operate the engine in a confined space where dangerous carbon monoxide fumes can collect..
f) When mowing, never run; you must always walk.
g) Exercise extreme caution when turning or when pulling the lawn mower towards you.
h) Particular precautions must be taken when mowing on slopes or downhill stretches:
●Use appropriate antislip footwear.
● Always be sure of your footing.
● Mow across the face of slopes, never up or down.
● Take great care when changing direction.
- Do not mow on excessively steep slopes.
i) Never use the lawn mower unless the guards and safety devices (e.g. deflector, grass catcher) are securely in position and in good condition.
j) Ensure that the grass catcher and deflector are correctly located. failure to do so may result in foreign objects being ejected by the blade.
k) For reasons of safety, the engine must never exceed the speed. (r.p.m.) indicated on the label.
I) Take care when starting the engine and be sure to follow the user instructions. Never place your hands or feet underneath the deck or into the rear discharge chute while the engine is running.
m) Never lift the rear of the mower while starting the engine or during normal operation.
n) If the blade happens to hit any obstacle, stop the engine at once and remove the spark plug cap. Then get an expert to examine the blade.
Maintenance and storage
a) Make sure that all nuts, bolts, and screws are kept well tightened to keep the mower in a safe operating condition.
b) Never leave the machine with fuel in the tank within an enclosed area where the fuel vapours could reach naked flames or sparks.
c) Allow the engine to cool before storing in any enclosure.
d) Keep the engine, silencer, battery compartment and petrol tank free from grass, leaves and excess lubricant, in order to reduce the danger of fire.
e) Frequently check the grass catcher for wear or deterioration
f) For safety reasons, be sure to replace worn-out or damaged parts in due time.
g) If the fuel tank has to be drained, it is essential that this be done outdoor.
h) Assemble the blades following the corresponding instructions and use only blades bearing the maker's name or the trademark of the manufacturer or supplier and marked with the reference number.
i) To protect hands during disassembly or assembly of the blades, it is absolutely essential to wear suitable protective gloves.
MAINTENANCE

Caution! Switch off the motor and disconnect the spark plug before undertaking any maintenance work.
- For a four stroke engine, check the oil level and change the oil when dirty. For further explanation, see ENGINE INSTRUCTION BOOK.
- Frequently check the mower and ensure that all grass deposits are removed from beneath the deck.
- Never clean the mower by pouring water over it: this may seriously damage the electric start system.
●Take care, the exhaust muffler may be very hot.
- Frequently remove the wheel screws clean with petroleum and oil before replacing. Ball bearings must be greased before remounting.
●Frequently check the blade for damage.
●The lawn mower must be checked by a SERVICE DEALER.

BLADE (starts at page 38)
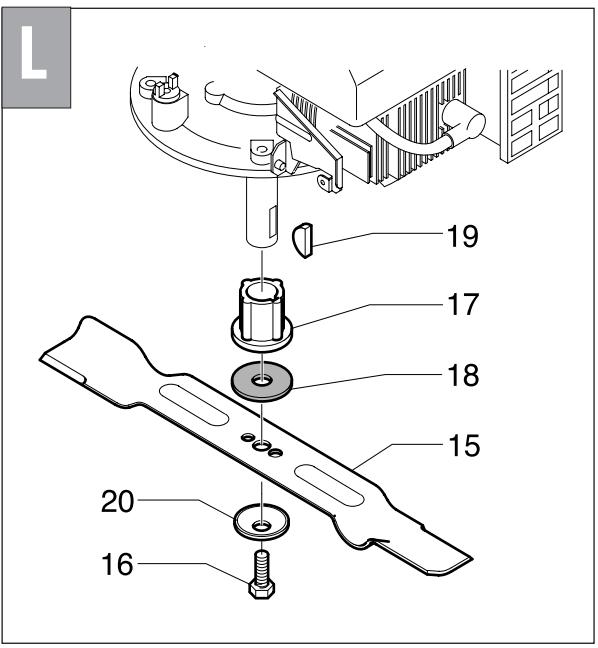
●To remove the blade (15) unscrew the screw (16).
- Check the conditions of the blade-support (17), the washer (18), the key (19) and the washer (20) and replace any parts which are damaged.
- When reassembling, make sure that the key (19) is correctly seated in the shaft and that the cutting edgles face in the direction of the engine rotation. The blade screw (16) must be torqued to 5,34 Kgm (52,4 Nm).
A
B
C

E
F


H
|
J

- ASSEMBLY OF GRASS CATCHER (STARTS AT PAGE 35)
- ASSEMBLY REAR DEFLECTOR (STARTS AT PAGE 35)
- ASSEMBLY (STARTS AT PAGE 36)
- ADJUSTMENT OF CUTTING HEIGHT (STARTS AT PAGE 37)
- SAFETY PRECAUTIONS (STARTS AT PAGE 37)
- (STARTS AT PAGE 37)
- (STARTS AT PAGE 38)
- STARTING THE ENGINE
- START ENGINE
- MOWING
- SAFETY RULES
- TRAINING
- SETTING UP AND OPERATING THE LAWN MOWER
- MAINTENANCE AND STORAGE
- MAINTENANCE
- BLADE (STARTS AT PAGE 38)
Brand : PARTNER
Model : P3540S
Category : Lawn mower