
LE810DTUPS - Thermal printer OKI - Free user manual and instructions
Find the device manual for free LE810DTUPS OKI in PDF.
| Product type | Thermal printer |
| Brand | OKI |
| Model | LE810DTUPS |
| Printing technology | Direct thermal |
| Resolution | 203 dpi |
| Maximum print speed | Up to 10 ips (254 mm/s) |
| Maximum print width | 108 mm (4.25 inches) |
| Supported media types | Labels, tickets, receipts |
| Power supply | AC adapter 100-240 V AC, 50/60 Hz |
| Roll dimensions (max) | Outer diameter 127 mm, width 118 mm |
| Interfaces | USB, RS-232 (optional) |
| Dimensions (W x D x H) | 200 x 250 x 180 mm (approx) |
| Weight | 2.3 kg (approx) |
| Maintenance and cleaning | Clean the print head with a cotton swab soaked in isopropyl alcohol |
| Safety | Interlock switches on covers; do not operate with covers open |
| Available spare parts | Print head, roller, sensor, take-up spindle |
| Repairability | Easy access to internal components; detailed installation guide |
Frequently Asked Questions - LE810DTUPS OKI
User questions about LE810DTUPS OKI
0 question about this device. Answer the ones you know or ask your own.
Ask a new question about this device
Download the instructions for your Thermal printer in PDF format for free! Find your manual LE810DTUPS - OKI and take your electronic device back in hand. On this page are published all the documents necessary for the use of your device. LE810DTUPS by OKI.
USER MANUAL LE810DTUPS OKI
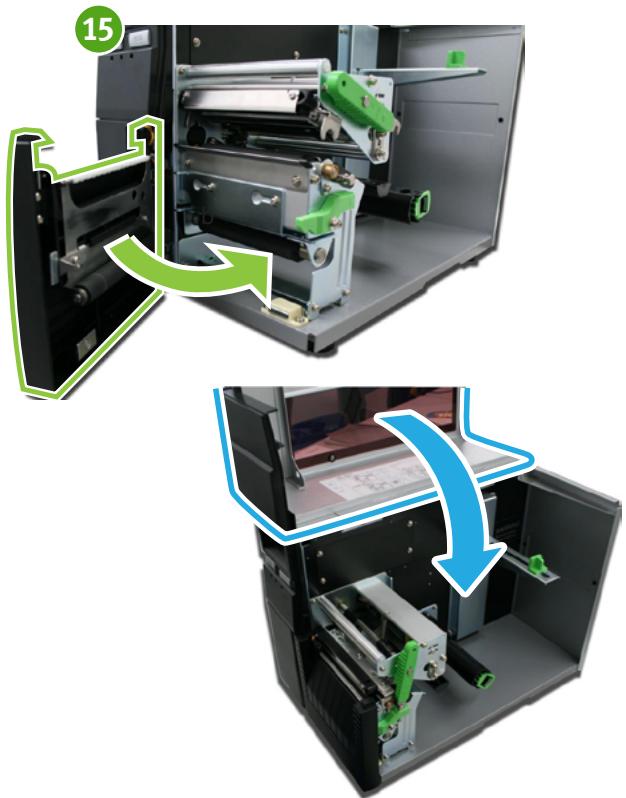
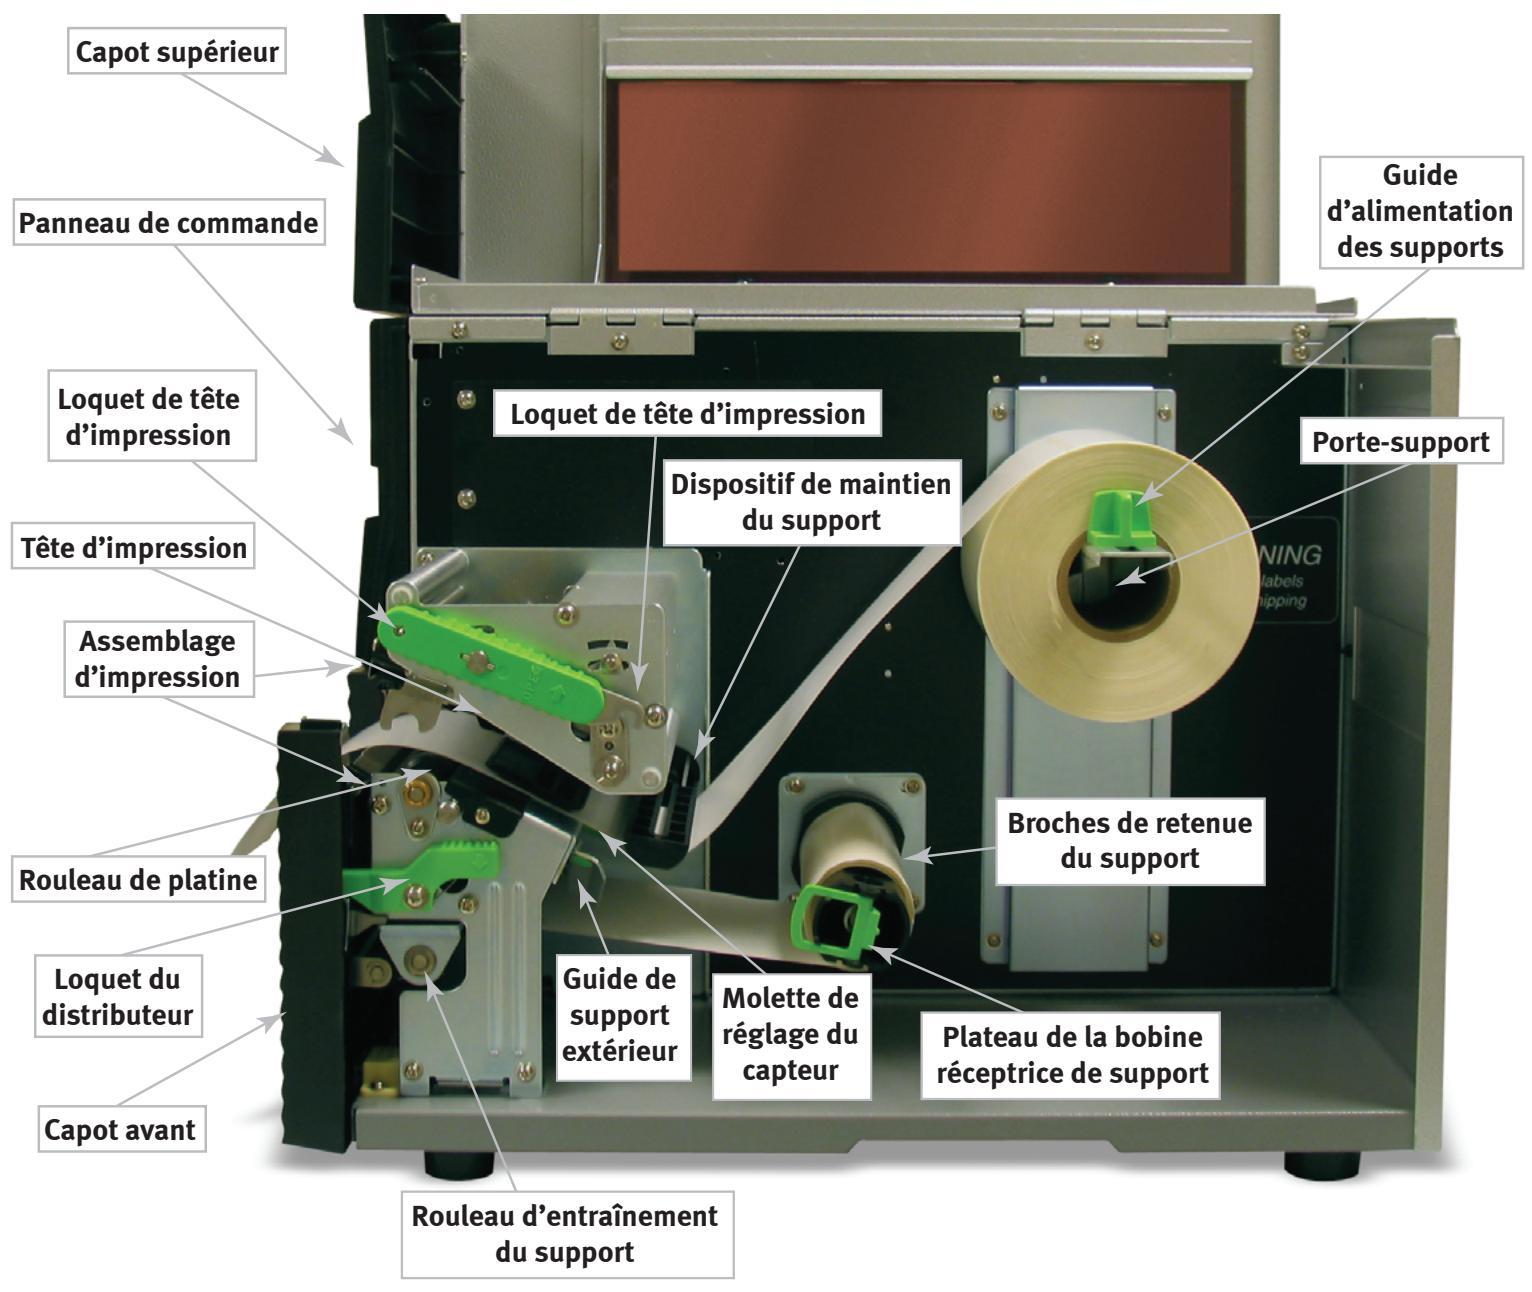
- Open the Top Access Door by swinging it up.

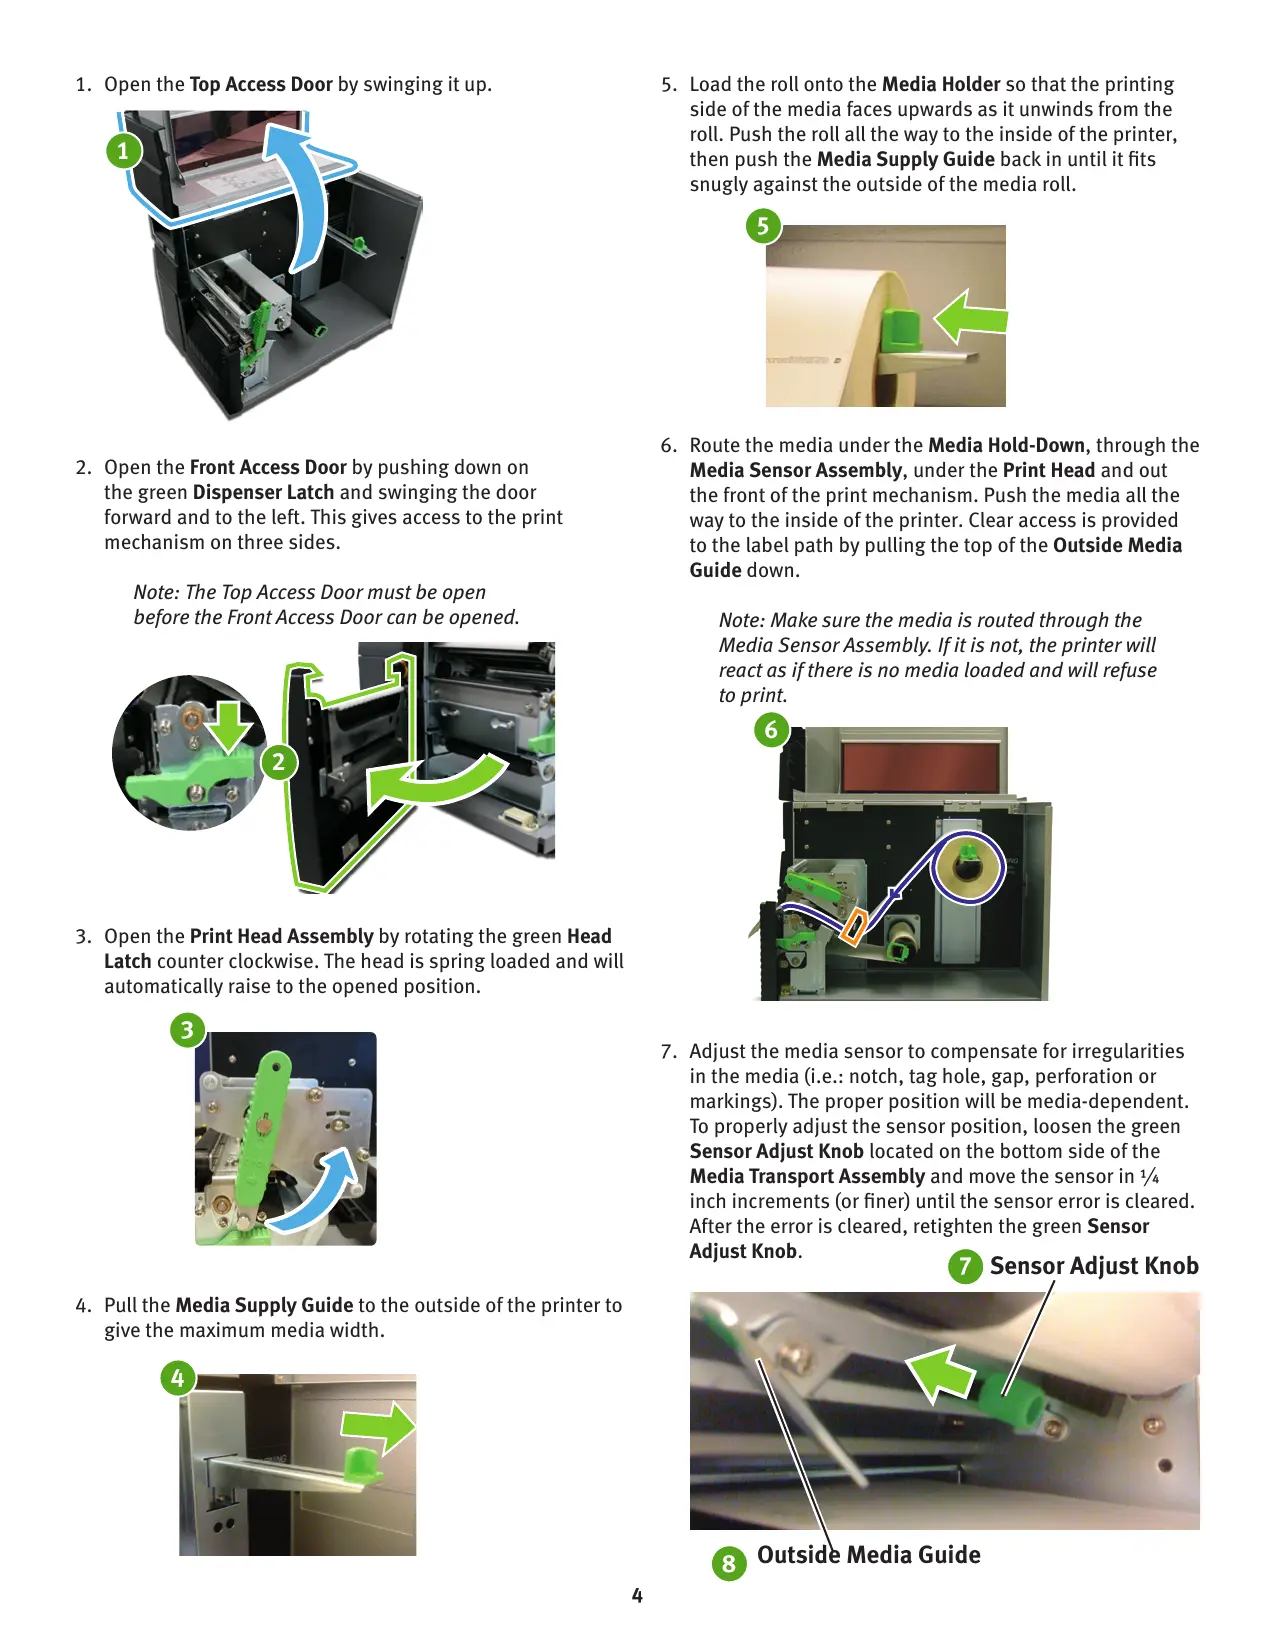
- Open the Front Access Door by pushing down on the green Dispenser Latch and swinging the door forward and to the left. This gives access to the print mechanism on three sides.
Note: The Top Access Door must be open before the Front Access Door can be opened.
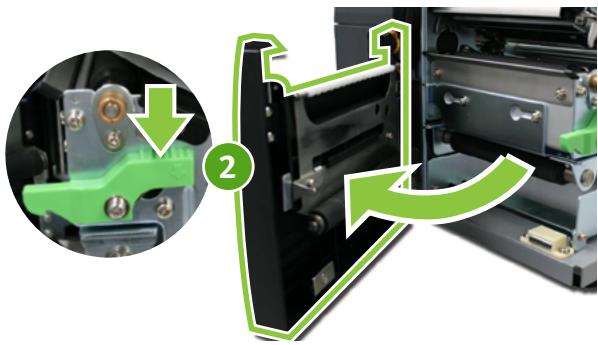
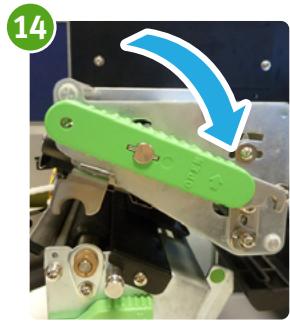
- Open the Print Head Assembly by rotating the green Head Latch counter clockwise. The head is spring loaded and will automatically raise to the opened position.
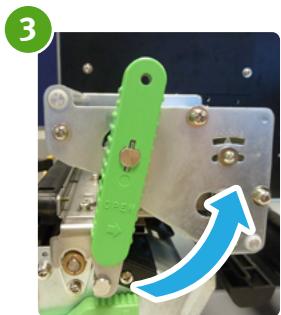
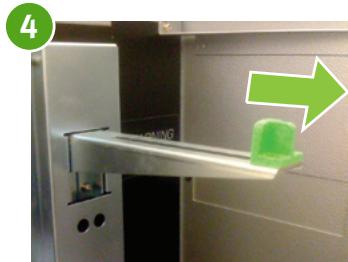
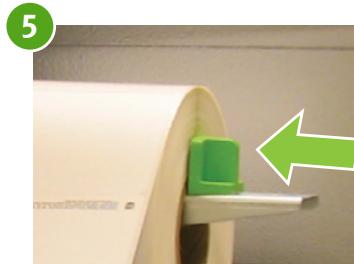
- Pull the Media Supply Guide to the outside of the printer to give the maximum media width.
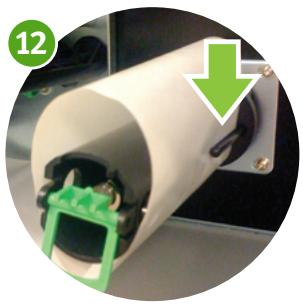
- Load the roll onto the Media Holder so that the printing side of the media faces upwards as it unwinds from the roll. Push the roll all the way to the inside of the printer, then push the Media Supply Guide back in until it fits snugly against the outside of the media roll.
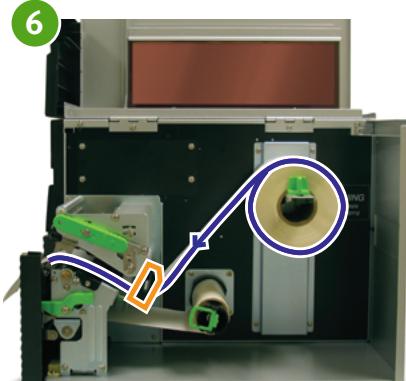
- Route the media under the Media Hold-Down, through the Media Sensor Assembly, under the Print Head and out the front of the print mechanism. Push the media all the way to the inside of the printer. Clear access is provided to the label path by pulling the top of the Outside Media Guide down.
Note: Make sure the media is routed through the Media Sensor Assembly. If it is not, the printer will react as if there is no media loaded and will refuse to print.
- Adjust the media sensor to compensate for irregularities in the media (i.e.: notch, tag hole, gap, perforation or markings). The proper position will be media-dependent. To properly adjust the sensor position, loosen the green Sensor Adjust Knob located on the bottom side of the Media Transport Assembly and move the sensor in 1 / 4 inch increments (or finer) until the sensor error is cleared. After the error is cleared, retighten the green Sensor Adjust Knob.
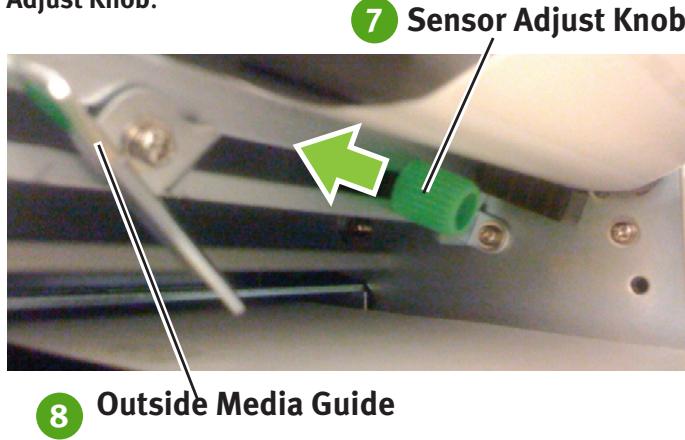
- Raise the Outside Media Guide to the closed position and push the guide inward until it barely contacts the outside edge of the media.
- If your printer does not have an internal rewind, then skip to step 14.
- Remove 24" to 30" of labels from the backing paper to provide enough backing paper free of labels to wrap around the Backing Take-Up Spindle.

- Route the label backing down the front of the print mechanism and around the Backing Drive Roller.
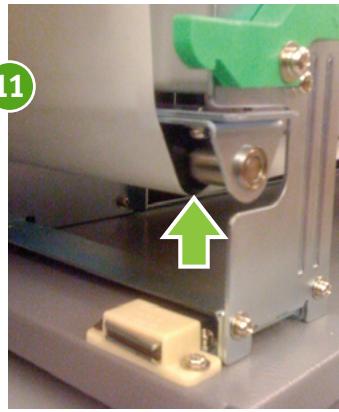
- Wrap the backing under and around the Backing Take-Up Spindle, routing it under the two Backing Retainer Prongs.
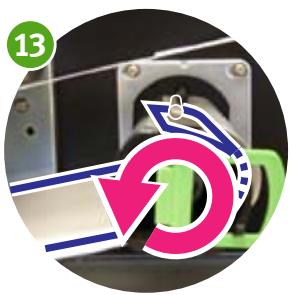
- Manually turn the Backing Take-Up Spindle counterclockwise to take up all the slack in the backing.
Note: Inspect the media routing and verify that the path matches that illustrated in the Media Loading diagram on the inside of the Top Access Door.
- Close the Print Head and latch it in the down position.
- Close the Front Access Door. After the Front Access Door is closed, the Top Access Door may be closed. These covers have interlock switches and the printer will not operate if either is open.
LE810DT
Install the Driver
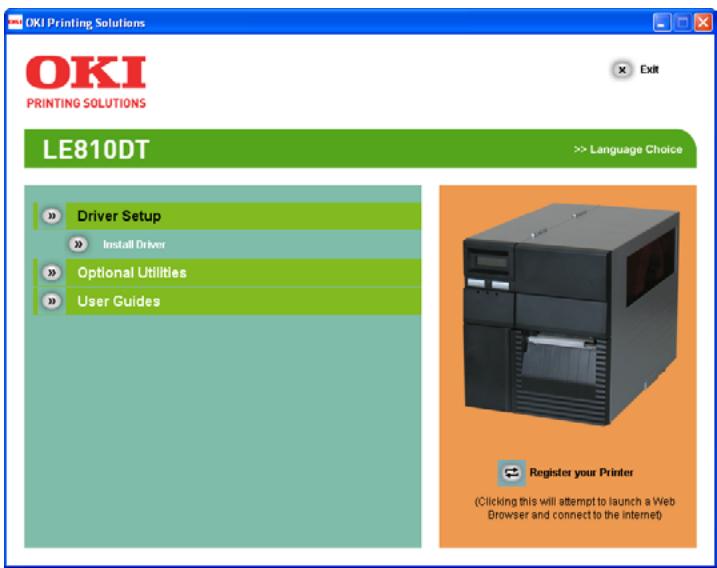
- Insert the Printer Software CD in the CD-ROM drive.
The CD will autorun.
- Select your language.

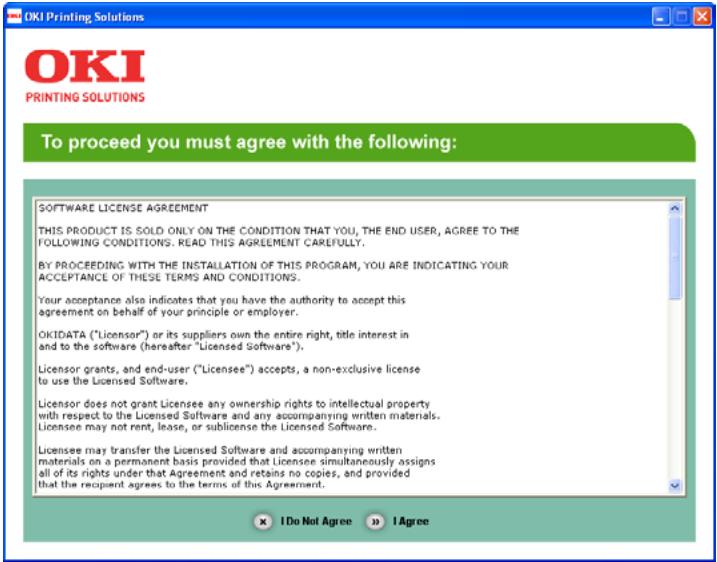
- If you accept the license agreement, select I Accept.
- Select Install Driver under Driver Setup.
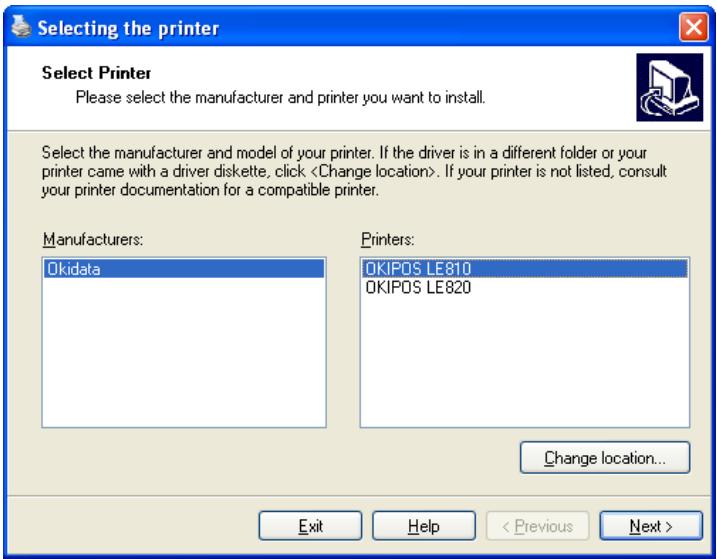
- When the Add Printer wizard appears, select Next.

- Select OKIPOS LE810 and then select Next.
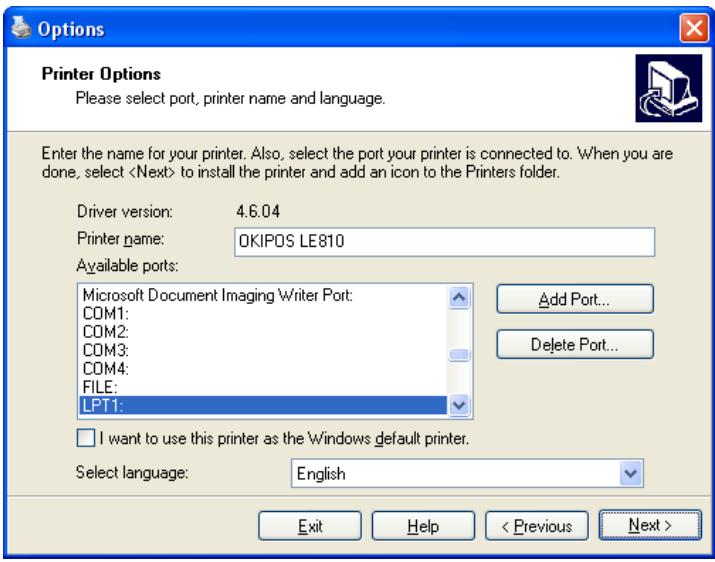
- Select the port that your LE810DT is connected to from the list of Available Ports. If you want this printer to be your default printer, then check the box next to "I want to use this printer as the Windows default printer". Select Next when completed.
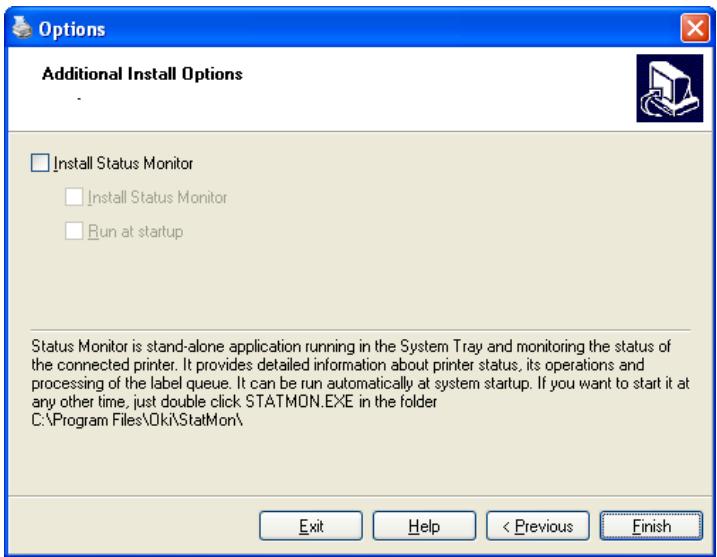
- Check the box if you want to install the Status monitor. Status Monitor is stand-alone application running in the System Tray and monitoring the status of the connected printer. It provides detailed information about printer status, its operations and processing of the label queue. It can be run automatically at system startup. If you want to start it at any other time, just double click STATMON.EXE in the folder C:\Program Files\Oki\StatMon\
Brand : OKI
Model : LE810DTUPS
Category : Thermal printer