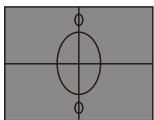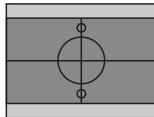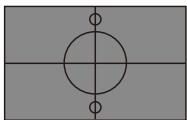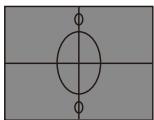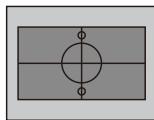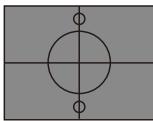


If the image is partially displayed or misaligned, several solutions exist depending on the cause of the problem:
1. Quick Sync (recommended first step)
Press the Re-Sync button on the remote control of the OPTOMA EP721 projector. This function automatically synchronizes the display with your source and often corrects partial or misaligned image issues within seconds.
2. Adjusting horizontal and vertical position
If the image remains misaligned, use the projector's OSD menu:
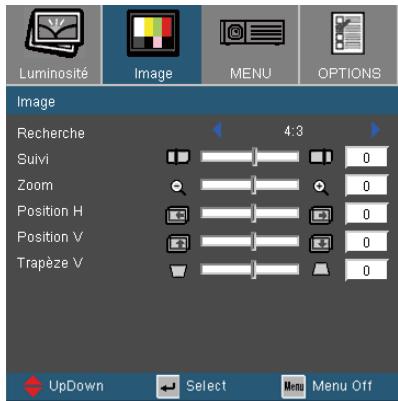
Press Menu, navigate to Image, then H Position (horizontal position) and V Position (vertical position) to reposition the image on the screen. These adjustments move the projected image without reducing its size.
3. Checking your computer's resolution
The EP721 has a native XGA resolution (1024 x 768) and supports up to UXGA (1600 x 1200). Ensure that your display resolution does not exceed 1600 x 1200:
On Windows: Control Panel > Display > Settings > Ensure the resolution is ≤ UXGA.
On Mac: System Preferences > Display > Check the resolution.
4. Switching video output (for laptops)
If you are using a laptop, the video output may be disabled. Press Fn + F4 (or depending on your brand: Fn+F8 for Dell, Fn+F7 for IBM, Fn+F3 for NEC, Fn+F5 for Toshiba) to switch to the projector.
5. Adjusting signal frequency (if the image is unstable)
If the image flickers or displays vertical bars, the problem is due to a frequency incompatibility. Go to Menu > Image > Tracking or Menu > Signal > Frequency and adjust the settings until stabilization.
6. Keystone correction (if the edges are tilted)
If the image is tilted, press Keystone +/- on the remote control to correct the tilt (vertical digital correction ±18 degrees). The best practice is to reposition the projector to be centered facing the screen.