
ET2300IUTI - Desktop computer ASUS - Free user manual and instructions
Find the device manual for free ET2300IUTI ASUS in PDF.


| Product type | All-in-one desktop computer |
| Brand | ASUS |
| Model | ET2300IUTI |
| Dimensions (W x H x D) | 570 x 410 x 50 mm |
| Weight | 7.5 kg |
| Screen | 23 inches, Full HD (1920 x 1080) |
| Processor | Intel Core i5 3rd generation |
| RAM memory | 8 GB DDR3 |
| Hard drive | 1 TB SATA |
| Power supply | 120 W, external power brick |
| Operating system | Windows 10 (pre-installed) |
| Connectivity | Wi-Fi 802.11 b/g/n, Bluetooth 4.0, Ethernet RJ45 |
| Ports | 4 x USB 2.0, 2 x USB 3.0, HDMI, VGA, 3.5mm jack |
| Key features | All-in-one computer, touchscreen (optional), HD webcam, stereo speakers |
| Maintenance and cleaning | Unplug the device before cleaning. Use a soft, dry cloth. Do not use chemical products. |
| Security | Kensington lock, BIOS password, Windows Defender |
| Spare parts and repairability | Hard drive, RAM, CMOS battery accessible via rear panel. For other parts, contact an authorized service center. |
| Warranty | 2 years (depending on country) |
Frequently Asked Questions - ET2300IUTI ASUS
User questions about ET2300IUTI ASUS
0 question about this device. Answer the ones you know or ask your own.
Ask a new question about this device
Download the instructions for your Desktop computer in PDF format for free! Find your manual ET2300IUTI - ASUS and take your electronic device back in hand. On this page are published all the documents necessary for the use of your device. ET2300IUTI by ASUS.
USER MANUAL ET2300IUTI ASUS
Before launching your TV Tuner application, check if your digital TV-in or analog TV-in cable is connected.
Launching your TV Tuner Application
To launch ArcSoft TV 5.0 in Windows® 8, do one of the following:
- From the Windows® desktop, click the Arcsoft TV 5.0 icon.
NOTE: The Arcsoft TV desktop shortcut icon is not available for AIO ET2300

- Click ☐ to launch the search screen for applications. Type "Arcsoft" in the search field and click the Arcsoft TV icon from the search results.
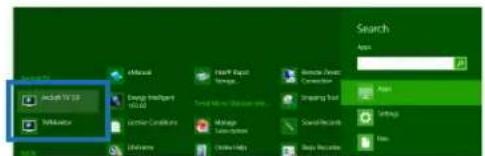
Setting up your TV Tuner Application
To set up ArcSoft TV 5.0:
- On the main menu, click Live TV.
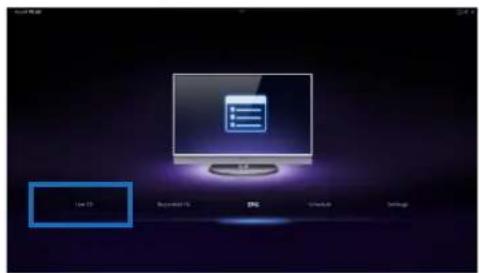
- The Setup Wizard will launch to guide you through setting up your TV Tuner application. Select your country or region and click Next to continue.

- The Setup Wizard will attempt to detect the installed TV Tuner device. Select the appropriate TV tuner card which came with your All-in-One PC.


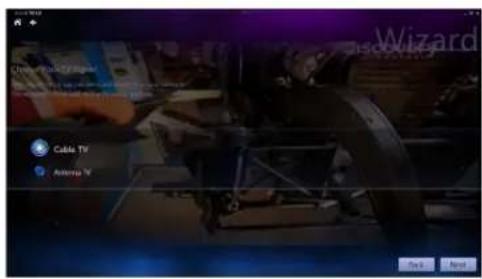
- Select the type of television service you use.
• Select Cable TV for cable television.
- Select Antenna TV for television received via an antenna.

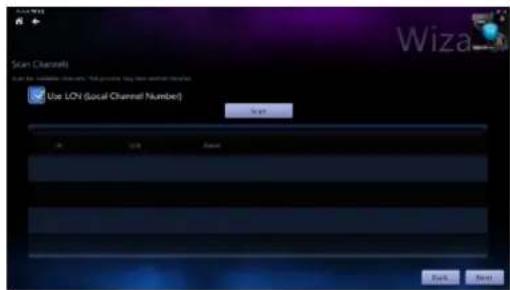
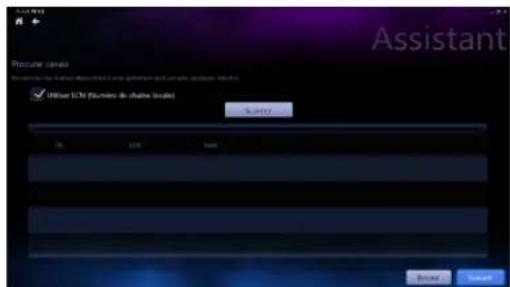
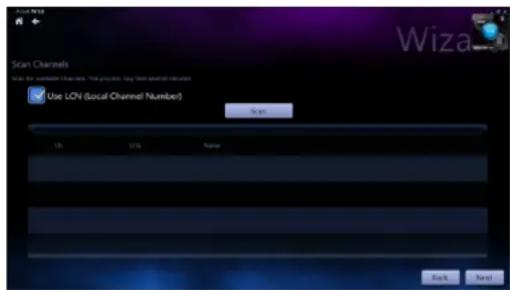
- Click Scan to begin scanning for available channels.

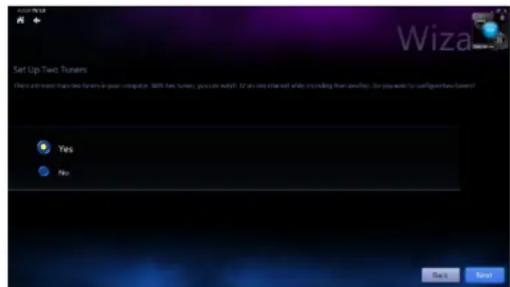
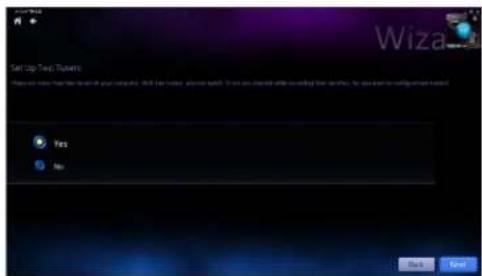
- If your All-in-One PC came with both an analog and digital TV tuner, the Setup Wizard will prompt you to set up your second TV tuner.
• Select Yes to set up the second TV Tuner.
- Select No to complete the Setup Wizard.

- Click Finish to complete the Setup Wizard.
Scheduling recordings of TV broadcasts
To schedule recordings of TV broadcasts:
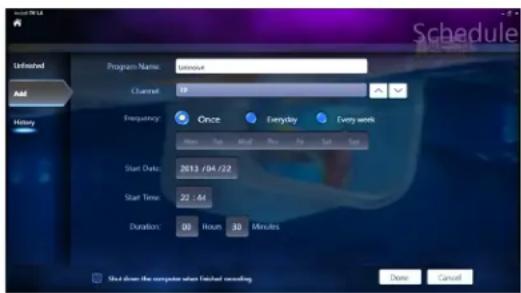
- On the main menu, click Schedule.

- On the left panel, click Add.
-
Configure the following options:
-
Program Name
- Channel
Frequency - Start Date/Time - Specify the date/time of recording.
• Duration - Specify length of recording. - Shut down the computer when finished recording

- Click Done to save settings and schedule recording.
NOTE: The All-in-One PC needs to be powered on to automatically record TV broadcasts.
- To schedule additional recordings, repeat steps 1\~4.
NOTE: The number of recordings you can schedule is limited by the available storage on your All-in-One PC.
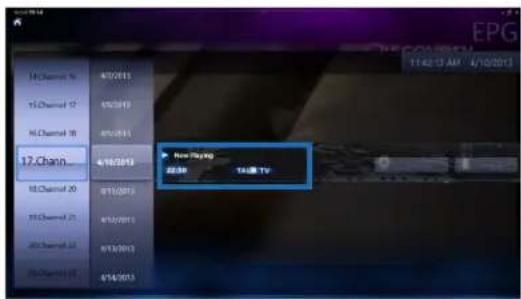
Using the Entertainment Program Guide (EPG)
The EPG displays the time and TV programs playing on a specified channel and date.
NOTE: EPG is only available for All-in-One PCs with a digital TV tuner.
Using the Live TV Onscreen Controls

1 Home button
Click this icon to go to the Arcsoft TV 5.0 main menu.
2 TV/AV
Click this button to toggle between analog TV and digital TV.*
*This item is only available for All-in-One PCs with both an analog and digital TV tuner.
3 Take a screenshot
Click this button to take a screen capture of the video or media playing.
4 Record
Click this button to begin recording the television broadcast.
5 Pause
Click this button to pause recording or playback.
6 Volume Controls
Click this button to display onscreen volume controls to increase/decrease volume.
7 CH-/CH+
Click this button to increase or decrease the channel by one.
8 Add to Favorites
Click this button to add this channel to the Favorites list.
9 Favorites List
Click this button to display list of saved Favorites.
10 Subtitles and Audio Tracks
Click this button to display list of available subtitles and audio channels/tracks.
Using the Remote Control

1 Playback Buttons

Play
Starts playing media. If playback is paused, pressing this button begins playback from the current position.

Pause
Pauses media playback at the current position.

Stop
Stops playing media at the current position.

Record
Record the TV show to disk. If pressed while Live TV is on, records the current show. If pressed from the EPG screen, records a TV show or TV series to disk.

Fast Forward
Speeds up the playback of the media file to the first forward value (3X).

Rewind
Reverses direction of playback and speeds up the time base to the first rewind value (3X).

Skip Forward
Skips forward one increment when this button is pressed.

Skip Back
Skips backward one increment when this button is pressed.
2 Navigation Keys

Press the up/down keys to move through the menu bar in a submenu. Press the up/down keys to decrease/increase a numerical value.
Press the left/right keys to move through the main menus in the Home screen.
Press the left/right keys to move through the items in a submenu.
Press OK to confirm the selection.

Start\*
Takes the user to the Windows Media Center Start menu.
*This button is only available for All-in-One PCs installed with Windows Media Center.
| 4 | Volume controlsPress the (+) button to increase the volume by one unit. Press the (-) button to decrease the volume by one unit. | |
| 5 | BackMoves back one position in the user interface, | |
| 6 | Number keys | |
| 7 | ClearClear any entered user input. | |
| 8 | Power on/offPress this button to put the All-in-One PC to sleep mode. Press a second time to wake up the system from sleep mode. | |
| 9 | Media Center Buttons*Record TVDisplays the Recorded TV page in Windows Media Center.GuideDisplays the media guide in Windows Media Center.Live TVShows live TV on the currently selected channel.DVD menuDisplays the DVD menu.*These buttons are only available for All-in-One PCs installed with Windows Media Center. | |
| 10 | Channel controlsIncreases/decreases the current channel by one. | |
| 11 | MuteMutes the computer audio. | |
| 12 | InformationPress to display information about the movie, video, or music. | |
| 13 | EnterPress this button to select an option or input text. | |

Media Center Shortcut buttons

Displays the main Radio page in Windows Media Center.

Displays the Music Library in Windows Media Center.

Displays the Picture Library in Windows Media Center.

Displays the Video Library in Windows Media Center.
*These buttons are only available for All-in-One PCs installed with Windows Media Center.


Teletext buttons\*
Press these buttons to access Teletext features when available.
*These buttons are only available for All-in-One PCs installed with Windows Media Center.
NOTE:
• To avail of Windows Media Center features, you can purchase a Windows 8 Media Center Pack separately.
- You can download a version of this manual in a different language at the ASUS support site at http://support.asus.com
All-in-One PC
English
All-in-One PC TV
Stručná příručka


- Klik på Done (Udført) for at gemme indstillingerne og den planlagte optagelse.
All-in-One PC



All-in-One PC
All-in-One PC




Bruke programguiden (EPG = Electronic Program Guide)
Viser hovedsiden for radio i Windows Media Center.

Viser musikkbiblioteket i Windows Media Center.

Viser bildebiblioteket i Windows Media Center.

Viser videobiblioteket i Windows Media Center.
* Disse knappene er bare tilgjengelig på Alt-i-én-PC-er när Windows Media Center er installert.


Tekst-TV-knapper\*



All-in-One PC

Installera ditt TV-mottagarprogram
Installera ArcSoft TV 5.0:


- Launching your TV Tuner Application
- Setting up your TV Tuner Application
- To set up ArcSoft TV 5.0:
- Scheduling recordings of TV broadcasts
- To schedule recordings of TV broadcasts:
- Using the Entertainment Program Guide (EPG)
- Playback Buttons
- Play
- Pause
- Stop
- Record
- Fast Forward
- Rewind
- Skip Forward
- Skip Back
- Navigation Keys
- Start\*
- Media Center Shortcut buttons
- Teletext buttons\*
- NOTE:
- All-in-One PC
- All-in-One PC TV
- Stručná příručka
- Bruke programguiden (EPG = Electronic Program Guide)
- Tekst-TV-knapper\*
- Installera ditt TV-mottagarprogram
- Installera ArcSoft TV 5.0:
Brand : ASUS
Model : ET2300IUTI
Category : Desktop computer