
6618 - Heating CALOR - Free user manual and instructions
Find the device manual for free 6618 CALOR in PDF.
| Product type | Electric convector |
| Brand | CALOR |
| Model | 6618 |
| Power supply | 230-240 V ~ 50 Hz |
| Power | 1500 W |
| Electrical class | Class II (double insulation) |
| Main functions | Adjustable thermostat (positions 1 to 9 + frost protection), on/off control button |
| Heating mode | Natural convection |
| Anti-tip safety | Yes, automatically cuts power if tipped over |
| Thermal safety | Yes, cuts power in case of overheating |
| Additional protection | Thermally insulating side panels |
| Frost protection mode | Maintains temperature above 0°C |
| Maintenance and cleaning | Regularly dust the grilles with a dry cloth or vacuum; do not use alcohol or solvent |
| Minimum installation | At least 1 m away from furniture and walls; do not place under a socket |
| Intended use | Domestic or offices |
| Warranty | Non-compliant use voids warranty |
| Storage | Unplug, protect from dust and moisture after cooling |
| Spare parts and repairability | Replace power cord only at an authorized service center |
| Included accessories | None (integrated power cord) |
Frequently Asked Questions - 6618 CALOR
User questions about 6618 CALOR
0 question about this device. Answer the ones you know or ask your own.
Ask a new question about this device
Download the instructions for your Heating in PDF format for free! Find your manual 6618 - CALOR and take your electronic device back in hand. On this page are published all the documents necessary for the use of your device. 6618 by CALOR.
USER MANUAL 6618 CALOR
Read carefully and save for future reference.
A. Convector air outlet grill
B. Handles
C. Thermostat dial (positions 1 to 9, plus frost-free position)
D. Control dial
E. Air intake area
F. Fan heater air grill outlet (models 6670 / 6672)
G. Power lead outlet
Deutsch
BESCHREIBUNG
This appliance complies with European Union directives 73/23/EEC and 89/336/EEC.
To enable your appliance to function correctly, the following recommendations must be respected.
- Never place it behind a curtain. The air inlet and outlet grills must always remain clear. The air flow must never be hindered, as this could cause overheating.
- Never handle it with wet hands.
- Before turning on the appliance, always check its general condition, together with that of the power lead and the socket.
- If you have to use an extension lead, it must not be longer than 25m and the section of each conductor wire must not be less than 1.5mm^2 . The power lead and extension lead must be completely unwound.
- Never place the appliance beneath a electrical wall socket.
- Never use the appliance near inflammable objects, in a room containing explosive gases or while using glue and solvents.
- Never use it to reheat foodstuffs or other products.
- Do not touch the hot air distribution outlet grill(s) immediately after turning off the appliance: you could suffer burns.
- Do not place it near another heat source (fireplace...)
- Do not use your appliance on a vibrating floor (washing machine or compressor nearby).
- Avoid using your appliance in a dusty room.
- Never insert objects into your appliance.
- When in use, this appliance must be kept out of the reach of young children, animals and certain handicapped persons.
Ideal for long-term heating of rooms, this appliance has 4 different protective systems:
1 heat insulating side panels, to reduce the risk of burns,
2 anti tip-over device,
3 overheat safety device,
4 dual electrical insulation (enabling it to operate with an unearthed power plug).
However, this appliance is not designed for use in a bathroom or any other room in which it may be splashed with water.
Very important:
- NEVER ALLOW WATER TO ENTER THE APPLIANCE (e.g. Do not place the appliance under a washing line, do not use it near a washbasin, bathtub, shower or pool, nor in a damp or frozen environment).
- NEVER COVER THE APPLIANCE, even temporarily, as this could cause overheating. (e.g. Never dry washing by placing it on the appliance).
- DO NOT USE THE APPLIANCE WHEN TILTED OR LAID ON ITS SIDE.
2 - VOLTAGE
Your appliance is designed to operate at 220-240 V \~50 Hz single phase. It is a class II appliance, with dual electrical insulation l It can operate with a power socket without earth. However, this appliance is not designed for use in a bathroom or any other room in which it may be splashed with water.
3 - WARNINGS
- Before using the appliance for the first time, remove any promotional labels.
- Install the appliance at least 1 m away from furniture or walls; leave a distance of at least 1 m in front of the air outlet grill(s).
- Move the appliance using the handles fitted on the sides.
- Never pull the device using the power lead. Do not pull the power lead to unplug it.
- Never place the power lead on the air outlet grill immediately after turning of the appliance.
- Do not change the outer appearance of the appliance by painting it or covering it with adhesive paper.
4 - OPERATION
IMPORTANT:
When the appliance is used for the first time, it may give off a slight smell and small quantity of smoke (these phenomena, which are typical on all new appliances, will disappear after a few minutes).
1 SINGLE-POWER CONVECTOR MODELS:
Mod. 6616: (1 control knob)
The appliance is ready to operate as soon as you plug it in. Set the required temperature, by turning the thermostat dial. To turn off the appliance, turn the thermostat to the frost-free position ※ and unplug the appliance.
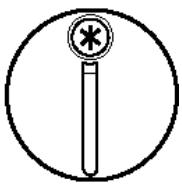
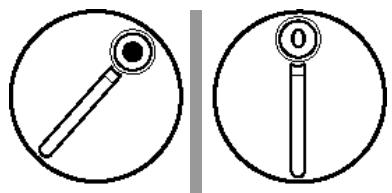
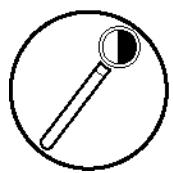
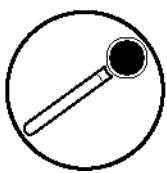
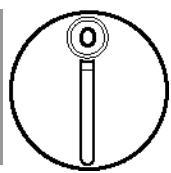
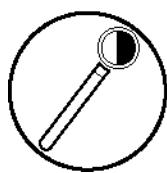
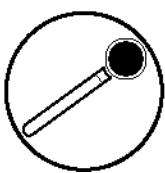
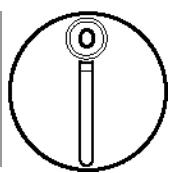
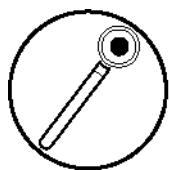
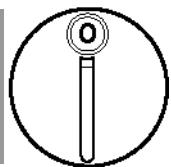
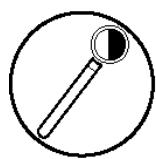
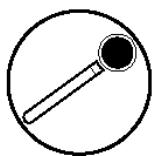
Mod. 6618: (2 control knobs)
To turn on the appliance, turn the control button to position. To turn it off, turn the button back to the initial position 0.
ENG
2 OTHER MODELS:
Choose the appropriate power setting
The power needed to heat a room mainly depends on:
-
the volume of the room
-
the insulation of the floor, the walls, the windows and the ceiling.
In practice, you need 90 W per m² (with a ceiling height of 2.5 m and standard insulation conditions).
Caution! Every room is different. For example, good insulation can reduce electrical heating consumption by up to 70% . However, with poor insulation, you may require 160 W per m².
Using the control dial, choose the most appropriate power setting for the room you wish to heat.
To reach the required temperature quickly, select the fan (models 6670/6672) or full power position.
DUAL POWER CONVECTOR MODELS
Mod. 6610
(2 control knobs)
To turn it on, turn the control dial to the required setting:
- half power (750 W)
- full power (1500 W)
To turn it off, turn the dial back to its initial position ①.
Mod. 6620
(2 control knobs)
To turn it on, turn the control dial to the required setting:
- half power (1000 W)
- full power (2000 W)
To turn it off, turn the dial back to its initial position ①.
FAN MODELS
The fan heater position provides faster and more uniform heat distribution.
Mod. 6670 (single-power convector or fan heater) (2 control knobs)
To turn it on, turn the control dial to the required setting:
- half power (2000 W)
- fan (2000 W)
To turn it off, turn the dial back to its initial position ①.

Mod. 6672 (dual-power convector or fan heater) (2 control knobs)
To turn it on, turn the control dial to the required setting:
- half power convector (1000 W)
- half power convector (2000 W)
- ※ fan (2000 W)
To turn it off, turn the dial back to its initial position (0).
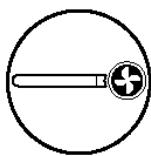
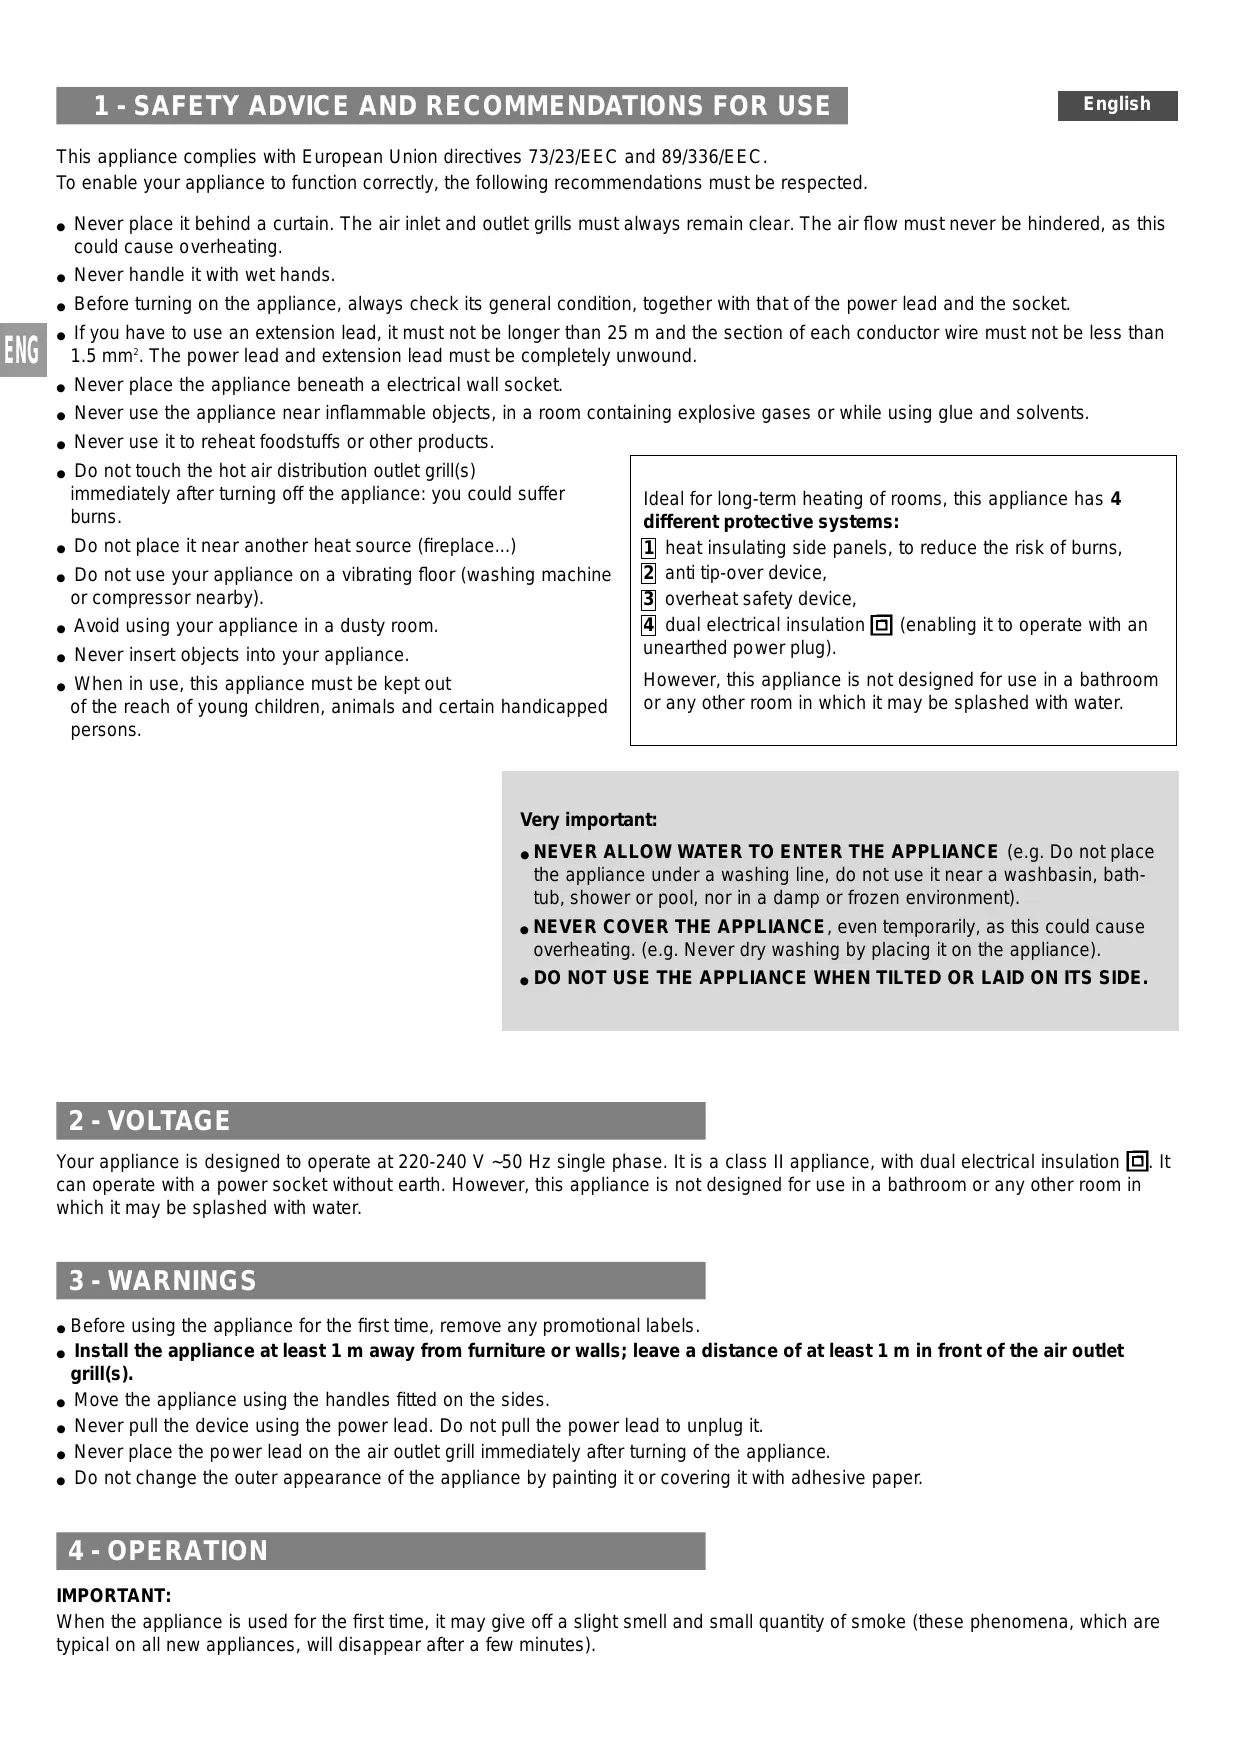
3 THERMOSTAT
First turn the control dial to any position other than off (except model 6616).
To increase the temperature, turn the thermostat dial to setting 9. To reduce the temperature, turn the thermostat dial anti-clockwise (to setting 1)
The appliance will stop automatically as soon as it reaches the chosen temperature. It will restart, if necessary, to maintain this temperature.
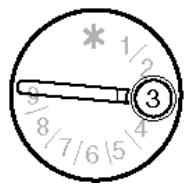
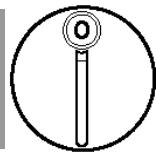
4 FROST-FREE POSITION
This position enables you to keep the temperature automatically above 0^ in a normally insulated room, whose volume corresponds to the power of your appliance.
To do this:
- set the thermostat dial to frost-free position
- turn the control dial to (mod. 6618 / 6670) or half-power (mod. 6610 / 6620 / 6672).
5 OVERHEAT SAFETY CUT-OUT
In some circumstances, the safety cut-out device automatically cuts the electrical power supply.
- In the event of overheating, first do the following:
Mod. 6616: turn the thermostat dial to frost-free position ※
Other models: turn the control dial to stop: ①.
THEN FOR ALL MODELS PROCEED AS FOLLOWS:
- unplug the power plug
- remove dust and clean the grills without disassembling the appliance.
- let the appliance cool down for 15 mins.
- plug in the appliance and turn it back on.
If the overheat safety device cuts out again, have the appliance checked by an approved service centre.
If the appliance tips over.
To restart the appliance, put it back into a stable upright position.
5 - MAINTENANCE
■ After turning the control dial to ⑨ , or the thermostat dial to ※ for model 6616, unplug the appliance and let it cool down completely.
Regularly dust the air inlet and outlet grills with a dry cloth or vacuum cleaner, without dismantling the appliance.
To remove stains, use a slightly dampened cloth.
Never use alcohol or solvents.
6 - STORAGE
If the appliance is not to be used for some time, unplug it and protect it from dust and damp.
Wait for the appliance to cool before storing it.
Important: Never let water enter the appliance.
If the power lead is damaged, or if the appliance becomes defective, please consult an Approved Service Centre; a special tool is needed to dismantle the appliance.
7 - GUARANTEE
This appliance is intended for domestic or office use only. It is not suitable for industrial use or for use in public places.
Failure to comply with the terms of these instructions will render the guarantee null and void.
8 - SOLUTIONS TO POSSIBLE PROBLEMS
| Problems | Possible causes | Solutions |
| The appliance does not heat | It is not plugged in correctly. | Check connections. |
| The control dial is set to "off": ① (except 6616). | Turn it to ⋆, or Ⓞ or ⓥ. | |
| The thermostat dial setting is too low compared with the temperature in the room. | Turn it to a higher setting. | |
| The appliance turned itself off automatically, as the air inlet (or air outlet) is clogged. | See "overheat safety device" paragraph. | |
| The appliance has been tipped over: the anti-tip-over safety device has cut the power supply. | Stand up the appliance and place it on a fully horizontal floor. | |
| The appliance does not blow out hot air: (mod. 6670/6672) | The "fan" position has not been selected. | Turn the control dial to the "fan" setting. for the 6670, ⍉ for the 6672 If the appliance still does not blow out hot air, contact an Approved Service Centre. |
| The appliance does not heat enough: | The thermostat setting is too low. | Increase the thermostat setting. |
| The power choice is too low. | Turn the control dial to the next highest setting. (mod. 6610 / 6620 / 6672). |
- Deutsch
- BESCHREIBUNG
- Very important:
- - VOLTAGE
- - WARNINGS
- - OPERATION
- IMPORTANT:
- SINGLE-POWER CONVECTOR MODELS:
- Mod. 6616: (1 control knob)
- Mod. 6618: (2 control knobs)
- OTHER MODELS:
- Choose the appropriate power setting
- DUAL POWER CONVECTOR MODELS
- Mod. 6610
- (2 control knobs)
- Mod. 6620
- FAN MODELS
- Mod. 6670 (single-power convector or fan heater) (2 control knobs)
- Mod. 6672 (dual-power convector or fan heater) (2 control knobs)
- THERMOSTAT
- FROST-FREE POSITION
- OVERHEAT SAFETY CUT-OUT
- THEN FOR ALL MODELS PROCEED AS FOLLOWS:
- - MAINTENANCE
- - STORAGE
- Important: Never let water enter the appliance.
- - GUARANTEE
Brand : CALOR
Model : 6618
Category : Heating