
Handheld Digital Microscope - Microscope CELESTRON - Free user manual and instructions
Find the device manual for free Handheld Digital Microscope CELESTRON in PDF.


| Product Type | Portable Digital Microscope |
| Brand | Celestron |
| Model | Handheld Digital Microscope |
| Dimensions (L×W×H) | 10.5 cm × 3.5 cm × 3.5 cm |
| Weight | 90 g |
| Power Source | 2 AAA batteries (not included) or USB |
| Power Consumption | 0.5 W |
| Optical Magnification | 10x to 200x |
| Digital Magnification | Up to 400x |
| Sensor Resolution | 640 × 480 pixels (VGA) |
| Illumination | Built-in white LED |
| Connectivity | USB 2.0 |
| Software Compatibility | Windows, Mac OS |
| Built-in Screen | No |
| Image Storage | On computer via software |
| Battery Life | Approximately 2 hours |
| Housing Material | ABS Plastic |
| Care and Cleaning | Clean the lenses with a soft, dry cloth; avoid solvents |
| Safety | Do not look directly at the LED beam; keep out of reach of children |
| Spare Parts and Repairability | Parts not available separately; device not user-serviceable |
| General Information | Indoor use; temperature: 0 to 40 °C |
Frequently Asked Questions - Handheld Digital Microscope CELESTRON
User questions about Handheld Digital Microscope CELESTRON
0 question about this device. Answer the ones you know or ask your own.
Ask a new question about this device
Download the instructions for your Microscope in PDF format for free! Find your manual Handheld Digital Microscope - CELESTRON and take your electronic device back in hand. On this page are published all the documents necessary for the use of your device. Handheld Digital Microscope by CELESTRON.
USER MANUAL Handheld Digital Microscope CELESTRON
INSTRUCTION MANUAL
Handheld Digital Microscope
Model # 44302
Introduction
Congratulations on your purchase of a Celestron microscope. Your microscope is a precision optical instrument made of high quality materials to ensure durability and long life, and designed to give you a lifetime of pleasure with minimal maintenance.
This microscope can be used for virtually anything that traditional microscopes are used for: Hobbyists, Educators, Medical Labs, Industrial Inspection, Engineering Applications, Teachers, Students, Science Applications, Doctor's Offices, Police Agencies, Government Testing, and general use by consumers.
Before attempting to use your microscope, please read through the instructions to familiarize yourself with the functions and operations to make usage easier for you. See the microscope diagram to locate the parts discussed in this manual.
The microscope provides powers from 10x to 40x and 150x (powers with a 19" monitor). It is ideally suited for examining solid objects such as coins, stamps, rocks, relics, insects, plants, skin, gems, circuit boards, various materials, and many other objects. Also, you can examine specimen slides at low and high powers.
With the included software, you can observe the magnified images or capture video or take snapshots with Microsoft Windows XP and Vista operating systems. You can also use the microscope with other image capture software that you may have on Windows XP & Vista. If you are using a MAC, you can take videos and snapshots but you need image/photo capture software for MAC. You will also need a CD/DVD drive as well as an open USB port.
Note: This product was designed and intended for ages 13 and older!

Standard Accessories with your Microscope
| • Microscope Stand | • Digital Camera w/ USB Cable - Built-in |
| • LED Illuminator - Built-in | • CD-ROM – Digital Microscope Suite |
| • Instruction Manual |
Specifications
| Model # 44302 Specifications | |
| Power 10 to 40x & 150x on a 19” Monitor | |
| USB Cable 2.0 for power from a computer | |
| Illuminator | 6 White LEDs |
| Digital Camera 1.3MP CMOS – 1280x1024 pixel array | |
| Weight and Dimensions | 4oz (113g) 4.25” x 1.25” (108mm x 32mm) |
Setting Up Your Microscope
- Carefully remove the microscope and stand from the box and set them on a table, desk, or other flat surface.
- Remove the plastic bags covering the microscope and stand.
Microscope Operation

Viewing Objects and Slides – you can view coins, stamps, currency, gems, plants, foods, circuit boards, specimen slides, and many other things. You need to read the information about focusing, power, and illumination below before proceeding.
Focusing & Changing Power (Magnification) – when the microscope is placed directly over the object or slide, use the focus knob to obtain a sharp focus. The focus knob takes some getting used to – rotate past the focus and then back as you will see how to obtain the best focus position. After some usage, the sharp focus position will be easy to find.
- Always start with the lowest power (10 to 40x) which is obtained when the focus knob is turned to the left as shown above.
- When the microscope is positioned directly on or over an object, then this will be 40x. If you hold the microscope slightly above the object, the power will
decrease gradually to 10x as you move further away (up to about 1" or 25mm). You will have to refocus at each position.
- For high power, you will move the focus knob almost all the way to the right which will give you 150x. At high power, your views will be greatly magnified but somewhat darker and sometimes hard to find the object. The most enjoyable views can be at the lower powers which have a wider field of view and brighter image. Also, the microscope must be directly on the object.
Illumination
The LEDs of the microscope are automatically turned on when the USB cable is inserted into the USB port on your computer. There is no illumination adjustment on this microscope, but you may be able to position the microscope over the object you are viewing at different angles (or positions) to give the optimum illumination.

Stand
You can use the microscope by holding it with your hand. However, if you want a steadier view for looking or imaging, you may prefer to mount the microscope in the stand.
Hold the microscope as shown on page 5 and then push it into the holding bracket on the stand. The correct positioning of the stand bracket is shown to the left.
You can then position the stand at various angles by loosening the locking knob and then retightening it.
Using the Microscope for Viewing and/or Imaging
Before using your microscope for viewing on your computer screen or imaging, you will have to ensure the driver is recognized by your computer. Your microscope is a “Plug and Play” type where the computer should automatically recognize the driver type on Microsoft Windows XP & Vista Operating Systems as well as Apple MAC version 10.4.9 and later Operating Systems.
Plug the USB cable of the microscope into the USB port of your computer. Each computer system will have slightly different messages. For example, on some Vista OSs when plugged in the message may say “Installing Device Driver Software” and shortly thereafter you may see a message “Your Devices Are Ready to Use”. Just follow any instructions shown on the screen.
You will need to install the Digital Microscope Suite software (on Windows OS) to actually view and/or image and prior to doing this you will need to unplug the USB cable until the installation is complete. You can also use other image/photo capture software that you may have on your Windows system if you desire. To use the microscope with MAC operating systems you will need to have image/photo capture software on your computer (like a combination of “iChat” with “Photo Booth”, etc.).
When viewing or imaging, you can change the orientation of the image on the computer screen by rotating the microscope to the position you desire.
Installing the Digital Microscope Suite (DMS) Software
Your microscope comes with the Digital Microscope Suite CD-ROM which allows you to use your microscope for visual purposes and for imaging with your computer when using Microsoft Windows OSs.
Before installing the software, remove the USB cable of the Digital Camera from your computer and do not connect it until the software installation is complete. Insert the CD-ROM into your CD-ROM drive and it should automatically begin. Messages will appear (each operating system may show something somewhat different) to guide you through the installation process.
If the software did not begin automatically, double click on “(My) Computer” and right click the CD-ROM icon and it should start.
- You will see “Files Currently on the CD” and notice “Digital Microscope Suite” as a folder. Double click on it and then among the choices double click on “Setup” (InstallShield Setup Launcher).
- Then, the InstallShield Wizard will appear. Then select the default choices, "Next", etc. until "Finish" is seen and click on it.
Your software was properly installed. You will have a desktop icon called “Digital Microscope Suite” but if not that will be the program you select from your installed programs when you want to use the digital microscope.
Using the Digital Microscope Suite (DMS) Software
Plug in the USB cable of the Microscope to your computer and then start DMS.
The DMS contains basic image capture and organization for your photos (snapshots) and videos. Click on the DMS icon to begin.
The software is very intuitive and easy to use. You can change settings by using File and Settings – the Video Device should have as a default “Celestron Digital Microscope” but if not please change it so the DMS will function properly.
You can take snapshot images by using the snapshot button on the microscope (only with Windows OS) or you can also use the keyboard by clicking enter on “Capture an Image”. For videos you need to start/stop on the icon shown on the screen.
Measuring Function
DMS has a simple measuring function which measures the distance between two points in millimeters. Click the “Measure” button on the bottom right of the screen. Start by selecting “Low Power” or “High Power”. Click where you want your starting point and then click again to set the ending point and it will display the distance between the two points. You can adjust either point by dragging the pin. You can click “Clear” to start over.
The accuracy is 1/100th of a millimeter.
You are now ready to begin your digital adventure!
Care, Maintenance, and Warranty
Your microscope with digital camera is a precision optical instrument and should be treated with care at all times. Follow these care and maintenance suggestions and your microscope will need very little maintenance throughout its lifetime.
- Store the microscope in a dry and clean place.
- Be very careful if using your microscope in direct sun light to prevent damage to the microscope or your eyes.
- Never point the microscope towards the sun or the camera can be damaged and cease working.
- Clean the outside surfaces with a moist cloth.
- Never clean optical surfaces with cloth or paper towels as they can scratch optical surfaces easily.
- Blow off dust with a camel's hair brush or air blower off the optical surfaces.
- To clean fingerprints off of optical surfaces, use a lens cleaning agent and lens tissue available at most photo outlets and when cleaning do not rub in circles as this may cause sleeks or scratches to occur.
- Never disassemble or clean internal optical surfaces. This should be done by qualified technicians at the factory or other authorized repair facilities.
- Do not disassemble or take apart the microscope or damage can occur.
- When handling glass specimen slides, use care as the edges can be sharp.
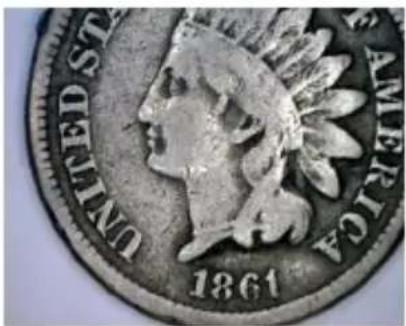
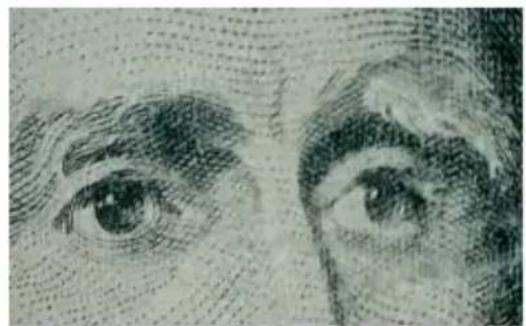

Coin @ 20x Currency @ 20x Currency @ 150x

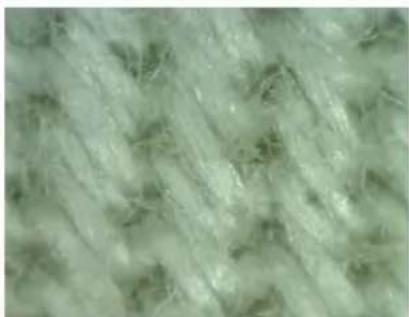
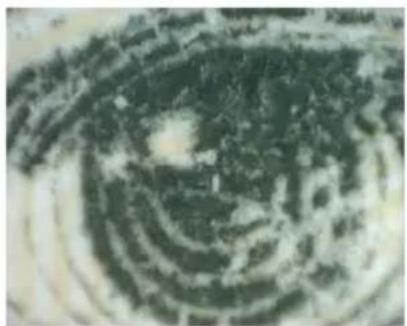
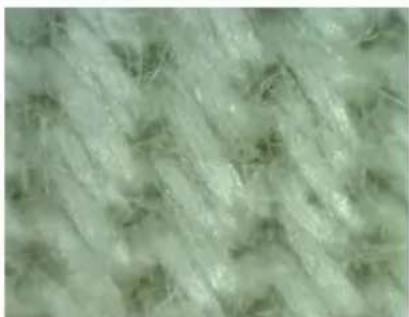
Circuit Board @ 40x Textile @ 20x Textile @ 150x

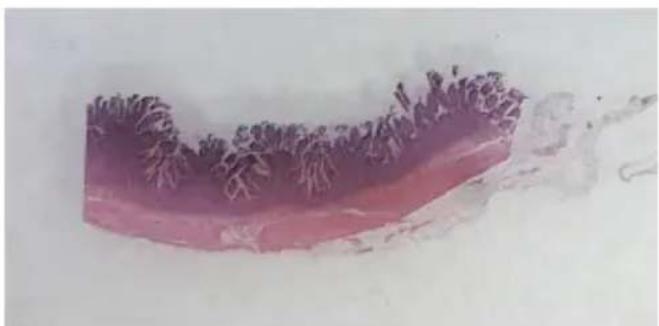
Specimen Slide @ 25x Specimen Slide @ 150x
Warranty
Your microscope has a two year limited warranty. Please see the Celestron website for detailed information on all Celestron microscopes at www.celestron.com.

FCC Statement
This device complies with Part 15 of FCC Rules. Operation is subject to the following two conditions:
- This device may not cause harmful interference, and
- This device must accept any interference received, including interference that may cause undesired operation.

RoHS

CELESTRON®
2835 Columbia St.
Torrance, California 90503 U.S.A.
www.celestron.com
Printed in China 0509

CELESTRON®

INSTRUCTIONS
Handheld Digital Microscope
Model 44302
Introduction
Installing the Digital Microscope Suite (DMS) Software


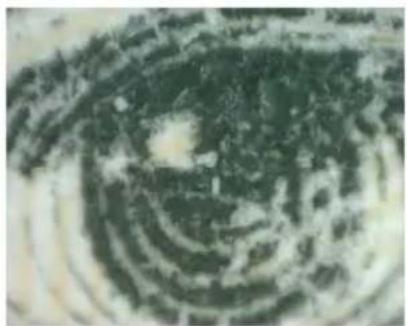
Coin at 20x Bill at 20x Bill at 150x
Circuit board at 40x

Textile at 20x Textile at 150x

Warranty
Torrance, California 90503 U.S.A.
www.celestron.com
User's Guide


Torrance, California 90503 U.S.A.
www.celestron.com

Coin at 20x Banknote at 20x Banknote at 150x


Torrance, California 90503 U.S.A.
www.celestron.com


- INSTRUCTION MANUAL
- HANDHELD DIGITAL MICROSCOPE
- MODEL # 44302
- INTRODUCTION
- STANDARD ACCESSORIES WITH YOUR MICROSCOPE
- SPECIFICATIONS
- SETTING UP YOUR MICROSCOPE
- MICROSCOPE OPERATION
- ILLUMINATION
- STAND
- USING THE MICROSCOPE FOR VIEWING AND/OR IMAGING
- INSTALLING THE DIGITAL MICROSCOPE SUITE (DMS) SOFTWARE
- USING THE DIGITAL MICROSCOPE SUITE (DMS) SOFTWARE
- MEASURING FUNCTION
- CARE, MAINTENANCE, AND WARRANTY
- WARRANTY
- FCC STATEMENT
- ROHS
- CELESTRON®
- INSTRUCTIONS
- MODEL 44302
- USER'S GUIDE
Brand : CELESTRON
Model : Handheld Digital Microscope
Category : Microscope