
F330/WHITE - Deep fryer DELONGHI - Free user manual and instructions
Find the device manual for free F330/WHITE DELONGHI in PDF.
| Brand | DELONGHI |
| Model | F330/WHITE |
| Product type | Domestic electric deep fryer |
| Oil capacity | 1.3 liters (or 1.2 kg solid fat) |
| Maximum food capacity | 0.7 kg fresh potatoes |
| Power supply | 220-240 V, 10 A minimum, with grounding |
| Power | Approximately 1800 W (estimate) |
| Thermostat | Temperature adjustment from 150°C to 190°C |
| Indicator light | Heating indicator (turns off when temperature reached) |
| Timer | Electronic model with display and audible alarm (depending on version) |
| Bowl material | Steel or non-stick depending on version |
| Oil filtration | Filtration system with provided filter, drain tube on some models |
| Anti-odor filter | Replaceable charcoal filters in the lid |
| Dimensions (W x D x H) | Approximately 35 x 30 x 25 cm (estimate) |
| Weight | Approximately 3.5 kg (estimate) |
| Maintenance and cleaning | Bowl and basket washable in warm soapy water; do not immerse the appliance |
| Safety | Thermal safety device in case of operation without oil; do not move when oil is hot |
| Spare parts and repairability | Filters, basket, drain tube (depending on model) available from after-sales service |
| General information | Domestic use only; do not use oil below minimum level |
Frequently Asked Questions - F330/WHITE DELONGHI
User questions about F330/WHITE DELONGHI
0 question about this device. Answer the ones you know or ask your own.
Ask a new question about this device
Download the instructions for your Deep fryer in PDF format for free! Find your manual F330/WHITE - DELONGHI and take your electronic device back in hand. On this page are published all the documents necessary for the use of your device. F330/WHITE by DELONGHI.
USER MANUAL F330/WHITE DELONGHI
- Carefully read this instruction booklet before installing and operating the appliance. This is the only way to ensure the best results and maximum safety for the user.
- As with any electrical appliance, whilst the instructions aim to cover as many eventualities as possible, caution and common sense should be applied when operating your fryer, particularly in the vicinity of young children.
- This appliance has been designed to fry foods exclusively for household use. It must not be used for other purposes and must not be modified or tampered with in any way.
- Do not turn the appliance on if it is damaged (e.g. after having been dropped).
- Before use, check that the power supply voltage corresponds to the value shown on the appliance rating plate.
- Only connect the appliance to electrical sockets with a minimum rating of 10A and that are properly earthed. (If the socket and the plug on the appliance are incompatible, have a professionally qualified technician replace the socket with a more suitable one).
- Do not place the appliance near sources of heat.
- Do not immerse the deep fryer in water. The infiltration of water may cause electric shocks.
During operation the appliance is hot. DO NOT LEAVE THE APPLIANCE WITHIN THE REACH OF CHILDREN. - Hot oil can cause serious burns. Do not move the deep fryer when the oil is hot.
- To move the appliance, use the special lifting handles "V". (Never lift the appliance using the basket handle).
- The deep fryer must only be switched on after it has been filled with oil or fat. If it is heated while empty, a thermal safety device comes into operation and stops it from working. In this case, contact our nearest authorised service centre to
replace the device.
- If the deep fryer leaks oil, contact the technical service centre or personnel authorised by the manufacturer.
Before using the deep fryer for the first time, carefully clean, using warm water and dishwashing detergent, the bowl, the basket and the lid (remove the filters). In addition, run warm water and dishwashing detergent through the oil drain tube, then dry thoroughly. - The materials and objects likely to come into contact with foodstuffs conform to EEC Directive.
- During operation, the oil drain tube should always be kept closed and stored in the special compartment.
- When used for the first time, the appliance may release some smoke. This is normal and disappears in few minutes. The room must be ventilated.
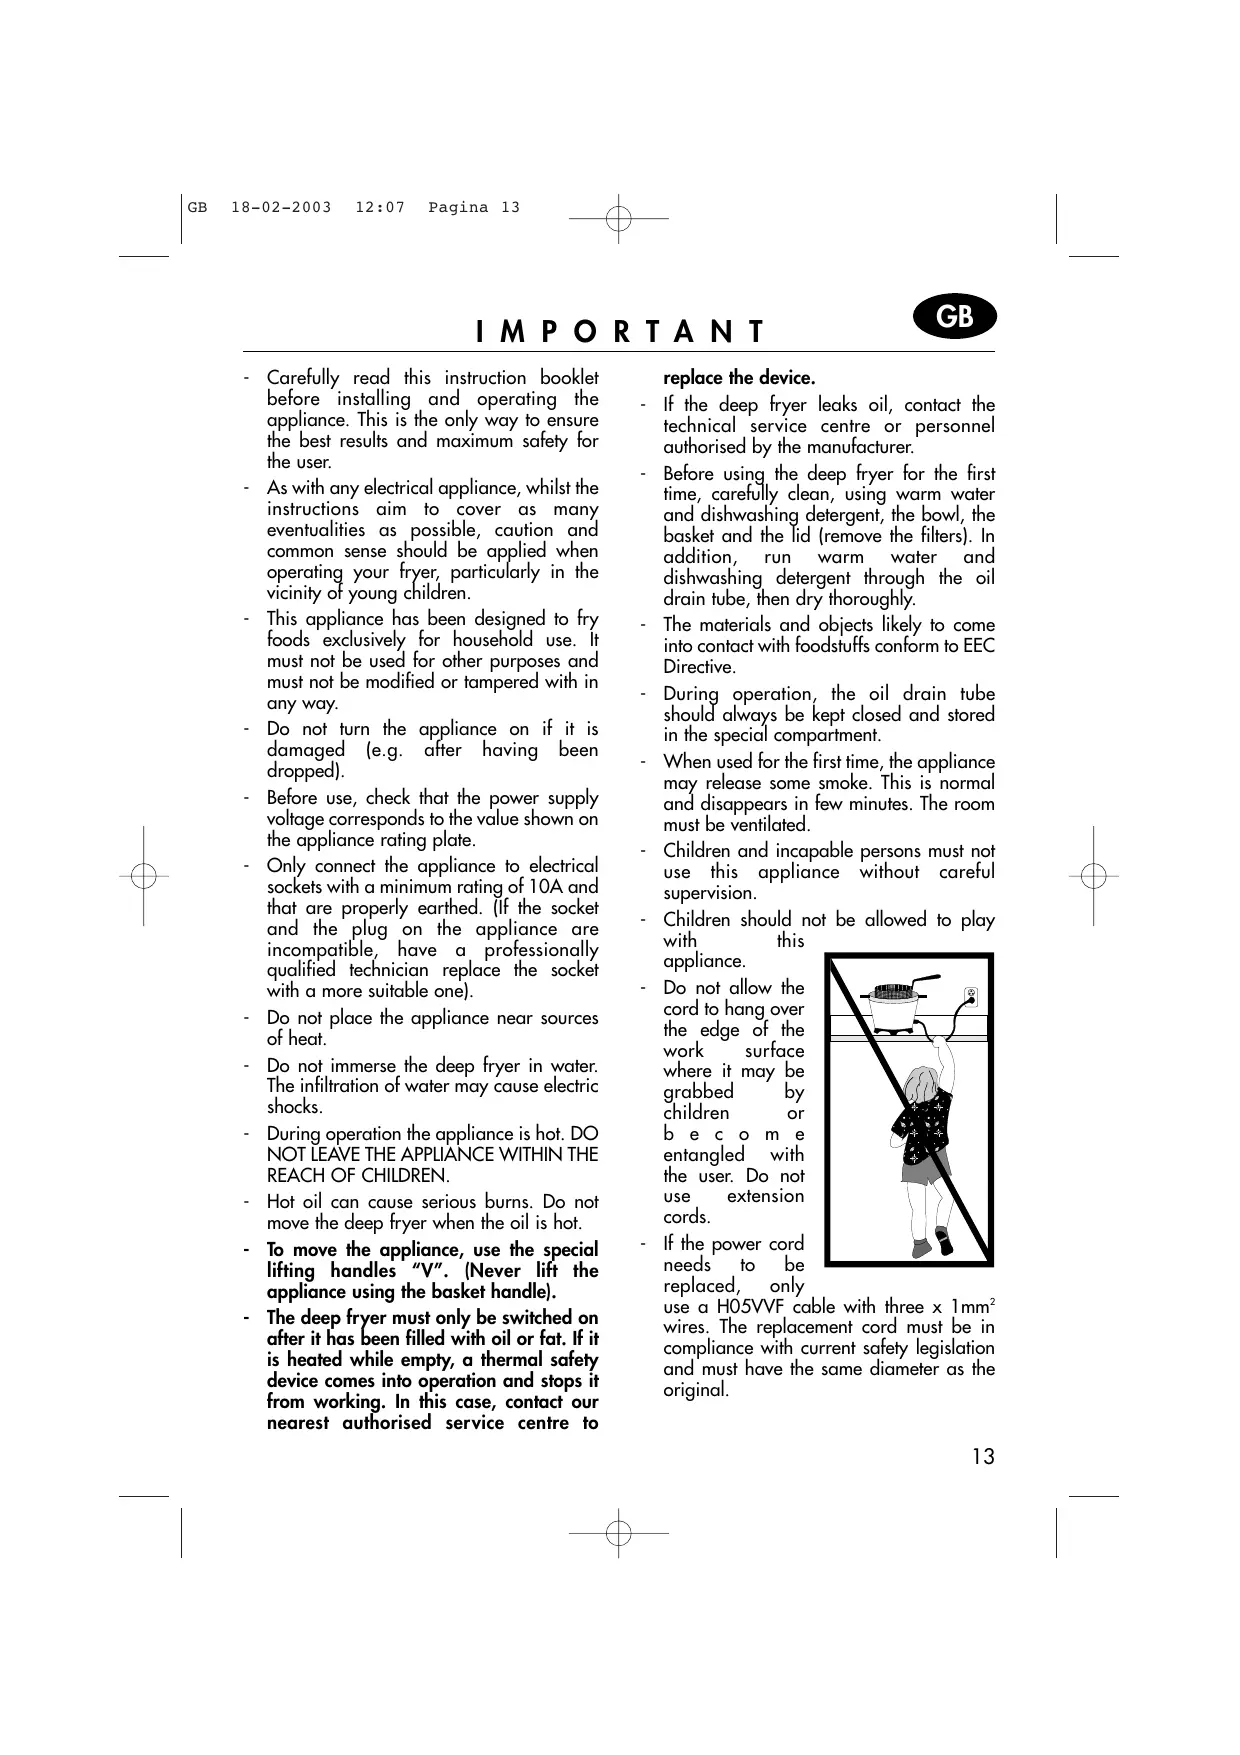
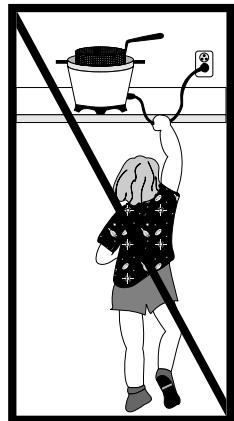
- Children and incapable persons must not use this appliance without careful supervision.
-
Children should not be allowed to play with this
-
Do not allow the cord to hang over the edge of the work surface where it may be grabbed by children or be come entangled with the user. Do not use extension cords.
If the power cord needs to be replaced, only
use a H05VVF cable with three x 1mm² wires. The replacement cord must be in compliance with current safety legislation and must have the same diameter as the original.
DESCRIPTION OF THE APPLIANCE
A. Basket for metal handle (not for all models)
B. Metal basket handle (not for all models)
C. Handle "lock" slide (not for all models)
D. Basket for plastic handle (not for all models)
E. Folding plastic basket handle (not for all models)
F. Handle slide (not for all models)
G. Filter cover hook
H. Filter cover
I. Lid open handle
L. Lid
M. Hole for checking the filter
N. Minute timer display (not for all models)
O. Minute timer button (not for all models)
P. Hatch for the drain tube compartment (not for all models)
Q. Oil drain tube (not for all models)
R. Drain tube cap (not for all models)
S. Signal lamp
T. Thermostat and ON/OFF knob
U. Foot
V. Handle for lifting the appliance
Z. Cord winder
OPERATING INSTRUCTIONS
- Remove the appliance from the packaging.
- Before use, check that the power supply voltage corresponds to the value shown on the appliance rating plate.
- Before use, wash the bowl, the lid (remove filters) and the basket in hot water, then carefully dry the bowl.
- Never switch on the fryer before adding oil or fat. If the fryer is operated without oil or fat, a thermal safety device stops the operation of the appliance. In this case, contact one of our authorized service centres before re-using the appliance.
FILLING WITH OIL OR FAT
- Open the lid "L", lifting it by the handle "I" in the direction of arrow 1, then lift it in the direction of arrow 2 (see Fig. 1) and remove the accessories.
- Pour 1.3 litres of oil into the container (or 1.2kg of fat).
WARNING
The level of oil must always be between the maximum and minimum limits indicated on the bowl.
Do not use the deep fryer when the level of oil is below the "min" mark: the thermal safety device may trip; to replace it, contact one of our service centres.
For best results, use good quality oil. Avoid mixing different types of oil. If using lumps of solid fat, cut them into small pieces so that the deep fryer does not heat up in the first few minutes without a uniform covering of fat. The temperature must be set to 150^ until the fat has melted completely. The required temperature can then be set.
STARTING FRYING
- Place the food to be fried in the basket, without overfilling it (max 0.7 kg of fresh potatoes). For more uniform frying, the food should be concentrated above all around the perimeter of
the basket, leaving less food in the centre. Remove the ice from frozen foods (see: frying frozen foods).
- Close the lid by pressing it lightly downwards until it "clicks" into place.
-
Set the thermostat knob "T" to the desired temperature (Fig. 2). When the set temperature has been reached, the signal lamp "S" will switch off,
-
As soon as the signal lamp switches off, lower the basket slowly into the oil
Proceed as follows for models supplied with:
Metal handle basket
- Make sure the handle "lock" slide is in the rear position
- Fit the handle "B" to the basket "A" (Fig. 3) and move the handle "lock" slide as far forwards as possible (Fig. 4).
Before lowering the basket into the oil or lifting it, always check that the handle slide is in the forward position. - Then close the lid, after having removed the handle from the basket.
Folding plastic basket handle
- Unfold the handle on the basket "E" until it locks into place (pos. 2, Fig. 5).
- Turn the handle on the basket "E" upwards until the handle slide "F" clicks into place (pos. 3, Fig. 6).
- Then close the lid. To lower the handle, move the slide "F" backwards and turn it downwards. It is normal for drops of condensate to form around the handle of the basket when the appliance is operating.
- It is completely normal for a significant quantity of hot steam to be released from the filter cover "H" immediately after this operation.
IN THE MODELS FITTED WITH THE ELECTRONIC MINUTE TIMER
Set the cooking time by pressing the button "O"; the display "N" will show the minutes set.
The figures will begin flashing immediately afterwards, signifying that the cooking time has started. The last minute will be displayed in seconds.
In the event of errors, a new cooking time can be set by keeping the button pressed for more than 2 seconds. The display will be reset; then repeat the process again.
The minute timer will indicate the end of the cooking time by two series of beeps at an interval of around 20 seconds.
To switch off the audible signal, press the minute timer button "O".
WARNING: the minute timer does not switch the appliance off.
Replacing the minute timer batteries
- Remove the minute timer from its compartment (Fig. 7).
- Turn the battery cover (Fig. 8) anticlockwise until it is released.
- Replace the battery with another of the same type.
Reassemble the minute timer.
If the appliance is to be replaced or thrown away, the battery must be removed and disposed of in accordance with the current laws, as it represents an environmental hazard.
AFTER FRYING
When the set cooking time has elapsed, lift the basket and check that the food has been cooked to the desired colour. For the models supplied with a metal handle, fit the handle to the basket (Fig. 3) and move the handle "lock" slide "C" forwards.
If the food is completely cooked, turn the appliance off by moving the thermostat knob to "OFF",
until the switch " clicks"
Allow the excess oil to drain by leaving the basket in the deep fryer, in the raised position.
Note: when cooking in two phases (e.g.: potatoes), lift the basket at the end of the first phase, wait for the signal lamp to switch off again, then lower the basket back into the oil (see the tables further on).
FILTERING THE OIL OR FAT
This procedure should be carried out each time you have finished frying, especially when the food has been coated in crumbs or flour. The food particles tend to burn if they remain in the liquid, thus causing much quicker deterioration of the oil or fat.
Check that the oil is cool enough (wait around two hours).
Move the deep fryer towards the edge of the work surface (Fig. 9). To prevent the appliance from falling while filtering the oil, make sure that the feet "U" always remain on the work surface (Fig. 9).
MODELS SUPPLIED WITH OIL DRAIN TUBE
Proceed as follows:
- Remove the basket.
- Open the hatch "P" (as shown in Fig. 10) and take out the oil drain tube "Q".
- Remove the cap "R" (as shown in Fig. 10) and at the same time choke the tube between two fingers to prevent the liquid from being released until the end of the tube has been placed in a container.
- Let the liquid flow out into a container (Fig. 11), ensuring that it does not spill. Never empty the deep fryer by tilting it or turning it upside down (Fig. 12).
- Remove any deposits from the bowl using a sponge or absorbent paper.
- Put the tube back in its compartment, after having replaced the cap, and then close the hatch.
- Hook the basket to the edge of the bowl and place the filter supplied in the bottom of the basket (Fig. 13). The filters are available from your reseller or our Service Centre.
- Then pour the oil and fat very slowly into the deep fryer, until it flows over the filter (Fig. 14).
N.B: The filtered oil can be stored inside the deep fryer. Nonetheless, if a long period elapses between cooking, the oil should be stored in a sealed container, so as to prevent it from deteriorating.
It is a good idea to keep the oil used to fry fish separate from that used to fry other food. If lard or fat is used, make sure it does not cool down too much, otherwise it will solidify.
MODELS WITHOUT OIL DRAIN TUBE
Proceed as follows:
- After having removed the lid (Fig. 15), empty the bowl as shown in Fig. 16.
- Hook the basket to the edge of the bowl and place the filter supplied in the bottom of the basket (Fig. 13). The filters are available from your reseller or our service centre.
- Then pour the oil and fat very slowly into the deep fryer, until it flows over the filter (Fig. 14).
N.B: The filtered oil can be stored inside the deep fryer. Nonetheless, if a long period elapses between cooking, the oil should be stored in a sealed container, so as to prevent it from deteriorating. It is a good idea to keep the oil used to fry fish separate from that used to fry other food.
If lard or fat is used, make sure it does not cool down too much, otherwise it will solidify.
REPLACING THE ANTI-ODOUR FILTERS
N.B: The white filter must rest on the metal part (Fig. 19) and the coloured area must face upwards (towards the black filter).
Reassemble the filter cover, being careful to insert the front hooks correctly (as shown in Fig. 15).
Do not run the appliance with depleted filters, as this could cause bad odours and obstruct the steam.
CLEANING
Before cleaning, always unplug the appliance from the electrical socket.
- Never immerse the deep fryer in water or hold it under the tap. The infiltration of water may cause short-circuiting and electric shocks.
After having allowed the oil to cool for about 2 hours, empty out the oil or fat as previously described in the paragraph "filtering the oil or fat".
Remove the lid by lifting it carefully (Fig. 15).
Do not immerse the lid in water before having removed the filters.
To clean the bowl, proceed as follows:
- Wash the bowl in warm water and dishwashing detergent, then carefully rinse and dry. For the models fitted with an oil drain tube, it may be useful to place the deep fryer on the draining surface of the sink, with the oil drain tube inside the sink. In this position, a jug of warm soapy water and a soft brush can be used to clean the deep fryer bowl: the dirty water will flow directly into the sink (Fig. 20).
- To clean the inside of the oil drain tube, use the brush supplied (Fig. 21). Do not use the brush before having taken out the tube.
- The basket should be cleaned regularly, with care being taken to remove any deposits.
- Dry the outside of the deep fryer using a soft, damp cloth, to remove any splashes and drops of oil or condensate.
- Clean and dry the seal, to prevent it from sticking to the deep fryer bowl when the appliance is not in use.
- After washing, dry thoroughly. Remove any residual water from the bottom of the bowl and, above all, from inside the oil drain tube. This will prevent dangerous splashes of hot oil during operation.
- The basket and its handles can be washed in the dishwasher.
MODEL WITH NON-STICK BOWL
To clean the non-stick bowl, use a soft cloth and neutral detergent; never use abrasive detergents.
COOKING HINTS
HOW LONG THE OIL OR FAT LASTS
The oil or fat must never fall below the minimum level. From time to time it must be replaced completely. The length of time the oil or fat lasts depends on what is fried.
Food in breadcrumbs, for example, dirties the oil more than simple frying.
As for all types of deep fryer, the oil deteriorates if it is reheated several times! Therefore, even if it is used and filtered correctly, it should be replaced completely quite often.
The oil should be completely changed every 5/8 uses, or in the following circumstances:
- unpleasant odours
- smoke when frying
the oil becomes dark in colour
HOW TO FRY CORRECTLY
- It is important to follow the recommended temperature for every recipe. If the temperature is too low, the fried food absorbs oil. If the temperature is too high, a crust quickly forms on the outside while the inside remains uncooked.
- The food being fried must only be immersed when the oil has reached the right temperature, i.e. when the signal lamp switches off.
- Do not overfill the basket. This would cause the temperature of the oil to drop suddenly, resulting in fried food which is too greasy and not uniformly fried.
- When frying small quantities of food, the temperature of the oil must be set lower than the temperature indicated to avoid the oil boiling too violently.
- Check that the food is thinly sliced and of even thickness, as food which is too thick cooks badly on the inside, despite looking cooked, while food of an even thickness reaches the ideal cooking point all at the same time.
- Dry the food completely before immersing it in the oil or fat, as wet food becomes soggy after cooking (especially potatoes). Food with a high water content (fish, meat, vegetables) should be coated in crumbs or flour, being careful to remove the excess breadcrumbs or flour before immersing it in the oil.
FRYING NON-FROZEN FOOD
| Type of food | Maximum quantity | Temperature °C | Time in minutes | |
| CHIPS | half portion | 350 | 190 | \(1^{st}\ phase\ 4-5\)2ndphase 1-2 |
| full portion | 700 | 190 | \(1^{st}\ phase\ 9-10\)2ndphase 2-3 | |
| FISH | Calamari | 250 | 160 | 6-7 |
| Canestrelli | 250 | 160 | 6-7 | |
| Scampi tails | 250 | 160 | 5-6 | |
| Sardines | 250 | 170 | 6-7 | |
| Squid | 250 | 160 | 6-7 | |
| Sole (1) | 130 | 160 | 5-6 | |
| MEAT | Beef cutlets (1) | 120 | 160 | 5-7 |
| Chicken cutlets (2) | 240 | 180 | 4-6 | |
| Chicken drumsticks (2) | 300 | 180 | 20-25 | |
| Meat balls (6) | 250 | 160 | 4-6 | |
| VEGETABLES | Artichokes | 150 | 150 | 5-6 |
| Cauliflower | 200 | 160 | 4-5 | |
| Mushrooms | 200 | 150 | 4-5 | |
| Aubergines (2 slices) | 50 | 170 | 3-4 | |
| Courgettes | 150 | 160 | 5-6 | |
Please remember that the cooking times and temperatures are approximate, and must be adjusted according to the quantity of food and personal tastes.
FRYING FROZEN FOODS
-
Frozen foods have very low temperatures. As a result, they inevitably cause a considerable drop in the temperature of the oil or fat. For best results, do not exceed the quantities recommended in the following table.
-
Frozen foods are often covered in ice crystals which must be removed before cooking. This can be done by shaking the basket. Then lower the basket very slowly into the frying oil, to prevent the oil from reboiling.
The cooking times are approximate and must be varied according to the initial temperature of the food being fried and according to the temperature recommended by the frozen food producer.
| Food | Maximum quantity | Temperature °C | Time in minutes | |
| CHIPS | 200 (*) | 190 | 1stphase 2-4 | |
| 2ndphase 1-2 | ||||
| POTATO CROQUETTES | 350 | 190 | 6-7 | |
| FISH | Cod fingers (6) | 150 | 190 | 4-5 |
| Shrimps | 150 | 190 | 4-5 | |
| MEAT | Chicken cutlets (n. 1) | 120 | 190 | 3-5 |
(*) This is the recommended quantity to achieve excellent frying. It is naturally possible to fry a larger amount of chips, yet you should bear in mind that in this case they will end up being a little greasier because of the sudden drop in the oil temperature at the time of immersion.
OPERATING FAULTS
| FAULT | CAUSE | REMEDY |
| Bad smell | The anti- odour filter is saturated. The oil has deteriorated. The cooking liquid is unsuitable. | Replace the filters. Replace the oil or fat. Use good quality sunflower or vegetable oil. |
| The oil overflows | The oil has deteriorated and causes too much foam. You have immersed food which is not sufficiently dry in the hot oil. The basket has been immersed too quickly. The oil level in the deep fryer is over the maximum limit. | Replace the oil or fat. Dry the food well. Immerse slowly. Reduce the amount of oil in the bowl. |
| Food does not brown during cooking | The oil temperature is too low. The basket is overloaded. | Set a higher temperature. Reduce the amount of food. |
| The oil does not heat up | The deep fryer has been used without oil in the bowl, tripping the thermal safety device. | Contact the Service Centre (the device should be replaced). |
- replace the device.
- DESCRIPTION OF THE APPLIANCE
- OPERATING INSTRUCTIONS
- FILLING WITH OIL OR FAT
- WARNING
- STARTING FRYING
- Metal handle basket
- Folding plastic basket handle
- IN THE MODELS FITTED WITH THE ELECTRONIC MINUTE TIMER
- Replacing the minute timer batteries
- AFTER FRYING
- FILTERING THE OIL OR FAT
- MODELS SUPPLIED WITH OIL DRAIN TUBE
- MODELS WITHOUT OIL DRAIN TUBE
- REPLACING THE ANTI-ODOUR FILTERS
- CLEANING
- MODEL WITH NON-STICK BOWL
- COOKING HINTS
- HOW LONG THE OIL OR FAT LASTS
- HOW TO FRY CORRECTLY
- FRYING FROZEN FOODS
Brand : DELONGHI
Model : F330/WHITE
Category : Deep fryer