F22210CZ, F22310CZ - Deep fryer DELONGHI - Free user manual and instructions
Find the device manual for free F22210CZ, F22310CZ DELONGHI in PDF.
| Product type | Deep fryer |
| Brand | DELONGHI |
| Models | F22210CZ, F22310CZ |
| Power supply | 220-240 V, grounded outlet (min. 10 A) |
| Power | Not specified |
| Removable bowl capacity | MIN and MAX markings inside |
| Adjustable thermostat | Yes, with temperature indicator light |
| Electronic timer | On some models (button and display) |
| Thermal safety device | Yes, with RESET button (Z) |
| Safety microswitch | Prevents operation if control unit is not properly positioned |
| Indicator lights | Red power-on light, green oil temperature light |
| Folding basket | Foldable handle, integrated basket support for draining |
| Oil drain tap | On some models, with protective cover |
| Viewing window | On some models |
| Filter | On some models |
| Cleaning | Bowl, lid, and basket washable with soapy water; do not immerse control unit |
| Spare parts | Removable bowl, basket, lid, control unit, filter (depending on model) |
Frequently Asked Questions - F22210CZ, F22310CZ DELONGHI
User questions about F22210CZ, F22310CZ DELONGHI
0 question about this device. Answer the ones you know or ask your own.
Ask a new question about this device
Download the instructions for your Deep fryer in PDF format for free! Find your manual F22210CZ, F22310CZ - DELONGHI and take your electronic device back in hand. On this page are published all the documents necessary for the use of your device. F22210CZ, F22310CZ by DELONGHI.
USER MANUAL F22210CZ, F22310CZ DELONGHI
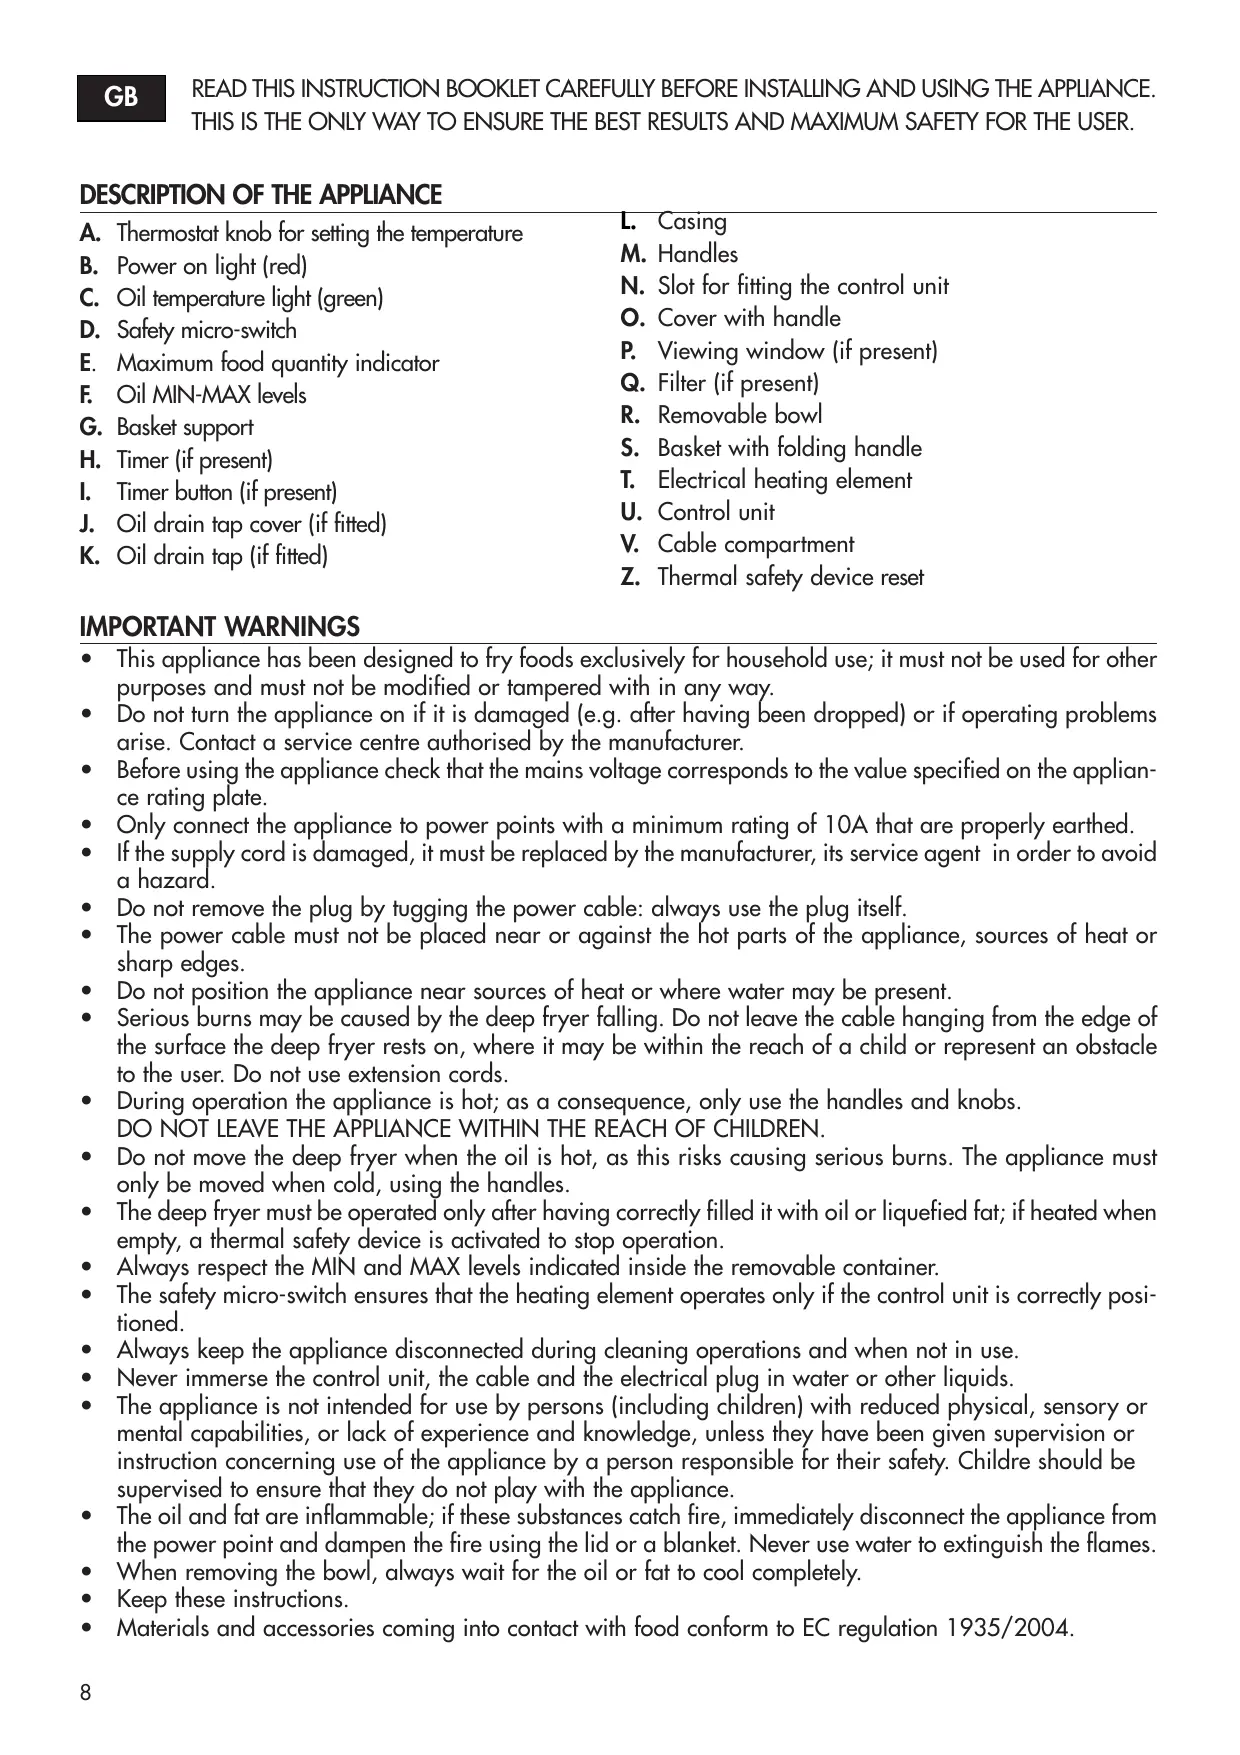
DESCRIPTION OF THE APPLIANCE
A. Thermostat knob for setting the temperature
B. Power on light (red)
C. Oil temperature light (green)
D. Safety micro-switch
E. Maximum food quantity indicator
F. Oil MIN-MAX levels
G. Basket support
H. Timer (if present)
I. Timer button (if present)
J. Oil drain tap cover (if fitted)
K. Oil drain tap (if fitted)
L. Casing
M. Handles
N. Slot for fitting the control unit
O. Cover with handle
P. Viewing window (if present)
Q. Filter (if present)
R. Removable bowl
S. Basket with folding handle
T. Electrical heating element
U. Control unit
V. Cable compartment
Z. Thermal safety device reset
IMPORTANT WARNINGS
- This appliance has been designed to fry foods exclusively for household use; it must not be used for other purposes and must not be modified or tampered with in any way.
- Do not turn the appliance on if it is damaged (e.g. after having been dropped) or if operating problems arise. Contact a service centre authorised by the manufacturer.
- Before using the appliance check that the mains voltage corresponds to the value specified on the appliance rating plate.
- Only connect the appliance to power points with a minimum rating of 10A that are properly earthed.
- If the supply cord is damaged, it must be replaced by the manufacturer, its service agent in order to avoid a hazard.
- Do not remove the plug by tugging the power cable: always use the plug itself.
- The power cable must not be placed near or against the hot parts of the appliance, sources of heat or sharp edges.
- Do not position the appliance near sources of heat or where water may be present.
- Serious burns may be caused by the deep fryer falling. Do not leave the cable hanging from the edge of the surface the deep fryer rests on, where it may be within the reach of a child or represent an obstacle to the user. Do not use extension cords.
- During operation the appliance is hot; as a consequence, only use the handles and knobs. DO NOT LEAVE THE APPLIANCE WITHIN THE REACH OF CHILDREN.
- Do not move the deep fryer when the oil is hot, as this risks causing serious burns. The appliance must only be moved when cold, using the handles.
- The deep fryer must be operated only after having correctly filled it with oil or liquefied fat; if heated when empty, a thermal safety device is activated to stop operation.
Always respect the MIN and MAX levels indicated inside the removable container. - The safety micro-switch ensures that the heating element operates only if the control unit is correctly positioned.
Always keep the appliance disconnected during cleaning operations and when not in use. - Never immerse the control unit, the cable and the electrical plug in water or other liquids.
- The appliance is not intended for use by persons (including children) with reduced physical, sensory or mental capabilities, or lack of experience and knowledge, unless they have been given supervision or instruction concerning use of the appliance by a person responsible for their safety. Children should be supervised to ensure that they do not play with the appliance.
- The oil and fat are inflammable; if these substances catch fire, immediately disconnect the appliance from the power point and dampen the fire using the lid or a blanket. Never use water to extinguish the flames.
- When removing the bowl, always wait for the oil or fat to cool completely.
- Keep these instructions.
- Materials and accessories coming into contact with food conform to EC regulation 1935/2004.
THERMAL SAFETY DEVICE
The appliance is fitted with a thermal safety device that stops the appliance from heating in the event of incorrect use or irregular operation. Once the appliance has cooled, using a toothpick or similar, delicately press the safety device reset button (Z) marked RESET (see Fig. 1). If the appliance does not start operating again, contact a service centre authorised by the manufacturer.
OPERATING INSTRUCTIONS
Before using the deep fryer for the first time, carefully clean, using warm water and dishwashing detergent, the basket, the bowl and the cover. The control unit, power cable and heating element may be cleaned using a damp cloth. Check that water does not enter into the control unit and that there is no residual water in the bottom of the removable bowl. Carefully dry all the parts.
Check that the control unit is properly fastened to the deep fryer body. The safety micro-switch (D) will prevent the appliance from operating unless the control unit (U) is correctly positioned (N).
FILLING WITH OIL OR FAT
- Turn the folding handle of the basket until it locks into place (pos. 2, Fig. 2). Remove the basket (S) by lifting it upwards.
- If oil is used, pour it into the bowl (R) until reaching the maximum level indicated (see Fig. 4). Never exceed this limit, as oil may overflow from the container. The level of oil must always be between the maximum and minimum limits (F). For best results, use good quality peanut oil.
- If lumps of fat are used, cut the lumps into pieces and melt them in another container, then pour the liquefied fat into the deep fryer bowl. Never melt the fat in the basket or on the deep fryer heating element (see Fig. 5).
PREHEATING
- Place the food to be fried in the basket (S), without exceeding the maximum level indicated on the basket (fig. 9). Check that the handle of the basket is correctly positioned (pos. 2 in Fig. 2).
- Connect to the mains supply. Both lights (B) and (C) come on.
- Move the thermostat knob (A) (see fig. 6) to the required temperature (see cooking table), the oil temperature light (green) (C) comes off.
- When the set temperature is reached, the green light (C) comes on.
FRYING
- As soon as light (C) comes on, lower the basket (S) into the oil very slowly to avoid the hot oil splashing or overflowing.
- A significant amount of steam will be released: this is completely normal.
- When the set cooking time has elapsed, lift the basket (S) and check that the food has been cooked to the required colour.
- If the food is completely cooked, turn the appliance off by moving the thermostat knob (A) to the "●" position.
- Unplug from the mains socket.
- Allow the excess oil to drain by hooking the basket "M" onto the support "E" on the bowl.
- N.B. To cook more than one batch of food, wait until the green light comes on, indicating that the oil is again at the set temperature. Then slowly place the basket (S) in the oil a second time.
HOW LONG THE OIL OR FAT LASTS
The level of oil or fat must never fall below the minimum. Every now and then it must be completely changed. The life of the oil or fat depends on what foods are being fried. Food coated in breadcrumbs, for example, dirties the oil more than simple frying. As for any deep fryer, the oil deteriorates after being heated a number of times! Therefore, even if used correctly, it should be completely changed on a regular basis.
FRYING NON-FROZEN FOOD
Never overfill the basket, as this may cause a sudden drop in the temperature of the oil and thus greasier and less uniform frying. Check that the food is sliced into thin, even pieces. If the slices are too thick, the food will not be well cooked inside, despite its appearance, while even slices will be perfectly cooked at the same time. Carefully dry the food before immersing it in the oil or fat, to avoid oil being sprayed; furthermore, wet food will be less crisp after cooking (especially potatoes).
Foods with a high water content (fish, meat, vegetables) should be crumbed before frying, making sure the excess flour or breadcrumbs are removed before immersing the food in the oil.
When cooking food in batter, you should first immerse the basket empty. Then, when the set temperature has been reached, immerse the food directly in the hot oil to avoid the batter sticking to the basket.
When referring to the following table, please keep in mind that the cooking times and temperatures are approximate, and must be adjusted according to the quantity of food and personal tastes.
| Food | Temperature (℃) | Time (minutes) | |
| Fresh potato chips full portion | 170° | 11-15 | |
| Fish | Calamari | 140° | 9-13 |
| Canestrelli | 140° | 10-14 | |
| Sardines | 140° | 10-14 | |
| Prawns | 140° | 8-12 | |
| Tongue-fish | 140° | 6-10 | |
| Meat | Pork cutlets | 160° | 8-12 |
| Chicken cutlets | 160° | 9-13 | |
| Meatballs | 160° | 9-13 | |
| Vegetables | Artichokes | 150° | 13-18 |
| Cauliflower | 150° | 10-14 | |
| Mushrooms | 150° | 8-12 | |
| Aubergines | 150° | 9-13 | |
| Courgettes | 150° | 13-18 | |
FRYING FROZEN FOODS
Frozen foods are stored at very low temperatures. Consequently, they significantly lower the temperature of the liquid used for cooking. For optimum results, do not overfill the basket.
Frozen foods are often covered with a layer of ice; this ice should be removed before cooking. Immerse the basket in the oil very slowly to prevent the oil from boiling over.
The cooking times are approximate and must be adjusted according to the initial temperature of the food being fried and the temperatures indicated on the packaging of the food.
| Food | Temperature (℃) | Time (minutes) |
| Pre-cooked frozen potato chips | 190° | 10-14 |
| Potato croquettes | 180° | 7-10 |
| Fish | Fish-fingers | 180° |
| Fish fillets | 180° | |
| Meat | Chicken cutlets | 180° |
| 3-6 |
MODELS WITH ELECTRONIC TIMER
- Set the cooking time by pressing the button (I). The minutes set appear on the display (H).
- Immediately afterwards, the numbers begin to flash. This means the cooking time has begun. The last minute is displayed in seconds.
- If you make a mistake, you can set the new cooking time by holding the button down for more than two seconds.
When the display has reset, repeat the operation.
- The timer indicates the end of cooking time with two series of "beeps" separated by a 20 second gap. To turn off the signal, just press the timer button (I).
If the appliance is to be replaced or thrown away, the battery must be removed and disposed of in accordance with current laws as it represents an environmental hazard.
IMPORTANT: the timer does not turn the appliance off
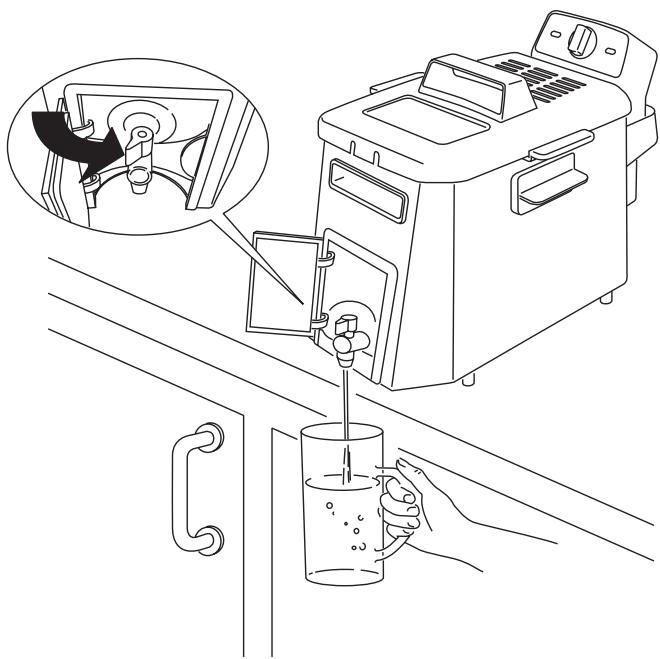
MODELS FITTED WITH OIL DRAIN TAP
CAUTION! To avoid getting burnt do not drain oil when oil is hot.
Proceed as follows:
- Remove the basket.
- Open the cover (J).
- Open the tap (K) by turning it anticlockwise.
- Run the liquid into a container (see the figure below), making sure it doesn't overflow.
- Remove any deposits form the bowl using a sponge or tissue paper.
- Close the tap by turning it clockwise.
- Close the cover (J).
It is a good idea to keep the oil used to fry fish separate from that used to fry other food.
If lard or fat is used, make sure it does not cool down too much, otherwise it will solidify.
CLEANING
Before cleaning, make sure that the power plug is disconnected.
Never immerse the deep fryer in water and never place it under running tap water (see Fig. 7). The infiltration of water into the control unit may cause electrocution. Check that the oil has cooled down, and then remove the control unit and drain the oil. Remove the deposits from the bowl using a sponge or absorbent paper.
Except for the control unit, power cable and heating element, all the other parts can be cleaned with warm water and dishwashing detergent (see Fig. 8). Never use abrasive sponges, to avoid damaging the deep fryer.
When this procedure has been completed, carefully dry all parts, to prevent hot oil from spraying out during operation.
Important information for correct disposal of the product in accordance with EC Directive 2002/96/EC.
At the end of its working life, the product must not be disposed of as urban waste.
It must be taken to a special local authority differentiated waste collection centre or to a dealer providing this service.
Disposing of a household appliance separately avoids possible negative consequences for the environment and health deriving from inappropriate disposal and enables the constituent materials to be recovered to obtain significant savings in energy and resources. As a reminder of the need to dispose of household appliances separately, the product is marked with a crossed-out wheeled dustbin.